Here is my tried-and-true recipe for Greek yogurt pizza dough that comes together in just minutes. It only needs a handful of basic ingredients and gives you a crispy crust that’s perfectly chewy on the inside.
I make this dough at least twice a month for our family pizza nights. The kids love helping stretch it out, and there’s something so satisfying about making pizza from scratch. Plus, the Greek yogurt adds a bit of protein and makes it healthier than traditional pizza dough.
Why You’ll Love This Greek Yogurt Pizza Dough
- Quick preparation – No waiting for dough to rise or lengthy kneading required – this pizza dough comes together in just minutes, perfect for those busy weeknight dinners.
- High-protein alternative – Thanks to the Greek yogurt, this dough packs more protein than traditional pizza crust, making it a healthier choice for your pizza nights.
- Simple ingredients – You only need 5 basic ingredients for the dough, and chances are you already have them in your kitchen right now.
- Budget-friendly – Using Greek yogurt instead of yeast and olive oil makes this pizza dough more affordable than traditional recipes, while still giving you that satisfying pizza experience.
- Beginner-friendly recipe – If you’ve never made pizza dough before, this is the perfect recipe to start with – it’s practically foolproof and doesn’t require any special techniques.
What Kind of Greek Yogurt Should I Use?
For this pizza dough recipe, you’ll want to stick with plain, fat-free Greek yogurt – regular yogurt won’t work here since it’s too thin.
The thick, strained texture of Greek yogurt is what gives this dough its structure and helps it come together without needing yeast.
While full-fat Greek yogurt can work in a pinch, it might make your dough a bit too wet and harder to handle.
Options for Substitutions
This simple pizza dough recipe is pretty forgiving and allows for several substitutions:
- Plain flour: You can use self-rising flour instead of plain flour – just skip the baking powder and salt if you do. Whole wheat flour works too, but your crust will be denser and you might need to add 1-2 extra tablespoons of yogurt.
- Greek yogurt: This is the key ingredient that can’t be substituted with regular yogurt as it’s too thin. However, you can use full-fat or low-fat Greek yogurt instead of fat-free. Make sure to strain any excess liquid if your yogurt seems watery.
- Baking powder: If you’re out of baking powder, you can use 1/2 teaspoon of baking soda plus 1 teaspoon of lemon juice or vinegar. Remember, this swap is only needed if you’re using plain flour.
- Marinara sauce: Feel free to use any pizza sauce you like – pesto, BBQ sauce, or even just olive oil with garlic works great as a base.
- Toppings: The beauty of pizza is that toppings are totally up to you! Any cheese that melts well can replace the grated cheese, and vegetables can be swapped based on what you have in your fridge.
Watch Out for These Mistakes While Making
A common error is overworking the dough, which can make your crust tough and chewy – instead, mix just until the ingredients come together and stop as soon as you have a cohesive ball.
For the best texture, don’t roll the dough too thin, aim for about 1/4 inch thickness, and be sure to drain your Greek yogurt if it seems watery – excess moisture can prevent your crust from crisping up properly.
Storage Instructions
Keep Fresh: If you’ve made extra pizza dough, you can wrap it tightly in plastic wrap or place it in an airtight container and keep it in the fridge for up to 2 days. The yogurt in the dough helps it stay fresh, but it’s best to use it sooner rather than later!
Freeze: Want to prep ahead? Shape your dough into individual portions, wrap each one in plastic wrap, and pop them in a freezer bag. They’ll stay good in the freezer for up to 1 month. Just remember to thaw it overnight in the fridge before you’re ready to make pizza.
Make Ahead: You can mix up this dough and use it right away, but I find it’s even better when it rests in the fridge for about 30 minutes. This gives the ingredients time to mingle and makes the dough easier to work with. If you’ve already baked your pizza, leftovers can be kept in the fridge for up to 3 days.
How to Know When the Pizza is Done
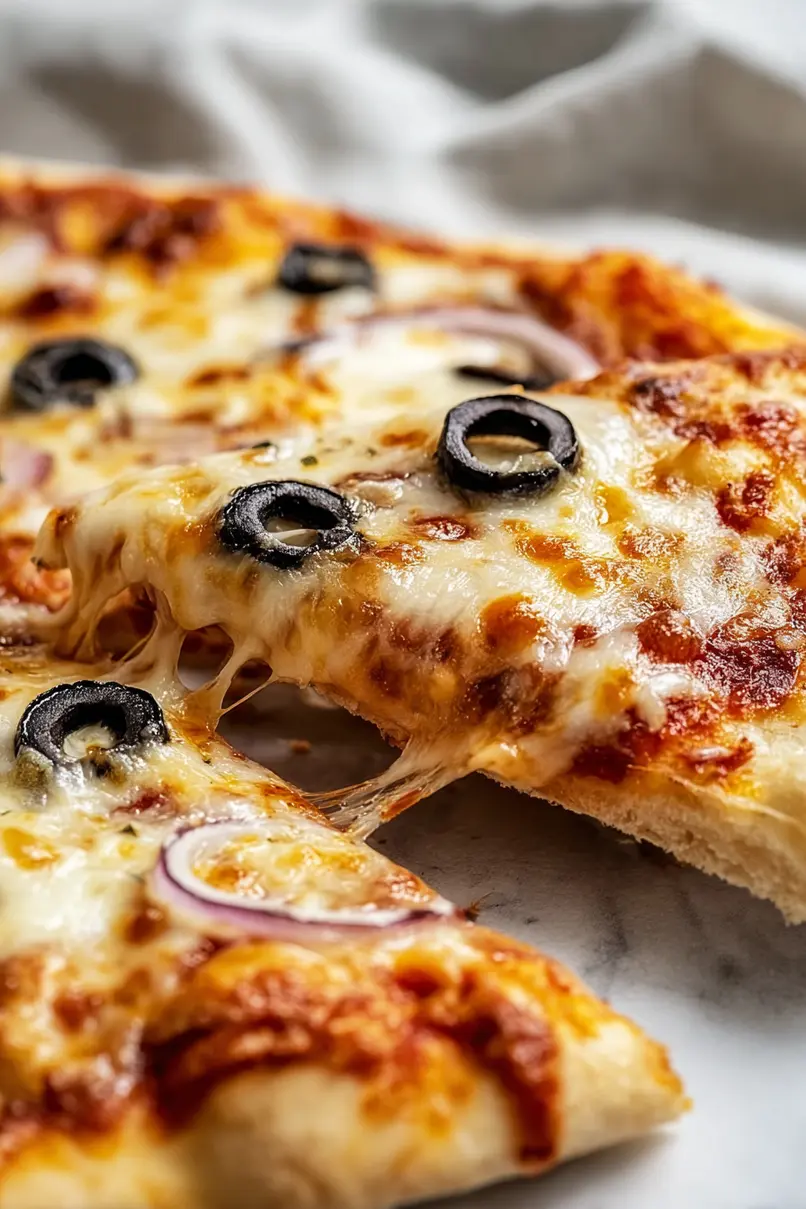
The easiest way to check if your Greek yogurt pizza is ready is to look at both the crust and the toppings – the crust should be light golden brown on the bottom and edges, while the cheese on top should be fully melted and starting to bubble.
If you lift the edge of the pizza with a spatula, the bottom should be firm and crispy, not soft or doughy.
For extra certainty, you can carefully lift the pizza and peek underneath – the bottom should have some brown spots but not be burnt.
Remember that this type of crust cooks faster than traditional pizza dough, so keep a close eye on it after the 12-minute mark.
Greek Yogurt Pizza Dough FAQ
Why is my pizza dough sticky when I’m kneading it?
This is totally normal with Greek yogurt pizza dough! The dough starts out sticky because of the yogurt’s moisture content. I usually start with the recommended amount of flour, but don’t hesitate to add an extra tablespoon or two while kneading if it’s too sticky to work with. Just add flour gradually until the dough feels manageable but still soft.
Do I need to let this dough rise like traditional pizza dough?
No, that’s the beauty of this Greek yogurt pizza dough! Since we’re using baking powder instead of yeast, there’s no need for any rising time. You can shape and bake it right after mixing. This is why it’s such a perfect recipe when you want pizza in a hurry.
Why do my toppings sometimes make the center soggy?
I’ve found that pre-baking the crust for about 5-7 minutes before adding toppings makes a big difference. This creates a barrier that prevents the moisture from the toppings from seeping into the dough. I also recommend patting wet toppings dry with paper towels before adding them to the pizza.
| Preparation Time | 10-15 minutes |
| Cooking Time | 25 minutes |
| Total Time | 35-40 minutes |
| Level of Difficulty | Easy |
Ingredients
For the dough:
- 1 cup fat-free Greek yogurt (Siggi’s is my go-to for texture)
- 2 tsp baking powder
- 1/4 tsp garlic powder
- 1/4 tsp salt
- 1 cup plain flour (I use King Arthur all-purpose flour)
For the toppings:
- marinara sauce (Rao’s Homemade works well)
- grated cheese (a blend of mozzarella and provolone is great)
- sliced onions
- olives (sliced black olives)
Step 1: Prepare the Dough Mixture
Preheat the oven to 400°F (200°C).
In a bowl, combine the flour, salt, garlic powder, and baking powder.
Add in the Greek yogurt and start mixing together with your hands.
The dough may feel wet and sticky at first, but continue mixing with your hands until you form a smoother dough.
If needed, add 1-2 more tablespoons of flour if the dough is too sticky.
Step 2: Shape the Dough
Grease a 9 or 10-inch skillet with olive oil.
Flatten the dough into the pan to fill the skillet evenly.
If you prefer a thinner crust, roll the dough onto a parchment-lined baking tray instead.
This will ensure you get the desired thickness for your crust.
Step 3: Pre-Bake the Dough
Bake the dough in the preheated oven for 10 minutes.
This pre-bake step helps create a sturdy base for your toppings and ensures that the final pizza crust is cooked through.
Step 4: Add Toppings and Bake Again
Remove the pre-baked dough from the oven.
Top the dough with your choice of sauce, shredded cheese, and any other desired toppings.
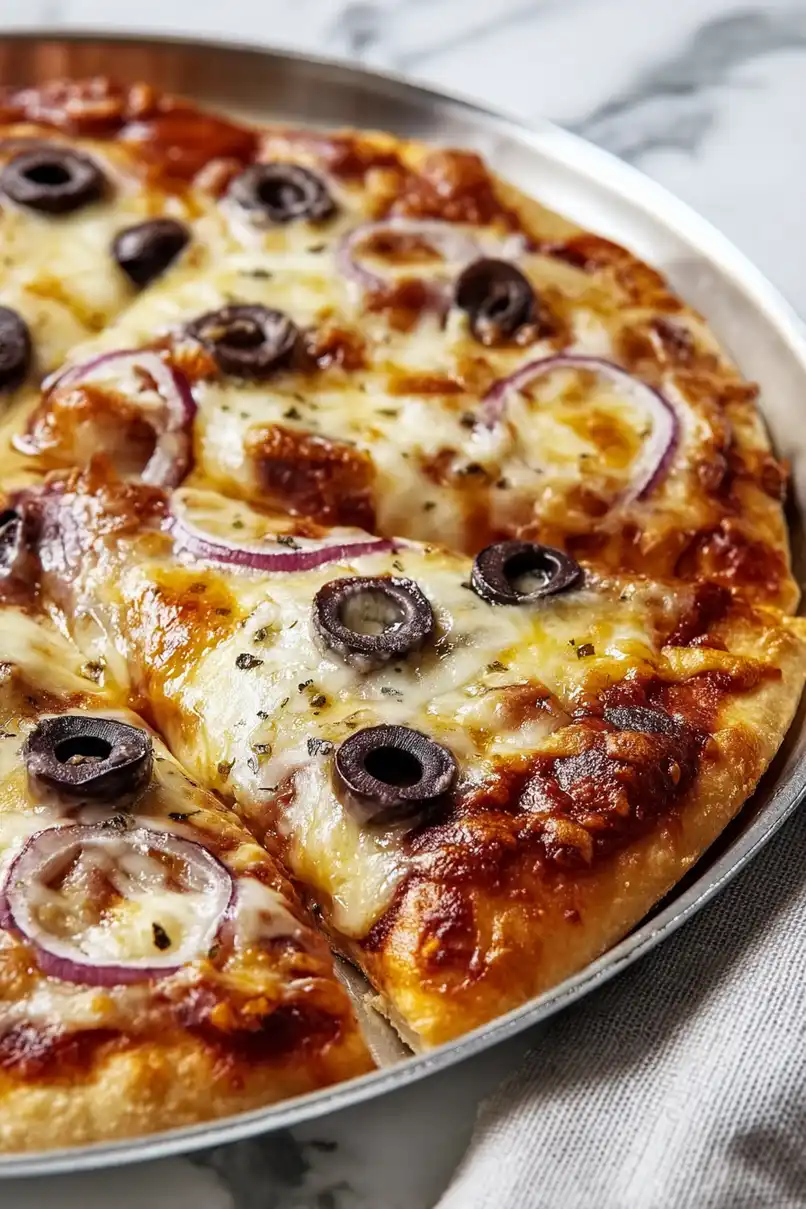
Place the topped pizza back into the oven and bake for another 15 minutes, or until the cheese is melted and bubbly and the crust is golden brown.
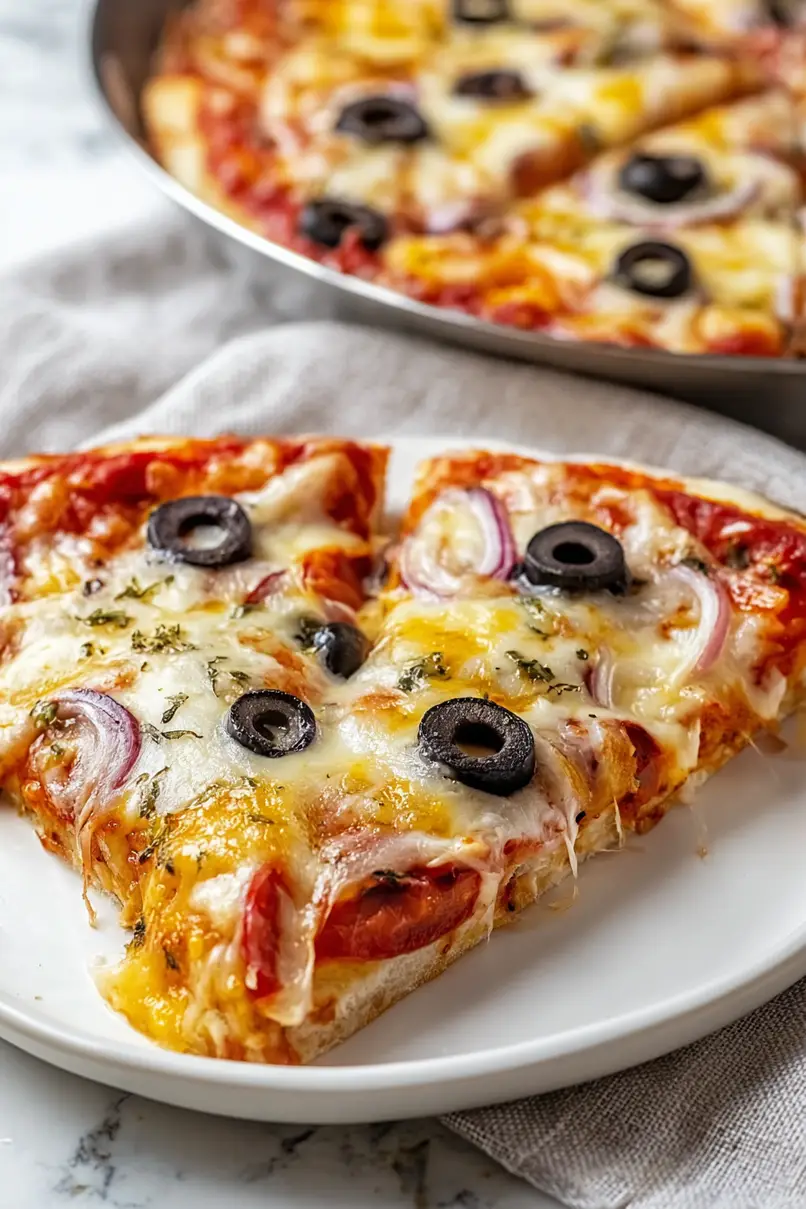
Step 5: Serve and Enjoy
Once the pizza is done baking, remove it from the oven and let it cool for a few minutes before slicing.
Serve hot and enjoy your homemade pizza!
