If you ask me, zucchini bread is one of those comfort foods that never gets old.
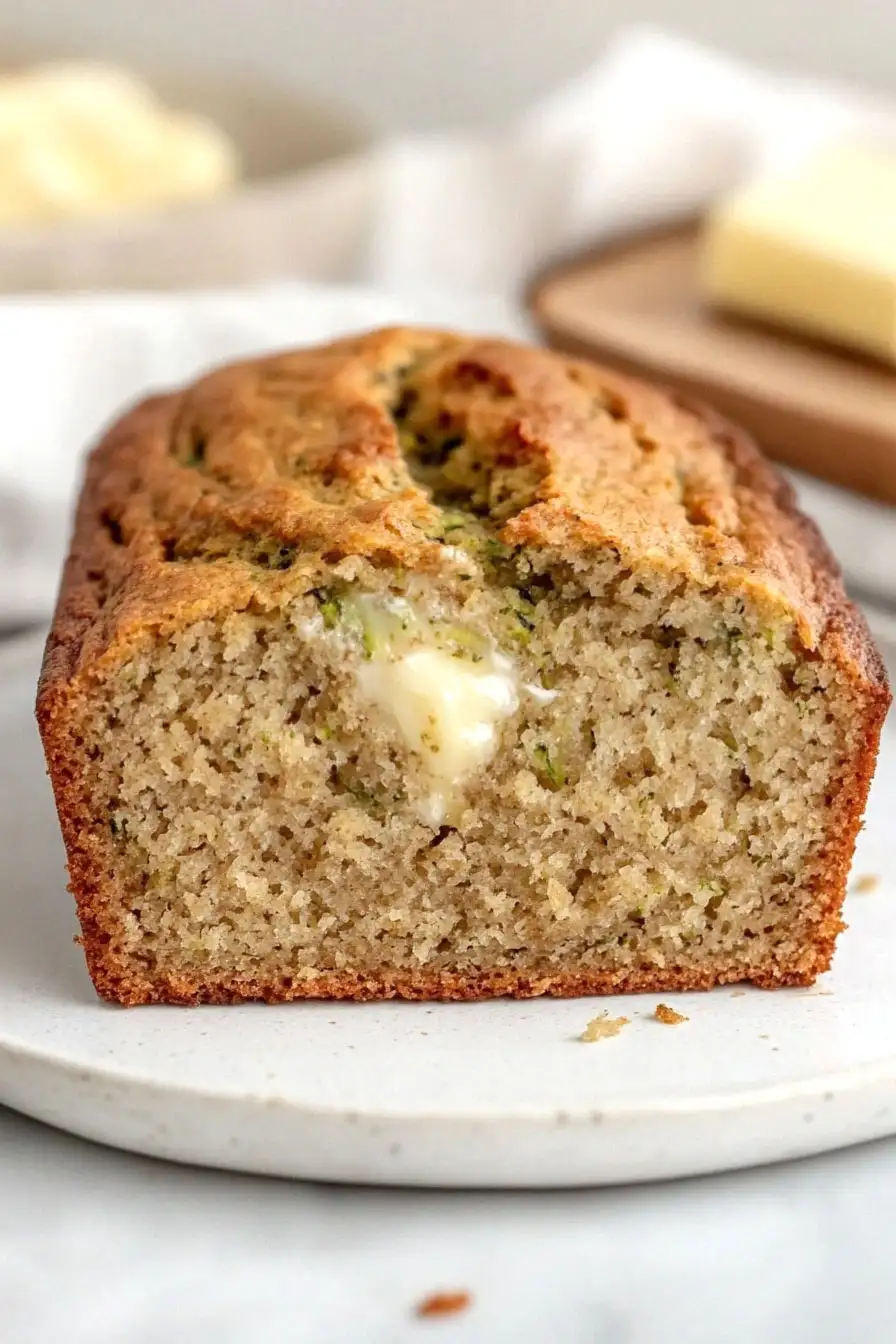
This low FODMAP version brings all the cozy flavors you love, without the ingredients that might upset your stomach. The bread comes out moist and tender, with just the right balance of sweetness and warm spices.
I’ve tweaked the classic recipe to use gut-friendly ingredients, but trust me – nobody will know the difference. The zucchini adds moisture and a subtle garden-fresh taste, while keeping the texture perfectly soft.
It’s the kind of recipe that works just as well for breakfast as it does for an afternoon snack, making it a go-to choice for anyone following a low FODMAP diet.
Why You’ll Love This Zucchini Bread
- Diet-friendly – This low FODMAP and gluten-free recipe means you can finally enjoy a slice of homemade zucchini bread without worrying about tummy troubles.
- Hidden vegetables – The zucchini adds moisture and nutrients while being virtually undetectable in the final product – perfect for picky eaters or kids who avoid their veggies.
- Simple ingredients – You’ll find most of these ingredients in your pantry already, and the recipe uses a standard 1:1 gluten-free flour that’s easy to find at most grocery stores.
- No special equipment needed – All you need is basic baking tools – no fancy mixers or gadgets required to make this cozy quick bread.
What Kind of Zucchini Should I Use?
Medium-sized zucchini are your best bet for this bread since they tend to have the perfect balance of flesh and moisture. While you might be tempted to use those giant late-summer zucchini from your garden, they can be a bit too seedy and watery for baking. When picking zucchini at the store, look for ones that are about 6-8 inches long and feel firm and heavy for their size. Unlike many recipes that tell you to squeeze out the moisture, this recipe actually benefits from keeping all that natural zucchini juice, which helps create a moist, tender bread.
Options for Substitutions
This low FODMAP zucchini bread is pretty adaptable! Here are some swaps you can try:
- Vegetable oil: Feel free to use any neutral-flavored oil like canola, sunflower, or even melted coconut oil. If using coconut oil, make sure your other ingredients are at room temperature to prevent it from solidifying.
- Sugar: While regular sugar works best, you can try coconut sugar for a less refined option. Keep in mind this might make the bread slightly darker and less sweet. For sugar alternatives, start with a 1:1 ratio but you may need to adjust to taste.
- Eggs: For each egg, you can use 1/4 cup of mashed banana or 1/4 cup of unsweetened applesauce. Just note that these might add some extra moisture to the bread.
- Zucchini: Yellow summer squash works just as well here. The color will be different but the texture and taste will be similar.
- Gluten-free flour mix: Any 1:1 gluten-free flour blend should work fine. If you don’t need it to be gluten-free, regular all-purpose flour can be used in the same amount.
- Spices: The cinnamon and ginger can be adjusted to taste, or try adding nutmeg or cardamom for a different flavor profile. Just keep the total amount of spices the same.
Watch Out for These Mistakes While Baking
The biggest challenge when making zucchini bread is dealing with excess moisture – while many recipes tell you to squeeze out the zucchini, this recipe actually needs that moisture to achieve the perfect texture with gluten-free flour, so resist the urge to drain it.
When measuring your gluten-free flour, avoid scooping directly with the measuring cup as this can pack too much flour and lead to dense bread – instead, spoon the flour into the measuring cup and level it off with a knife.
Temperature control is crucial here – if your oven runs hot, your bread might brown too quickly on the outside while staying undercooked inside, so use a thermometer to verify your oven temperature and tent the bread with foil if it’s browning too fast.
For the best texture, let the bread cool completely (at least 1 hour) before slicing – cutting into it too soon can make it gummy and cause it to fall apart.
What to Serve With Zucchini Bread?
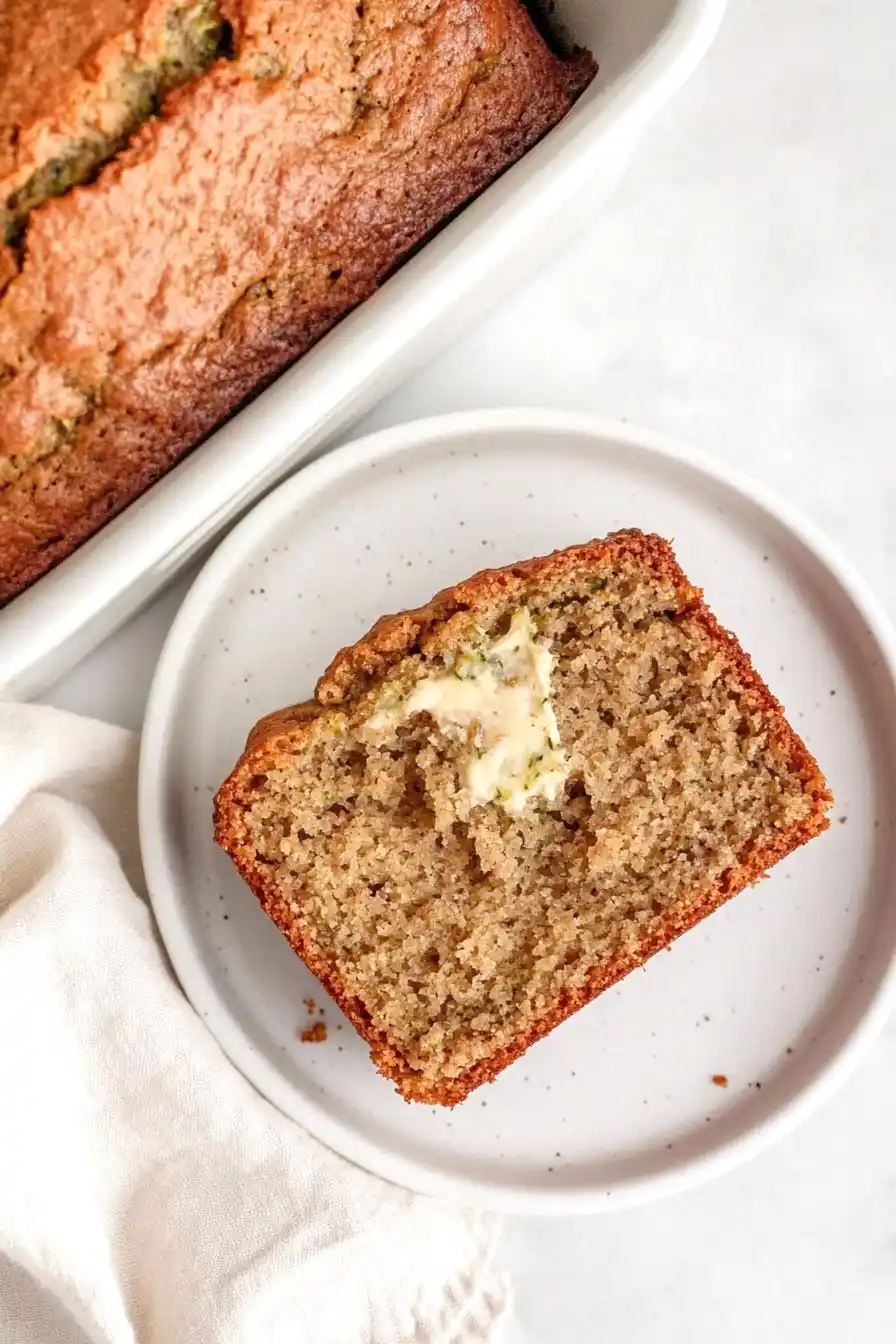
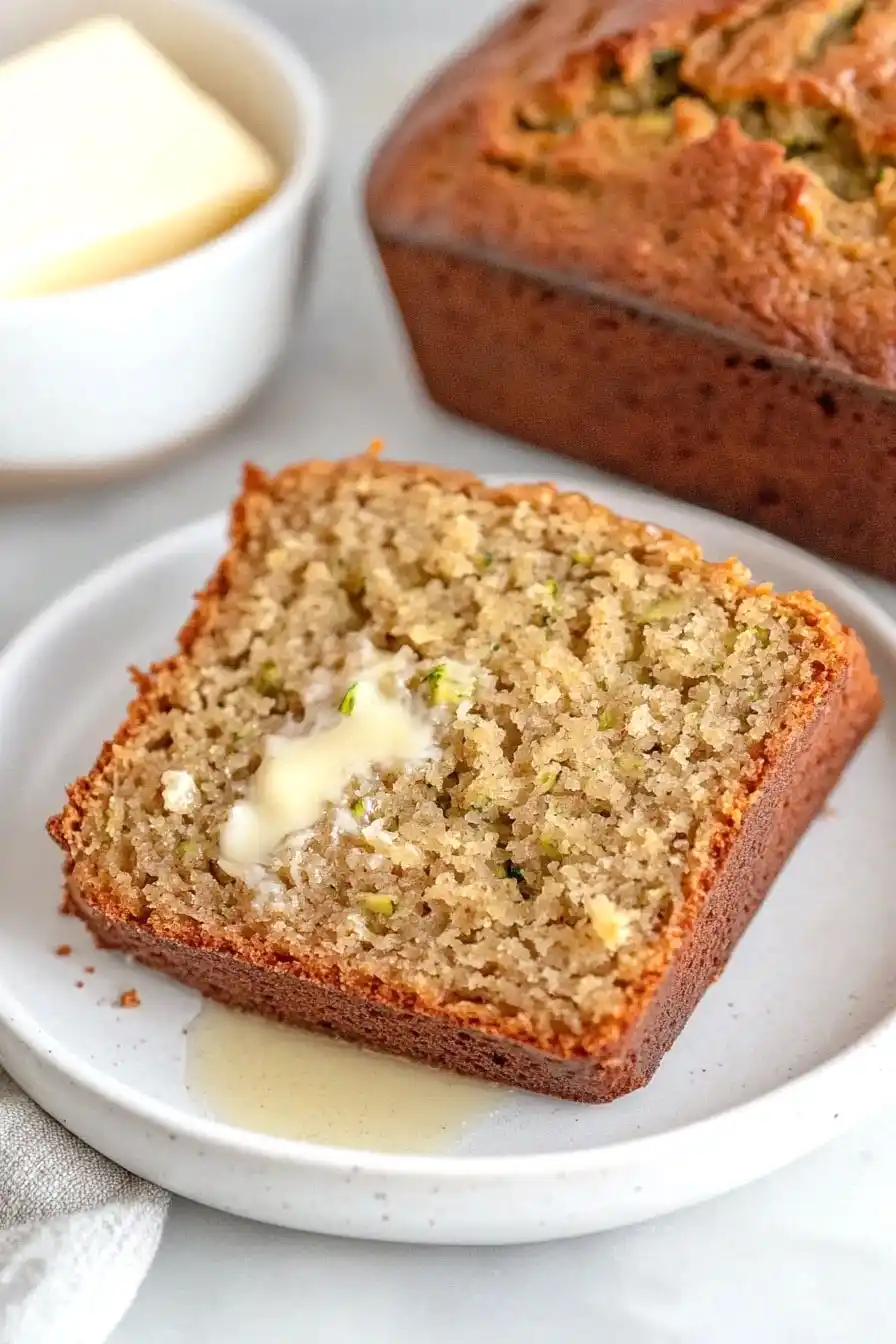
This low FODMAP zucchini bread makes a wonderful breakfast or snack that pairs perfectly with your morning coffee or afternoon tea. A generous spread of butter or dairy-free alternative lets the warm spices shine through, while a dollop of cream cheese (lactose-free if needed) adds a nice tangy contrast. For breakfast, serve it alongside some protein like eggs or Greek yogurt (lactose-free) to make it more filling, or pair it with fresh fruit like strawberries or blueberries for a light afternoon treat. If you’re packing it for lunch, it goes great with a handful of nuts or seeds for extra staying power.
Storage Instructions
Counter Storage: This zucchini bread stays fresh at room temperature for up to 2 days when wrapped well in plastic wrap or stored in an airtight container. The moisture from the zucchini helps keep it nice and soft!
Refrigerate: Want it to last longer? Pop your wrapped zucchini bread in the fridge where it’ll stay good for up to a week. The cold temperature might make it feel a bit firm, but don’t worry – that’s totally normal.
Freeze: This bread freezes really well! Cut it into slices, wrap them individually in plastic wrap, and store in a freezer bag for up to 3 months. It’s super convenient to grab just what you need when you’re craving a slice.
Thaw: When you’re ready to enjoy your frozen zucchini bread, just let it thaw on the counter for about an hour. If you like it warm, give it a quick 10-15 seconds in the microwave or pop it in the toaster for a slightly crispy edge.
| Preparation Time | 15-20 minutes |
| Cooking Time | 65-80 minutes |
| Total Time | 80-100 minutes |
| Level of Difficulty | Medium |
Estimated Nutrition
Estimated nutrition for the whole recipe (without optional ingredients):
- Calories: 2200-2400
- Protein: 25-30 g
- Fat: 130-150 g
- Carbohydrates: 280-300 g
Ingredients
- 1/2 tsp salt
- 1 1/4 cups granulated sugar
- 1/2 tsp ground ginger
- 1 tsp baking powder
- 1 cup vegetable oil (such as Wesson canola oil)
- 2 1/2 cups grated zucchini (about 2 medium zucchini, squeezed dry)
- 3 large eggs (room temperature for better mixing)
- 2 tsp vanilla extract (pure, not imitation)
- 3 tsp ground cinnamon (for best flavor and aroma)
- 2 1/4 cups gluten-free all-purpose flour (I use Bob’s Red Mill 1-to-1 Baking Flour)
- 1 1/4 tsp baking soda
Step 1: Prepare the Oven and Pan
Preheat your oven to 350° F.
Grease a 1-pound loaf pan thoroughly and set it aside.
This ensures that your bread will not stick and will have a nice shape when removed from the pan.
Step 2: Grate and Measure the Zucchini
Grate your zucchini, aiming for about 2 ½ cups, which typically comes from 2 medium-sized zucchinis.
It’s important not to drain the zucchini liquid; the moisture is essential for the bread.
Lightly press the grated zucchini into the measuring cup without packing it down too much, and set it aside until needed.
Step 3: Mix the Wet Ingredients
In a large mixing bowl, whisk together the oil and sugar until the mixture becomes light and airy, which should take about 30 seconds.
Add the vanilla and eggs to this mixture, whisking until it is smooth and homogeneous.
This creates your wet ingredient base for the batter.
Step 4: Combine Wet and Dry Ingredients
Add the grated zucchini to the wet mixture and stir until fully combined.
Then, measure and add the flour, baking powder, baking soda, cinnamon, ground ginger, and salt into the bowl.
Use a rubber spatula to gently fold the ingredients together until the batter is thoroughly combined, ensuring not to overmix.
Step 5: Bake the Zucchini Bread
Pour the bread batter into the greased loaf pan.
Place the pan in the preheated oven and bake for approximately 65-75 minutes.
Start checking the bread at 65 minutes; the bread is ready when a toothpick inserted into the center comes out clean or with just a few crumbs attached.
Step 6: Cool and Store the Bread
Once baked, remove the loaf from the oven and let it cool on a wire rack.
The longer you let it cool, the more cohesive the slices will be.
However, the bread is especially delightful when enjoyed warm.
After serving, cover any unsliced portion with tin foil or another wrap to keep it fresh.
The bread will stay good on the counter for up to a week.
