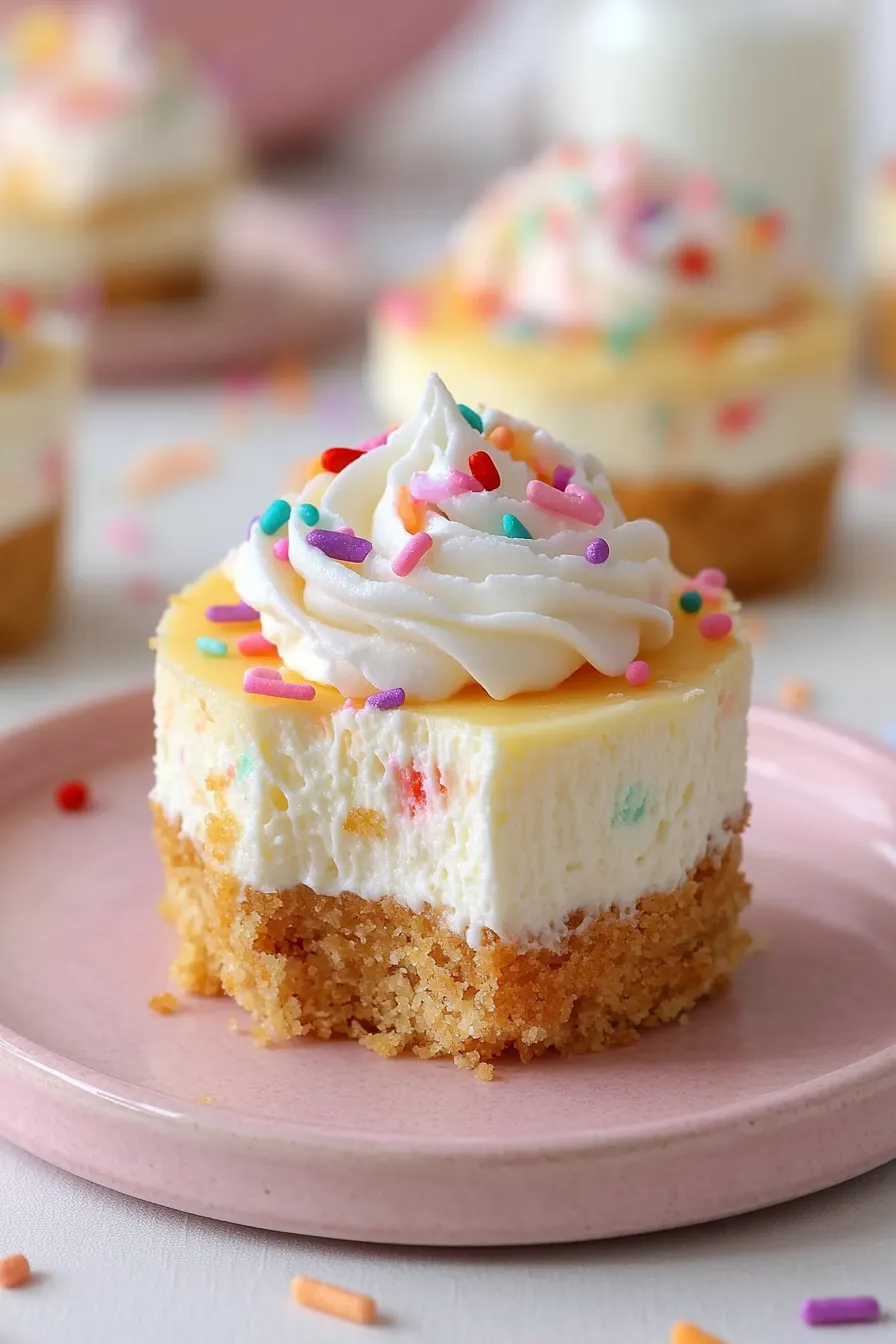
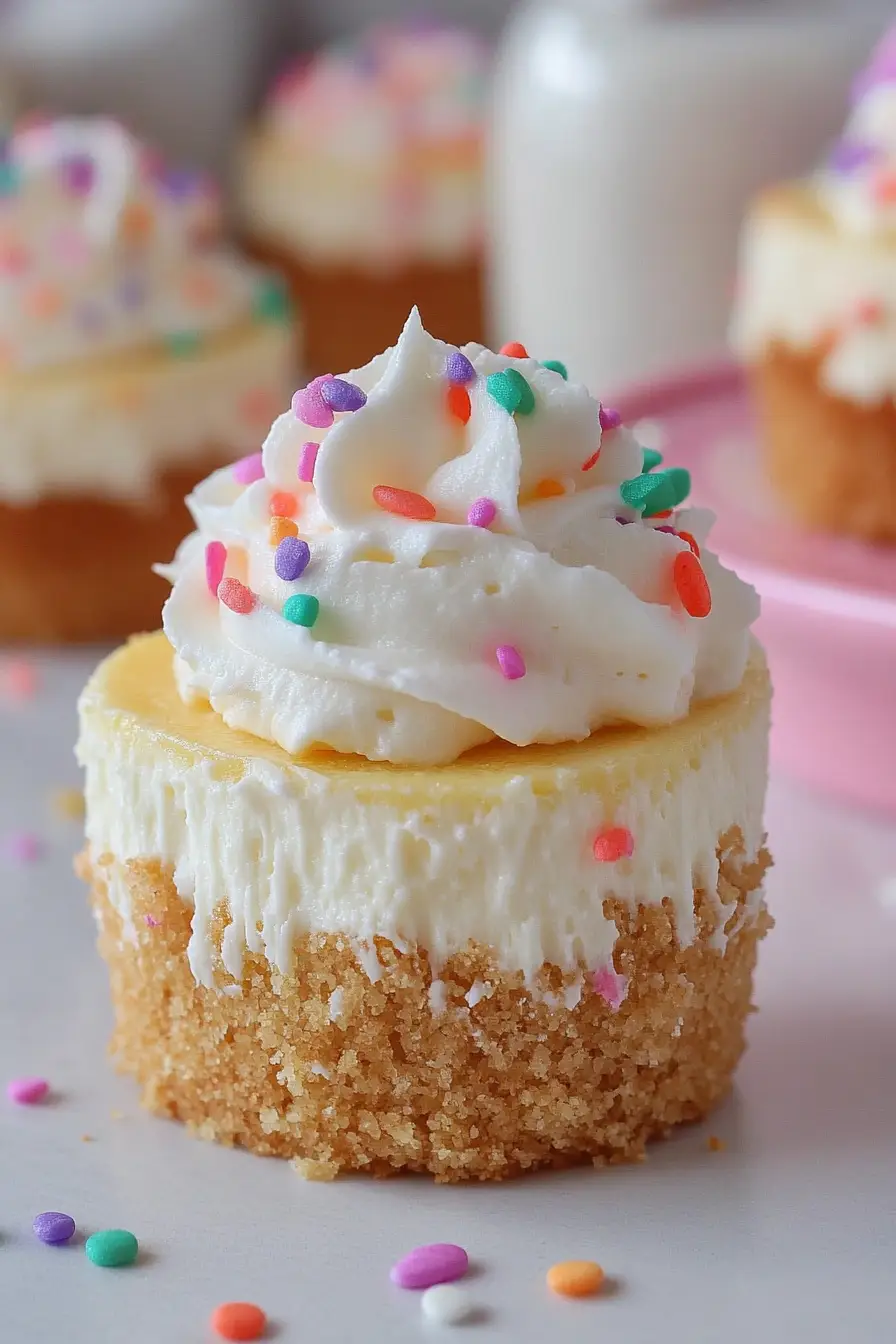
Everyone loves a good birthday celebration, and in my house, that means lots of dessert! But sometimes a full-sized cheesecake is just too much, especially for smaller gatherings. That’s why these mini birthday cheesecakes have become my go-to party dessert.
I started making these little treats when my kids were younger and would ask for “their own” special dessert at birthday parties. Now, they’re my solution for any celebration where I want something a bit more special than cupcakes but easier than a traditional cheesecake. Plus, there’s something really fun about having your own personal-sized cheesecake.
Want to make dessert ahead of time? These are perfect for that. Need something that’s easy to serve to a crowd? These mini cheesecakes have got you covered. And the best part? You can top them with whatever makes the birthday person smile – sprinkles, fresh fruit, or even a tiny candle on each one.
Why You’ll Love These Mini Cheesecakes
- Perfect party portions – These individual-sized cheesecakes are ideal for birthdays and celebrations – no cutting or serving hassle, just grab and enjoy!
- Make-ahead friendly – You can prepare these cute treats up to 2 days in advance, making party planning so much easier and stress-free.
- No water bath needed – Unlike traditional cheesecakes, these minis don’t require the fussy water bath step, making them much simpler to prepare.
- Customizable fun – Switch up the sprinkle colors to match any holiday or party theme, or try different cookie crusts for endless variety.
- Foolproof recipe – With basic ingredients and simple steps, these cheesecakes are perfect for both beginner and experienced bakers.
What Kind of Cream Cheese Should I Use?
For cheesecakes, full-fat block cream cheese is the only way to go – skip the spreadable kinds that come in tubs. Philadelphia cream cheese is a popular choice among bakers, but any block-style cream cheese will work well. Make sure to let your cream cheese sit out for about an hour before using it, as room temperature cream cheese blends much more smoothly and helps prevent lumps in your batter. If you’re in a hurry, you can cut the cream cheese into cubes to help it soften faster, but avoid microwaving it since this can affect the texture of your cheesecakes.
Options for Substitutions
Need to make some swaps? Here’s what works well in these mini cheesecakes:
- Nilla Wafers: Graham crackers make a perfect substitute for the crust, or try using golden Oreos (remove the filling first). You’ll need the same amount of crumbs.
- Cream cheese: This is the star ingredient that you shouldn’t substitute – full-fat cream cheese gives these mini cheesecakes their classic texture and taste. Light cream cheese can make them too watery.
- Sour cream: Plain full-fat Greek yogurt works great as a 1:1 replacement for sour cream. Just make sure it’s at room temperature too!
- Heavy cream: For the topping, you can use whipped topping instead of making your own whipped cream. If you do this, skip the confectioners’ sugar since it’s already sweetened.
- Sprinkles: Any type of sprinkles work here – jimmies, nonpareils, or even colored sugar. Just avoid chocolate sprinkles in the batter as they might bleed and create spots.
- Vanilla extract: You can swap this with vanilla bean paste (same amount) or even almond extract (use only 1/2 tablespoon as it’s stronger).
Watch Out for These Mistakes While Baking
The biggest challenge when making mini cheesecakes is temperature control – using cold ingredients straight from the fridge can lead to lumpy batter and cracked tops, so make sure your cream cheese, eggs, and sour cream are at room temperature for at least 1 hour before starting. Another common mistake is overmixing the batter after adding the eggs, which can trap air and cause the cheesecakes to rise too much and then crack – mix just until the ingredients are combined and no longer. To prevent sinking centers, avoid opening the oven door while baking, and let the cheesecakes cool gradually by turning off the oven and leaving the door cracked open for about 30 minutes before moving them to room temperature. For the perfect creamy texture, resist the urge to overbake – the centers should still be slightly jiggly when you take them out (they’ll continue to set as they cool), and always chill them completely in the fridge for at least 4 hours before serving.

What to Serve With Mini Cheesecakes?
These cute mini cheesecakes are perfect for parties and can be served with some tasty extras to make them even more special! A drizzle of warm chocolate sauce or caramel sauce creates an extra layer of yumminess, while fresh berries like strawberries, raspberries, or blueberries add a nice pop of color and freshness. For a fun birthday party spread, serve these alongside a scoop of vanilla ice cream or set up a toppings bar with different sauces, whipped cream, and extra sprinkles so everyone can customize their own. You could also brew some coffee or hot chocolate to serve alongside – the warm drinks pair really nicely with the cool, creamy cheesecakes.
Storage Instructions
Keep Fresh: These mini cheesecakes stay good in an airtight container in the fridge for up to 5 days. I recommend waiting to add the whipped cream topping and extra sprinkles until just before serving – this keeps everything looking fresh and pretty!
Freeze: Want to plan ahead? These little treats freeze really well without the toppings. Just pop them in a freezer-safe container and they’ll keep for up to 3 months. Place a piece of parchment paper between layers if you need to stack them to prevent them from sticking together.
Thaw & Serve: When you’re ready to enjoy your frozen cheesecakes, move them to the fridge the night before and let them thaw slowly. Once they’re completely thawed, add fresh whipped cream and sprinkles. They’ll taste just as good as the day you made them!
Make Ahead: You can make these mini cheesecakes 1-2 days before your event. Just store them plain in the fridge and add the toppings right before serving. This makes party prep so much easier!
| Preparation Time | 20-30 minutes |
| Cooking Time | 15-18 minutes |
| Total Time | 140-180 minutes |
| Level of Difficulty | Medium |
Estimated Nutrition
Estimated nutrition for the whole recipe (without optional ingredients):
- Calories: 2700-3000
- Protein: 25-30 g
- Fat: 180-200 g
- Carbohydrates: 250-280 g
Ingredients
For the crust:
- 1 cup crushed vanilla wafers (about 70 wafers, finely crushed)
- 3 tbsp melted unsalted butter (I like Kerrygold unsalted butter for this)
For the cheesecake filling:
- 1/2 cup sour cream
- 1/3 cup colorful sprinkles (optional, but essential for a birthday theme)
- 16 oz full-fat cream cheese (room temperature, about 70°F)
- 2 large eggs (room temperature for even mixing)
- 1 tbsp pure vanilla extract (use a good quality extract for best flavor)
- 1/3 cup white sugar
For the whipped cream topping:
- 1/2 cup confectioners’ sugar
- 1 cup heavy cream (very cold for best whipping results)
For the garnish:
- extra sprinkles for decoration
Step 1: Prepare the Oven and Cupcake Liners
Preheat your oven to 350°F (175°C).
Line a cupcake pan with baking liners to ensure easy removal of the cheesecakes later on.
Step 2: Create the Crust
Grind Nilla Wafers into a fine crumb using a food processor or blender.
Mix these crumbs with melted butter until well combined.
Spoon 1 heaping tablespoon of the crust mixture into each cupcake liner, pressing it down with a spoon to form a compact layer.
Set the prepared crusts aside while you make the cheesecake filling.
Step 3: Make the Cheesecake Filling
In a mixing bowl, beat together the cream cheese and sugar until the mixture is smooth and free from lumps.
Remember to scrape down the bowl as needed.
Add the sour cream and vanilla extract, beating until incorporated.
Finally, mix in the eggs until the batter is smooth and well combined.
Gently stir in the sprinkles to add a splash of color.
Step 4: Fill and Bake the Cheesecakes
Using a large cookie scoop or a ¼ cup measuring cup, spoon the cheesecake batter into the prepared cupcake liners.
Fill each liner nearly to the top, leaving about a ¼-inch gap.
Sprinkle a few more sprinkles on top for decoration.
Bake in the oven for 15-18 minutes.
The centers of the cheesecakes should remain slightly jiggly.
Once baked, remove the pan from the oven and allow the cheesecakes to cool completely before placing them in the refrigerator to chill for at least 2 hours.
Step 5: Prepare the Whipped Cream
While the cheesecakes are chilling, prepare the whipped cream.
Start by chilling your mixing bowl and whisk attachment in the freezer for 5 to 10 minutes.
Once chilled, pour the heavy whipping cream into the bowl and use an electric mixer to beat the cream on medium-high speed until soft peaks form.
Gradually add the powdered sugar, then continue to beat at high speed until stiff peaks form.
This whipped cream can be used to top your cheesecakes.
Step 6: Serve and Enjoy
Before serving, pipe or spoon the prepared whipped cream onto the chilled cheesecakes.
Add additional sprinkles or fresh fruit as a topping if desired.
Keep any remaining cheesecakes stored in the refrigerator in an airtight container.
Enjoy your colorful and creamy treats!
