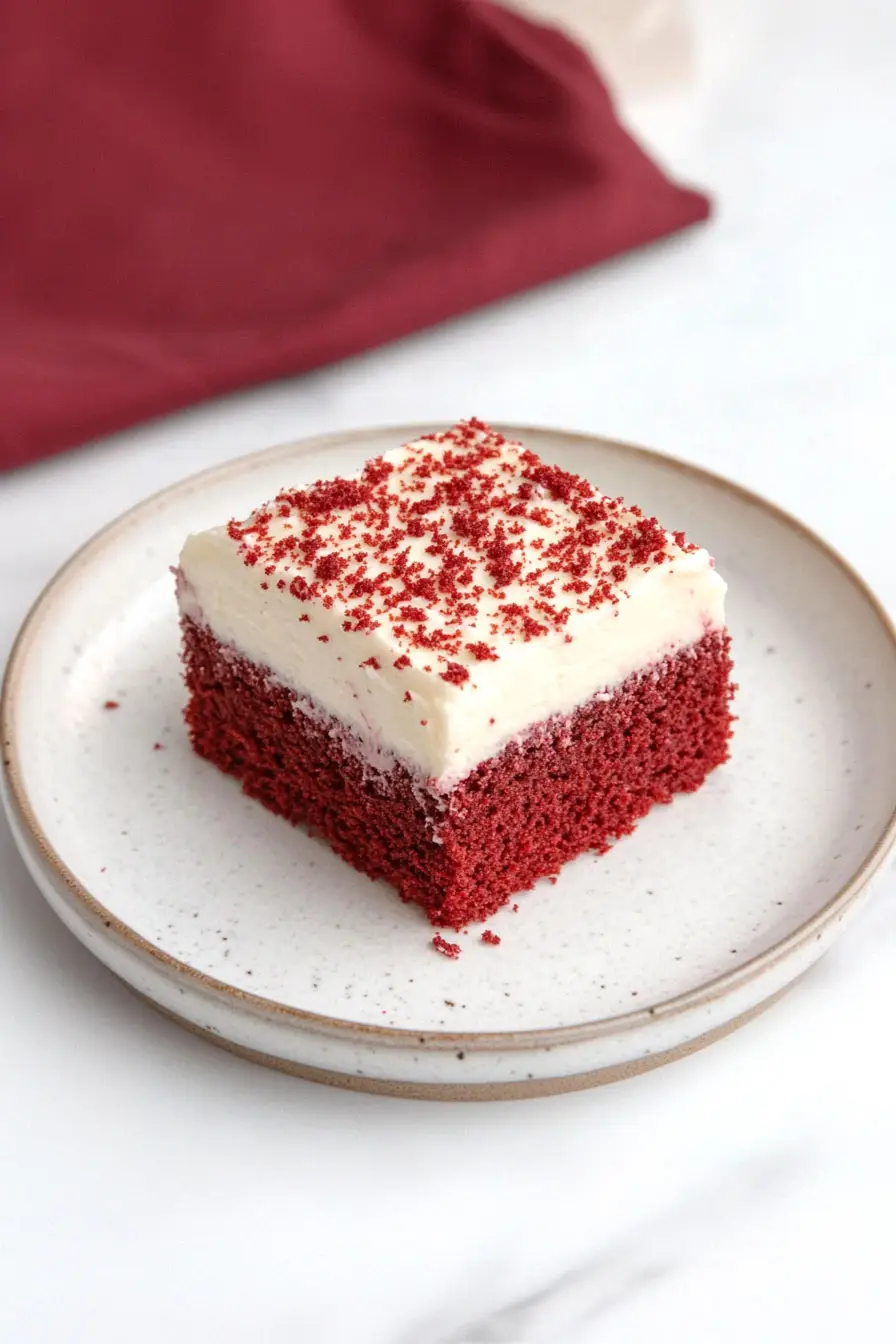
Here’s my go-to recipe for a simple one layer red velvet cake, with a cream cheese frosting that’s just the right amount of sweet, and that classic cocoa-vanilla flavor that everyone knows and loves.
This red velvet cake has become my daughter’s favorite birthday request, and I can see why. It’s just the right size for a small family gathering, and there’s something special about that rich color paired with the white frosting. Perfect when you want red velvet but don’t need a big layered cake!
Why You’ll Love This Red Velvet Cake
- Perfect small batch size – This single-layer cake is ideal when you don’t need a huge dessert – perfect for small families or intimate gatherings without endless leftovers.
- Classic cream cheese frosting – The traditional cream cheese and heavy cream topping gives you that authentic red velvet taste everyone loves, with just the right balance of sweetness.
- Foolproof recipe – With simple ingredients and straightforward steps, this recipe helps you create that signature red velvet flavor and texture without any fancy techniques.
- Moist and tender crumb – The combination of buttermilk, oil, and proper mixing method ensures your cake stays soft and moist for days – if it lasts that long!
What Kind of Cocoa Powder Should I Use?
For red velvet cake, natural unsweetened cocoa powder is your best bet – it’s what traditional recipes call for and it works better with the buttermilk and vinegar in this recipe. Dutch-processed cocoa powder has been treated with alkali to make it less acidic, which can throw off the chemistry of your red velvet cake and affect how bright your red color turns out. Regular unsweetened cocoa powder is also easier to find in most grocery stores, and it’s what gives red velvet its subtle chocolate flavor without overwhelming the other ingredients. Just make sure to sift your cocoa powder before mixing to avoid any lumps in your batter.

Options for Substitutions
Let’s talk about some handy swaps you can make in this red velvet cake recipe:
- Buttermilk: No buttermilk? Mix 1/2 cup regular milk with 1/2 tablespoon lemon juice or white vinegar, let it sit for 5 minutes until slightly thickened.
- Red food coloring: If you prefer natural alternatives, try 2 tablespoons of beet powder or puree. Note that the color won’t be as bright, but you’ll get a nice natural red tint.
- Heavy cream: For the frosting, you can use whipping cream (30%) instead of heavy cream. Just beat it a bit longer to reach the right consistency.
- All-purpose flour: Cake flour can work here – use 1 1/2 cups cake flour instead of the all-purpose flour for an even softer texture.
- Vegetable oil: Any neutral oil like canola, sunflower, or even melted coconut oil will work just fine. Just make sure coconut oil is completely liquid when measuring.
- Cream cheese: This is a key ingredient for authentic red velvet flavor – I wouldn’t recommend substituting it. Make sure it’s full-fat for the best texture.
Watch Out for These Mistakes While Baking
The most common mistake when making red velvet cake is overmixing the batter – once you combine the wet and dry ingredients, mix just until they’re incorporated, as overmixing will lead to a tough, dense cake instead of a tender crumb. Another crucial error is using cold ingredients, so make sure your eggs, buttermilk, and cream cheese are at room temperature before starting, which helps create a smooth, well-combined batter. When it comes to the signature red color, don’t skimp on the food coloring or substitute natural alternatives without adjusting the recipe, as this can affect both the color and texture of your cake. For the best results, always measure your ingredients precisely (especially the cocoa powder and flour) using the spoon-and-level method, and check your cake’s doneness with a toothpick test rather than relying solely on time – it should come out with just a few moist crumbs, not completely clean or wet.
What to Serve With Red Velvet Cake?
Red velvet cake pairs wonderfully with a hot cup of coffee or tea, making it perfect for an afternoon treat or dessert. For a really nice contrast to the cake’s sweetness, try serving it with fresh berries on the side – strawberries and raspberries work especially well with the cream cheese frosting. If you’re hosting a party, you can add a scoop of vanilla ice cream on the side, which melts slightly and creates an amazing combination with the cake’s rich texture. Keep in mind that this cake is pretty rich on its own, so simple accompaniments often work best!
Storage Instructions
Counter Storage: Your red velvet cake will stay fresh at room temperature for up to 2 days when stored under a cake dome or in an airtight container. If you’ve already added the cream cheese frosting, it’s best to skip the counter storage and go straight to the fridge.
Refrigerate: Once frosted with cream cheese topping, keep your cake in the fridge in an airtight container for up to 5 days. The cream cheese frosting holds up really well in the cold! Just remember to take the cake out about 30 minutes before serving to let it come to room temperature – it tastes much better this way.
Freeze: Want to make this cake ahead? You can freeze the unfrosted cake layer wrapped tightly in plastic wrap and aluminum foil for up to 2 months. When you’re ready to serve, thaw it overnight in the fridge, then frost it fresh. The cream cheese frosting doesn’t freeze well, so it’s best to make that fresh when needed.
| Preparation Time | 20-30 minutes |
| Cooking Time | 45-60 minutes |
| Total Time | 65-90 minutes |
| Level of Difficulty | Medium |
Estimated Nutrition
Estimated nutrition for the whole recipe (without optional ingredients):
- Calories: 2400-2600
- Protein: 25-30 g
- Fat: 140-160 g
- Carbohydrates: 290-310 g
Ingredients
For the cake:
- 2 tsp vanilla essence
- 2 eggs (room temperature)
- 1/2 cup vegetable oil (or any other neutral oil like canola)
- 2/3 cup granulated sugar
- 1/2 cup buttermilk (room temperature, about 70°F for best results)
- 1 tsp white vinegar
- 2 tsp baking powder
- 1/4 tsp salt
- 1/2 tsp baking soda
- 2 tbsp red food coloring
- 1 1/4 cups all-purpose flour (I always use King Arthur all-purpose flour)
- 2 tbsp cocoa powder
For the topping:
- 1/4 cup granulated sugar
- 2 tsp vanilla extract (for best flavor and aroma)
- 3/4 cup heavy cream
- 3 oz cream cheese (room temperature, I use Philadelphia cream cheese)
Step 1: Prepare the Baking Pan
With the oven rack in the middle position, preheat your oven to 350°F (180°C).
Butter an 8-inch (20 cm) square pan and line it with a strip of parchment paper, allowing the paper to overhang on two sides for easy removal later.
Step 2: Mix the Dry and Wet Ingredients Separately
In one bowl, combine the flour, cocoa powder, baking powder, baking soda, and salt, and set aside.
In a second bowl, mix together the buttermilk, food coloring, vanilla extract, and vinegar.
These mixtures will be combined later to create a smooth cake batter.
Step 3: Combine Ingredients and Prepare Batter
In a third bowl, whisk the eggs and sugar using an electric mixer for 2 minutes until well combined and fluffy.
Gradually drizzle in the oil while continuing to whisk.
With the mixer on low, alternately add the dry flour mixture and the buttermilk mixture to the egg mixture, ensuring everything is incorporated smoothly.
Pour the completed batter into your prepared pan.
Step 4: Bake the Cake
Bake the cake for 30 minutes or until a toothpick inserted in the center comes out clean.
Allow the cake to cool on a wire rack for approximately 2 hours.
Once cool, gently remove the cake using the parchment paper overhangs.
Step 5: Prepare Cake Crumbs
Slice off the rounded top of the cake to level it, then crumble the removed portion finely onto a baking sheet lined with a silicone mat or parchment paper.
Return the crumbs to the oven and bake at the same temperature for 15 minutes.
Let them cool completely, about 30 minutes, and then process into fine breadcrumbs using a small food processor.
Set aside the crumbs for garnishing.
Step 6: Prepare and Spread Cream Topping
In a separate bowl, use an electric mixer to beat together the cream cheese, sugar, and vanilla until the sugar is dissolved.
While the machine is running, slowly add the cream and continue to whisk until semi-stiff peaks form, being careful not to overmix.
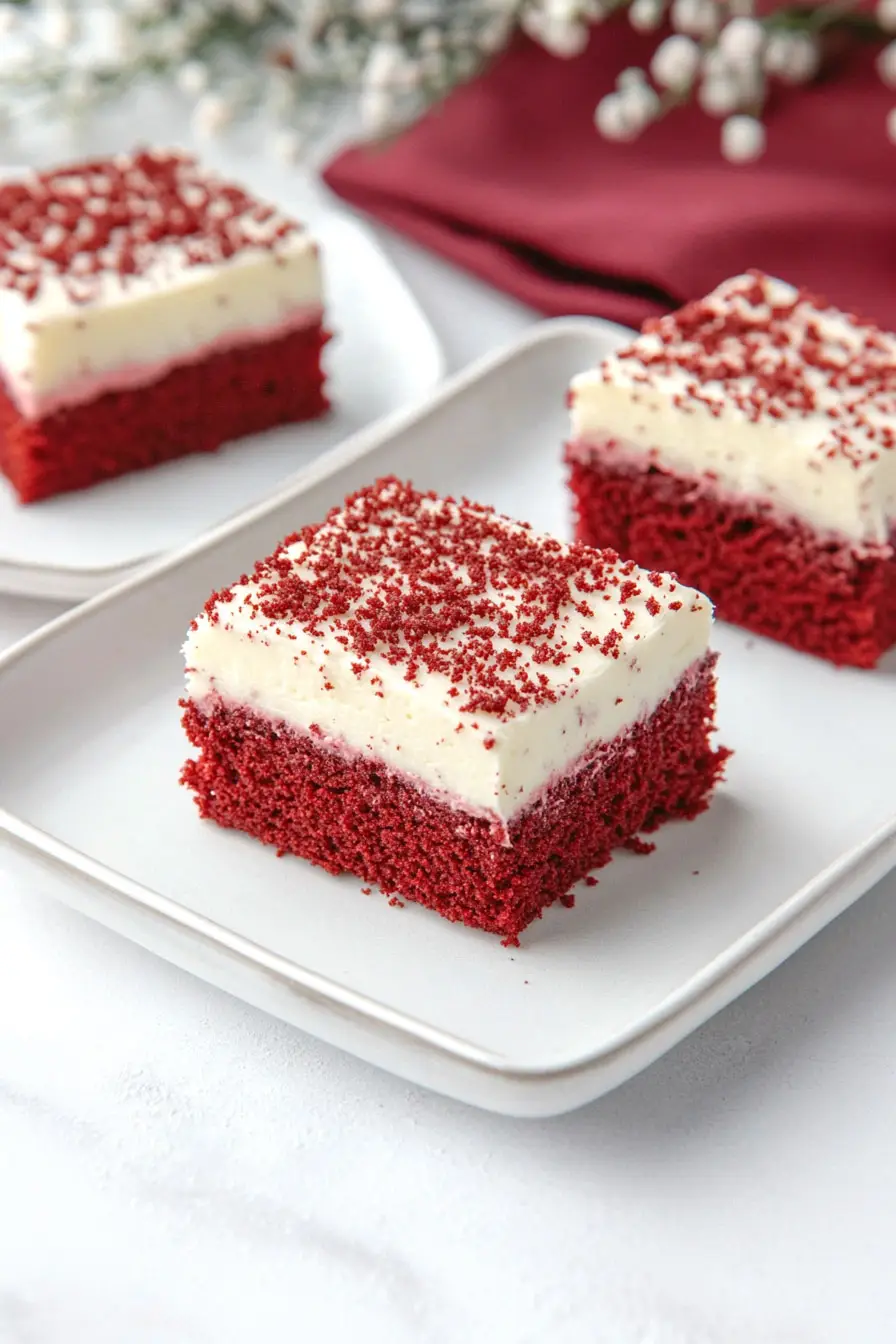
Spread this whipped cream mixture evenly over the top of the cooled cake.
Finish by sprinkling the cake crumbs over the cream topping.
Step 7: Serve and Store
Allow the cake to sit out at room temperature before serving.
Store the cake in the refrigerator where it will keep for up to 5 days.
Enjoy your delicious homemade cake!
