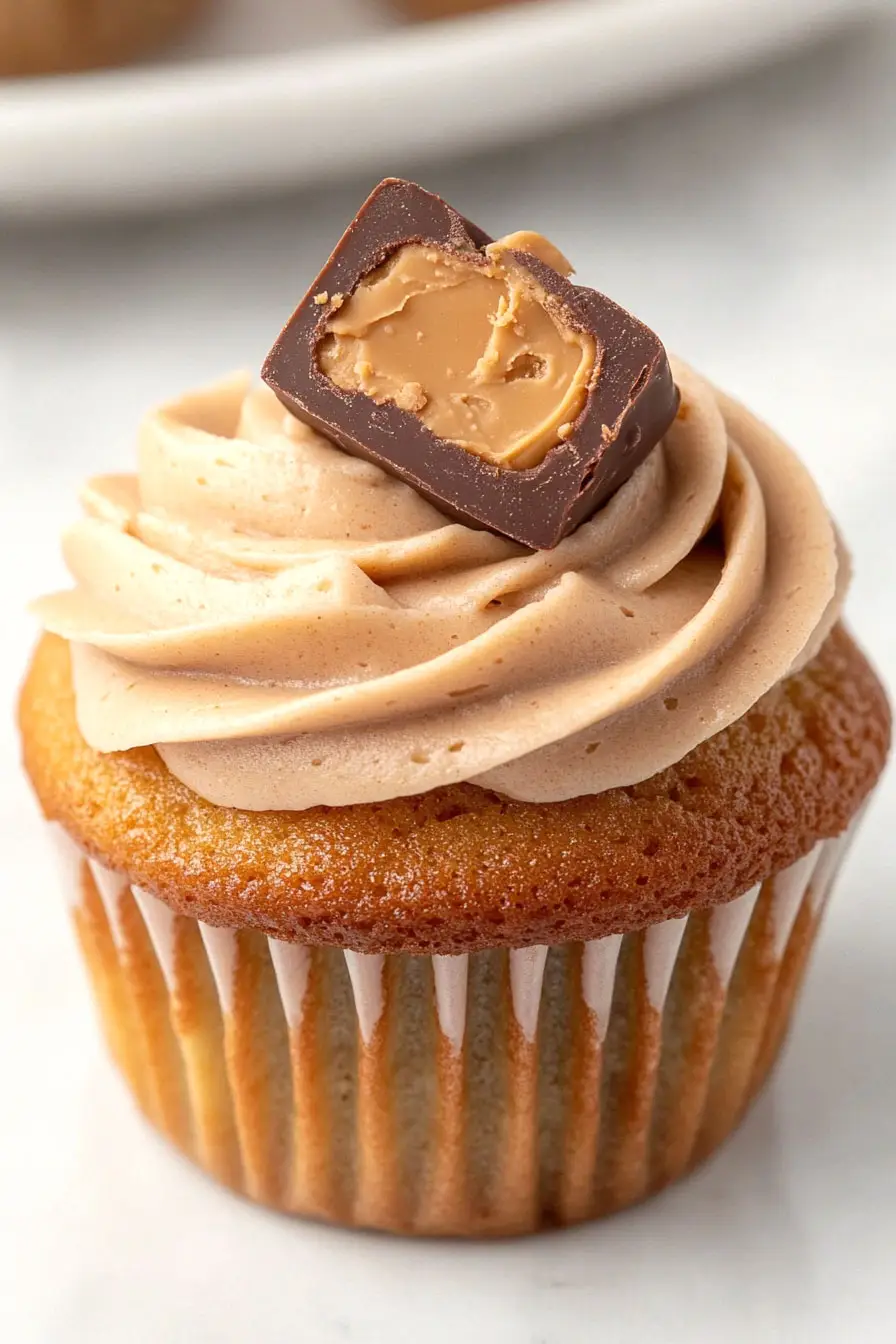
Here is my go-to peanut butter cup cake recipe, with a rich chocolate base, creamy peanut butter frosting, and plenty of chopped peanut butter cups sprinkled throughout each layer.
This cake has become the most-asked-for dessert at every birthday party in our house. I always make an extra large batch of frosting because my kids love to sneak spoonfuls while I’m decorating. And honestly, who can blame them?

Why You’ll Love This Peanut Butter Cake
- Quick baking time – This cake comes together in under 45 minutes, making it perfect for last-minute celebrations or when you need a dessert in a hurry.
- Rich peanut butter flavor – With peanut butter in both the cake and frosting, this recipe delivers that perfect nutty taste that peanut butter lovers crave.
- Simple ingredients – You’ll find most of these ingredients already in your pantry, and there’s no need for fancy equipment or complicated techniques.
- Moist texture – The combination of sour cream, milk, and oil ensures this cake stays perfectly moist and tender, never dry or crumbly.
- Make-ahead friendly – You can bake this cake a day ahead and frost it when you’re ready to serve, making it perfect for busy schedules.
What Kind of Peanut Butter Should I Use?
For this cake recipe, smooth peanut butter is definitely the way to go – while crunchy peanut butter might be great on your morning toast, it can make your cake texture uneven and affect how well the ingredients blend together. Regular commercial brands like Jif or Skippy work perfectly here since they’re stabilized and won’t separate. Natural peanut butter can be tricky in baking because the oils tend to separate, which might affect the texture of your cake. If you do use natural peanut butter, make sure it’s well-stirred and at room temperature before mixing it into your batter.
Options for Substitutions
Let’s talk about what you can swap in this peanut butter lover’s dream cake:
- Peanut butter: While peanut butter is the star here, you can try other nut butters like almond or cashew butter. Just make sure to use smooth varieties – chunky ones will change the texture of both cake and frosting.
- Sour cream: No sour cream? Greek yogurt works perfectly as a 1:1 replacement. You can also use buttermilk, but reduce the regular milk by 1/4 cup if you do.
- Full-fat milk: Feel free to use any milk you have – plant-based options like almond or oat milk work too. Just stick to unflavored versions to keep the peanut butter taste front and center.
- Vegetable oil: Any neutral oil works here – canola, sunflower, or even melted coconut oil (just make sure your other ingredients are room temperature if using coconut oil).
- Thickened cream: Heavy cream or whipping cream work just the same. If you’re in a pinch, whole milk can work too, but start with 4 tablespoons and add more only if needed for the right frosting consistency.
Watch Out for These Mistakes While Baking
The biggest challenge when making a peanut butter cake is ending up with a dry, crumbly texture – this happens when you overmix the batter after adding the flour, so mix just until the ingredients are combined. Another common mistake is using cold ingredients, which can cause the cake to bake unevenly, so make sure your sour cream, milk, and eggs are at room temperature before starting. For the smoothest, most spreadable frosting, avoid using natural peanut butter as its oils can separate and create a grainy texture – stick to commercial smooth peanut butter brands instead. To prevent your cake layers from sticking, don’t skip lining your cake pans with parchment paper and greasing the sides well, and always let the layers cool completely before frosting to avoid a melty mess.
What to Serve With Peanut Butter Cup Cake?
This rich peanut butter cake calls for simple accompaniments that won’t overwhelm its decadent flavor. A scoop of vanilla ice cream is perfect here – the cool, creamy texture plays really well with the cake’s peanutty goodness. If you want to keep things simple, a glass of cold milk is the way to go (it’s a classic pairing with anything peanut butter!). For a coffee lover’s twist, serve it alongside a hot cup of coffee or espresso, which helps balance out the sweetness while bringing out the nutty notes in the cake.
Storage Instructions
Counter Storage: This peanut butter cup cake stays fresh at room temperature for up to 2 days when stored in an airtight container. If your kitchen is warm, it’s better to pop it in the fridge since the frosting contains butter and cream.
Refrigerate: Keep your cake fresh in the fridge for up to 5 days. Just place it in a cake carrier or cover it well with plastic wrap. I like to let it sit at room temperature for about 30 minutes before serving to let the frosting soften up a bit.
Freeze: Want to plan ahead? You can freeze this cake for up to 2 months! Wrap individual slices or the whole unfrosted cake tightly in plastic wrap, then aluminum foil. The frosting can be frozen separately in an airtight container. When you’re ready to enjoy, thaw overnight in the fridge.
Make Ahead: You can bake the cake layers up to 2 days in advance and store them wrapped in plastic wrap in the fridge. The frosting can also be made 2 days ahead and stored in an airtight container in the fridge – just let it come to room temperature and give it a quick whip before frosting the cake.
| Preparation Time | 15-20 minutes |
| Cooking Time | 22 minutes |
| Total Time | 37-42 minutes |
| Level of Difficulty | Medium |
Estimated Nutrition
Estimated nutrition for the whole recipe (without optional ingredients):
- Calories: 3500-4000
- Protein: 60-70 g
- Fat: 180-210 g
- Carbohydrates: 450-500 g
Ingredients
For the cake:
- 1 3/4 cups all-purpose flour
- 1/4 tsp baking soda
- 1/2 cup sour cream (full-fat for richness)
- 1/3 cup vegetable oil (like canola or soybean)
- 2/3 cup smooth peanut butter
- 3/4 cup whole milk
- 1 1/4 cups light brown sugar (packed well)
- 1/2 tsp salt
- 1 1/2 tsp baking powder
- 2 tsp vanilla extract
- 1 large egg (at room temperature)
For the frosting:
- 1 cup smooth peanut butter (I use Jif creamy peanut butter)
- 1 tsp salt
- 6 tbsp heavy cream
- 2 cups powdered sugar
- 1/2 cup unsalted butter (softened for easy mixing)
- 2 tsp vanilla extract
Step 1: Prepare the Baking Supplies
Start by preheating your oven to 350°F (175°C).
Line two muffin tins with a total of 18 paper cupcake liners.
If you only have one muffin tin, you can bake the cupcakes in batches.
Step 2: Mix Dry Ingredients
In a large mixing bowl, whisk together the flour, baking powder, baking soda, and salt.
Set this mixture aside for later use.
Step 3: Mix Wet Ingredients
In a medium mixing bowl, whisk together the light brown sugar, sour cream, peanut butter, milk, oil, egg, and vanilla extract.
Make sure all the ingredients are well combined and smooth.
Step 4: Combine Batter and Portion into Tins
Create a well in the center of the dry flour mixture and pour in the wet peanut butter mixture.
Whisk together until the batter is completely combined and smooth.
Divide the batter evenly between the paper liners, using about ¼ cup of batter per well.
Step 5: Bake Cupcakes
Bake the cupcakes in the preheated oven for approximately 22 minutes, or until a wooden toothpick inserted into the center of a cupcake comes out with a few moist crumbs attached.
Allow the cupcakes to cool completely in the tins before frosting.
Step 6: Prepare the Frosting
In a large mixing bowl or the bowl of a stand mixer fitted with a whisk attachment, combine the peanut butter and butter.
Beat them on medium-high speed until smooth and well combined, about 1 minute.
With the mixer on low speed, gradually add the confectioners’ sugar, ½ cup at a time, until fully integrated.
Stop occasionally to scrape down the sides of the bowl.
Add the cream and vanilla extract, then increase the speed to medium-high and beat until the frosting is light and fluffy.
Step 7: Frost and Store Cupcakes
Transfer the prepared frosting to a piping bag and pipe onto the completely cooled cupcakes.
Store the frosted cupcakes in an airtight container to maintain freshness for up to 4 days.
