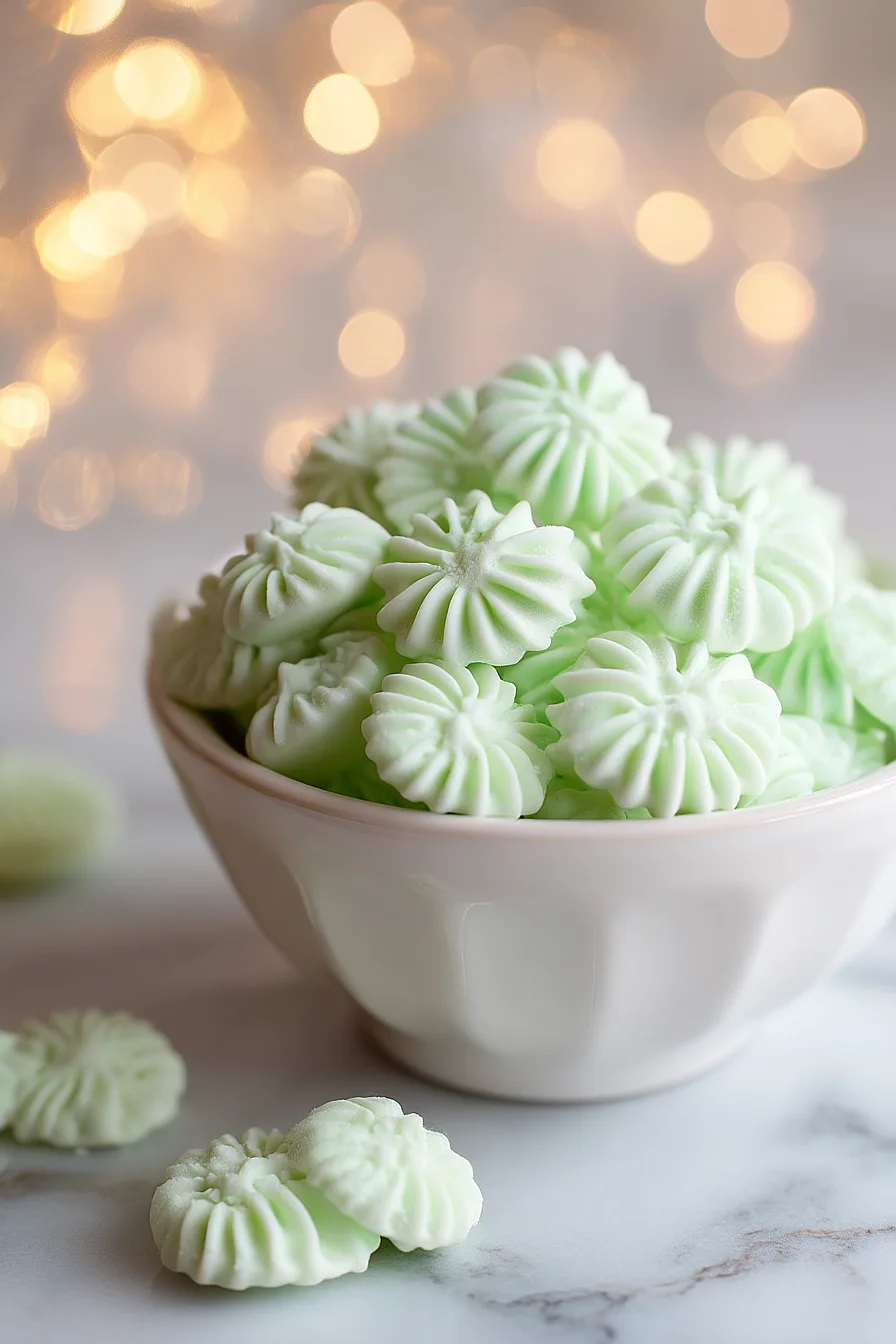
I’ve been making these little cream cheese mints for years, and they never fail to impress at parties. They look fancy, but honestly, they’re so simple that my kids can help make them. The best part? You can pipe them into any shape you want – stars, flowers, or just simple swirls.
These mints are perfect for baby showers, weddings, or holiday gatherings. I always keep the ingredients on hand because they come together in about 20 minutes. Plus, they freeze really well, so I can make a big batch and pull them out whenever I need a quick dessert for guests.
The smooth cream cheese mixed with powdered sugar and a hint of mint creates this melt-in-your-mouth texture that people always ask about. Trust me, once you try making these at home, you’ll never buy store-bought mints again.
Why You’ll Love These Cream Cheese Mints
- Simple ingredients – You only need five basic ingredients that you probably already have in your kitchen, making this recipe super accessible.
- Make-ahead friendly – These mints can be prepared a day in advance, which makes them perfect for parties, holidays, or special occasions when you want to get ahead on your prep.
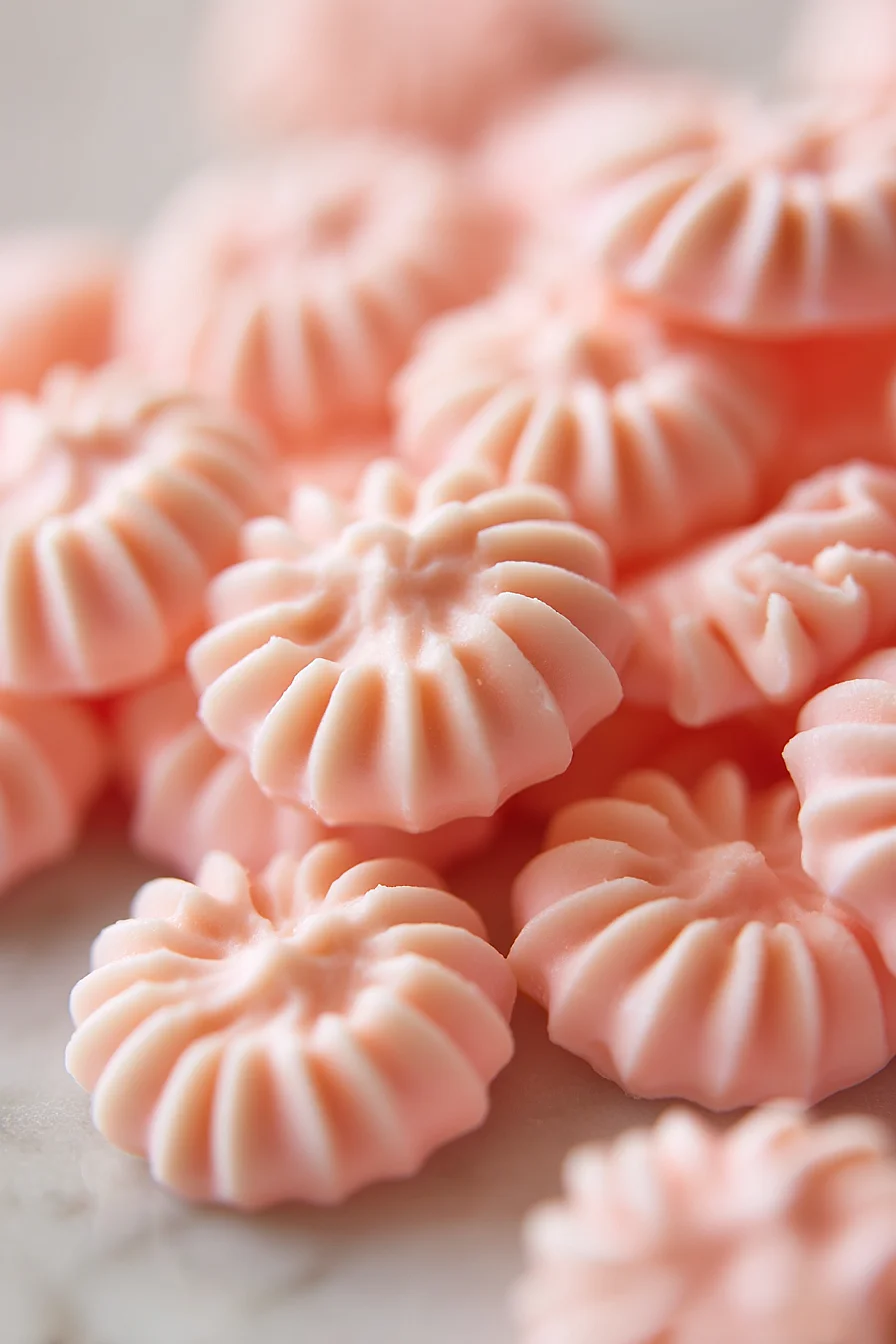
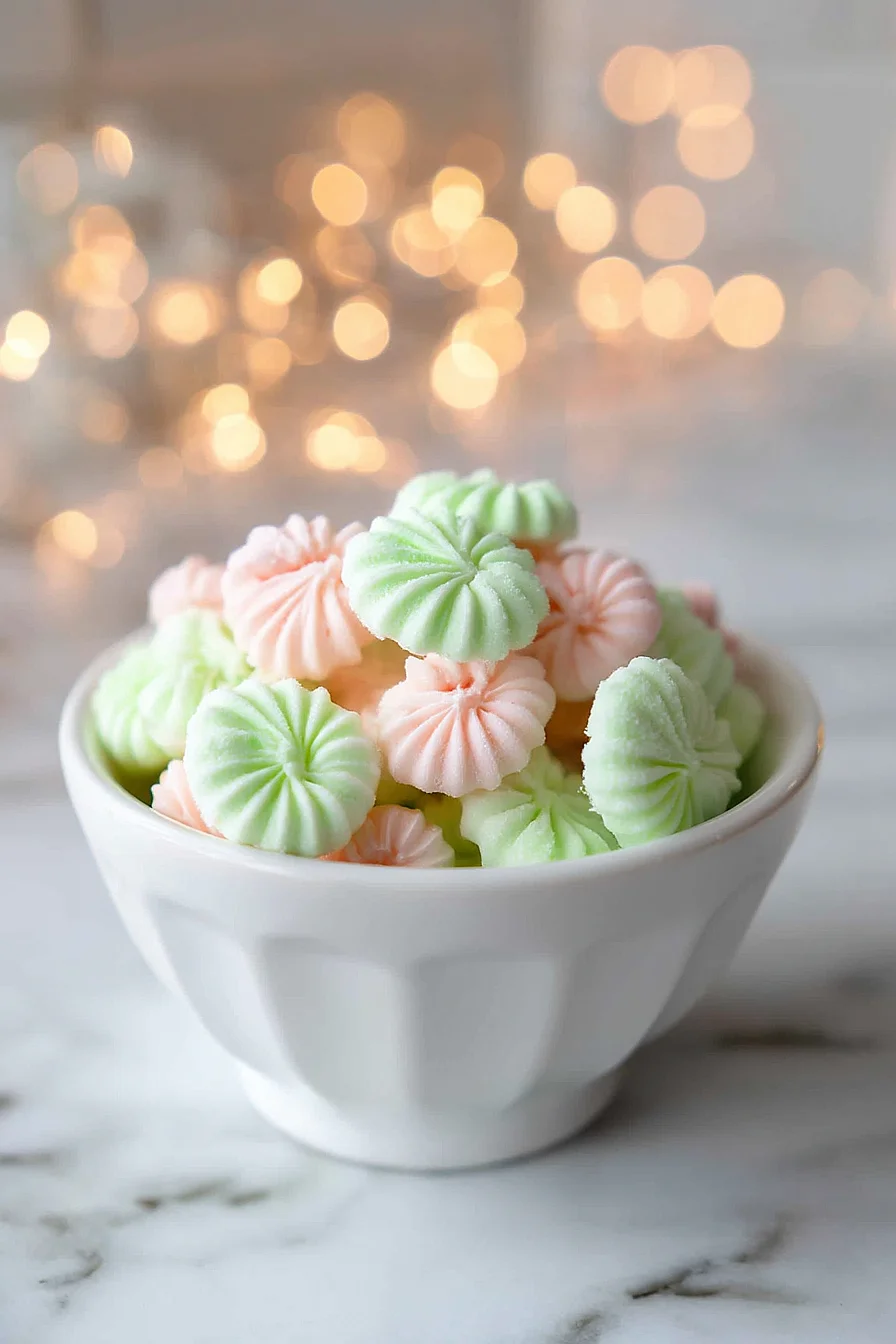
- Customizable colors – Add any food coloring you like to match your party theme or holiday colors, making them as festive as you want.
- Impressive presentation – The piped design makes these mints look fancy and professional, but they’re actually really easy to make at home.
- Crowd-pleasing treat – These creamy, minty bites are always a hit at gatherings and make great gifts for neighbors or coworkers during the holidays.
What Kind of Cream Cheese Should I Use?
For piped cream cheese mints, you’ll want to use full-fat block cream cheese rather than the whipped variety or low-fat versions. The block cream cheese gives you better structure for piping and holds its shape once the mints are set. Make sure your cream cheese is properly softened at room temperature before you start – this usually takes about an hour out of the fridge. If your cream cheese is too cold, it won’t blend smoothly with the other ingredients and could leave you with lumpy mints that are difficult to pipe.
Options for Substitutions
These little mints are pretty straightforward, but here are some swaps you can make:
- Cream cheese: This is really the star of the recipe, so I wouldn’t recommend substituting it. Make sure it’s fully softened at room temperature for the smoothest texture.
- Peppermint extract: You can switch this up with other extracts like vanilla, almond, or lemon for different flavored mints. Start with ½ teaspoon and taste as you go since some extracts are stronger than others.
- Butter: If you’re out of butter, you can skip it entirely – the mints will still work fine, just might be slightly less creamy.
- Powdered sugar: This is essential for the right texture and sweetness, so don’t substitute it. If your mixture seems too soft, add more powdered sugar a little at a time until you get the right consistency for piping.
- Food coloring: This is totally optional – you can leave them white or use natural alternatives like a tiny bit of beet juice for pink or matcha powder for green. Just remember that natural colors might affect the flavor slightly.
Watch Out for These Mistakes While Making
The biggest mistake when making piped cream cheese mints is not having your cream cheese and butter at the right temperature – they should be soft enough to blend easily but not so warm that they become runny and impossible to pipe.
Another common error is adding the powdered sugar too quickly, which creates a lumpy mixture that won’t pipe smoothly, so add it gradually while mixing on low speed to avoid sugar clouds in your kitchen.
Be careful not to over-mix once you add the peppermint extract and food coloring, as this can make the mixture too soft to hold its shape when piped.
For best results, chill your piped mints in the refrigerator for at least 30 minutes before serving to help them firm up and hold their shape perfectly.
What to Serve With Cream Cheese Mints?
These little cream cheese mints are perfect for serving at baby showers, bridal showers, or any spring gathering where you want something sweet and refreshing. They pair beautifully with other bite-sized treats like petit fours, macarons, or simple butter cookies on a dessert table. I love setting them out alongside fresh fruit like strawberries or grapes, which complement the cool mint flavor really nicely. For beverages, they go great with hot tea, coffee, or even champagne if you’re celebrating something special.
Storage Instructions
Keep Fresh: These little cream cheese mints stay perfect when stored in an airtight container in the refrigerator for up to 2 weeks. I like to layer them between sheets of parchment paper so they don’t stick together. They actually taste even better after sitting for a day or two as the flavors meld together.
Freeze: You can absolutely freeze these mints for longer storage! Place them in a single layer on a baking sheet first, then transfer to freezer bags once they’re solid. They’ll keep in the freezer for up to 3 months and are perfect for having on hand for unexpected guests.
Serve: Let frozen mints thaw at room temperature for about 10-15 minutes before serving. They’re actually delicious straight from the fridge too – nice and cool with that refreshing mint flavor. Just make sure to take them out a few minutes before serving if you want them to soften up a bit.
| Preparation Time | 20-30 minutes |
| Cooking Time | 0-0 minutes |
| Total Time | 24 hours + 20-30 minutes |
| Level of Difficulty | Easy |
Estimated Nutrition
Estimated nutrition for the whole recipe (without optional ingredients):
- Calories: 2300-2500
- Protein: 5-7 g
- Fat: 85-95 g
- Carbohydrates: 400-420 g
Ingredients
- 1 tsp peppermint extract
- food coloring (gel-based works best for vibrant colors)
- 2 tbsp butter (unsalted, at room temperature)
- 5 cups confectioners’ sugar (sifted for a smooth texture)
- 8 oz cream cheese (softened to room temperature)
Step 1: Mix Cream Cheese, Butter, and Peppermint
- 8 oz softened cream cheese
- 2 tbsp softened butter
- 1 tsp peppermint extract
In a large mixing bowl or with a stand mixer, combine the softened cream cheese, softened butter, and peppermint extract.
Beat the mixture until it is completely smooth and creamy, making sure there are no lumps left.
Step 2: Add Confectioners’ Sugar
- 5 cups confectioners’ sugar
- cream cheese-butter-peppermint mixture from Step 1
Gradually add the confectioners’ sugar to the cream cheese mixture, a little at a time, mixing well after each addition.
Continue until all the sugar is fully incorporated and you have a thick, pliable dough.
If needed, scrape down the sides of the bowl to ensure everything is evenly mixed.
Step 3: Color and Shape the Mints
- food coloring, as desired
- mint dough from Step 2
Divide the mixture into portions, depending on how many colors you’d like to create.
Add your desired food coloring to each portion and mix until the color is fully blended.
You can use an icing bag or a ziplock bag with the corner snipped off to pipe small dots onto a parchment-lined baking sheet.
Alternatively, roll the dough into small balls and press them gently onto the sheet.
I like to use gel food coloring for vibrant hues, but liquid works too—just add a little at a time so the dough doesn’t get too wet.
Step 4: Dry and Store the Mints
Let the shaped mints dry on the parchment-lined sheet for 24 hours at room temperature to allow them to firm up.
Once dry, transfer the mints to an airtight container and refrigerate for up to two weeks.
These make great homemade gifts, and I find the flavor is even better after a couple of days in the fridge!
