If you ask me, red velvet cake mix cookies are a little stroke of genius.
These easy cookies combine the rich taste of red velvet cake with the soft, chewy texture of a classic homemade cookie. A simple box mix forms the base, but these treats taste completely homemade.
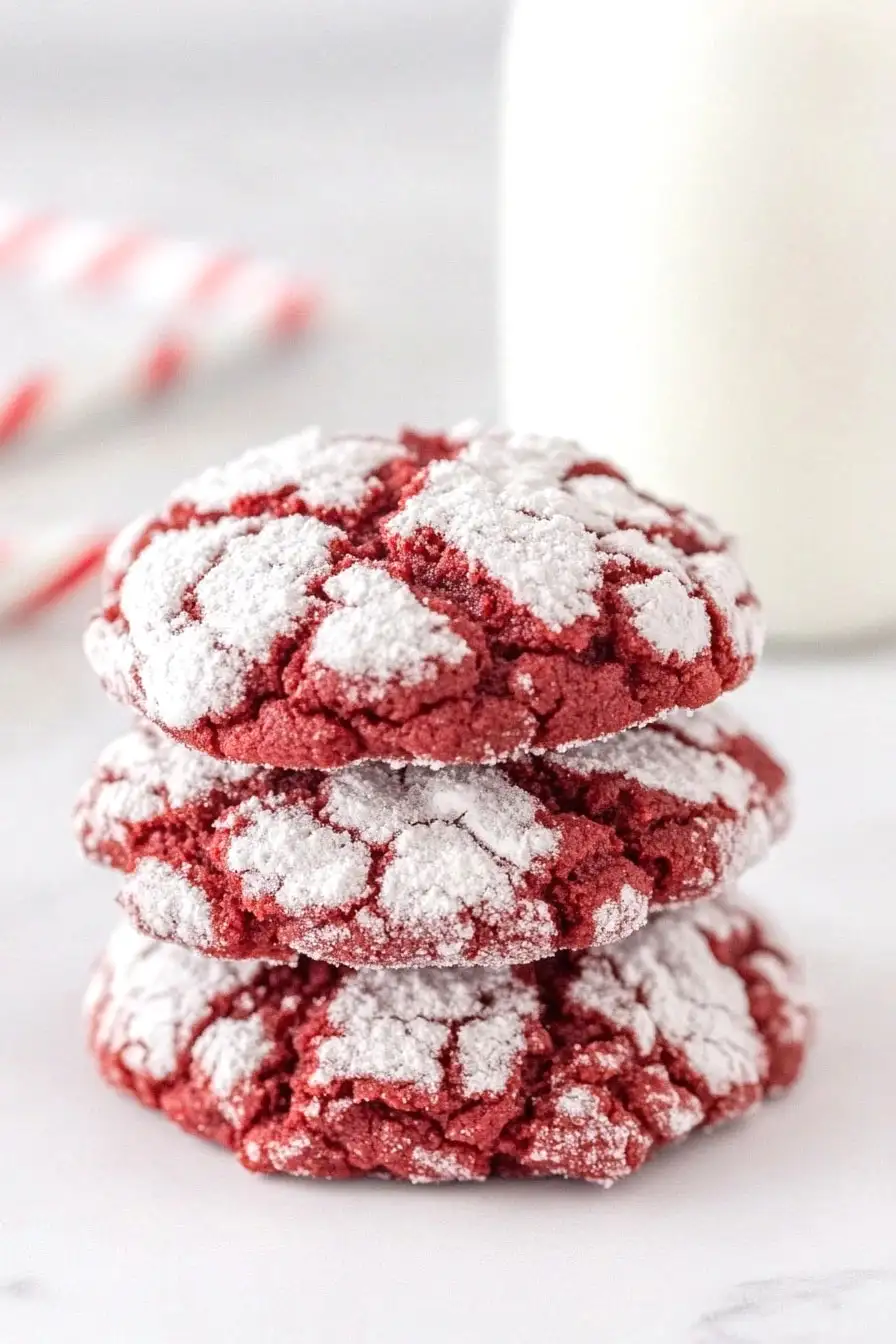
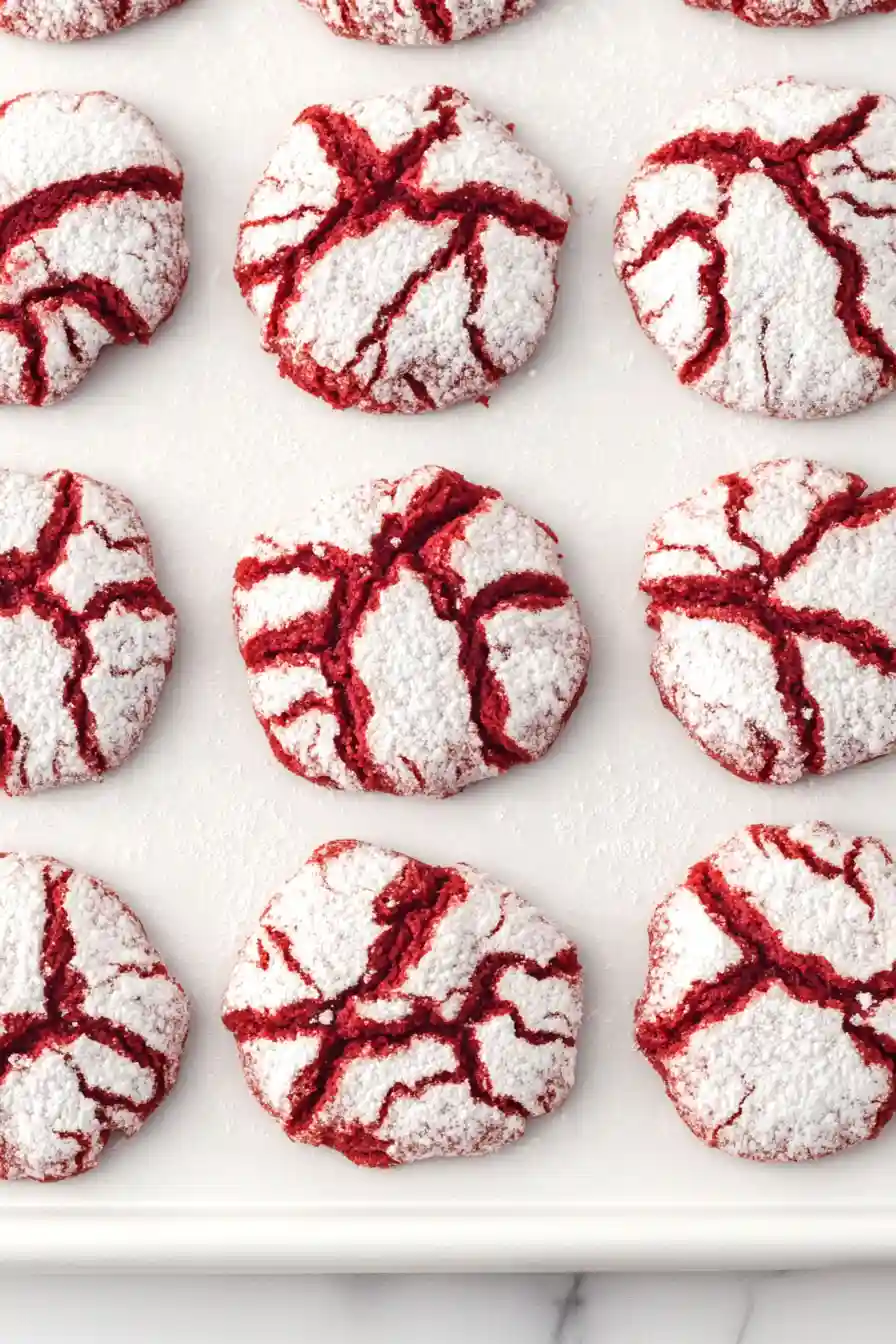
They’re rolled in powdered sugar before baking, creating a sweet, crackly coating that looks pretty and tastes even better. The deep red color peeks through the cracks, making them perfect for holiday cookie plates or afternoon snacks.
It’s a fuss-free recipe that always gets happy smiles, especially when served with a cold glass of milk.
Why You’ll Love These Red Velvet Cookies
- 4-ingredient recipe – With just cake mix, oil, eggs, and icing sugar, you can whip up these cookies without a trip to the store – perfect for last-minute baking!
- Quick preparation – These cookies go from mixing bowl to table in less than 30 minutes, making them perfect for busy days or sudden sweet cravings.
- Foolproof results – Using cake mix as the base means these cookies turn out soft and perfect every time, even if you’re not an experienced baker.
- No special equipment needed – You don’t need a stand mixer or any fancy tools – just a bowl and spoon will do the job perfectly.
What Kind of Cake Mix Should I Use?
Red velvet cake mix is available from most major brands like Betty Crocker, Duncan Hines, or Pillsbury, and any of these will work great for these cookies. If you’re having trouble finding red velvet specifically, you could use a regular chocolate cake mix and add a tablespoon of red food coloring, though the flavor won’t be quite the same. The most important thing when choosing your cake mix is to make sure it’s fresh and hasn’t been sitting in your pantry for too long – check the expiration date before using. Just remember that different brands might have slightly different package sizes, but they typically range between 15-18 ounces, and either will work fine for this recipe.
Options for Substitutions
This simple cookie recipe can work with a few substitutions, though some ingredients are must-haves:
- Red velvet cake mix: This is the star ingredient that gives these cookies their distinct flavor and color. While you can use other cake mix flavors like chocolate or vanilla for a different variation, it won’t be a red velvet cookie anymore.
- Cooking oil: Any neutral-flavored oil works here – vegetable oil, canola oil, or even melted coconut oil. If using coconut oil, make sure your eggs are at room temperature to prevent the oil from solidifying when mixed.
- Eggs: For each egg, you can use either 1/4 cup unsweetened applesauce, 1/4 cup mashed banana, or a flax egg (1 tablespoon ground flaxseed mixed with 3 tablespoons water) for a vegan option. Note that the texture might be slightly different.
- Icing sugar: Also known as powdered sugar or confectioner’s sugar – this is used for rolling the cookies. You could use granulated sugar instead, but the cookies won’t have that same pretty, snowy appearance.
Watch Out for These Mistakes While Baking
The biggest challenge when making cake mix cookies is over-mixing the dough, which can lead to tough, flat cookies instead of the soft, chewy texture we’re after – mix just until the ingredients are combined and no dry cake mix remains visible.
Another common mistake is not chilling the dough for at least 30 minutes before baking, as the oil in the mixture needs time to firm up, preventing the cookies from spreading too thin on the baking sheet.
When rolling the cookies in icing sugar, make sure to coat them generously – a thin layer won’t give you that pretty crackled effect after baking, and don’t forget to space the cookies about 2 inches apart since they’ll spread while baking.
For the perfect texture, take them out of the oven when they look slightly underdone in the middle (around 9-11 minutes), as they’ll continue cooking on the hot baking sheet while cooling.

What to Serve With Red Velvet Cookies?
These soft and sweet red velvet cookies are perfect for serving alongside a cold glass of milk – it’s a classic combo that never gets old! If you’re hosting a coffee date or afternoon tea, these cookies pair wonderfully with a hot cup of coffee or a creamy vanilla latte. For an extra special dessert spread, try serving them with some vanilla ice cream on the side – you can even make little ice cream sandwiches with two cookies. A cup of hot chocolate also makes a cozy companion, especially during the holiday season when these red cookies look particularly festive.
Storage Instructions
Keep Fresh: These red velvet cookies stay soft and yummy when kept in an airtight container at room temperature. They’ll last for about 5-7 days, though in my house they rarely make it past day three! Place a piece of bread in the container to help keep them extra soft.
Freeze: Want to save some for later? These cookies freeze really well! Just put them in a freezer-safe container with wax paper between layers and they’ll keep for up to 3 months. It’s like having a little stash of happiness in your freezer whenever you need a sweet treat.
Thaw: When you’re ready to enjoy your frozen cookies, just take out what you need and let them sit at room temperature for about 30 minutes. They’ll taste just as good as the day you made them! If you want that fresh-baked warmth, pop them in the microwave for 10 seconds.
| Preparation Time | 10-15 minutes |
| Cooking Time | 7-9 minutes |
| Total Time | 20-30 minutes |
| Level of Difficulty | Easy |
Estimated Nutrition
Estimated nutrition for the whole recipe (without optional ingredients):
- Calories: 1200-1300
- Protein: 10-15 g
- Fat: 70-80 g
- Carbohydrates: 150-160 g
Ingredients
- 2 eggs (room temperature for better emulsification)
- 1 package red velvet cake mix (I use Duncan Hines Signature Red Velvet)
- 1/3 cup cooking oil
- 1/2 cup powdered sugar
Step 1: Prepare the Dough
Preheat your oven to 350°F (175°C).
In a medium-sized bowl, combine the oil and eggs by stirring them together until well blended.
Gradually add the cake mix into this mixture, stirring continuously until a dough forms and all ingredients are well incorporated.
Step 2: Shape and Coat the Dough Balls
Using a cookie scoop or a tablespoon, scoop out the dough and form it into one-inch balls.
Roll each dough ball in powdered sugar until fully coated.
This will give the cookies a sweet and slightly crispy exterior.
Step 3: Arrange and Bake the Cookies
Place the coated dough balls on a baking sheet, ensuring they are spaced about 2 inches apart to allow for spreading during baking.
Bake in the preheated oven for 7-9 minutes, or until the cookies are lightly browned around the edges and the tops appear dry.
Step 4: Cool the Cookies
Allow the cookies to cool on the baking sheet for 5-10 minutes.
This will help them firm up and make them easier to transfer.
After this initial cooling period, move the cookies to a cooling rack to cool completely before serving or storing.