I was well into my thirties before I discovered that baked ham and cheese sandwiches could be so much better than the cold ones I grew up eating. Like many kids, my lunch box usually had the basic version – cold ham and a slice of cheese between bread. My mom was all about keeping things simple and quick.
But here’s the thing about baking these sandwiches – it changes everything. The cheese gets all melty, the bread turns golden and crispy, and the ham warms up just right. It’s basically what happens when you give that regular sandwich a chance to reach its full potential, and it’s almost impossible to mess up.
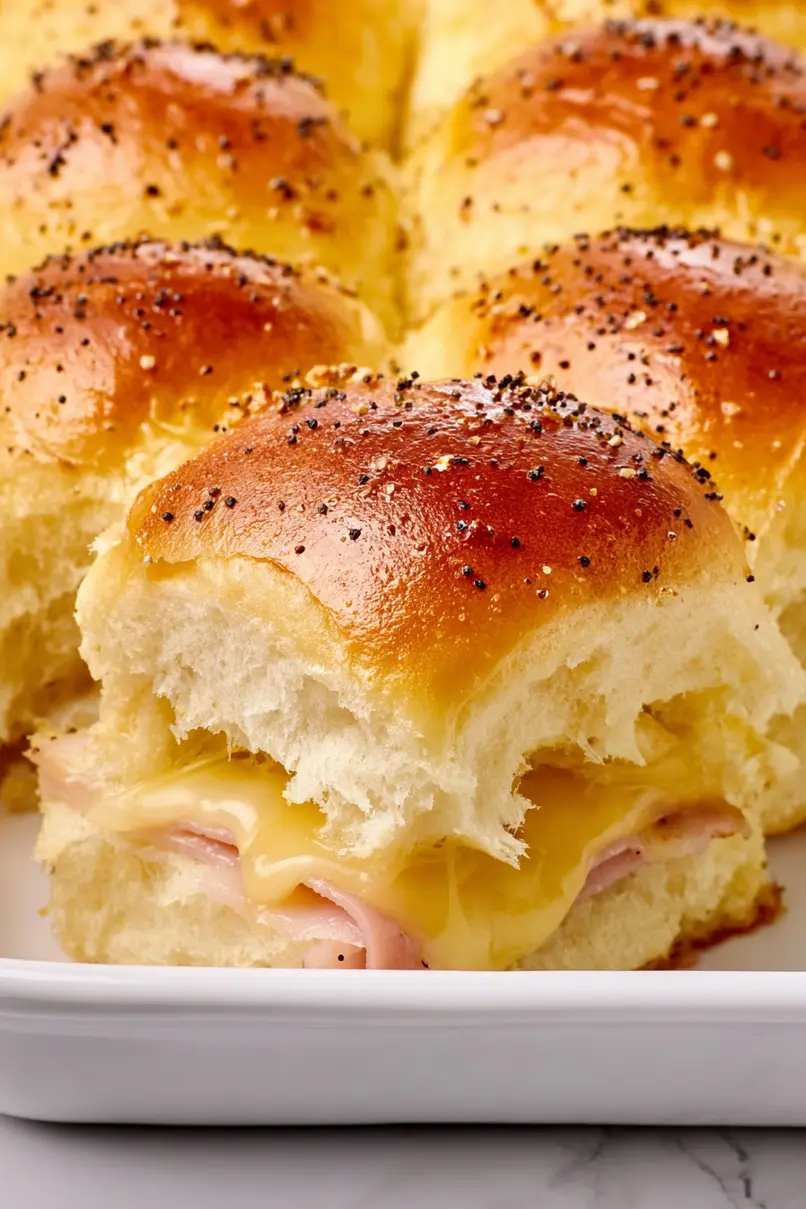
Why You’ll Love These Baked Ham and Cheese Sandwiches
- Perfect for feeding a crowd – These sandwiches can be assembled all at once on a sheet pan, making them ideal for game days, parties, or when you need to feed a hungry group.
- Make-ahead friendly – You can prep these sandwiches earlier in the day, then just pop them in the oven when you’re ready to serve – perfect for busy hosts who want to enjoy their own party.
- Simple ingredients – With basic ingredients like ham, cheese, and rolls, plus a few pantry staples for the butter sauce, you can create these crowd-pleasing sandwiches without any fancy ingredients.
- Kid-friendly meal – The combination of melty cheese, ham, and soft rolls makes these sandwiches a hit with kids and adults alike – no separate meals needed!
What Kind of Ham Should I Use?
For these baked sandwiches, you’ve got several good ham options to choose from. Deli-sliced ham works great – you can go with honey ham, Black Forest, or Virginia ham depending on what you prefer. Just make sure to get it sliced thin so it heats evenly and stays tender when baked. If you’re using leftover holiday ham, that works beautifully too – just slice it as thin as you can manage. For the best results, avoid using heavily processed ham products and stick with real, good quality ham from your deli counter or butcher shop.

Options for Substitutions
This sandwich recipe is super adaptable and you can make several swaps based on what you have in your kitchen:
- Dinner rolls: Any soft rolls work here – try Hawaiian rolls, brioche buns, or regular hamburger buns cut into smaller portions. Just avoid crusty rolls as they can get too hard when baked.
- Swiss cheese: Not a fan of Swiss? Go ahead and use provolone, Havarti, or even cheddar. Any good melting cheese will do the job nicely.
- Ham: Turkey, roast beef, or even sliced chicken work great as alternatives. If using chicken or turkey, you might want to add an extra pinch of salt to make up for ham’s natural saltiness.
- Dijon mustard: Regular yellow mustard or whole grain mustard can step in for Dijon. If you’re not into mustard, try mayo mixed with a little honey.
- Worcestershire sauce: Besides coconut aminos, you can use soy sauce or even a splash of balsamic vinegar for that umami kick.
- Garnishes: The poppy seeds, dried parsley, green onions, and fresh parsley are all optional – feel free to skip them or swap with dried herbs you have on hand.
Watch Out for These Mistakes While Baking
The biggest challenge when making baked ham and cheese sandwiches is preventing them from becoming too dry or overly soggy – the key is to brush the butter mixture on top of the rolls rather than pouring it all at once, allowing for even distribution.
Another common mistake is overcrowding the baking dish, which can lead to uneven heating and soggy bottoms – make sure to leave a little space between the sandwiches and use a dish that’s the right size for your batch.
To keep your sandwiches from getting too greasy, pat the ham slices with paper towels before assembling, and when it comes to the cheese, place it in the middle between ham slices to prevent it from melting too quickly and running out the sides.
For the perfect texture, tent the sandwiches with foil for the first 10 minutes of baking, then remove it for the final few minutes to achieve that golden-brown top – but keep a close eye on them, as they can go from perfectly toasted to burnt very quickly.
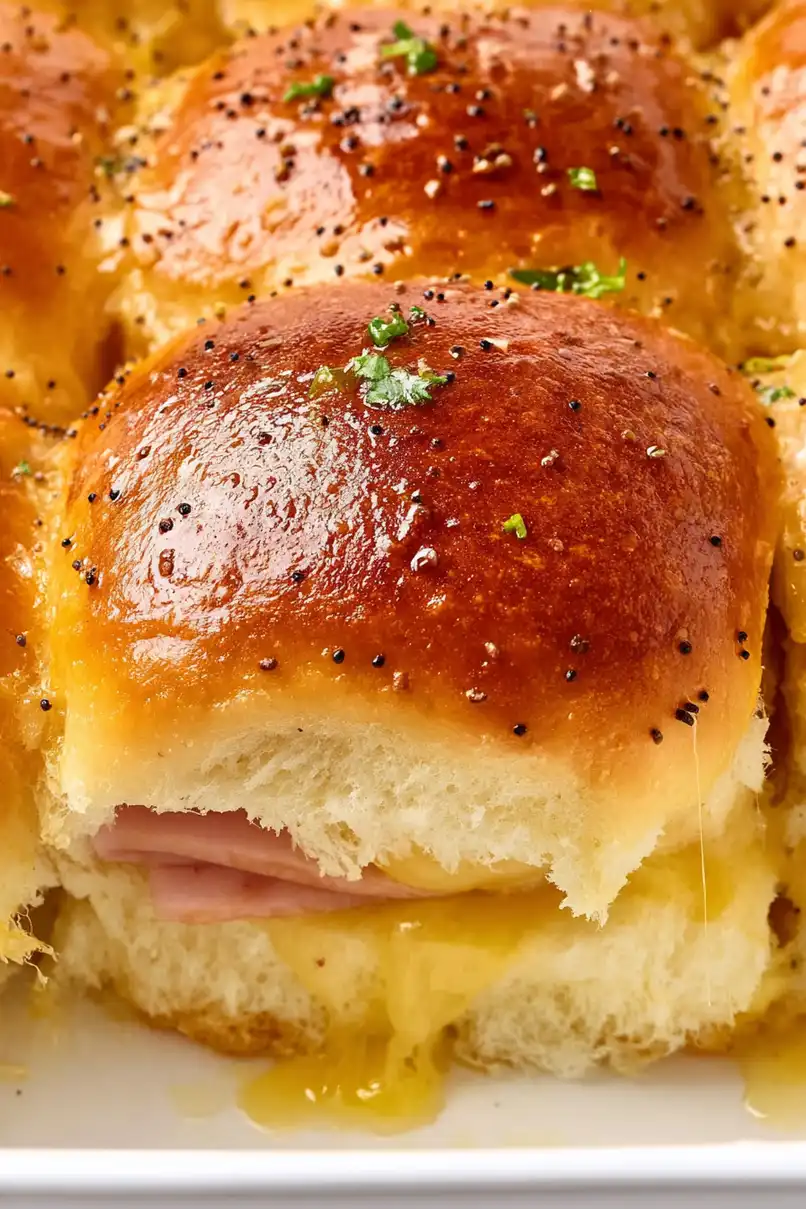
What to Serve With Baked Ham and Cheese Sandwiches?
These warm, melty sandwiches pair perfectly with some simple sides that balance out their richness. A crisp pickle spear on the side adds the perfect tangy crunch, while a handful of potato chips brings that satisfying salty element everyone loves. For something lighter, try serving them with a fresh coleslaw or a simple green salad dressed with vinaigrette – the cool, crisp vegetables complement the warm, cheesy sandwiches really well. If you’re serving these at a party or gathering, put out a bowl of your favorite potato salad or some fresh fruit to round out the meal.
Storage Instructions
Keep Fresh: These tasty sandwiches can hang out in your fridge for up to 3 days when wrapped well in foil or stored in an airtight container. Though honestly, they’re best enjoyed within the first day or two to keep those rolls from getting too soft.
Make Ahead: You can prep these sandwiches up to 24 hours in advance – just assemble everything but wait to add the butter mixture until right before baking. Keep them covered in the fridge, then pour over the seasoned butter when you’re ready to pop them in the oven.
Warm Up: To bring leftover sandwiches back to life, wrap them in foil and warm them in a 325°F oven for about 10-15 minutes. You can also give them a quick zap in the microwave, but the rolls might not be as crispy this way.
| Preparation Time | 10-15 minutes |
| Cooking Time | 25-30 minutes |
| Total Time | 35-45 minutes |
| Level of Difficulty | Easy |
Estimated Nutrition
Estimated nutrition for the whole recipe (without optional ingredients):
- Calories: 2500-2800
- Protein: 120-140 g
- Fat: 180-200 g
- Carbohydrates: 200-220 g
Ingredients
For the sandwiches:
- 1 lb thin sliced Swiss cheese
- 24 mini sandwich rolls
- 1 lb thin sliced ham
For the glaze:
- 1 tsp seasoned salt
- 1 1/2 tsp Worcestershire sauce
- 3/4 cup melted butter (I like Kerrygold unsalted butter for this)
- 1/2 tsp dried parsley
- 1 tbsp poppy seeds
- 1 tsp minced onion
- 1 1/2 tbsp Dijon mustard (or any good quality deli mustard)
For the garnish:
- sliced green onion (for a fresh, mild onion flavor)
- chopped fresh parsley
Step 1: Prep the Baking Dish and Rolls
Preheat your oven to 350º F.
If your rolls are not already precut, carefully cut them in half to create a top and a bottom.
Place the bottom half of the rolls into a baking dish.
This will serve as the foundation for your sandwiches.
Step 2: Make the Spread
In a small mixing bowl, whisk together the ingredients needed for the spread.
This spread will add extra flavor to your sandwiches.
Once combined, set the spread aside for later use.
Step 3: Assemble the Sandwiches
Begin assembling the sandwiches by placing slices of ham on top of the rolls in the baking dish.
Add your choice of cheese over the ham.
Once the fillings are added, place the top half of the rolls onto the assembled sandwiches.
Generously spread the previously prepared butter spread over the top of the rolls to enhance flavor and promote browning in the oven.
Step 4: Bake the Sandwiches
Cover the entire baking dish with foil to prevent excess browning during the initial baking phase.
Place the covered dish in the preheated oven and bake for 15 minutes.
After this, remove the foil and continue to bake uncovered for an additional 10 minutes or until the top is golden brown and the cheese has fully melted.
Step 5: Slice and Serve
Once finished baking, carefully remove the baking dish from the oven.
Slice around the edges of the rolls through the ham and cheese to make individual sandwiches easy to serve.
Enjoy your delicious, warm sandwiches!