There’s something special about a homemade cherry pie that brings back memories of summer afternoons and family gatherings. As someone who needs to eat gluten-free, I used to think my pie-baking days were over. But after lots of trial and error in my kitchen, I’ve found that making a gluten-free cherry pie can be just as good as the traditional version.
I remember feeling disappointed at family gatherings when I couldn’t enjoy dessert with everyone else. That’s what pushed me to create this recipe. Now, when I bring this pie to parties, nobody can tell it’s gluten-free – and that’s exactly how I want it! The crust turns out flaky, the filling is sweet and tart, and best of all, everyone can enjoy it together.
Whether you’re gluten-free by necessity or just want to try something different, this cherry pie recipe is perfect for any occasion. And trust me, even the skeptics in your family will come back for seconds.

Why You’ll Love This Cherry Pie
- Allergy-friendly – This gluten-free and dairy-free pie is perfect for anyone with dietary restrictions, but tastes so good that everyone at the table will enjoy it.
- Natural sweetness – Using maple syrup instead of refined sugar gives this pie a rich, complex sweetness that perfectly complements the tart cherries.
- Simple ingredients – With just a handful of wholesome ingredients you can easily find at most grocery stores, this pie is surprisingly easy to put together.
- No complicated techniques – Unlike traditional pie crusts that can be tricky to work with, this version comes together quickly with just mixing and pressing into the pan.
What Kind of Cherries Should I Use?
For a cherry pie, you’ve got several good options depending on what’s available and in season. Fresh sweet cherries like Bing or Rainier work great in summer months, while frozen cherries are a reliable choice year-round and come pre-pitted (which saves you some work!). If you’re going with fresh cherries, look for firm, glossy fruits without any bruising or soft spots. A cherry pitter tool can be a real time-saver, but if you don’t have one, you can use a chopstick or straw to push the pits out. Just keep in mind that tart cherries like Montmorency might need extra maple syrup to balance their natural sourness in this recipe.

Options for Substitutions
This gluten-free cherry pie recipe can be adapted with several substitutions if needed:
- Rice flour: You can swap rice flour with other gluten-free flours like almond flour or oat flour. Just note that almond flour will make the crust more tender, while oat flour might make it slightly denser.
- Cashew butter: Any nut butter works well here – try almond butter or sunflower seed butter for a nut-free version. The texture might be slightly different but will still hold together nicely.
- Maple syrup: Honey or agave nectar can replace maple syrup in equal amounts. Each will bring its own subtle flavor to the pie.
- Cherries: Fresh or frozen cherries both work great. You could also try other fruits like blueberries or mixed berries – just keep the amounts the same.
- Tapioca flour: Cornstarch or arrowroot powder can replace tapioca flour as a thickener. Use the same amount for either substitute.
- Almond essence: This can be skipped if you have nut allergies, or replaced with extra vanilla extract for added flavor.
Watch Out for These Mistakes While Baking
Working with gluten-free pie dough can be tricky, and the biggest mistake is not chilling the dough properly – make sure to refrigerate it for at least 30 minutes before rolling, as this helps prevent crumbling and makes it easier to handle. The cherry filling can become too runny if you skip the tapioca flour or don’t let the baked pie cool completely, so be patient and give it at least 2-3 hours to set at room temperature. When working with rice flour, avoid overworking the dough as it can become tough and crumbly – mix just until the ingredients come together, and if the dough feels too dry, add ice-cold water one teaspoon at a time. For the best results, line your pie dish with parchment paper to prevent sticking, and brush the top crust with plant-based milk before baking to achieve that golden-brown finish.
What to Serve With Cherry Pie?
This gluten-free cherry pie calls for something creamy to balance out its sweet-tart filling! A scoop of vanilla ice cream (dairy or non-dairy) is my go-to choice – it melts slightly into the warm pie creating the perfect bite. If you’re keeping things dairy-free, coconut whipped cream makes an excellent topping that complements the almond and cherry flavors really well. For a morning or afternoon treat, serve your pie with a hot cup of coffee or tea – the warm drinks bring out the maple and cinnamon notes in the pie. You could also add a sprinkle of sliced almonds on top for extra crunch and flavor that matches the almond essence in the recipe.
Storage Instructions
Counter: Your gluten-free cherry pie can hang out on the counter for up to 2 days when covered with a pie dome or wrapped in foil. Just make sure it’s completely cool before covering to keep that nice crust texture.
Refrigerate: For longer storage, pop your pie in the fridge in an airtight container or wrapped well in foil. It’ll stay good for up to 5 days, though the crust might soften a bit over time. The cherry filling actually gets even better after a day as the flavors meld together!
Freeze: This pie freezes really well! Wrap it tightly in plastic wrap, then foil, and it’ll keep in the freezer for up to 3 months. When you’re ready to enjoy it, let it thaw overnight in the fridge. You can warm individual slices in the oven at 350°F for about 10 minutes to bring back that fresh-baked taste.
| Preparation Time | 20-30 minutes |
| Cooking Time | 45 minutes |
| Total Time | 65-75 minutes |
| Level of Difficulty | Medium |
Estimated Nutrition
Estimated nutrition for the whole recipe (without optional ingredients):
- Calories: 800-900
- Protein: 10-15 g
- Fat: 30-35 g
- Carbohydrates: 120-130 g
Ingredients
For the crust:
- 1 tsp vanilla extract
- 1/4 cup creamy cashew butter
- 3/4 cup rice flour (I recommend Bob’s Red Mill)
- 1/2 tsp almond extract
- 1/4 cup maple syrup
For the filling:
- 1/2 tsp ground cinnamon
- 1 tbsp tapioca flour
- 3 tbsp maple syrup
- 3/4 cup chopped cherries (fresh or frozen, thawed)
- juice from 1/2 lemon
Step 1: Prepare the Pie Plate and Preheat
Start by preheating your oven to 350°F.
Lightly oil a 6″ pie plate or a baking dish of similar size and set it aside for later use.
Step 2: Make and Shape the Pie Crust
In a food processor, combine all the pie crust ingredients and process until they come together into a dough.
Remove the dough and form it into a ball, kneading gently if necessary.
Divide the dough into two equal portions, forming each portion into a ball.
Flatten one of the dough balls into a disk with your hands and press it into the prepared pie plate, shaping it to cover both the base and the sides.
Set this crust aside for filling.
Step 3: Prepare and Add the Pie Filling
In a small bowl, combine all the pie filling ingredients and mix them together using a fork.
Once mixed thoroughly, transfer the filling into the prepared pie crust and spread it evenly into a smooth layer.
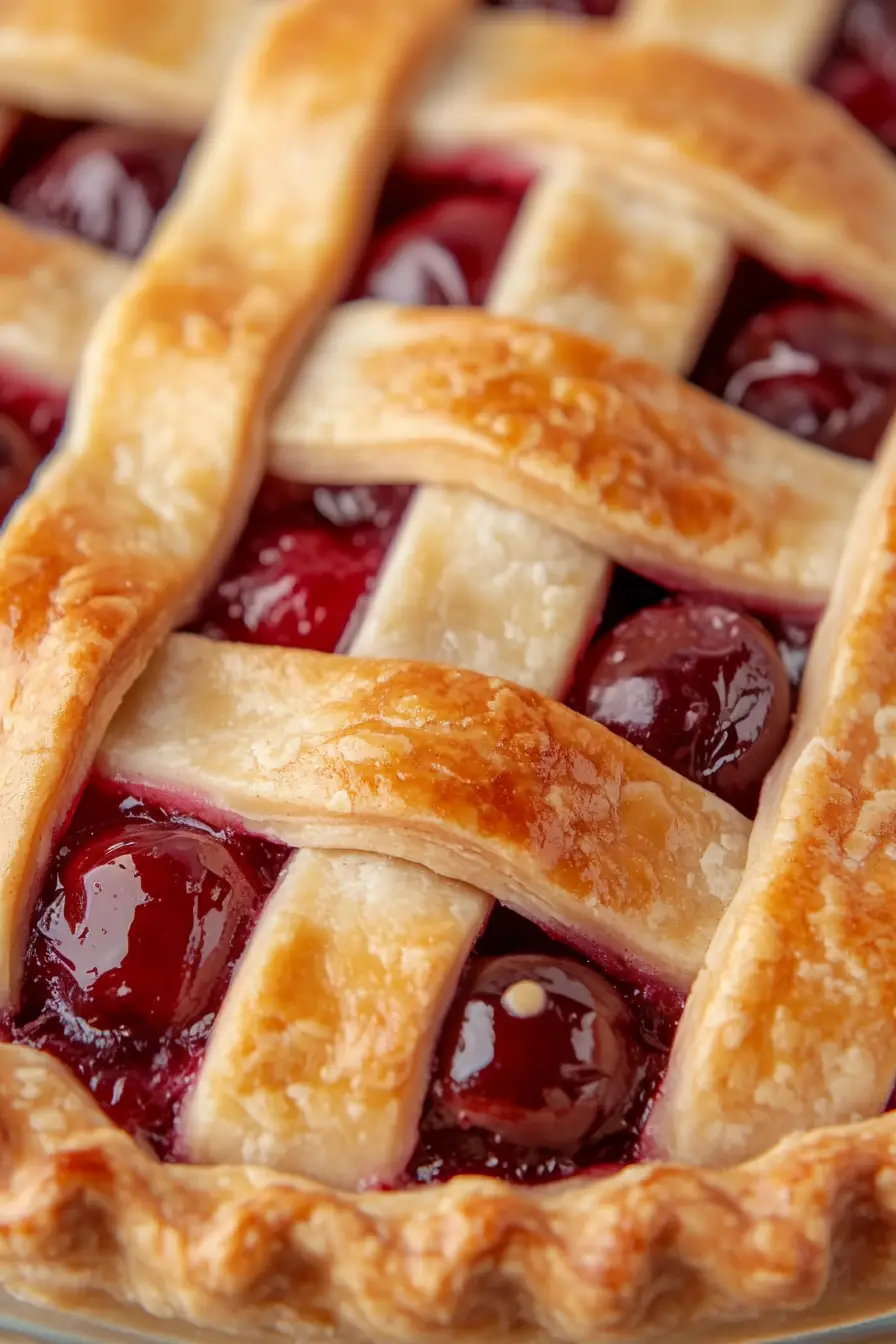
Step 4: Create the Lattice Top
Take the remaining half of the crust dough and place it between two sheets of parchment paper.
Roll it out to approximately ⅛” thickness.
Cut the dough into ½” wide strips lengthwise.
Arrange several strips vertically over the pie filling, then interlace horizontally placed strips to form a lattice.
If needed, gather any leftover dough and repeat the rolling and cutting process to create more strips.
Fill any gaps along the pie’s edges with remaining dough and seal the edge by pressing down with a fork.
Step 5: Bake and Cool the Pie
Place the pie in the preheated oven and bake for about 45 minutes, or until the edges have turned a lovely golden brown and the filling is bubbly and set.
Allow the pie to cool on a wire rack before serving.
Enjoy your homemade pie!
