Let’s talk about one of my go-to lunch solutions that I wish I’d discovered years ago. I used to think sushi was strictly restaurant food, but when my grocery budget started getting tight, I had to get creative. That’s when I started playing around with this canned tuna sushi bowl idea.
Like many of you, I always have a few cans of tuna sitting in my pantry. It’s been a lunch staple forever, but sometimes the same old tuna sandwich gets boring. This bowl brings those familiar sushi flavors right to your kitchen table, without any fancy rolling techniques or special equipment. I usually make it while my kids are packing their school lunches – it’s that quick and simple.
Need a filling lunch that feels special but won’t break the bank? This might become your new favorite. It hits all those satisfying sushi notes you’re craving, using ingredients you probably already have at home.
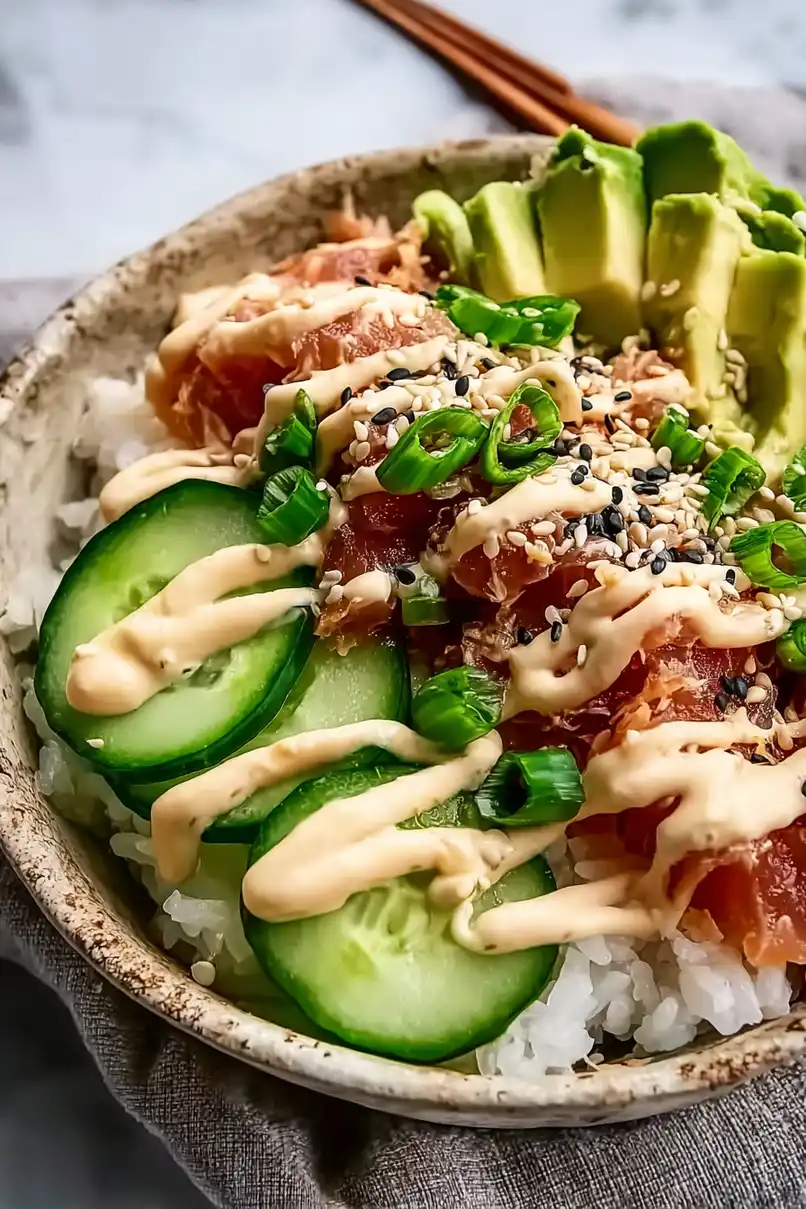
Why You’ll Love This Tuna Sushi Bowl
- Budget-friendly sushi fix – Get all the flavors of your favorite sushi rolls without the expensive restaurant prices – this bowl uses simple canned tuna and fresh ingredients you can find at any grocery store.
- Quick preparation – Ready in just 25-35 minutes, this bowl comes together faster than waiting for takeout and requires no special sushi-rolling skills.
- Customizable – You can easily adjust the spice level, swap vegetables, or add more toppings to make it exactly how you like it – it’s like having your own sushi bar at home.
- Healthy and filling – Packed with protein from the tuna, healthy fats from avocado, and fresh vegetables, this bowl makes a nutritious meal that will keep you satisfied.
What Kind of Canned Tuna Should I Use?
For sushi bowls, you’ll want to stick with solid white albacore tuna packed in oil rather than chunk light tuna. Albacore has a milder, cleaner taste that’s more similar to the fish you’d find in traditional sushi, and the oil-packed variety stays more tender and flavorful than water-packed tuna. While it costs a bit more than regular chunk light tuna, the firmer texture and lighter color make it worth the extra expense for this recipe. If you’re watching your budget, chunk light tuna will still work – just be sure to drain it really well and know that the final dish will have a stronger fish flavor.
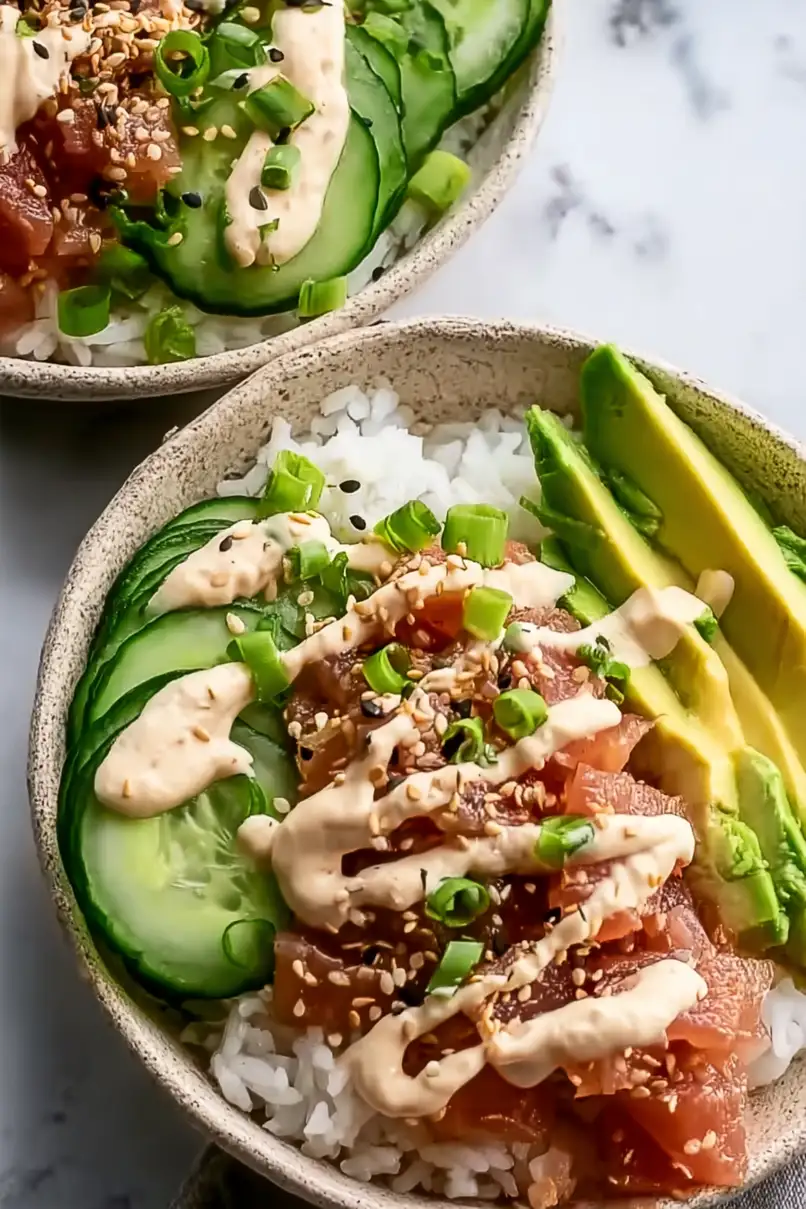
Options for Substitutions
This sushi bowl is super adaptable and you can make several swaps based on what you have in your kitchen:
- Medium-grain rice: While medium-grain rice gives the best sushi-like texture, you can use short-grain rice or even brown rice. Just note that brown rice needs more cooking time and water. Long-grain rice isn’t ideal here as it won’t stick together properly.
- Canned tuna: You can swap the Albacore tuna with any canned tuna variety, or try canned salmon for a different flavor. If you’re feeling fancy, cooked shrimp or even tofu (pressed and cubed) work great too.
- Rice vinegar: Apple cider vinegar or white wine vinegar can work in a pinch, though rice vinegar gives the most authentic taste.
- Honey: Feel free to use maple syrup, agave nectar, or even a pinch of sugar instead.
- Sriracha: Any hot sauce works here – try sambal oelek, gochujang, or even a dash of cayenne pepper for heat.
- Cucumber: You can skip it or replace with shredded carrots, radishes, or any crunchy veggie you like.
- Avocado: While avocado adds nice creaminess, you can leave it out or add extra mayo to the bowl if you don’t have any ripe ones on hand.
Watch Out for These Mistakes While Cooking
The success of your tuna sushi bowl heavily depends on the rice preparation – using the wrong type of rice or not rinsing it thoroughly before cooking can result in a sticky, clumpy mess instead of perfectly separated grains. When mixing the sauce ingredients, avoid adding everything at once – start with small amounts and taste as you go, since over-seasoning with soy sauce or Sriracha can quickly overpower the delicate flavor of the tuna. Another common mistake is not draining the canned tuna well enough, which can make your bowl watery and dilute the flavors – take an extra minute to press out all the excess liquid. For the best texture contrast, add the avocado and cucumber just before serving to keep them fresh and crisp, and remember to let your rice cool to room temperature before assembling to prevent the mayo-based sauce from breaking down.
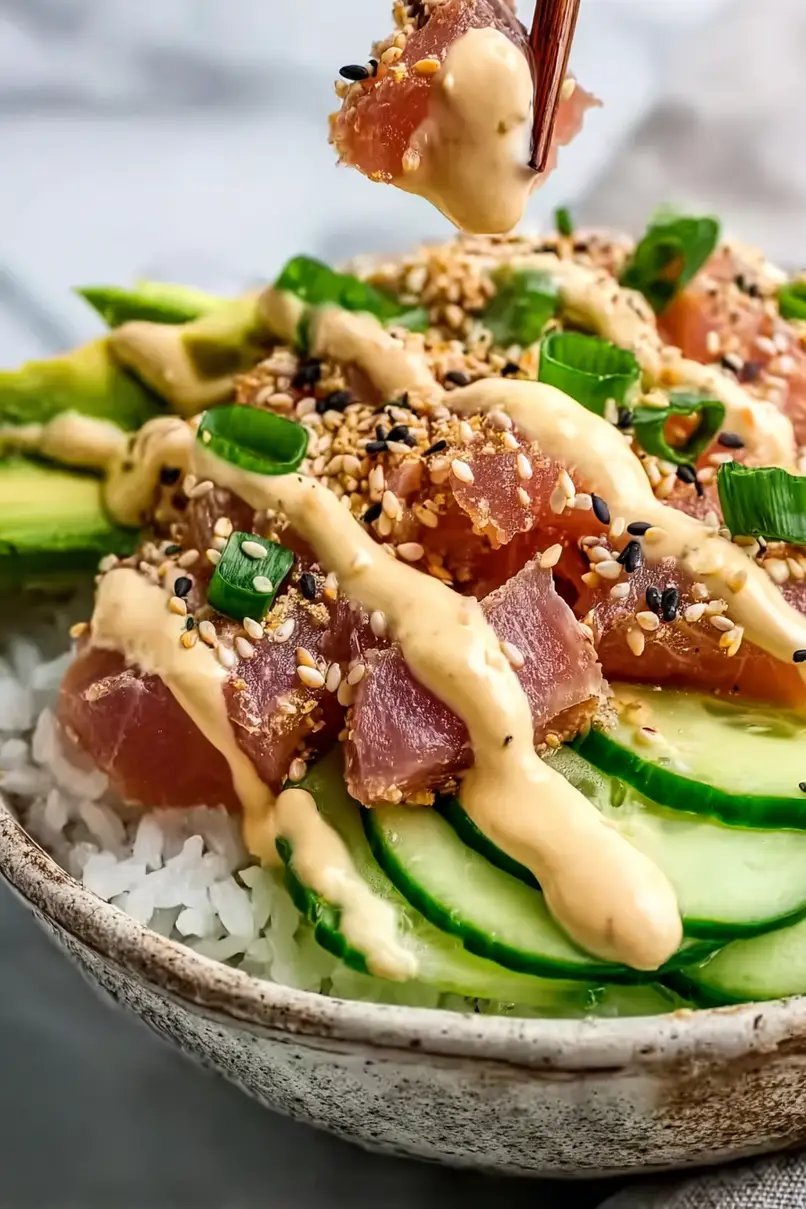
What to Serve With Tuna Sushi Bowls?
These tuna sushi bowls are pretty filling on their own, but there are some great sides that can make your meal even more special. A simple miso soup adds a warm, comforting element that pairs perfectly with the cool components of the bowl. For extra veggies, try serving a seaweed salad or some quick-pickled vegetables like carrots and radishes on the side. If you’re extra hungry, some crispy vegetable tempura or gyoza dumplings would round out the meal nicely – just don’t forget the extra soy sauce and wasabi for dipping!
Storage Instructions
Keep Fresh: If you’ve got leftover tuna sushi bowls, keep the components separate in airtight containers in the fridge. The rice, tuna mixture, and chopped veggies will stay good for up to 2 days. Pro tip: store the avocado with the pit to help prevent browning, or add it fresh when you’re ready to eat.
Prep Ahead: Want to meal prep these bowls? You can make the rice and tuna mixture ahead of time and store them separately in the fridge. Slice the cucumber and mix the sauce up to a day ahead, but save the avocado and green onions for when you’re ready to serve – they’re best fresh!
Sauce Storage: The spicy mayo sauce keeps well in a sealed container in the fridge for up to 5 days. Give it a quick stir before using, as it might separate a bit while sitting. It’s great to have extra on hand for other dishes too!
| Preparation Time | 10-15 minutes |
| Cooking Time | 15-20 minutes |
| Total Time | 25-35 minutes |
| Level of Difficulty | Easy |
Estimated Nutrition
Estimated nutrition for the whole recipe (without optional ingredients):
- Calories: 1400-1600
- Protein: 80-90 g
- Fat: 80-90 g
- Carbohydrates: 120-130 g
Ingredients
For the rice and assembly:
- 1 cucumber (thinly sliced or diced)
- pickled ginger
- 2 green onions (thinly sliced)
- 1 avocado (ripe, diced)
- 1 cup medium-grain rice
- toasted sesame seeds (for garnish)
For the tuna mixture:
- 1 tsp honey
- 1 tsp rice vinegar
- 2 tbsp soy sauce
- 1 tsp finely chopped garlic (freshly minced for best flavor)
- 2 cans albacore tuna in olive oil (drained well, I use Bumble Bee Solid White Albacore)
- 1 tsp finely chopped ginger
For the spicy mayo:
- 1 tsp soy sauce
- 1 tsp sriracha sauce (adjust to taste for desired spiciness)
- 1 tsp rice vinegar
- 1/4 cup mayonnaise (I prefer Hellmann’s Mayonnaise)
Step 1: Cook the Rice
Add the rice to a saucepan along with 2 cups of water and a generous pinch of salt.
Bring the mixture to a boil, then reduce the heat, cover the pan, and let it simmer for 9-11 minutes, or until the water is fully absorbed and the rice is tender.
Once done, remove it from the heat and set it aside to cool slightly.
Step 2: Prepare the Tuna Mixture
In a medium bowl, whisk together soy sauce, garlic, ginger, rice vinegar, and honey to create a flavor-packed sauce.
Toss this mixture with the tuna, ensuring it’s well-coated.
Heat a skillet over medium-high heat and cook the tuna for 2-3 minutes, stirring occasionally, until it’s heated through.
Remove from heat and set aside.
Step 3: Make the Spicy Mayo
In another small bowl, whisk together the mayonnaise, rice vinegar, soy sauce, and Sriracha to create a creamy spicy mayo.
Adjust the amount of Sriracha to your taste preference for desired heat levels.
Step 4: Assemble the Bowls
To construct the bowls, divide the cooked rice evenly between two serving bowls.
Arrange the cooked tuna on top of the rice, followed by slices of cucumber and avocado.
Sprinkle with chopped green onions and toasted sesame seeds for added flavor and texture.
Step 5: Finish and Serve
Drizzle the prepared spicy mayo over the assembled ingredients in each bowl.
If desired, serve with a side of pickled ginger for an extra zing.
Enjoy your delicious and flavorful bowl!