If you ask me, mac and cheese balls are pure comfort food genius.
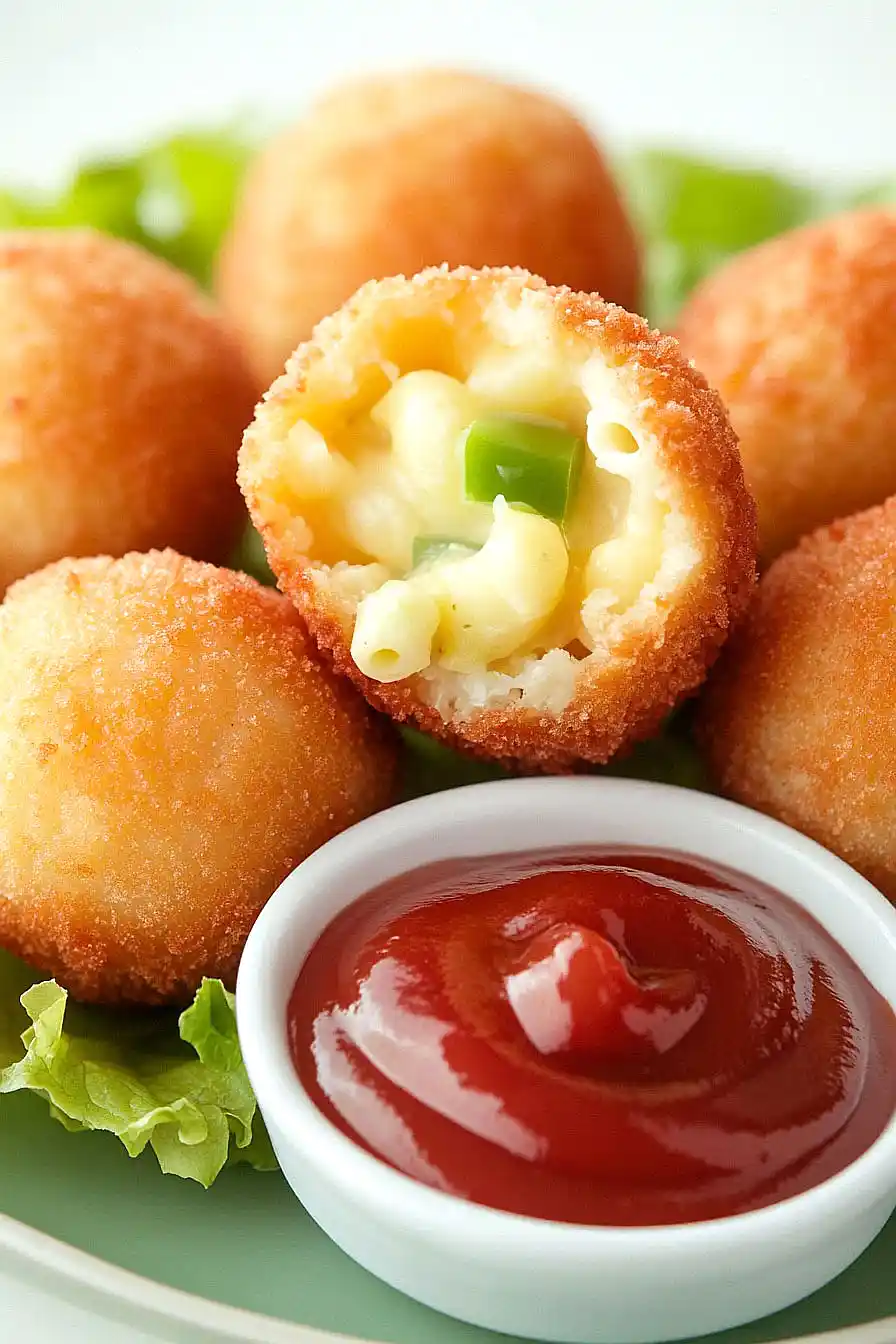
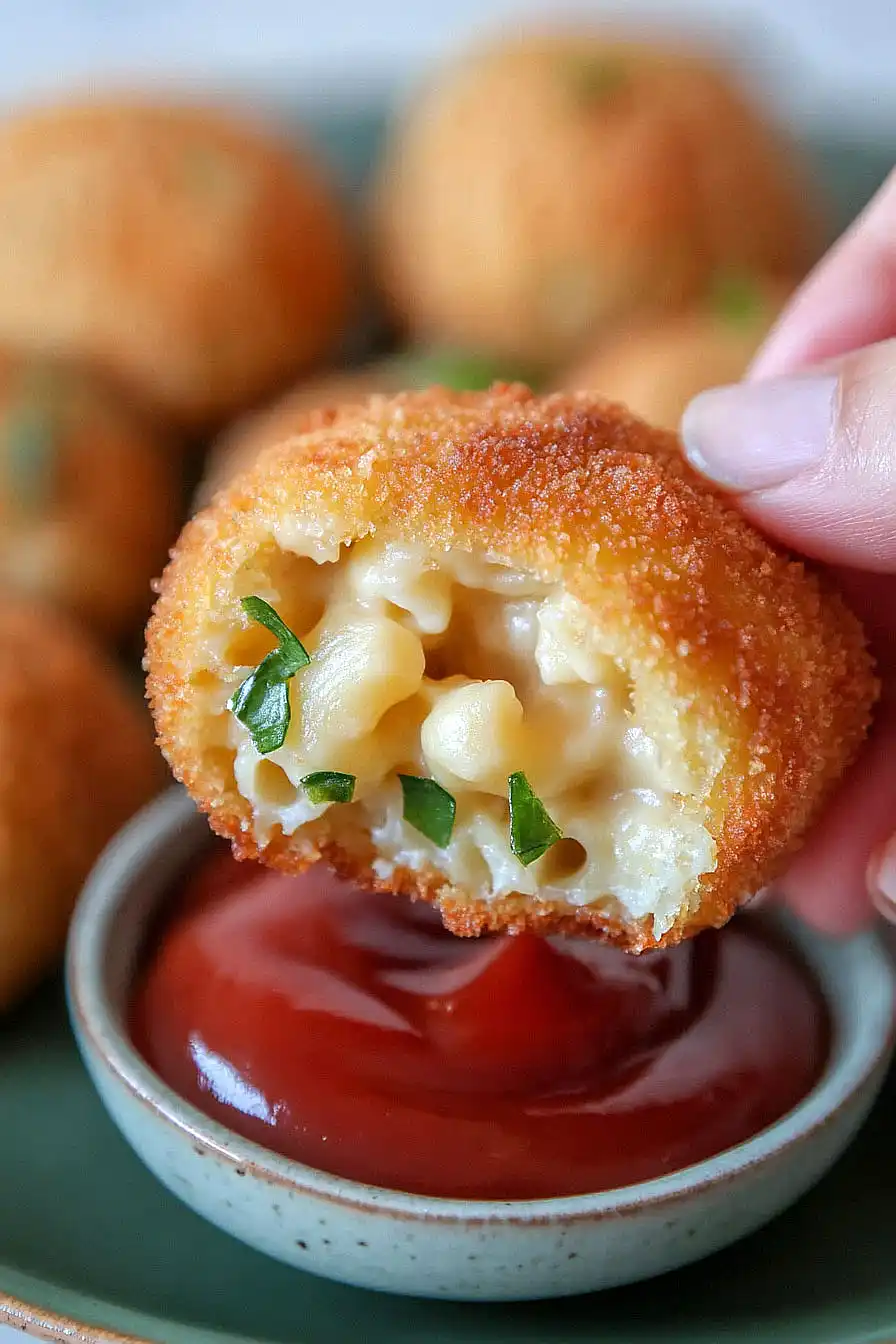
These golden, crispy bites take everyone’s favorite cheesy pasta and turn it up a notch with spicy jalapeños mixed right in. Each ball is perfectly crunchy on the outside, while staying creamy and gooey in the middle.
They’re rolled in seasoned breadcrumbs and fried until just right, creating that satisfying crunch when you bite into them. The heat from the jalapeños plays really well with all that melty cheese and pasta.
These make excellent party snacks, and I’ve yet to meet anyone who can eat just one. Plus, they’re a fun twist on regular mac and cheese that both kids and adults get excited about.
Why You’ll Love These Mac and Cheese Balls
- Perfect party food – These bite-sized treats are ideal for gatherings – they’re easy to grab, fun to eat, and always disappear fast at parties.
- Make-ahead friendly – You can prepare these balls in advance and fry them just before serving, making party planning so much easier.
- Crowd-pleasing combination – The creamy mac and cheese interior with a crispy outside and spicy kick from jalapeños gives you that perfect balance of flavors and textures that everyone loves.
- Creative comfort food – This recipe takes regular mac and cheese to the next level by turning it into a fun, handheld appetizer that’s both familiar and exciting.
What Kind of Macaroni and Cheese Should I Use?
For mac and cheese balls, you’ll want to start with a fairly thick and sturdy macaroni and cheese base that can hold its shape when formed into balls. While homemade mac and cheese works great, you can absolutely use boxed mac and cheese too – just make sure to prepare it slightly firmer than usual by using a little less milk than the package calls for. The classic blue box is perfectly fine here, but any brand of boxed mac and cheese will work as long as it’s not too creamy or loose. If you’re using leftover homemade mac and cheese, just make sure it’s completely chilled before shaping it into balls, as cold mac and cheese is much easier to work with. Remember that whatever type you choose, the mac and cheese should be cool enough to handle and slightly dried out for the best results.
Options for Substitutions
These mac and cheese balls are pretty adaptable – here’s what you can switch up:
- Prepared mac and cheese: While boxed mac and cheese works great, you can definitely use homemade or leftover mac and cheese. Just make sure it’s completely cooled and fairly firm to help with shaping the balls.
- Cream cheese: If you’re out of cream cheese, mascarpone or even a thick Greek yogurt can work as a binder. Just avoid anything too liquid-y as it’ll make the mixture harder to form into balls.
- Pickled jalapeños: Fresh jalapeños work too, but you might want to cook them briefly first. You could also try pickled serrano peppers or even mild green chiles if you want less heat.
- Panko breadcrumbs: Regular breadcrumbs can replace panko, though the coating won’t be quite as crispy. Crushed cornflakes or crushed crackers are good options too.
- Deep fryer: No deep fryer? No problem! Use a heavy-bottomed pot with oil and a thermometer. You can even bake these at 400°F for 15-20 minutes, though they won’t be quite as golden.
Watch Out for These Mistakes While Cooking
The biggest challenge when making mac and cheese balls is getting them to hold their shape – make sure your macaroni mixture is completely cool before forming the balls, and pop them in the freezer for 15-20 minutes before breading to prevent them from falling apart during frying.
Temperature control is crucial when deep frying these cheesy bites – if your oil is too hot (above 350°F), the outside will burn before the center gets hot enough to melt properly, while too cool oil will make them greasy and soggy.
A common mistake is overcrowding the fryer basket, which drops the oil temperature and leads to uneven cooking – instead, fry in small batches of 4-5 balls at a time, and keep the finished ones warm in a 200°F oven while completing the rest.
For the crispiest coating, make sure to really press the panko breadcrumbs firmly onto each ball during breading, and consider doing a double coating (flour-egg-breadcrumbs twice) for extra crunch and to prevent cheese from leaking during frying.
What to Serve With Mac and Cheese Balls?
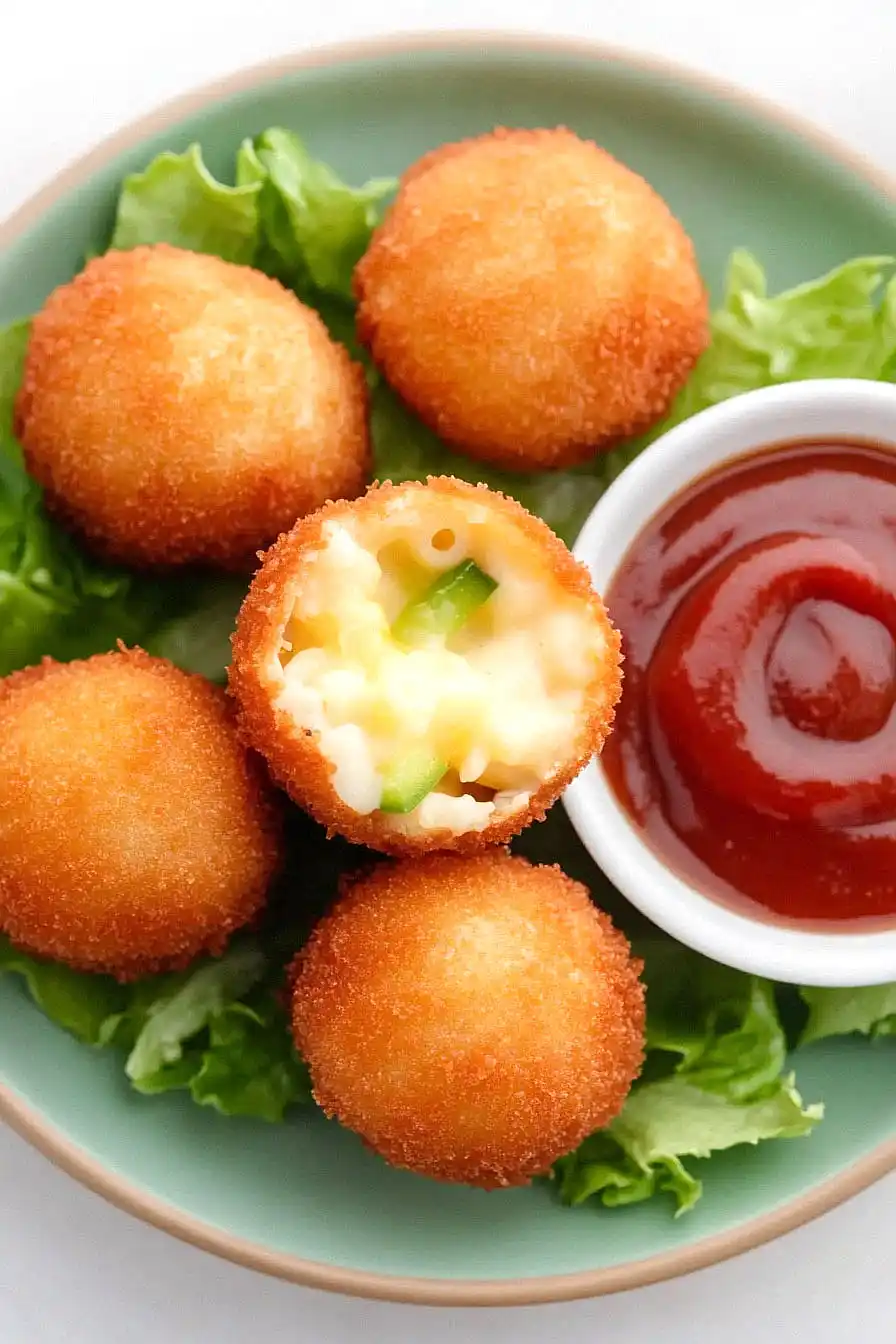
These crispy, cheesy bites are perfect party food, and they pair really well with a variety of dipping sauces! Ranch dressing is always a crowd-pleaser, but you might also want to try serving them with marinara sauce or a spicy chipotle mayo to complement the jalapeño kick. Since these are pretty rich, I like to balance them out with some fresh veggies like celery sticks, carrot sticks, and cherry tomatoes on the side. For a casual game day spread, you can serve these alongside other finger foods like chicken wings, sliders, or a fresh bowl of guacamole with tortilla chips.
Storage Instructions
Keep Fresh: These mac and cheese balls stay good in an airtight container in the fridge for up to 3 days. Just place them in a single layer or separate layers with parchment paper to keep their shape. They’re perfect for making ahead for parties or game day snacks!
Freeze: Want to prep these ahead? Form the balls and freeze them before breading. Place them on a baking sheet until solid, then transfer to a freezer bag for up to 2 months. When you’re ready to cook, thaw in the fridge overnight, then bread and fry as usual.
Reheat: To bring back that crispy exterior, pop them in the oven at 350°F for about 10-15 minutes, or until heated through. You can also use an air fryer for 3-4 minutes at 350°F. I’d skip the microwave – it tends to make them soggy and nobody wants that!
| Preparation Time | 15-30 minutes |
| Cooking Time | 15-30 minutes |
| Total Time | 120-150 minutes |
| Level of Difficulty | Medium |
Estimated Nutrition
Estimated nutrition for the whole recipe (without optional ingredients):
- Calories: 1500-1700
- Protein: 40-50 g
- Fat: 80-90 g
- Carbohydrates: 150-160 g
Ingredients
For the mac and cheese mixture:
- 1/4 cup chopped pickled jalapeños (gives a nice spicy kick)
- 6 cups prepared mac and cheese
- 2 tbsp cream cheese (softened, for easier mixing)
For the breading station:
- 2 tbsp heavy cream
- 2 large eggs (beaten lightly with the cream)
- 1 cup all-purpose flour
- 2 cups panko breadcrumbs (for an extra crispy coating)
For frying:
- peanut or vegetable oil (enough to submerge the mac and cheese balls)
Step 1: Prepare the Jalapeño Mac and Cheese Mixture
- 6 cups prepared boxed macaroni & cheese
- 2 tbsp cream cheese
- 1/4 cup finely chopped pickled jalapeños
In a large bowl, combine the prepared boxed macaroni & cheese, cream cheese, and finely chopped pickled jalapeños.
Mix thoroughly until the ingredients are well incorporated.
Place the mixture in the refrigerator and let it chill for at least 2 hours to firm up.
This step helps the mac and cheese balls hold their shape later.
Step 2: Set Up Breading Station
- 1 cup all-purpose flour
- 2 large eggs
- 2 tbsp heavy cream
- 2 cups panko-style breadcrumbs
Before forming the balls, prepare three shallow pans or bowls: place all-purpose flour in the first, panko-style breadcrumbs in the second, and in the third, beat the large eggs with the heavy cream until smooth.
Arrange the pans in order to streamline your breading process.
Step 3: Form and Bread the Mac and Cheese Balls
- chilled jalapeño mac and cheese mixture from Step 1
- all-purpose flour from Step 2
- egg and cream mixture from Step 2
- panko-style breadcrumbs from Step 2
Using a small ice cream scoop or your hands, portion the chilled jalapeño mac and cheese mixture (from Step 1) into 1 ½-inch balls, aiming for about 25 balls.
Working one at a time, roll each ball in the flour, shaking off excess, then dip in the egg and cream mixture (from Step 2), and finally roll in the panko breadcrumbs, pressing gently to ensure the coating sticks.
I like to gently press the breadcrumbs on for extra crunch when frying.
Step 4: Fry the Mac and Cheese Balls
- peanut or vegetable oil for deep frying
- breaded mac and cheese balls from Step 3
Preheat your deep fryer to 350°F and fill it with peanut or vegetable oil as recommended.
Add a single layer of breaded mac and cheese balls (from Step 3) to the basket, ensuring they are not touching each other.
Lower the basket carefully into the hot oil and fry until the crust is golden brown and crisp, about 3-4 minutes.
Fry in batches if necessary, taking care not to overcrowd the fryer.
Step 5: Serve
Once fried, transfer the mac and cheese balls to a tray lined with paper towels to drain excess oil.
Serve immediately while hot and crispy for the best texture.
For extra flavor, I sometimes sprinkle a little extra chopped jalapeño or a dusting of smoked paprika on top before serving.
