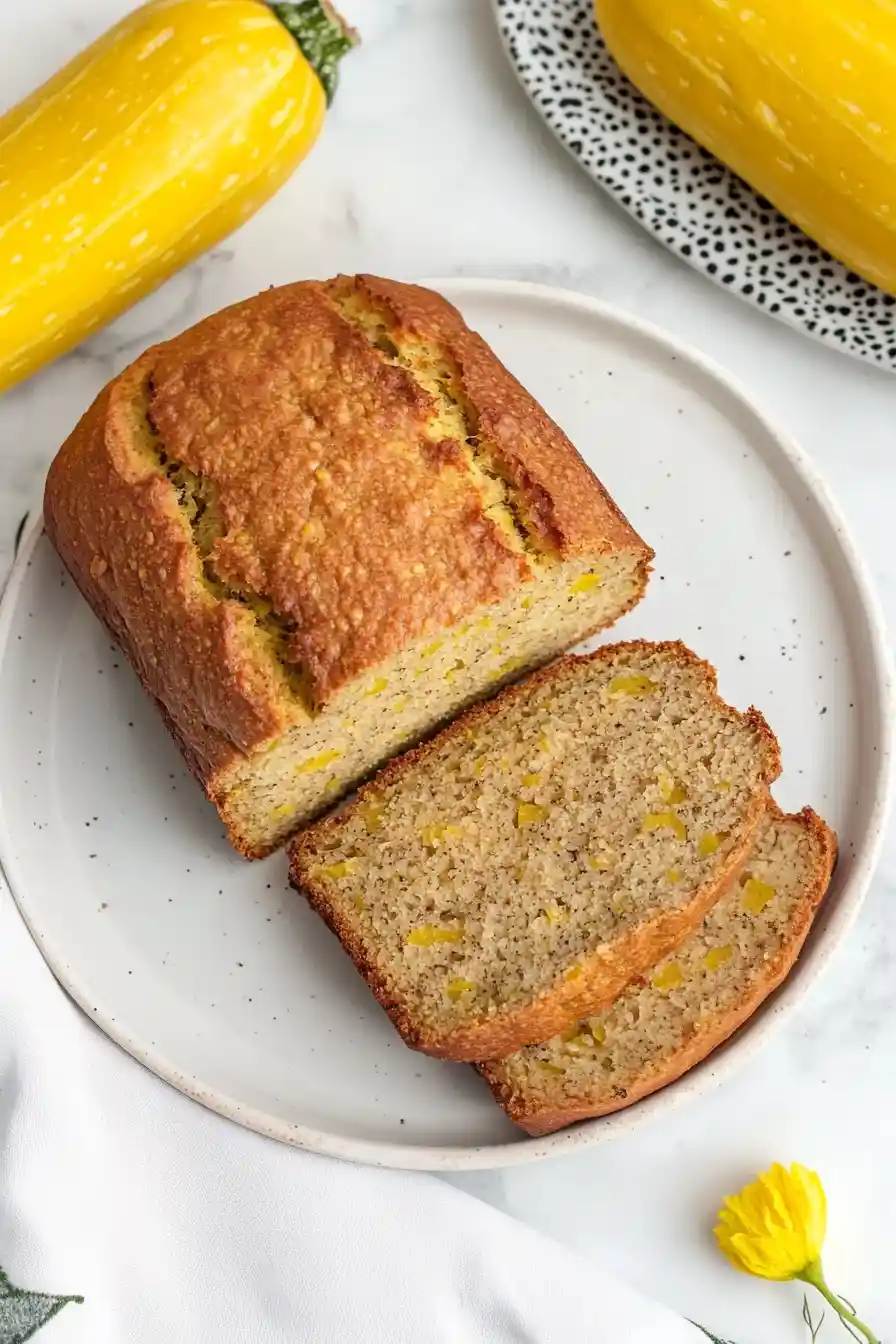
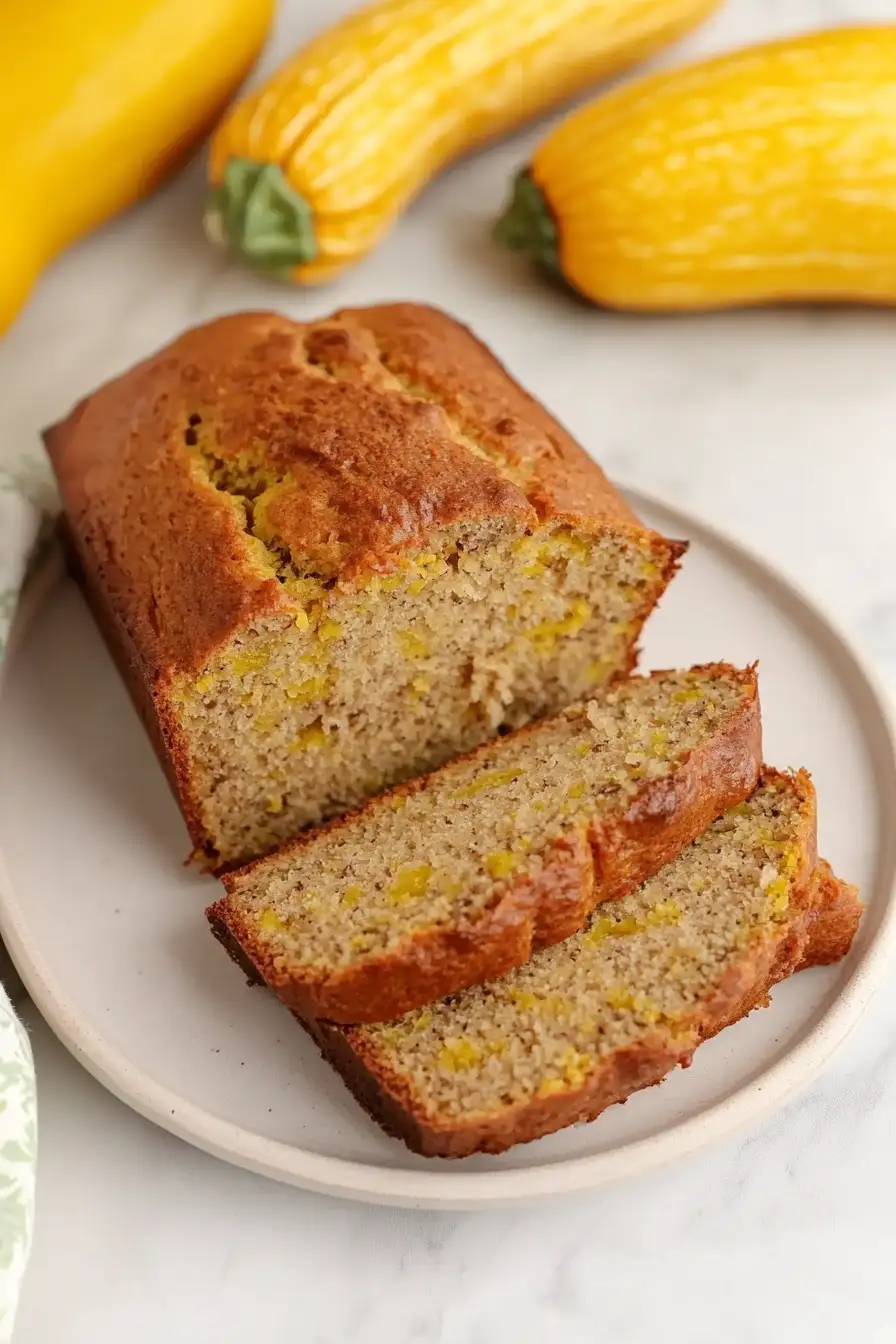
Here’s my go-to yellow squash bread recipe, with a moist, tender crumb and just the right amount of sweetness. It’s a great way to use up those extra squash from the garden, plus it has warm hints of cinnamon and vanilla that make it smell amazing while baking.
This bread has become my summer baking staple, and I usually make a double batch because it disappears so quickly at our house. Perfect with your morning coffee or as an afternoon snack – and nobody ever guesses it’s made with squash!
Why You’ll Love This Squash Bread
- Healthier ingredients – This recipe uses applesauce to replace some of the oil, and includes fresh yellow squash for added nutrition and moisture.
- Natural sweetness – The combination of honey and just a touch of sugar creates a perfectly balanced sweetness without being overpowering.
- Great way to use extra squash – If your garden is overflowing with summer squash, this bread is the perfect solution to use up your harvest in a delicious way.
- One-bowl recipe – The straightforward mixing process means less cleanup and prep time – just mix, pour, and bake.
- Kid-friendly veggie bread – It’s a clever way to sneak vegetables into a tasty treat that kids will actually want to eat.
What Kind of Yellow Squash Should I Use?
For this bread recipe, you’ll want to look for young, tender yellow summer squash at the grocery store or farmers market. The smaller squash (about 6-8 inches long) are perfect because they have fewer seeds and more flesh, which means you won’t waste as much when removing the large seeds. If you can only find larger squash, that’s okay too – just be sure to scoop out the seedy center before shredding. When selecting your squash, pick ones that feel firm and heavy for their size, with smooth, bright skin free from soft spots or blemishes. Before shredding, there’s no need to peel the squash – the skin is tender and will blend right into your bread.
Options for Substitutions
This squash bread recipe is pretty flexible and works well with several substitutions:
- Yellow squash: You can swap yellow squash with zucchini in equal amounts – just make sure to squeeze out excess moisture. You could also use grated butternut squash, though it might need a bit more moisture in the recipe.
- Canola oil: As mentioned in the recipe, avocado or refined coconut oil work great. You can also use melted butter or vegetable oil as a 1:1 replacement.
- Applesauce: Mashed banana, pumpkin puree, or Greek yogurt can replace applesauce in equal amounts. Each will add its own subtle flavor to the bread.
- Honey: Maple syrup, agave nectar, or even brown sugar can stand in for honey. Use the same amount as called for in the recipe.
- Plain flour: For a different texture, try using whole wheat flour for up to half of the plain flour. For gluten-free needs, use a 1:1 gluten-free flour blend that contains xanthan gum.
- Eggs: For each egg, you can use either 1/4 cup mashed banana, 1/4 cup silken tofu, or a flax egg (1 tablespoon ground flax mixed with 3 tablespoons water).
Watch Out for These Mistakes While Baking
The biggest challenge when making yellow squash bread is dealing with excess moisture – make sure to squeeze out as much liquid as possible from your shredded squash using a clean kitchen towel or cheesecloth, otherwise your bread might end up gummy in the middle.
Another common mistake is overmixing the batter once the flour is added, which can lead to a dense, tough loaf – instead, fold the wet and dry ingredients together just until combined, and a few small lumps are perfectly fine.
Temperature control is crucial for this recipe, so avoid opening the oven door frequently while baking, and always test for doneness by inserting a toothpick in the center – it should come out with just a few moist crumbs, not wet batter.
For the best texture, let the bread cool in the pan for 10 minutes before transferring to a wire rack, and resist the urge to slice into it while it’s still hot – waiting at least 30 minutes allows the crumb structure to set properly.

What to Serve With Yellow Squash Bread?
This moist and lightly sweet yellow squash bread makes a perfect breakfast or afternoon snack pairing! Spread a slice with cream cheese or butter while it’s still slightly warm – the combination is so good you’ll want seconds. For breakfast, serve it alongside some fresh fruit and a hot cup of coffee or tea for a cozy morning meal. If you’re hosting brunch, try making a platter with sliced squash bread, hard-boiled eggs, and some crispy bacon or breakfast sausage for a complete spread that everyone will love.
Storage Instructions
Counter Storage: Your yellow squash bread will stay fresh at room temperature for up to 3 days when wrapped well in plastic wrap or stored in an airtight container. I like to place a paper towel in the container to absorb any extra moisture from the squash, which helps keep the bread from getting too moist.
Refrigerate: Want it to last longer? Pop your bread in the fridge in an airtight container, and it’ll stay good for up to a week. The cool temperature helps preserve the moisture from the squash and applesauce just right.
Freeze: This squash bread freezes really well! Wrap it tightly in plastic wrap, then aluminum foil, or place it in a freezer bag with the air squeezed out. It’ll keep fresh for up to 3 months. You can even slice it before freezing so you can thaw just what you need.
Thaw & Enjoy: When you’re ready to enjoy your frozen bread, just let it thaw overnight in the fridge or for a few hours at room temperature. If you like, warm individual slices in the toaster or microwave for about 15-20 seconds to bring back that fresh-baked taste.
| Preparation Time | 15-20 minutes |
| Cooking Time | 50-60 minutes |
| Total Time | 65-80 minutes |
| Level of Difficulty | Medium |
Estimated Nutrition
Estimated nutrition for the whole recipe (without optional ingredients):
- Calories: 1100-1300
- Protein: 15-20 g
- Fat: 50-60 g
- Carbohydrates: 150-170 g
Ingredients
- 1 cup shredded yellow squash
- 1/2 tsp baking soda
- 1 tsp salt
- 1/4 cup applesauce
- 1 tsp ground cinnamon (for best flavor and aroma)
- 1/4 tsp baking powder
- 1 tsp vanilla essence
- 1/4 cup honey
- 1 1/2 cups all-purpose flour (I always use King Arthur all-purpose flour)
- 1/4 cup canola oil
- 1/4 cup white sugar
- 2 large eggs
Step 1: Prepare the Oven and Squash
Start by preheating your oven to 325 degrees Fahrenheit.
While the oven is heating up, grate the summer squash and place it in a fine mesh colander.
Sprinkle with a dash of salt and toss to coat.
Let the squash sit and strain for about 5 minutes to allow excess moisture to drain.
Step 2: Sift the Dry Ingredients
In a separate bowl, sift together the flour, cinnamon, baking soda, baking powder, and salt.
This ensures that your dry ingredients are well-combined and any lumps are broken up.
Step 3: Blend the Wet Ingredients
In a large mixing bowl, combine the oil, applesauce, honey, eggs, sugar, and vanilla extract.
Mix these ingredients together until they form a smooth and homogeneous mixture.
Step 4: Prepare the Squash for Mixing
Return to your squash and either press it into the colander to remove moisture or transfer it to a cheesecloth and wring out the moisture.
Aim to remove enough liquid so that the squash is not sopping wet; approximately ½ cup of liquid should be extracted.
Add the prepared squash to the oil mixture and combine thoroughly.
Step 5: Mix Wet and Dry Ingredients
Carefully add the sifted dry ingredients to the wet mixture.
Stir until the ingredients are just combined, ensuring there are no traces of flour left without overmixing the batter.
Overmixing can result in a dense texture.
Step 6: Bake the Bread
Prepare an 8×4 or 9×5 loaf pan by spraying it with nonstick cooking spray.
Pour the batter into the prepared pan, smoothing the top with a spatula if necessary.
Bake in the preheated oven for 50-60 minutes, depending on the strength of your oven.
Begin checking for doneness around the 50-minute mark by inserting a toothpick or knife into the center; it should come out clean when the bread is done.
For reference, 55 minutes proved to be the ideal time for me.
