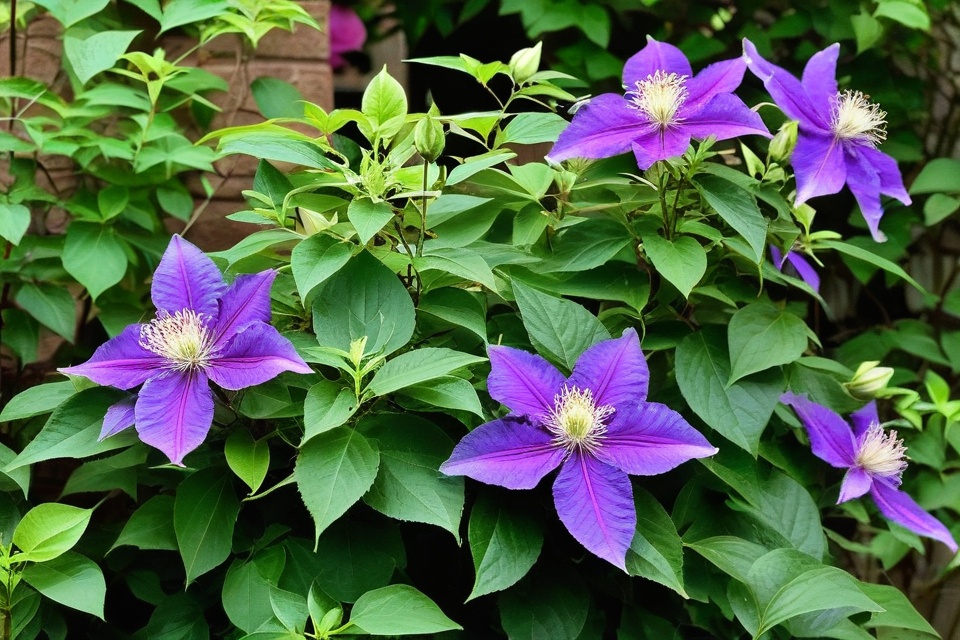
Love clematis blooms?
You can have more!
Propagating clematis is easier than you think. Follow these 7 simple tips, and you’ll enjoy endless flowers.
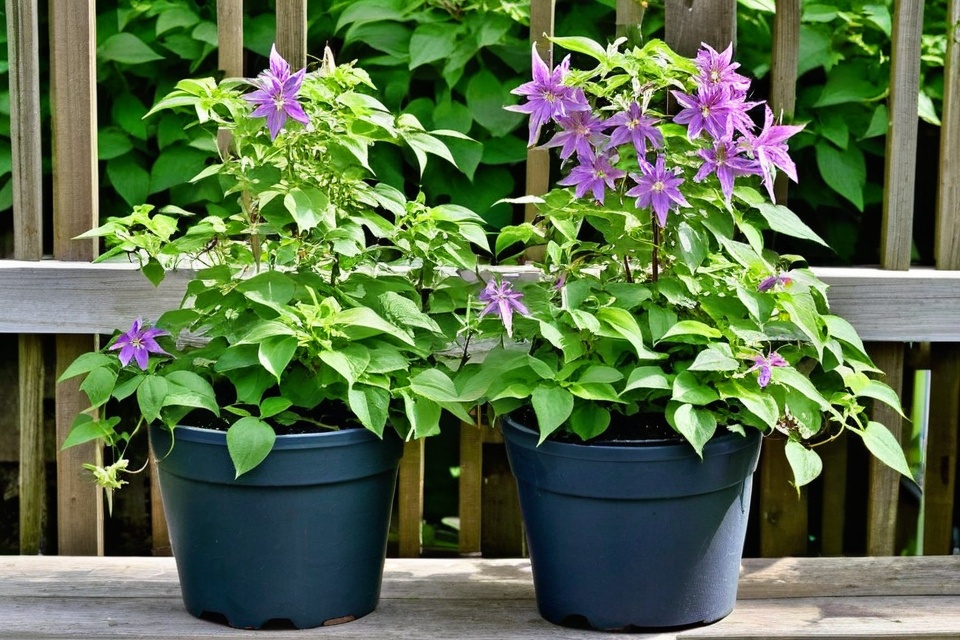
Ready for a garden full of beauty?
Let’s start!
Pick the Right Time
If you’re thinking about propagating your clematis, timing is everything! The best time to do it is in the spring or early summer when the plant is in active growth.
This ensures the cuttings have the energy they need to sprout roots. Avoid late fall or winter because the plant will be in a dormant phase, making it harder to get those cuttings to thrive.
Choose Healthy Stems
When selecting stems for your cuttings, pick ones that are healthy and strong. Look for stems that haven’t flowered yet, as they tend to root better.
Snip off about 4-6 inches from the tip, making sure there are a few nodes (those little bumps where leaves grow) on the stem. And remember, a happy plant makes happy cuttings!
Prepare Your Tools

Before you start snipping away, make sure you have clean, sharp tools. A pair of garden scissors or pruning shears will do the trick.
Sterilize them with rubbing alcohol to prevent any disease from spreading to your new cuttings. Trust us, your clematis will thank you for the extra TLC.
Dip in Rooting Hormone
To give your cuttings a little boost, dip the cut ends into rooting hormone powder. This stuff helps speed up the root-growing process.
Shake off any excess powder before planting the cutting into the soil. It’s like giving your clematis a head start in its new life!
Plant in Potting Mix
Fill small pots or seed trays with a well-draining potting mix. Stick the cuttings into the soil, making sure at least one node is buried.
Water them well, but don’t drown them. Keep the soil moist but not soggy.
Think of it as giving your clematis a cozy, spa-like environment to grow.
Create a Mini Greenhouse
To keep your cuttings warm and humid, cover the pots with a plastic bag or plastic bottle cut in half. This creates a mini greenhouse effect and helps retain moisture.
Place them in a bright spot but out of direct sunlight. Your cuttings will feel like they’re on a tropical vacation!
Be Patient and Observe
Patience is key when propagating clematis. It might take a few weeks to see roots forming.
During this time, check the moisture level in the soil regularly. Once you see roots poking out, you can gradually acclimate your new plants to outdoor conditions.
Soon enough, you’ll have new clematis plants ready to adorn your garden with beautiful blooms!
