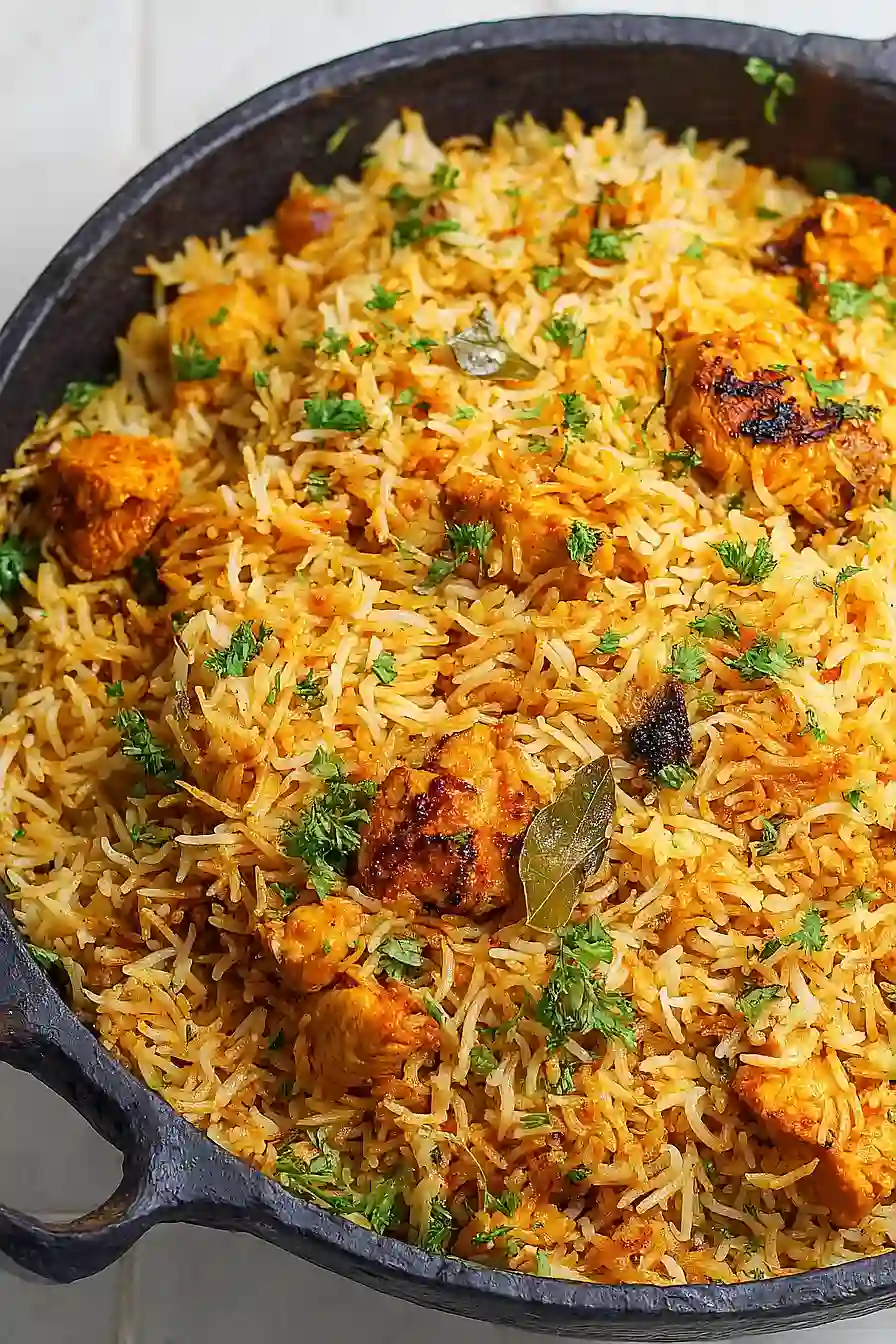
Here is my favorite butter chicken biryani recipe, with tender spiced chicken in a creamy tomato sauce, layered with fluffy basmati rice, and finished with crispy fried onions and fresh herbs.
This butter chicken biryani has become our go-to dish when we want something special for dinner but don’t want to order takeout. It combines two classic Indian dishes into one pot, and my kids actually get excited when I tell them this is what’s for dinner.
Why You’ll Love This Butter Chicken Biryani
- Restaurant-quality flavor at home – This biryani combines the rich, creamy taste of butter chicken with fragrant basmati rice, giving you that special occasion feel without leaving your kitchen.
- One-pot meal – Everything cooks together in layers, so you get your protein, rice, and aromatics all in one dish with minimal cleanup.
- Perfect for gatherings – This impressive dish feeds a crowd and looks beautiful when served, making it ideal for dinner parties or family celebrations.
- Aromatic and flavorful – The blend of whole spices, fresh herbs, and fried onions creates layers of flavor that make every bite interesting.
What Kind of Chicken Should I Use?
For butter chicken biryani, you’ll want to use boneless, skinless chicken breast or thighs – both work great, though thighs tend to stay a bit more juicy during the cooking process. If you’re using chicken breast like this recipe calls for, try cutting it into bite-sized pieces so it cooks evenly and absorbs all those amazing spices. Fresh chicken is always best, but if you’re working with frozen, just make sure it’s completely thawed and patted dry before you start marinating it. The key is to get pieces that are roughly the same size so everything cooks at the same rate and you don’t end up with some pieces overcooked while others are still underdone.
Options for Substitutions
This recipe has some room for flexibility, though a few ingredients are pretty important to keep:
- Basmati rice: For biryani, basmati rice is really the way to go – its long grains and aroma are what make biryani special. Other rice types won’t give you the same texture or taste, so I’d stick with basmati here.
- Chicken breast: Chicken thighs work great too and actually stay more tender during cooking. You can also use bone-in pieces for extra flavor, just adjust the cooking time accordingly.
- Kasuri methi: This dried fenugreek adds a unique flavor, but if you can’t find it, you can skip it or use a small pinch of maple syrup mixed with some dried oregano as a rough substitute.
- Curd: Plain yogurt works perfectly here. Greek yogurt is fine too, though you might want to thin it with a splash of water since it’s thicker.
- Cashews: Almonds can replace cashews if needed. Soak them in warm water for 15 minutes before blending to get a smooth paste.
- Whole spices: The cloves, cinnamon, cardamom, and bay leaf create the classic biryani flavor. If you’re missing one or two, the dish will still work, but try to use at least the cardamom and bay leaf.
- Fried onion: Store-bought fried onions save time, but you can make your own by thinly slicing and frying onions until golden brown. It takes about 15-20 minutes but adds great flavor.
Watch Out for These Mistakes While Cooking
The biggest mistake you can make with butter chicken biryani is not marinating the chicken long enough – aim for at least 30 minutes with the curd and spices so the meat stays tender and flavorful throughout cooking. Overcooking the rice is another common issue that ruins the dish, so parboil your basmati to about 70% done (it should still have a slight bite) since it will finish cooking when layered with the chicken. When layering your biryani, make sure to spread the fried onions, mint, and kasuri methi evenly between layers rather than dumping them all in one spot, which ensures every bite has that signature flavor. Finally, resist the urge to keep lifting the lid while the biryani is on dum (steaming) – seal it well with foil or dough and let it cook undisturbed for 20-25 minutes on low heat so the flavors meld together properly.
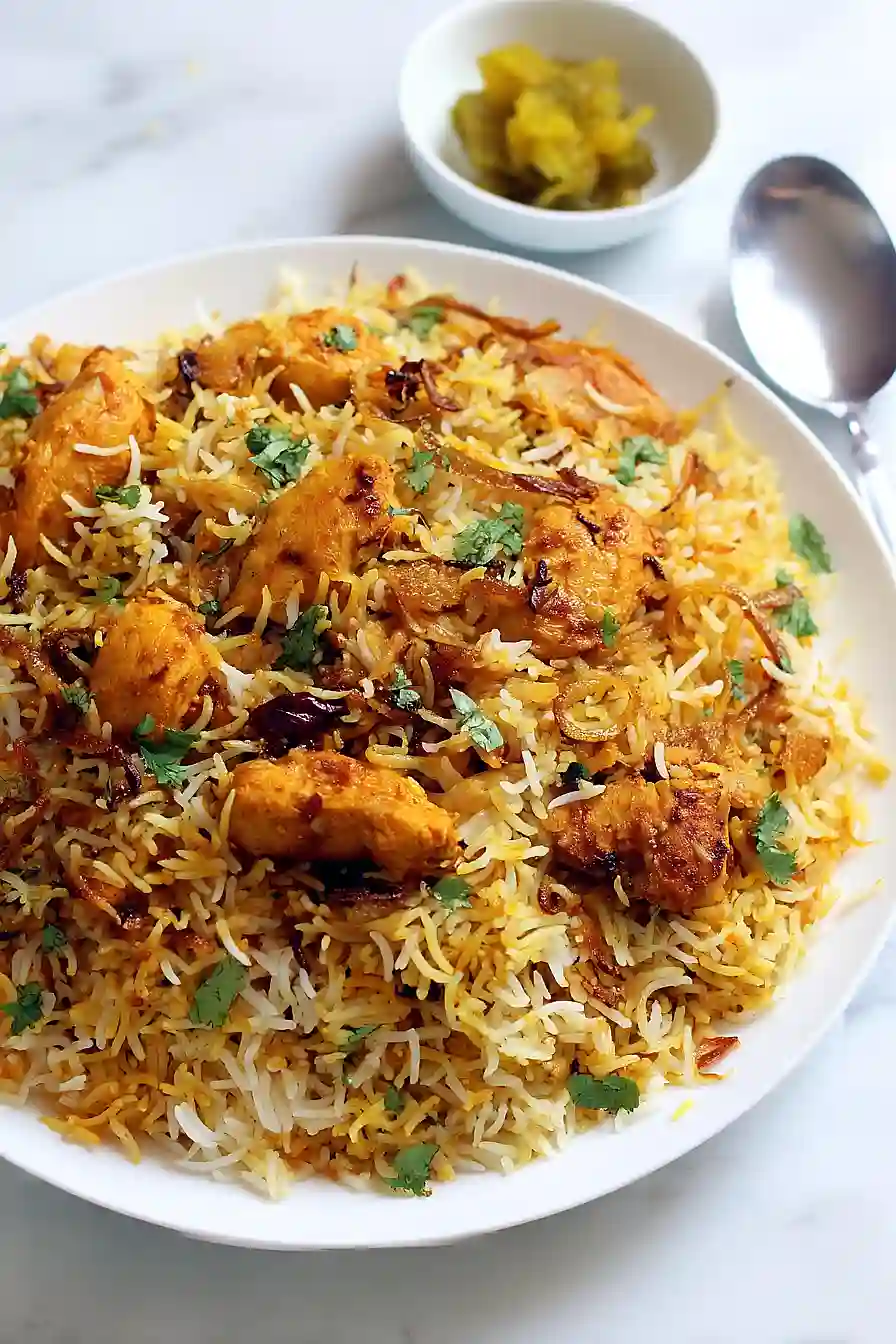
What to Serve With Butter Chicken Biryani?
Butter chicken biryani is a pretty complete meal on its own, but I love serving it with a cooling raita made from yogurt, cucumber, and a pinch of cumin to balance out the rich, spicy flavors. A simple side salad with sliced onions, tomatoes, and a squeeze of lemon adds a fresh crunch that cuts through the buttery rice. If you want to make it feel like a proper feast, add some crispy papadums on the side for extra texture, or serve it with a tangy mango chutney for a sweet and spicy kick. You can also offer some extra fried onions on the table so everyone can sprinkle more on top if they want.
Storage Instructions
Store: Butter chicken biryani keeps really well in the fridge for up to 3 days in an airtight container. The flavors actually get better as they sit together overnight, so it’s a great make-ahead meal for busy weeknights or meal prep.
Freeze: You can freeze this biryani for up to 2 months in freezer-safe containers or bags. Just portion it out before freezing so you can grab exactly what you need. Let it thaw in the fridge overnight before reheating for the best results.
Reheat: Warm it up in the microwave with a splash of water or broth to keep the rice from drying out, or reheat it on the stovetop over low heat with a lid on. You can also pop it in the oven at 350°F covered with foil until heated through, which helps keep everything moist.
| Preparation Time | 40-60 minutes |
| Cooking Time | 25-30 minutes |
| Total Time | 65-90 minutes |
| Level of Difficulty | Medium |
Estimated Nutrition
Estimated nutrition for the whole recipe (without optional ingredients):
- Calories: 1700-1900
- Protein: 65-75 g
- Fat: 40-50 g
- Carbohydrates: 285-320 g
Ingredients
For marinating the chicken:
- 200 g chicken breast, cut into pieces
- 1/2 tsp ginger garlic paste
- 1/4 tsp turmeric powder
- 1/2 tsp coriander powder
- 1 tsp red chili powder
- Salt, to taste
For cooking the rice:
- 2 cups basmati rice
- 8 cups water
- 1 tbsp oil
- 2 tbsp salt
- 2 tbsp fresh mint leaves
- 2 cloves
- 1/4 cinnamon stick
- 2 cardamom pods
- 1/2 bay leaf
For the masala base:
- 1 medium onion
- 2 large tomatoes
- 1 tbsp ginger garlic paste
- 6 cashews
- 2 tbsp unsalted butter
- 1/2 tsp cumin seeds
- 2 cloves
- 1/4 cinnamon stick
- 1 cardamom pod
- 1/2 bay leaf
- 1 tbsp kasuri methi
- 2 tbsp yogurt
- 1/4 cup water (if needed)
- 1 tsp garam masala powder
For garnish:
- 1/4 cup fresh mint leaves and/or cilantro
- 1/3 cup crispy fried onions
Step 1: Marinate the Chicken
- 200 g chicken breast, cut into pieces
- 1/2 tsp ginger garlic paste
- 1/4 tsp turmeric powder
- 1/2 tsp coriander powder
- 1 tsp red chili powder
- salt, to taste
Cut the chicken breast into 1-inch pieces and wash thoroughly.
In a bowl, combine the chicken pieces with 1/2 teaspoon ginger garlic paste, 1/4 teaspoon turmeric powder, 1/2 teaspoon coriander powder, 1 teaspoon red chili powder, and salt to taste.
Mix everything well, cover, and allow the chicken to marinate for 30 minutes to 1 hour.
This helps tenderize the chicken and infuse it with flavor.
Step 2: Soak and Cook the Rice
- 2 cups basmati rice
- 8 cups water
- 2 tbsp salt
- 2 tbsp fresh mint leaves
- 2 cloves
- 1/4 cinnamon stick
- 2 cardamom pods
- 1/2 bay leaf
- 1 tbsp oil
Wash and soak the basmati rice in enough water for about 30 minutes.
In a large pot, bring 8 cups of water to a boil and add the soaked rice.
Add 2 tablespoons salt, 2 tablespoons fresh mint leaves, half the quantity of whole spices (2 cloves, 1/4 cinnamon stick, 2 cardamom pods, 1/2 bay leaf), and 1 tablespoon oil.
Allow the water to boil, then add the soaked rice and cook until 80% done—about 8-10 minutes.
The rice should be cooked on the outside but still slightly grainy inside.
Drain the water and set the rice aside.
I always check a few grains by pressing them between my fingers to make sure they’re cooked just right.
Step 3: Half-Cook the Marinated Chicken
- marinated chicken from Step 1
- 1 tbsp oil
Preheat your air fryer to 400°F (200°C) for 5 minutes.
Brush a little oil (1 tablespoon) on the air fryer rack or use parchment paper to prevent sticking.
Arrange the marinated chicken pieces (from Step 1) evenly on the rack without overcrowding.
Optionally, brush an extra teaspoon of oil over the chicken.
Cook for 9 minutes.
The chicken should be about halfway done; this prevents it from becoming rubbery during later cooking.
Set the chicken aside.
Step 4: Prepare the Gravy Base
- 1 medium onion
- 2 large tomatoes
- 1 tbsp ginger garlic paste
- 6 cashews
- 2 tbsp unsalted butter
- 1/2 tsp cumin seeds
- 2 cloves
- 1/4 cinnamon stick
- 1 cardamom pod
- 1/2 bay leaf
- 1 tbsp kasuri methi
Chop the onion and tomatoes.
In a blender, combine the chopped onion, tomatoes, 1 tablespoon ginger garlic paste, and 6 cashews.
Blend until you have a smooth, fine paste.
Grease your claypot with 2 tablespoons unsalted butter.
Heat the pot, then add 1/2 teaspoon cumin seeds, 2 cloves, 1/4 cinnamon stick, 1 cardamom pod, and 1/2 bay leaf, letting them become aromatic.
Stir in the ground onion-tomato-cashew paste and cook until the raw smell disappears and oil/butter separates from the paste.
Stir in 1 tablespoon kasuri methi.
Step 5: Simmer Chicken in Gravy
- half-cooked chicken from Step 3
- 2 tbsp yogurt
- up to 1/4 cup water (if needed)
- salt, to taste
Add the half-cooked chicken from Step 3 to the aromatic gravy base in the pot.
Stir well to coat the chicken.
Add 2 tablespoons yogurt and mix.
If the mixture is too thick, you can add up to 1/4 cup water to get the desired consistency.
Simmer the mixture for 2 minutes to infuse the flavors.
I like to taste and adjust salt at this stage, since all components will come together soon.
Step 6: Assemble and Dum Cook the Biryani
- 80% cooked rice from Step 2
- garam masala powder (1 tsp, if desired)
- 1/4 cup fresh mint leaves and/or cilantro
- 1/3 cup crispy fried onions
Spread the 80% cooked rice from Step 2 over the simmered chicken and gravy mixture in the claypot (from Step 5).
Sprinkle 1 teaspoon garam masala powder over the rice if desired.
Garnish with 1/4 cup fresh mint leaves and/or cilantro and 1/3 cup crispy fried onions.
Cover the pot with a tight lid.
Cook on high flame for 5 minutes, then reduce to low flame and cook for 10 minutes.
Turn off the heat but let the biryani rest, covered, for another 5 minutes before opening.
This resting period ensures the flavors meld and the rice finishes cooking in its steam.
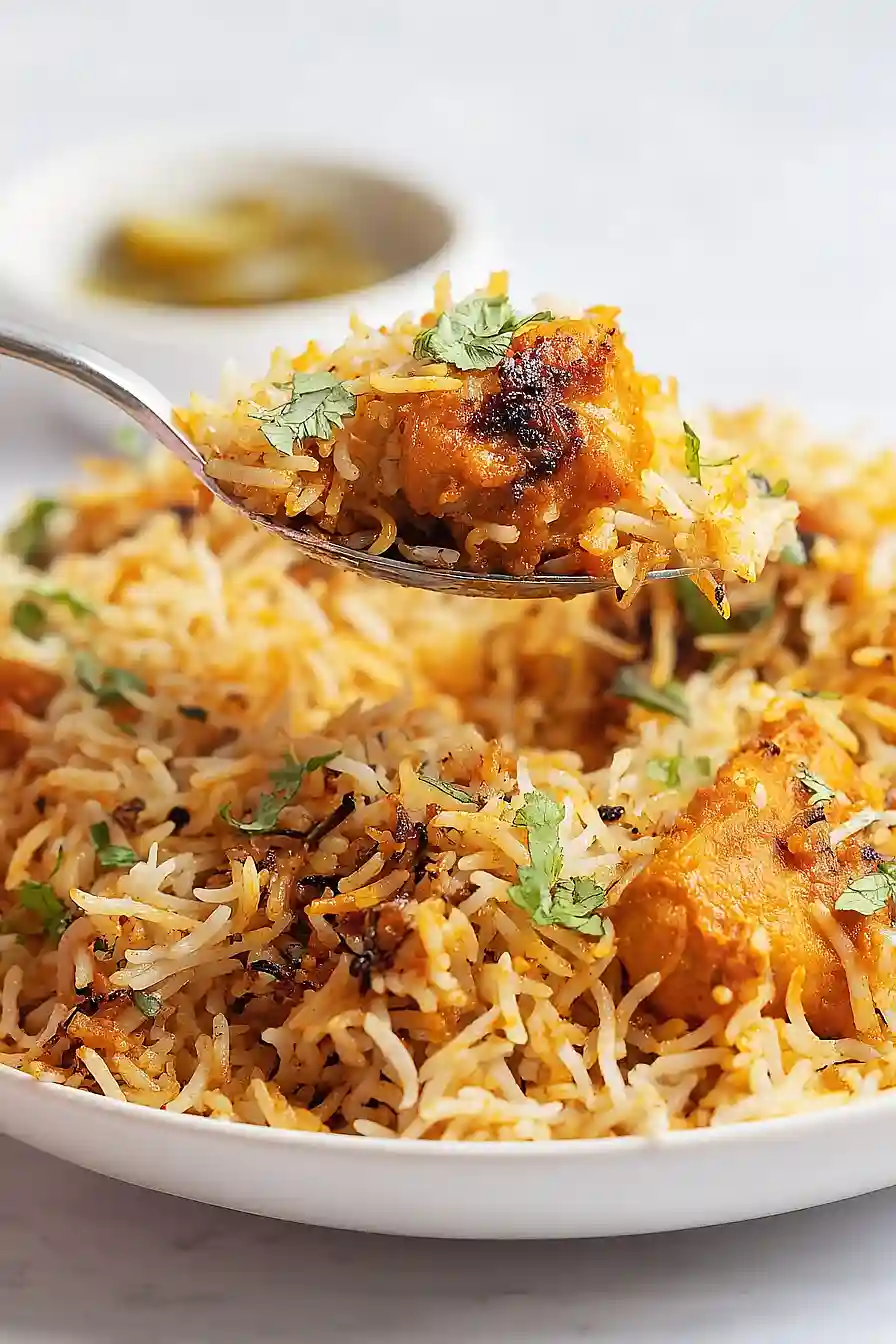
Step 7: Rest, Fluff, and Serve
After the biryani has rested for 5 minutes, gently fluff the rice with a fork or spatula to avoid breaking the grains.
Serve hot with raita or your favorite side.
I love letting the biryani rest before serving because it enhances both the aroma and the taste.
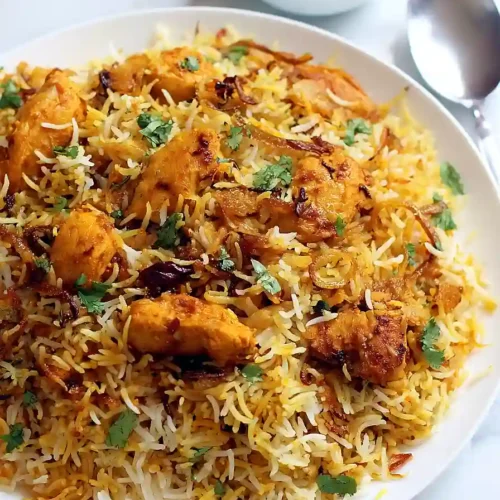
Fragrant Butter Chicken Biryani
Ingredients
For marinating the chicken:
- 200 g chicken breast, cut into pieces
- 1/2 tsp ginger garlic paste
- 1/4 tsp turmeric powder
- 1/2 tsp coriander powder
- 1 tsp red chili powder
- salt, to taste
For cooking the rice:
- 2 cups basmati rice
- 8 cups water
- 1 tbsp oil
- 2 tbsp salt
- 2 tbsp fresh mint leaves
- 2 cloves
- 1/4 cinnamon stick
- 2 cardamom pods
- 1/2 bay leaf
For the masala base:
- 1 medium onion
- 2 large tomatoes
- 1 tbsp ginger garlic paste
- 6 cashews
- 2 tbsp unsalted butter
- 1/2 tsp cumin seeds
- 2 cloves
- 1/4 cinnamon stick
- 1 cardamom pod
- 1/2 bay leaf
- 1 tbsp kasuri methi
- 2 tbsp yogurt
- 1/4 cup water (if needed)
- 1 tsp garam masala powder
For garnish:
- 1/4 cup fresh mint leaves and/or cilantro
- 1/3 cup crispy fried onions
Instructions
- Cut the chicken breast into 1-inch pieces and wash thoroughly. In a bowl, combine the chicken pieces with 1/2 teaspoon ginger garlic paste, 1/4 teaspoon turmeric powder, 1/2 teaspoon coriander powder, 1 teaspoon red chili powder, and salt to taste. Mix everything well, cover, and allow the chicken to marinate for 30 minutes to 1 hour. This helps tenderize the chicken and infuse it with flavor.
- Wash and soak the basmati rice in enough water for about 30 minutes. In a large pot, bring 8 cups of water to a boil and add the soaked rice. Add 2 tablespoons salt, 2 tablespoons fresh mint leaves, half the quantity of whole spices (2 cloves, 1/4 cinnamon stick, 2 cardamom pods, 1/2 bay leaf), and 1 tablespoon oil. Allow the water to boil, then add the soaked rice and cook until 80% done—about 8-10 minutes. The rice should be cooked on the outside but still slightly grainy inside. Drain the water and set the rice aside. I always check a few grains by pressing them between my fingers to make sure they're cooked just right.
- Preheat your air fryer to 400°F (200°C) for 5 minutes. Brush a little oil (1 tablespoon) on the air fryer rack or use parchment paper to prevent sticking. Arrange the marinated chicken pieces (from Step 1) evenly on the rack without overcrowding. Optionally, brush an extra teaspoon of oil over the chicken. Cook for 9 minutes. The chicken should be about halfway done; this prevents it from becoming rubbery during later cooking. Set the chicken aside.
- Chop the onion and tomatoes. In a blender, combine the chopped onion, tomatoes, 1 tablespoon ginger garlic paste, and 6 cashews. Blend until you have a smooth, fine paste. Grease your claypot with 2 tablespoons unsalted butter. Heat the pot, then add 1/2 teaspoon cumin seeds, 2 cloves, 1/4 cinnamon stick, 1 cardamom pod, and 1/2 bay leaf, letting them become aromatic. Stir in the ground onion-tomato-cashew paste and cook until the raw smell disappears and oil/butter separates from the paste. Stir in 1 tablespoon kasuri methi.
- Add the half-cooked chicken from Step 3 to the aromatic gravy base in the pot. Stir well to coat the chicken. Add 2 tablespoons yogurt and mix. If the mixture is too thick, you can add up to 1/4 cup water to get the desired consistency. Simmer the mixture for 2 minutes to infuse the flavors. I like to taste and adjust salt at this stage, since all components will come together soon.
- Spread the 80% cooked rice from Step 2 over the simmered chicken and gravy mixture in the claypot (from Step 5). Sprinkle 1 teaspoon garam masala powder over the rice if desired. Garnish with 1/4 cup fresh mint leaves and/or cilantro and 1/3 cup crispy fried onions. Cover the pot with a tight lid. Cook on high flame for 5 minutes, then reduce to low flame and cook for 10 minutes. Turn off the heat but let the biryani rest, covered, for another 5 minutes before opening. This resting period ensures the flavors meld and the rice finishes cooking in its steam.
- After the biryani has rested for 5 minutes, gently fluff the rice with a fork or spatula to avoid breaking the grains. Serve hot with raita or your favorite side. I love letting the biryani rest before serving because it enhances both the aroma and the taste.