For anyone dealing with nut allergies, finding a good pesto recipe can feel like searching for a needle in a haystack. Between dodging pine nuts at restaurants and scrutinizing every jarred sauce label at the grocery store, getting that classic pesto flavor while staying safe can be frustrating – especially when you’re trying to put a quick weeknight dinner on the table.
That’s where this nut-free pesto comes in: it delivers all the fresh, herby goodness you love, is completely allergy-friendly, and comes together in just minutes with basic pantry ingredients you probably already have at home.
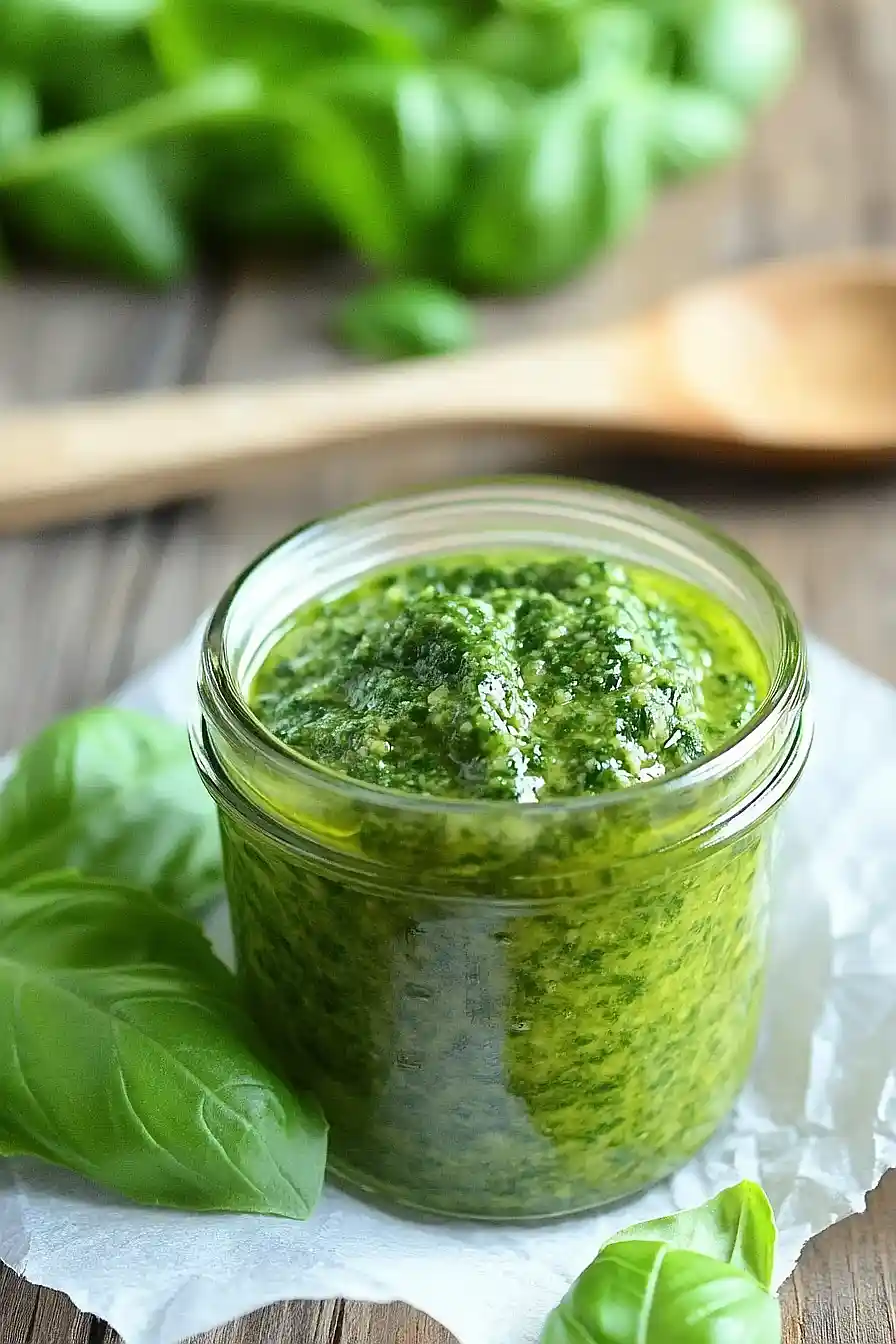
Why You’ll Love This Nut-Free Pesto
- Allergy-friendly – Perfect for anyone with nut allergies or sensitivities, this pesto gives you all the classic flavor without any worry about allergens.
- Quick preparation – Ready in just 10 minutes, this sauce comes together faster than you can boil your pasta.
- Simple ingredients – With just 6 basic ingredients you probably already have (except maybe the basil), this recipe keeps shopping simple and stress-free.
- Budget-friendly – By skipping expensive pine nuts or other nuts, this pesto is more affordable than traditional versions while maintaining that classic Italian taste.
What Kind of Basil Should I Use?
Sweet basil (also called Genovese basil) is your best bet for making traditional pesto – it’s the most common variety you’ll find at grocery stores and has that classic pesto flavor we all know and love. The leaves should be bright green and perky, not wilted or spotted with dark marks. If you can only find Thai basil, it’ll work in a pinch, but it has a stronger, more licorice-like flavor that might change the taste of your pesto. When prepping your basil, just pick the leaves off the stems and give them a gentle wash and pat dry – wet basil won’t blend as nicely into a smooth sauce.

Options for Substitutions
This nut-free pesto is already a great alternative to traditional pesto, and you can make even more swaps if needed:
- Basil leaves: While basil gives that classic pesto flavor, you can experiment with other greens. Try using baby spinach, arugula, or even kale. You could also do a mix of herbs like parsley and basil. Just keep in mind that each green will bring its own unique taste.
- Parmesan cheese: Out of Parmesan? Pecorino Romano or Asiago make great substitutes. For a dairy-free version, try nutritional yeast – start with 1/3 cup and adjust to taste. You might need to add a bit more salt.
- Olive oil: While olive oil is pretty essential for pesto, you can use avocado oil if that’s what you have. Just avoid oils with strong flavors like coconut oil.
- Garlic: Fresh garlic is best, but in a pinch, you can use 1/2 teaspoon of garlic powder. If you’re not big on garlic, roasted garlic offers a milder, sweeter flavor – use 4-5 cloves instead.
Watch Out for These Mistakes While Making
The biggest challenge when making nut-free pesto is preventing the basil from turning brown and losing its fresh taste – to avoid this, blanch your basil leaves in boiling water for just 5-10 seconds, then immediately plunge them into ice water before patting them completely dry.
Another common mistake is adding too much garlic, which can overpower the delicate basil flavor – start with one clove and taste before adding the second, as you can always add more but can’t take it away.
The order of ingredients matters more than you might think – blend the basil and garlic first until finely chopped, then add the cheese, and only drizzle in the olive oil at the very end while the blender is running on low speed to create the perfect emulsion.
For the best texture and flavor, avoid over-processing your pesto – pulse just until combined, as too much blending can make the mixture bitter and give it a paste-like consistency rather than the slightly chunky texture you’re looking for.
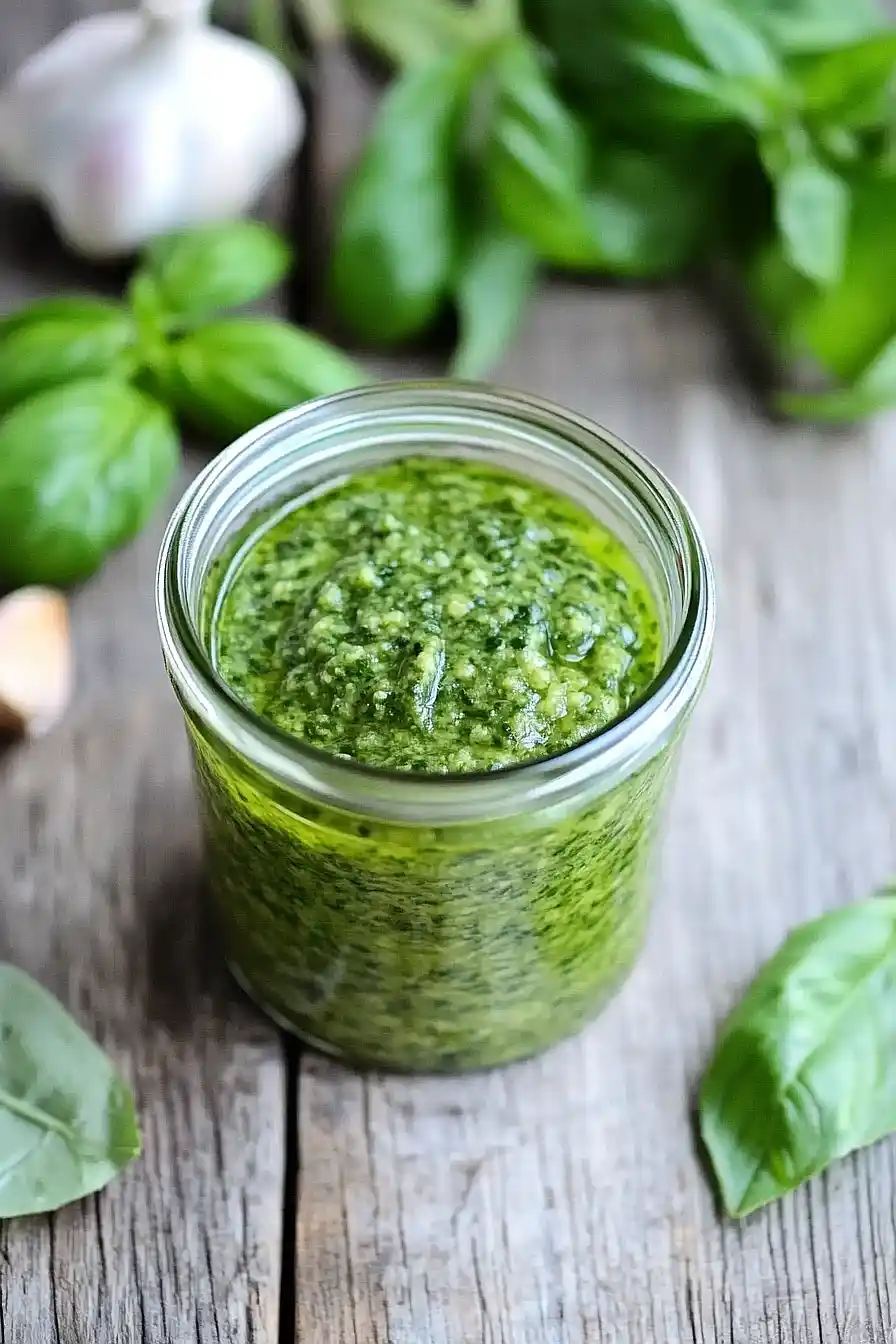
What to Serve With Nut-Free Pesto?
This fresh pesto is super flexible and works great as both a sauce and a spread! The most obvious (and delicious) way to serve it is tossed with your favorite pasta – I particularly like it with linguine or bow-tie pasta. You can also spread it on sandwiches or wraps for an instant flavor boost, or use it as a topping for grilled chicken or fish. For a light appetizer option, try spreading it on toasted baguette slices and topping with cherry tomatoes, or stir a spoonful into your favorite vegetable soup just before serving.
Storage Instructions
Keep Fresh: This nut-free pesto stays fresh in an airtight container in the fridge for up to 5 days. Pro tip: pour a thin layer of olive oil on top of the pesto before sealing the container – this helps prevent the basil from turning brown and keeps the flavors locked in!
Freeze: Got extra pesto? Pour it into ice cube trays and freeze until solid. Then pop out the cubes and store them in a freezer bag for up to 6 months. Each cube is perfect for individual portions – just thaw what you need when you’re ready to use it!
Make Ahead: This pesto is great for meal prep! Make a double batch on Sunday and you’ll have it ready to toss with pasta, spread on sandwiches, or mix into dressings throughout the week. The garlic flavor actually gets better after a day or two in the fridge.
| Preparation Time | 10-15 minutes |
| Cooking Time | 0 minutes |
| Total Time | 10-15 minutes |
| Level of Difficulty | Easy |
Estimated Nutrition
Estimated nutrition for the whole recipe (without optional ingredients):
- Calories: 700-800
- Protein: 20-25 g
- Fat: 70-80 g
- Carbohydrates: 8-10 g
Ingredients
- 2 garlic cloves (peeled and roughly chopped)
- 1/2 cup grated parmesan cheese (freshly grated for best flavor, not pre-shredded)
- 1/4 cup olive oil (I use California Olive Ranch extra virgin olive oil)
- 2 cups fresh basil leaves (about 2 oz by weight, packed tightly)
- 1/8 tsp black pepper (freshly ground for better aroma)
- 1/4 tsp salt
Step 1: Prepare the Basil
Start by washing the basil leaves thoroughly to remove any dirt or impurities.
Once clean, gently pat them dry with a paper towel or clean kitchen cloth.
Carefully remove and discard the stems to focus on the flavorful leaves.
Step 2: Blend the Ingredients
Place the cleaned basil leaves and all other ingredients you wish to include in your sauce into a food processor.
Pulse the mixture until you reach your desired consistency, whether you prefer a smoother sauce or something with a bit more texture.
Step 3: Use and Serve
Once you’re satisfied with the consistency of your sauce, it’s ready to be served.
You can enjoy it over pasta, pizza, grilled chicken, or roasted veggies.
Additionally, this sauce makes an excellent marinade to infuse flavor into your favorite dishes before cooking.