Making your own dill pickles at home might seem like one of those old-fashioned kitchen projects that’s not worth the effort. Between running errands, keeping up with work, and trying to get dinner on the table each night, who has time to pickle their own cucumbers?
But here’s the thing – homemade dill pickles are actually super easy to make, cost way less than store-bought ones, and taste so much better. Plus, you can control exactly what goes into them, avoiding any preservatives or artificial ingredients you might want to skip.
Why You’ll Love These Dill Pickles
- Easy preparation – Just combine the brine ingredients, pack your cucumbers with spices, and let time do the rest – no special equipment or complicated steps needed.
- Better than store-bought – These homemade pickles have a fresh, crisp crunch and natural flavor that beats anything you’ll find in the grocery store, without any artificial preservatives.
- Cost-effective – Making your own pickles costs a fraction of what you’d pay for artisanal pickles at the store, and you can make several jars at once.
- Customizable flavor – You can adjust the garlic, dill, and spices to make them exactly how you like them – more garlicky, extra dilly, or with added heat from red pepper flakes.
What Kind of Cucumbers Should I Use?
For homemade pickles, Persian or pickling cucumbers are your best friends. These smaller varieties have thinner skin, fewer seeds, and a crunchier texture than regular slicing cucumbers you’d put in a salad. Persian cucumbers are usually about 4-5 inches long and have a consistent shape that makes them perfect for fitting into jars. If you can’t find Persian cucumbers, Kirby cucumbers (often labeled as “pickling cucumbers” at the store) work just as well. Just avoid using regular garden cucumbers or English cucumbers – they’re too watery and can turn mushy during the pickling process. The most important thing is to pick cucumbers that are firm and fresh, without any soft spots or blemishes.
Options for Substitutions
Making pickles at home is fun and you’ve got some wiggle room with the ingredients:
- Cucumbers: Persian or pickling cucumbers work best here and shouldn’t be substituted with regular cucumbers – they’ll turn too soft. If you can’t find either type, Kirby cucumbers are a good alternative.
- White distilled vinegar: You can swap this with apple cider vinegar or rice vinegar, but it might change the color and add a different flavor note. Avoid balsamic or red wine vinegar as they’ll affect the pickle’s appearance too much.
- Cane sugar: Regular white sugar works just fine here. For a different sweetness, try honey (use 3 tablespoons instead of ¼ cup) or maple syrup.
- Fresh dill: Fresh dill is pretty important for that classic pickle taste, but in a pinch, you can use 2 teaspoons of dried dill per jar. The flavor won’t be quite the same, but it’ll work.
- Mustard seeds: Out of mustard seeds? Try using 1 teaspoon of celery seeds or coriander seeds instead. Each will give a slightly different but nice flavor.
- Sea salt: You can use kosher salt instead, but avoid regular table salt – it has additives that can make your pickles cloudy. If using kosher salt, add an extra ½ tablespoon.
Watch Out for These Mistakes While Making
The biggest mistake when making dill pickles is using regular cucumbers instead of pickling or Persian cucumbers – regular ones will turn mushy and lack that signature crunch we all love in pickles. Another common error is skipping the crucial step of trimming off the blossom end of the cucumber, which contains enzymes that can lead to soft, limp pickles – simply cut off about 1/16 inch from each end before jarring. To ensure your pickles stay crisp, avoid using iodized table salt and stick with pure sea salt or pickling salt, as the additives in table salt can make your brine cloudy and affect the texture of your pickles. For the best flavor development, make sure your brine is completely cooled before pouring it over your cucumbers, and resist the urge to open the jars too early – giving them at least 48 hours in the refrigerator allows the flavors to properly develop.
What to Serve With Dill Pickles?
These homemade dill pickles make the perfect sidekick to so many classic dishes! They’re great alongside sandwiches – from basic turkey and cheese to a hefty Reuben or juicy burger. I love adding them to charcuterie boards with different cheeses, meats, and crackers for easy entertaining. You can also chop them up to make a quick relish for hot dogs and bratwurst, or serve them as a crunchy side dish with barbecue favorites like pulled pork and grilled chicken. Just remember to keep a jar in the fridge – you’ll be surprised how often you reach for them!
Storage Instructions
Let them pickle: After making your pickles, let them hang out in the fridge for at least 24 hours before diving in – this gives them time to develop their tangy flavor. The longer they sit, the more flavorful they’ll become!
Keep cool: These homemade dill pickles will stay crunchy and fresh for up to 2 months when stored in airtight jars in the refrigerator. Make sure the pickles stay completely submerged in the brine to keep them nice and crisp.
Jar tips: Always use clean utensils when reaching into your pickle jar to avoid introducing any bacteria. If you notice any odd smell, fizzing, or mold, it’s best to say goodbye to that batch and start fresh.
| Preparation Time | 15-20 minutes |
| Cooking Time | 5 minutes |
| Total Time | 15-20 minutes plus 1-6 days for pickling |
| Level of Difficulty | Easy |
Estimated Nutrition
Estimated nutrition for the whole recipe (without optional ingredients):
- Calories: 200-250
- Protein: 2-4 g
- Fat: 0-1 g
- Carbohydrates: 50-60 g
Ingredients
For the pickles:
- several fresh dill sprigs (about 4 large sprigs)
- 4 garlic cloves
- 2 tsp mustard seeds
- 12-14 Persian cucumbers
- 2 tsp whole peppercorns
For the brine:
- 1/4 cup cane sugar
- 2 cups water
- 2 cups white distilled vinegar
- 2 tbsp sea salt (I prefer Morton’s sea salt)
Step 1: Prepare the Cucumbers
Decide on the style of pickles you want.
For dill pickle spears, slice the cucumbers lengthwise into quarters.
For dill pickle chips, thinly slice them horizontally.
This will allow the brine to penetrate more effectively, enhancing flavor.
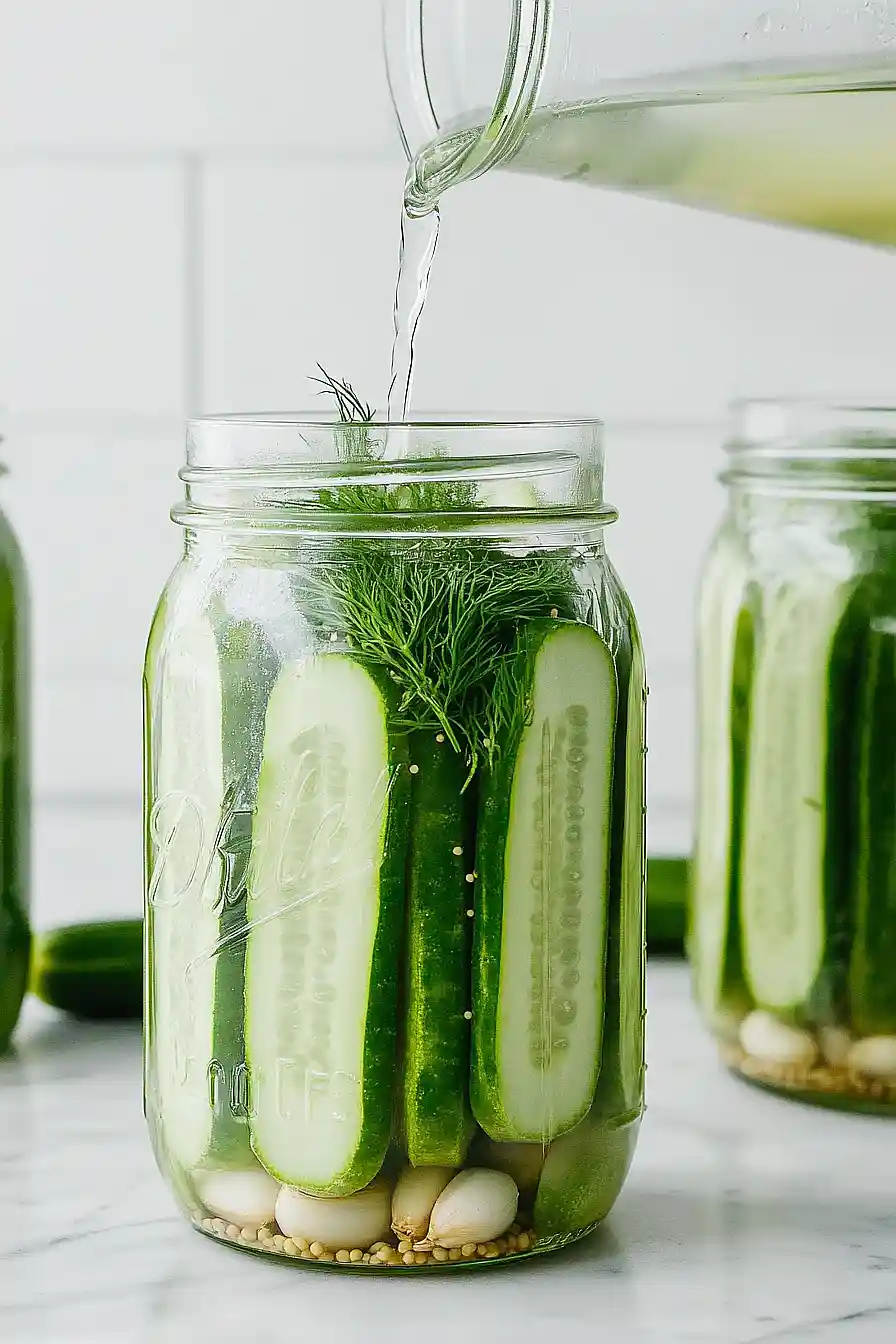
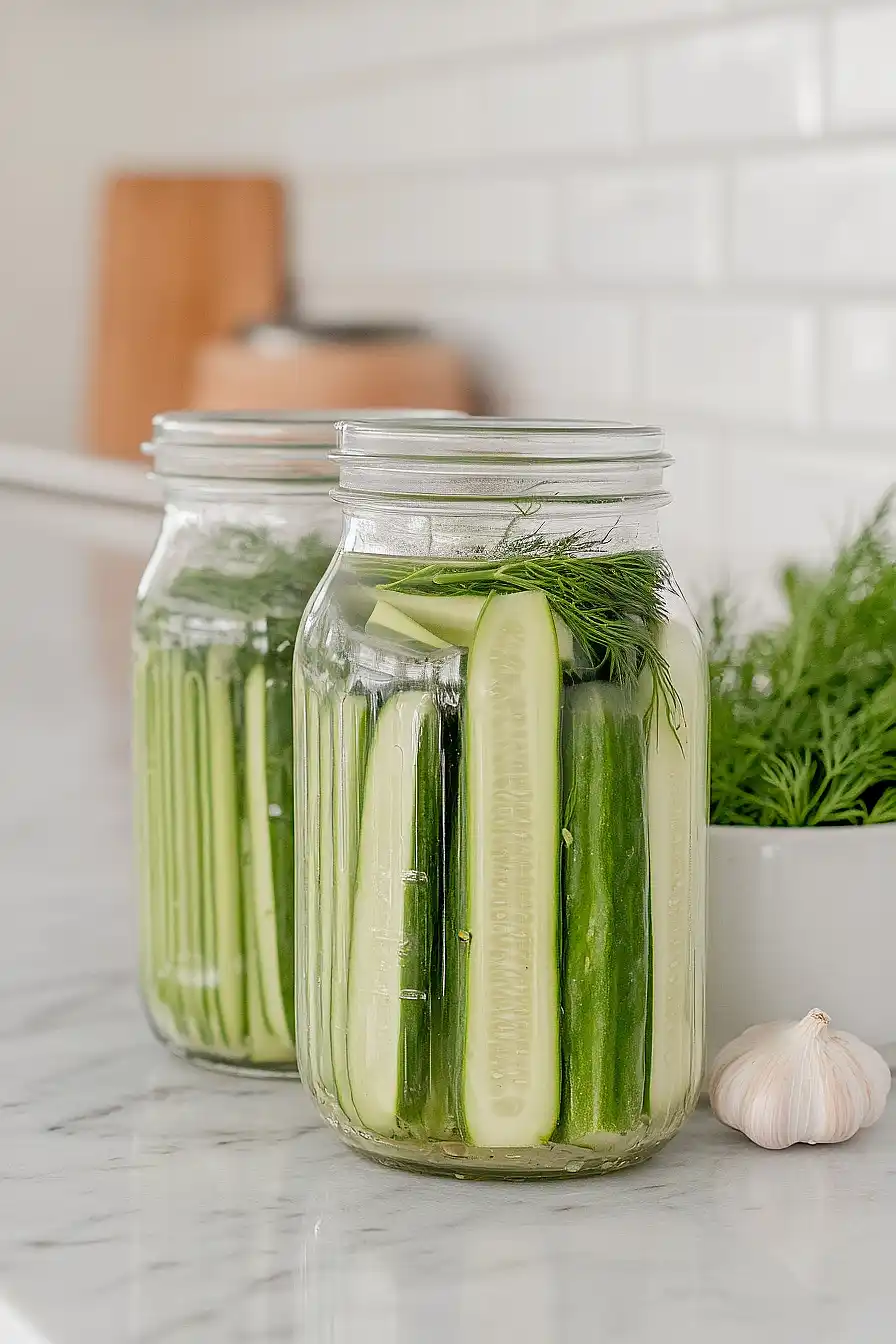
Step 2: Assemble the Jars
Take four 8-ounce jars or two 16-ounce jars and divide the sliced cucumbers among them.
Add equal amounts of garlic, mustard seeds, peppercorns, and dill sprigs to each jar.
These ingredients will infuse the cucumbers with classic pickle flavors.
Step 3: Make the Brine
In a medium saucepan, combine water, vinegar, sugar, and salt.
Heat the mixture over medium heat, stirring until the sugar and salt completely dissolve, which should take about one minute.
This ensures an even distribution of flavors throughout the brine.
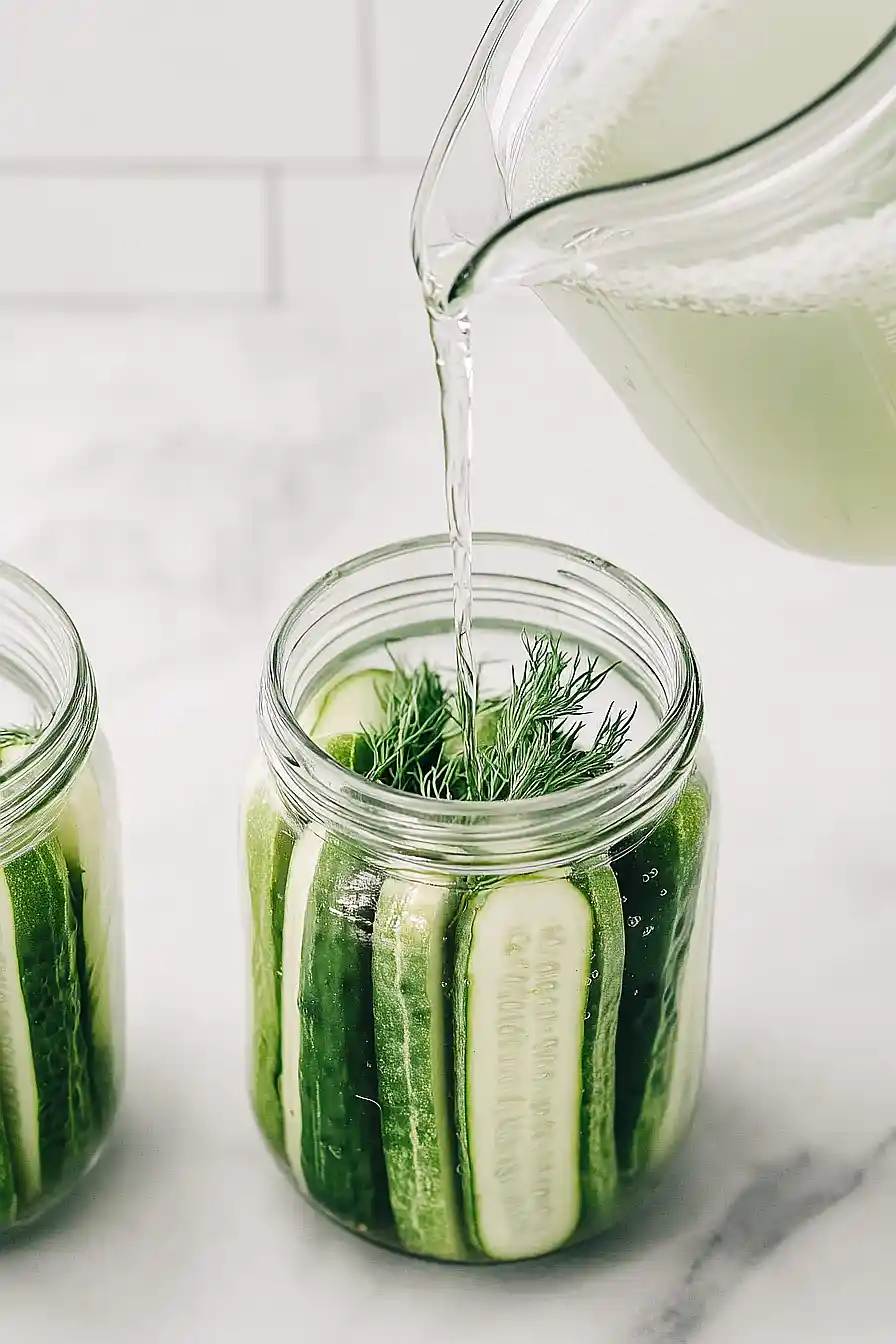
Step 4: Add Brine to Jars
Allow the brine to cool slightly before pouring it over the cucumbers in the jars.
Make sure the cucumbers are fully submerged in the liquid.
This helps achieve a uniform pickle throughout each piece.
Step 5: Cool and Store
Set the jars aside to cool to room temperature.
Once cooled, seal the jars and store them in the refrigerator.
Dill pickle spears will be lightly pickled in about 2 days and will develop their best flavor around day 5 or 6.
Dill pickle chips will be lightly pickled in 1 day and will become increasingly flavorful over time.
They can be stored in the fridge for several weeks, where they will continue to develop taste.
