If you ask me, eggless brownies are a game-changer for home baking.
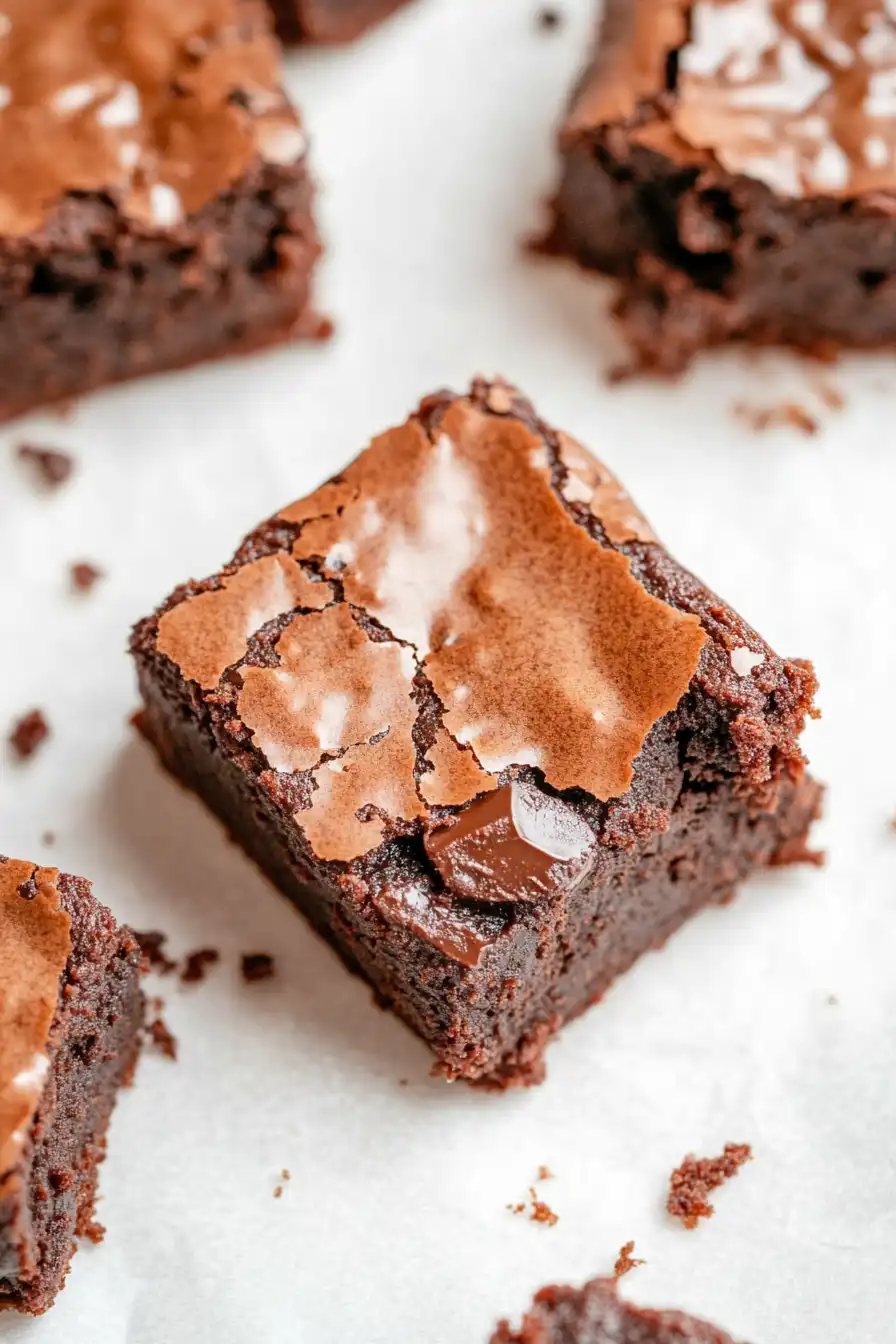
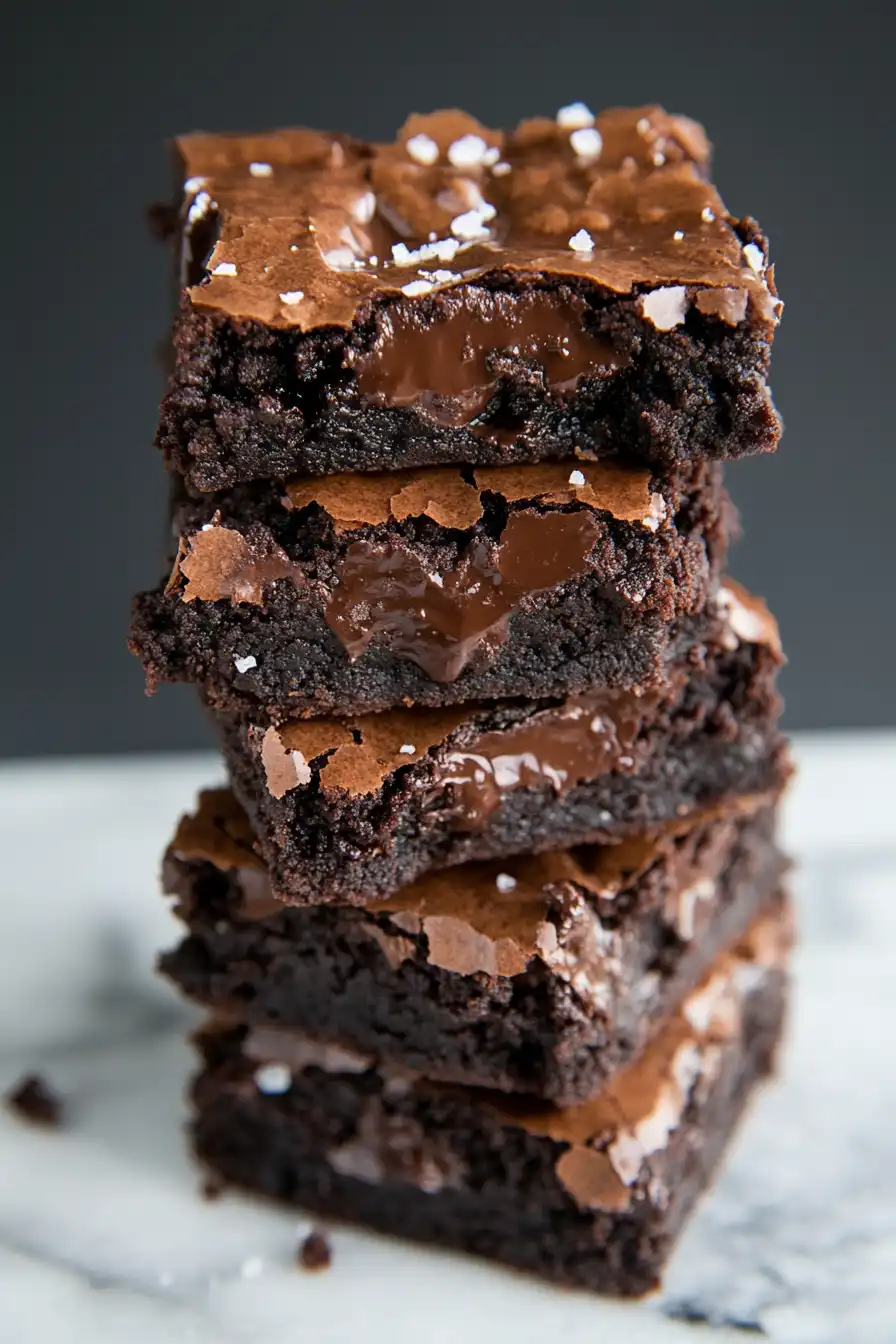
These rich, chocolatey squares are perfect for anyone who can’t have eggs or just ran out of them mid-baking session. With a fudgy center and that classic crackly top, you wouldn’t even guess they’re made without eggs.
The secret lies in using simple pantry ingredients that work together to create that dense, chewy texture we all love in a good brownie. A bit of coffee brings out the chocolate flavor, while vegetable oil keeps them nice and moist.
It’s a reliable recipe that satisfies any chocolate craving, and bonus – you can lick the bowl without worry!
Why You’ll Love These Eggless Brownies
- Allergy-friendly dessert – Perfect for those with egg allergies or following a vegetarian diet, these brownies deliver all the chocolate goodness without any eggs.
- Simple pantry ingredients – You only need basic baking staples to make these brownies, and they’re easily adaptable with different types of milk and chocolate to suit your dietary needs.
- Rich chocolate taste – The combination of cocoa powder and chocolate pieces creates that classic fudgy brownie flavor you’re craving.
- No special equipment needed – Just mix your ingredients in a bowl – no need for electric mixers or complicated tools, making this perfect for beginner bakers.
What Kind of Chocolate Should I Use?
For these eggless brownies, you’ve got plenty of chocolate options to play with. Semi-sweet chocolate chips or chunks are the most common choice and will give you that classic brownie taste, but dark chocolate (around 60-70% cocoa) can add a richer, more intense flavor. If you’re going for super sweet brownies, milk chocolate pieces work too – just keep in mind they might make your brownies extra sweet since the recipe already includes condensed milk. When choosing your chocolate, look for pieces that melt smoothly (check the ingredients – cocoa butter should be listed) and avoid chocolate chips specifically labeled “baking chips” as these are designed to hold their shape and won’t melt as nicely into your batter.
Options for Substitutions
This eggless brownie recipe is pretty adaptable – here are some handy swaps you can try:
- Self-raising flour: If you don’t have self-raising flour, use all-purpose flour plus 2 teaspoons of baking powder and 1/4 teaspoon of salt.
- Cocoa powder: Both natural and Dutch-process cocoa powder work here. Just don’t skip it – it’s essential for that chocolate flavor!
- Caster sugar: Regular granulated sugar works fine – just blend it for a few seconds in a food processor to make it finer. Brown sugar is also good but will make the brownies slightly more moist.
- Condensed coconut milk: Regular sweetened condensed milk works perfectly. For a vegan version, stick with condensed coconut milk or try store-bought vegan condensed milk alternatives.
- Vegetable oil: Any neutral oil works – try canola, sunflower, or melted coconut oil. Just avoid strongly flavored oils like olive oil.
- Almond milk: Any milk works here – dairy or plant-based. Try soy milk, oat milk, or regular dairy milk.
- Chocolate pieces: Feel free to use any chocolate you like – dark, milk, or even white chocolate. Chocolate chips are perfect, or just chop up a chocolate bar.
Watch Out for These Mistakes While Baking
The biggest challenge when making eggless brownies is achieving that perfect fudgy texture – overmixing the batter can lead to tough, dense brownies, so stir just until the ingredients are combined and no dry flour is visible.
Temperature control is crucial – melting your chocolate pieces over too high heat can cause them to seize and become grainy, so use a double boiler or microwave in short 30-second bursts, stirring between each interval.
Many bakers make the mistake of overbaking eggless brownies – remember that they continue cooking slightly after being removed from the oven, so take them out when a toothpick inserted in the center comes out with a few moist crumbs (not completely clean).
For the best texture, resist the urge to cut into them right away – letting the brownies cool completely for at least 2 hours allows them to set properly and makes cutting much cleaner.
What to Serve With Eggless Brownies?
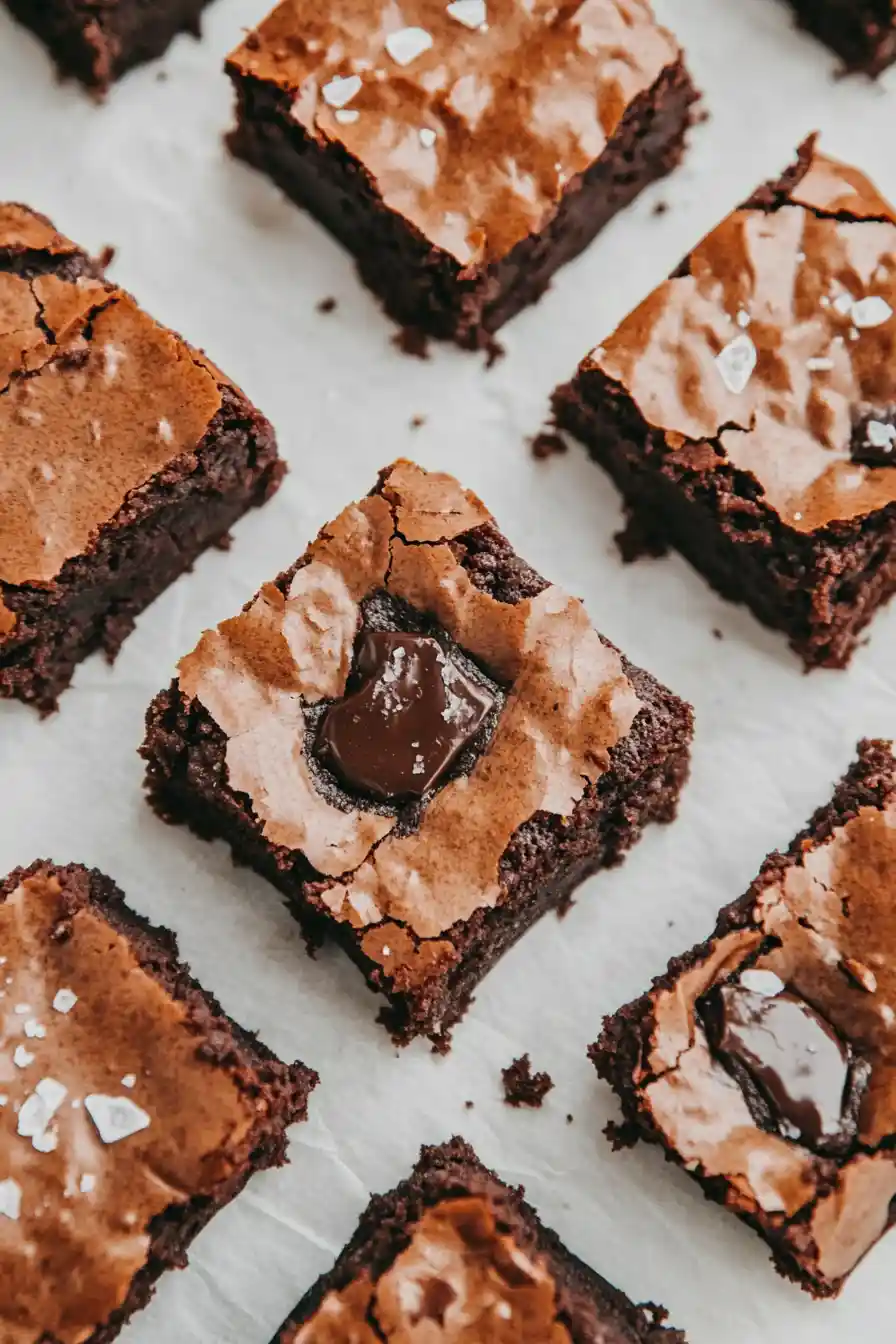
These rich, chocolatey brownies are perfect on their own, but there are so many fun ways to dress them up! A scoop of vanilla ice cream on top of a warm brownie creates that perfect hot-and-cold combo that everyone loves. For a quick dessert bar setup, put out some fresh berries, whipped cream, and warm caramel sauce so everyone can customize their brownie. If you’re serving these at a party, a cold glass of milk (dairy or non-dairy) is always welcome to help wash down all that chocolate goodness.
Storage Instructions
Counter Storage: These eggless brownies stay fresh at room temperature for up to 3 days when kept in an airtight container. I like to place a piece of parchment paper between layers to prevent them from sticking together. They’re perfect for grabbing a sweet treat whenever the chocolate craving hits!
Refrigerate: Pop these brownies in an airtight container in the fridge, and they’ll stay good for up to a week. The cool temperature actually makes them even more fudgy – it’s like they get better with time! Just remember to bring them to room temperature before serving for the best texture.
Freeze: These brownies are great for freezing! Cut them into squares, wrap them individually in plastic wrap, then place in a freezer bag. They’ll keep well for up to 3 months. When you’re ready for a treat, just take out what you need and let them thaw at room temperature for about an hour.
| Preparation Time | 15-20 minutes |
| Cooking Time | 30-35 minutes |
| Total Time | 45-55 minutes |
| Level of Difficulty | Medium |
Estimated Nutrition
Estimated nutrition for the whole recipe (without optional ingredients):
- Calories: 2000-2200
- Protein: 20-25 g
- Fat: 90-100 g
- Carbohydrates: 280-300 g
Ingredients
For the dry ingredients:
- 1/2 cup fine sugar (granulated sugar works well here)
- 3 tbsp cocoa powder
- 1.5 cups plus 1 tbsp self-raising flour
For the wet ingredients:
- 1 can condensed coconut milk (Country Choice Organic is my preference)
- 5 tbsp vegetable oil
- 1/4 cup plus 1 tbsp unsweetened almond milk
For the remainder:
- 1 cup plus 2 tbsp chocolate pieces (I use Guittard baking chips)
- 1 8×8-inch baking pan
Step 1: Prepare the Baking Pan and Preheat the Oven
Start by preheating your oven to 180°C (350°F).
Take an 8 x 8-inch baking pan and line it with parchment paper.
Set the pan aside for later use, ensuring it’s ready when your batter is complete.
Step 2: Mix the Dry Ingredients
In a large mixing bowl, combine your chosen flour, cocoa powder, and superfine sugar.
Stir these dry ingredients together until well integrated.
This will ensure an even distribution of flavors and texture in the brownies.
Step 3: Prepare the Wet Ingredients
In a microwave-safe bowl, add one cup of your chocolate.
Microwave in 20-second spurts, stirring between intervals, until the chocolate is fully melted and smooth.
To the melted chocolate, add the condensed milk, oil, and milk.
Whisk these wet ingredients together until they are completely smooth and well-blended.
Step 4: Combine Wet and Dry Ingredients
Slowly pour the wet ingredient mixture into the bowl with the dry ingredients.
Mix them together gently until just combined.
Be careful not to over-mix, as this can affect the texture of the brownies.
Fold in the remaining chocolate pieces to distribute them throughout the batter.
Step 5: Bake the Brownies
Transfer the brownie batter into the prepared, lined pan, smoothing out the top with a spatula.
Place the pan in the preheated oven and bake for 30-35 minutes.
The brownies are ready when a skewer or toothpick inserted into the center comes out clean or with just a few moist crumbs.
Step 6: Cool and Serve
Remove the brownies from the oven and set them on a wire rack to cool completely in the pan.
Once cooled, carefully lift the parchment paper to remove the brownies from the pan.
Slice into squares and serve.
Enjoy your homemade chocolatey treat!