Finding a cookie recipe that’s both simple and a little different from the usual chocolate chip or sugar cookie can be tough. You want something that doesn’t require a ton of special equipment or crazy techniques, but still brings something new to the table when you’re craving a sweet treat or need to whip up something for a baking swap.
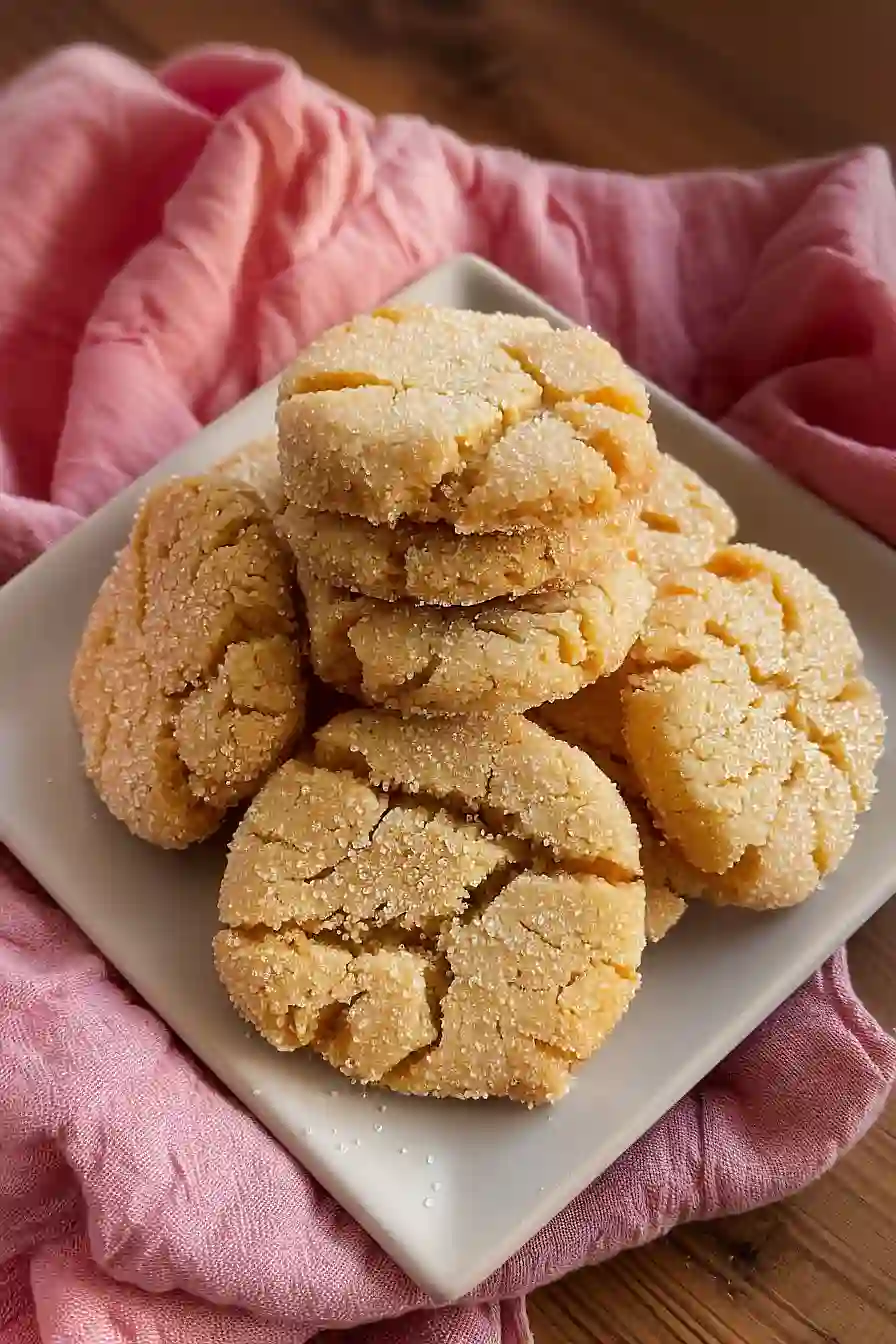
These Japanese sugar cookies are exactly that kind of recipe: they’re easy to make with mostly pantry staples, have a subtle nutty flavor from the kinako (roasted soybean flour), and get that nice sparkly coating that makes them look a bit special without any extra fuss.
Why You’ll Love These Japanese Sugar Cookies
- Quick and easy – These cookies come together in under 35 minutes, making them perfect for last-minute cravings or unexpected guests.
- Unique flavor with kinako – The soybean flour adds a subtle nutty taste that sets these apart from regular sugar cookies, giving you something a little different without being too adventurous.
- Simple ingredients – Most of what you need is probably already in your pantry, and if you don’t have kinako on hand, you can still make delicious cookies with a simple substitution.
- Perfect texture – The combination of sugars and the rolling technique creates cookies with a slightly crispy edge and soft, chewy center that’s hard to resist.
What Kind of Kinako Should I Use?
Kinako is a roasted soybean flour that gives these cookies their unique nutty flavor, and you can find it at most Asian grocery stores or online. The good news is that kinako is pretty standard across brands, so you don’t need to stress too much about which one to pick. Look for a light tan or golden color, which indicates it’s been properly roasted – this is what gives it that toasty, almost peanut butter-like taste. If you can’t find kinako anywhere, you could substitute it with almond flour in a pinch, though you’ll lose some of that authentic Japanese flavor that makes these cookies special.
Options for Substitutions
These cookies are pretty forgiving when it comes to swapping ingredients:
- Kinako (soybean flour): This is the star ingredient that gives these cookies their unique Japanese flavor, so I’d recommend keeping it if possible. You can find it at Asian grocery stores or online. If you absolutely can’t get it, almond flour works as a substitute, though the flavor will be different.
- Cane sugar: Regular white granulated sugar works perfectly fine here. The recipe already notes you can use 70g white sugar instead of the 80g cane sugar.
- Sucanat sugar: Brown sugar is a great swap – the recipe mentions using 30g brown sugar instead of 40g sucanat. You can also use coconut sugar or even regular white sugar if that’s all you have.
- Egg: Since you only need half an egg, you can beat a whole egg and measure out about 25g (roughly 1.5 tablespoons). Save the rest for another recipe, or just use the whole egg and add a tiny bit more flour if the dough seems too wet.
- Unsalted butter: Salted butter works too – just skip the pinch of salt in the recipe to avoid over-salting.
Watch Out for These Mistakes While Baking
The biggest mistake with Japanese sugar cookies is overmixing the dough once you add the flour, which develops too much gluten and creates tough, dense cookies instead of the tender, crumbly texture you’re after – mix just until the flour disappears.
Since kinako (soybean flour) has a delicate, nutty flavor that can easily burn, keep a close eye on your cookies during the last few minutes of baking and pull them out when the edges are just set but the centers still look slightly underbaked.
Room temperature butter is critical here, so make sure it’s soft enough to leave an indent when pressed but not melted or greasy, as butter that’s too cold won’t cream properly with the sugar and butter that’s too warm will cause the cookies to spread too thin.
Finally, don’t skip rolling the dough in extra cane sugar before baking – this step creates that signature crackly, sparkly exterior that makes these cookies special.

What to Serve With Japanese Sugar Cookies?
These cookies are perfect alongside a cup of green tea or matcha latte, which really brings out the nutty flavor from the kinako. I love serving them as an afternoon snack with fresh fruit like sliced strawberries or mandarin oranges for a light, refreshing contrast to the sweet cookies. They also work great as a dessert after a Japanese-inspired meal, or you can pack them up as a sweet treat in lunch boxes. If you want to make it more of a dessert spread, serve them with vanilla ice cream or a simple mochi for a fun mix of textures.
Storage Instructions
Store: These Japanese sugar cookies stay fresh in an airtight container at room temperature for up to a week. Just make sure they’re completely cooled before storing, or they’ll get soft and lose that nice crispy edge.
Freeze: You can freeze the baked cookies for up to 3 months in a freezer-safe container with parchment paper between the layers. Or, roll the dough into balls, coat them in sugar, and freeze on a baking sheet before transferring to a bag – then you can bake them fresh whenever a craving hits!
Enjoy: Frozen cookies thaw quickly at room temperature in about 15 minutes. If you froze the dough balls, just add a couple extra minutes to the baking time and pop them straight from freezer to oven.
| Preparation Time | 15-20 minutes |
| Cooking Time | 12-15 minutes |
| Total Time | 27-35 minutes |
| Level of Difficulty | Easy |
Estimated Nutrition
Estimated nutrition for the whole recipe (without optional ingredients):
- Calories: 1150-1300
- Protein: 15-18 g
- Fat: 55-65 g
- Carbohydrates: 155-175 g
Ingredients
- 40 g sucanat sugar (for deeper molasses flavor)
- pinch salt
- 150 g all purpose flour (I use King Arthur)
- 22 g kinako (I use Koda Farms)
- 1/2 tsp baking soda
- 80 g cane sugar
- 75 g unsalted butter (room temperature)
- extra cane sugar for rolling (for that signature sparkle)
- 25 g egg (lightly beaten)
Step 1: Prepare Dry Ingredients and Preheat Oven
- 150 g all purpose flour
- 22 g kinako
- pinch salt
- 1/2 tsp baking soda
Before starting, combine the all purpose flour, kinako, pinch of salt, and baking soda in a medium bowl; whisk them together to ensure everything is evenly distributed.
This ensures a consistent texture in your cookies.
Then, preheat your oven to 350°F (175°C) so it’s ready for baking.
Step 2: Cream Butter and Sugars
- 75 g unsalted butter
- 40 g sucanat sugar
- 80 g cane sugar
In a separate large bowl, cream together the room temperature unsalted butter with the sucanat sugar and cane sugar until the mixture is light and fluffy.
This aeration process creates pockets of air, which will contribute to the cookie’s tender texture.
I find that really taking your time during this step makes a significant difference in the final cookie’s chewiness.
Step 3: Incorporate Egg and Form Dough
- 25 g egg
Gradually beat the lightly beaten egg into the creamed butter and sugar mixture until fully incorporated and smooth.
Then, add the prepared dry ingredient mixture to the wet ingredients, mixing on low speed until just combined and a soft dough forms.
Be careful not to overmix, as this can develop the gluten too much and result in tough cookies.
Step 4: Shape and Bake Cookies
- extra cane sugar for rolling
Scoop the dough and roll it into uniform balls, typically about 1 tablespoon each.
Roll each dough ball in extra cane sugar until thoroughly coated for that signature sparkling finish and a delightful crisp crust.
Arrange the sugar-coated balls on a baking mat-lined baking sheet, leaving some space between them, then gently flatten each ball with the palm of your hand or the bottom of a glass.
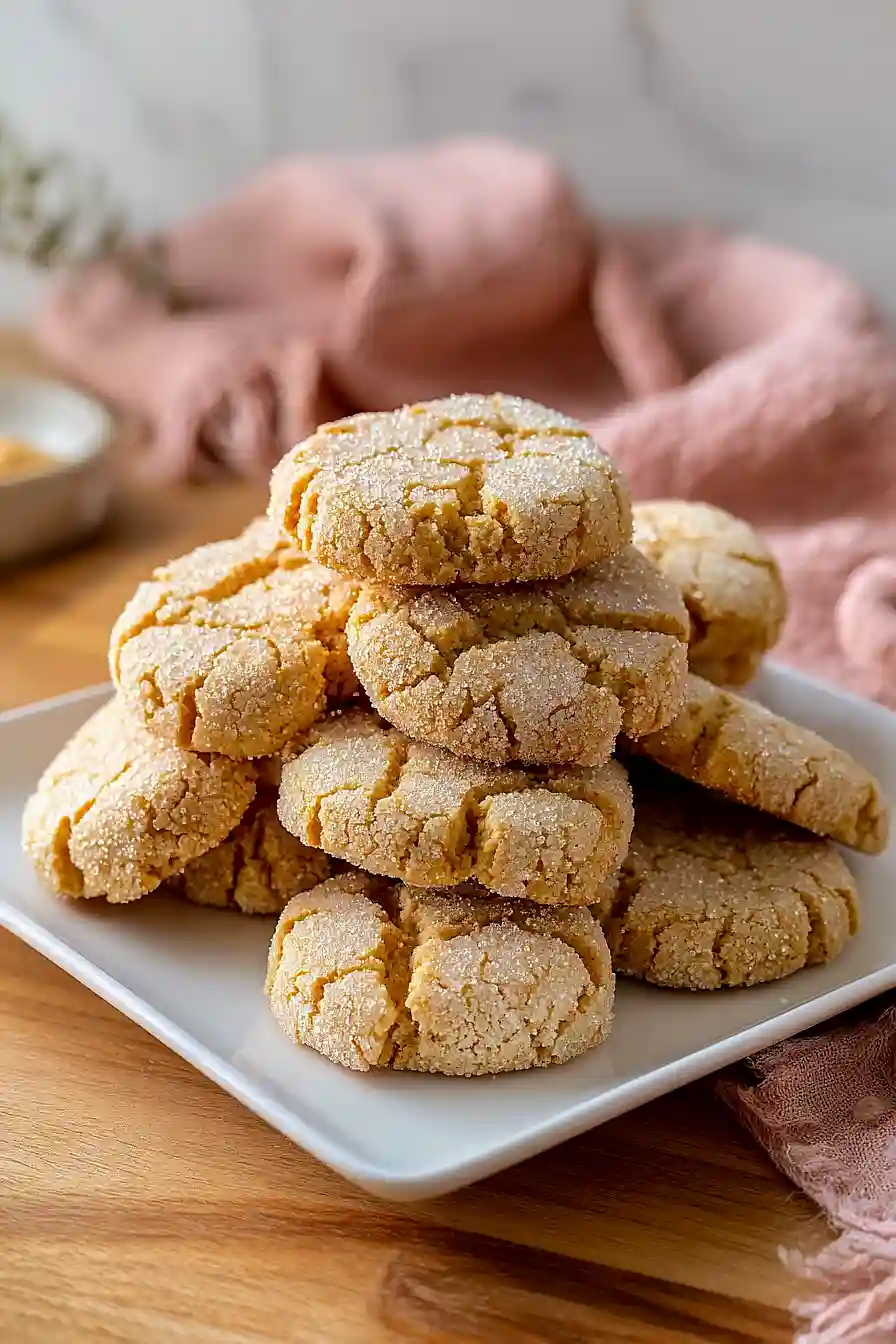
Bake for 12-15 minutes, or until the edges are set and lightly golden, and the centers show small cracks.
For optimum flavor, I always let my cookies cool completely on the baking sheet before transferring them to a wire rack; this helps them firm up and develop their full texture.

Golden Japanese Sugar Cookies
Ingredients
- 40 g sucanat sugar (for deeper molasses flavor)
- pinch salt
- 150 g all purpose flour (I use King Arthur)
- 22 g kinako (I use Koda Farms)
- 1/2 tsp baking soda
- 80 g cane sugar
- 75 g unsalted butter (room temperature)
- extra cane sugar for rolling (for that signature sparkle)
- 25 g egg (lightly beaten)
Instructions
- Before starting, combine the all purpose flour, kinako, pinch of salt, and baking soda in a medium bowl; whisk them together to ensure everything is evenly distributed. This ensures a consistent texture in your cookies. Then, preheat your oven to 350°F (175°C) so it's ready for baking.
- In a separate large bowl, cream together the room temperature unsalted butter with the sucanat sugar and cane sugar until the mixture is light and fluffy. This aeration process creates pockets of air, which will contribute to the cookie's tender texture. I find that really taking your time during this step makes a significant difference in the final cookie's chewiness.
- Gradually beat the lightly beaten egg into the creamed butter and sugar mixture until fully incorporated and smooth. Then, add the prepared dry ingredient mixture to the wet ingredients, mixing on low speed until just combined and a soft dough forms. Be careful not to overmix, as this can develop the gluten too much and result in tough cookies.
- Scoop the dough and roll it into uniform balls, typically about 1 tablespoon each. Roll each dough ball in extra cane sugar until thoroughly coated for that signature sparkling finish and a delightful crisp crust. Arrange the sugar-coated balls on a baking mat-lined baking sheet, leaving some space between them, then gently flatten each ball with the palm of your hand or the bottom of a glass. Bake for 12-15 minutes, or until the edges are set and lightly golden, and the centers show small cracks. For optimum flavor, I always let my cookies cool completely on the baking sheet before transferring them to a wire rack; this helps them firm up and develop their full texture.
