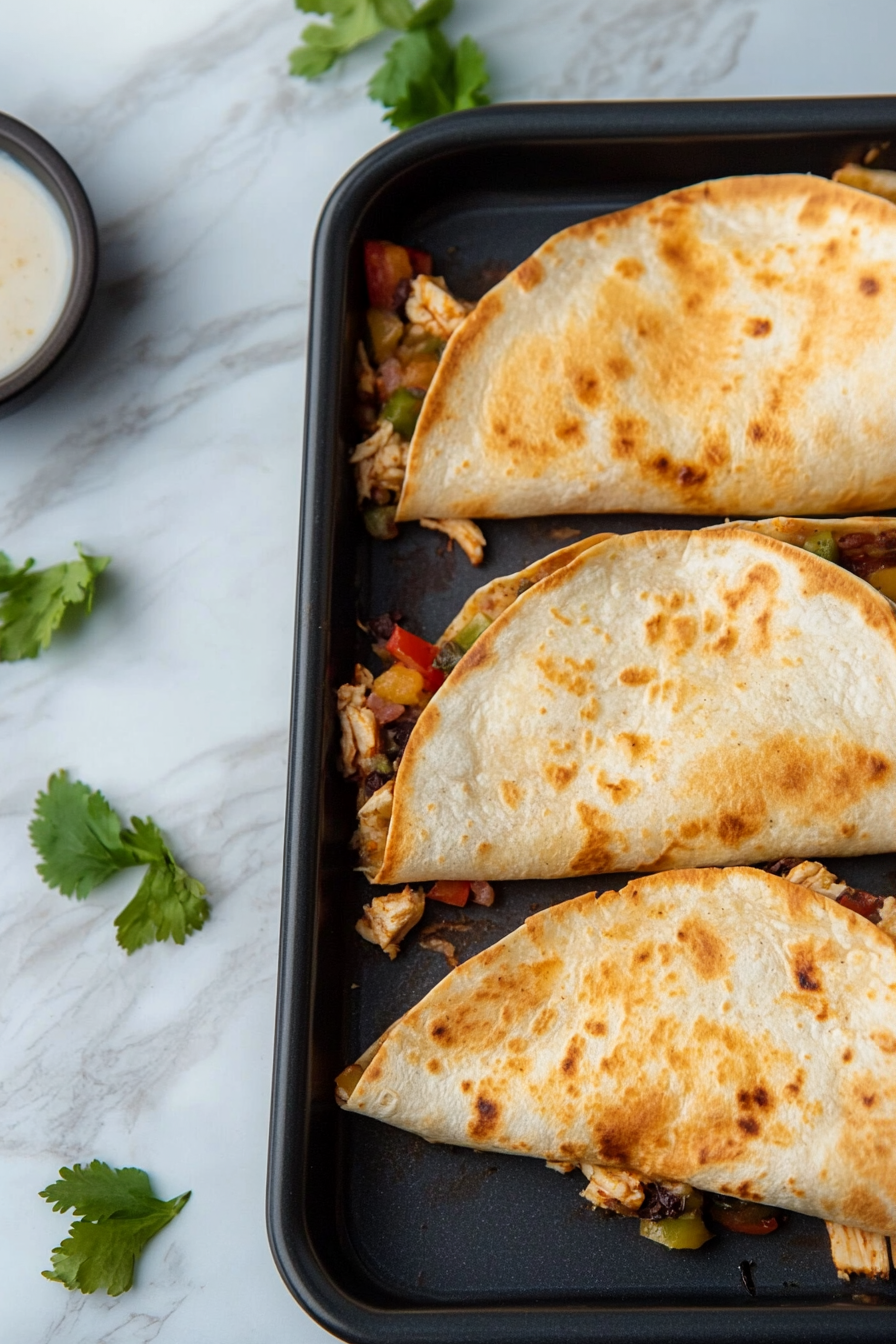
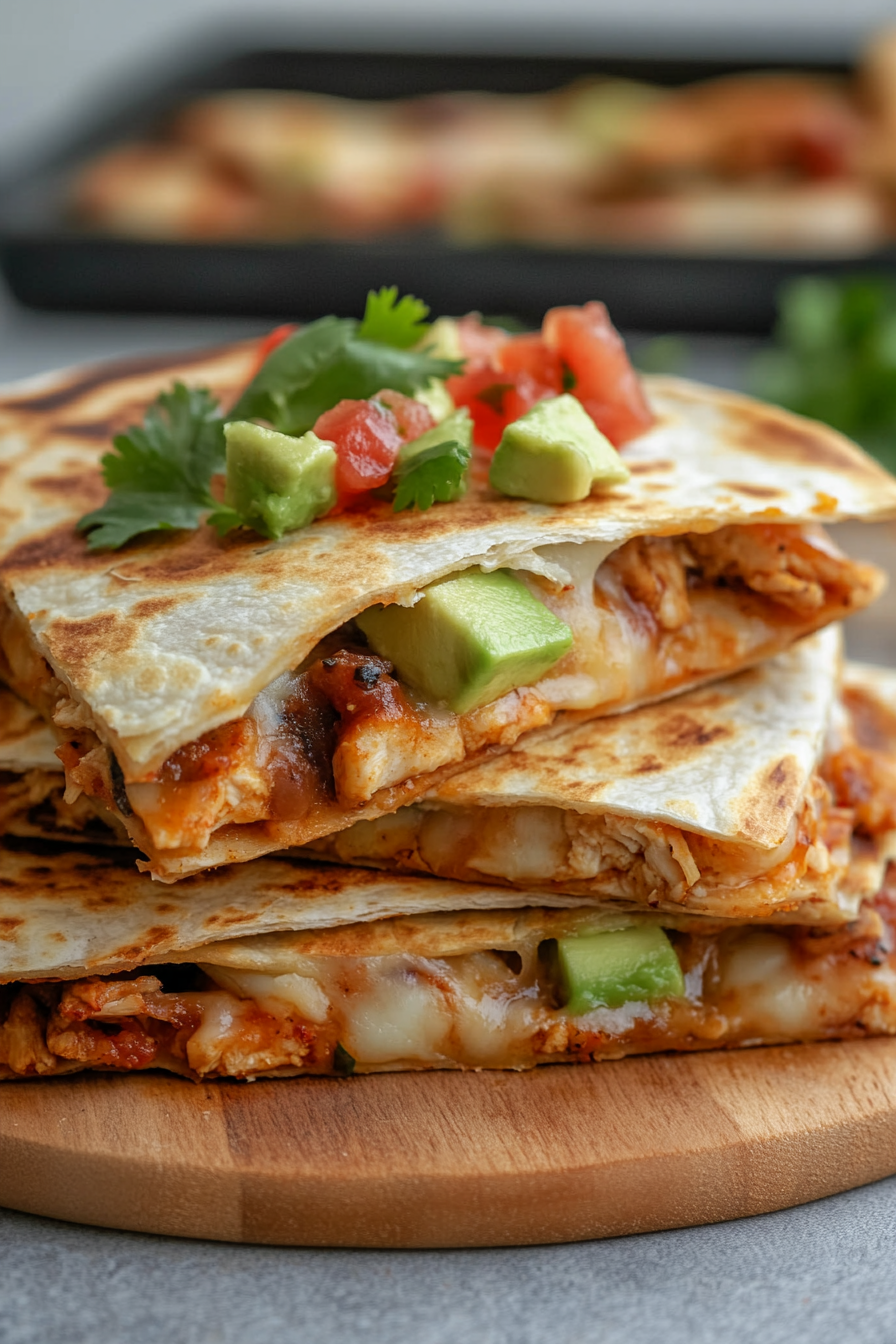
Finding a dinner option that’s both satisfying and easy to make can feel like a real challenge, especially after a long day at work. We’ve all been there – staring into the fridge, hoping for inspiration while trying to avoid ordering takeout for the third time this week. That’s why these baked chicken quesadillas have become my go-to solution for those busy weeknights when I want something warm, cheesy, and filling without spending hours in the kitchen. They’re simple to put together, can be customized with whatever ingredients you have around, and best of all – the oven does most of the work while you unwind from your day.
Possible Ingredient Alternatives
For a vegetarian or vegan option, replace the chicken with firm tofu or tempeh. Crumble and season the tofu or tempeh as you would the chicken, then sauté until crispy. This substitution maintains protein content while accommodating plant-based diets.
To make the recipe gluten-free, swap flour tortillas with corn tortillas or gluten-free wraps. Corn tortillas may be smaller, so you might need to use more or fold them differently. Be sure to warm corn tortillas before filling to prevent cracking.
For a lower-fat version, substitute regular shredded cheese with a reduced-fat variety or nutritional yeast. Nutritional yeast provides a cheesy flavor and added nutrients, but use about half the amount as it’s more concentrated. If using nutritional yeast, sprinkle it on the filling before closing the quesadillas to help it stick.
| Preparation Time | 15-20 minutes |
| Cooking Time | 16-20 minutes |
| Total Time | 31-40 minutes |
| Level of Difficulty | Medium |
Estimated Nutrition
Estimated nutrition for the whole recipe (without optional ingredients):
- Calories: 1200-1400
- Protein: 100-110 g
- Fat: 80-90 g
- Carbohydrates: 100-110 g
Ingredients
For the spiced chicken:
- 1/2 tsp pepper
- 1 tsp ground cumin
- 1/2 tsp cayenne pepper
- 1 tsp ground paprika
- 1 tsp garlic powder
- 14 oz chicken breast (cut into 1-inch pieces)
- 1/2 tsp salt (I use Morton Coarse Kosher Salt)
For the vegetable mixture:
- 1/2 small onion (finely diced)
- 1 tbsp olive oil (I use Colavita Extra Virgin Olive Oil)
- 1 garlic clove (minced for best flavor)
- 1 green bell pepper (finely diced)
- 1 red bell pepper (finely diced)
For the assembly:
- olive oil spray
- 4 flour tortillas (8 inch)
- 1 cup shredded cheese (cheddar or a Mexican blend works well)
Step 1: Prepare the Chicken and Vegetable Filling
Start by placing the chicken ingredients in a bowl and mixing them well to coat the chicken evenly.
Heat oil in a skillet over high heat and add onion and garlic, cooking for 1 minute.
Then, add the capsicum and cook for an additional 2 minutes until it starts to soften.
Transfer the cooked vegetables into a bowl.
Step 2: Cook the Chicken
Return the skillet to the stove and add the chicken pieces.
Cook them until they’re browned and fully cooked through.
Transfer the chicken to the same bowl with the vegetables.
Allow the filling to cool, either by spreading it out on a plate or refrigerating it for a quicker cooling process.
Step 3: Preheat and Prepare the Baking Tray
Preheat your oven to 220°C / 430°F (standard) or 200°C / 390°F (fan/convection).
Lightly spray a baking tray with olive oil and place it in the oven to heat while you assemble the quesadillas.
Step 4: Assemble the Quesadillas
Divide the cooled filling between the tortillas, ensuring you cover only half of each tortilla’s surface.
Top the filling with cheese, fold each tortilla in half, and then press down gently but firmly to secure the filling.
Step 5: Bake the Quesadillas
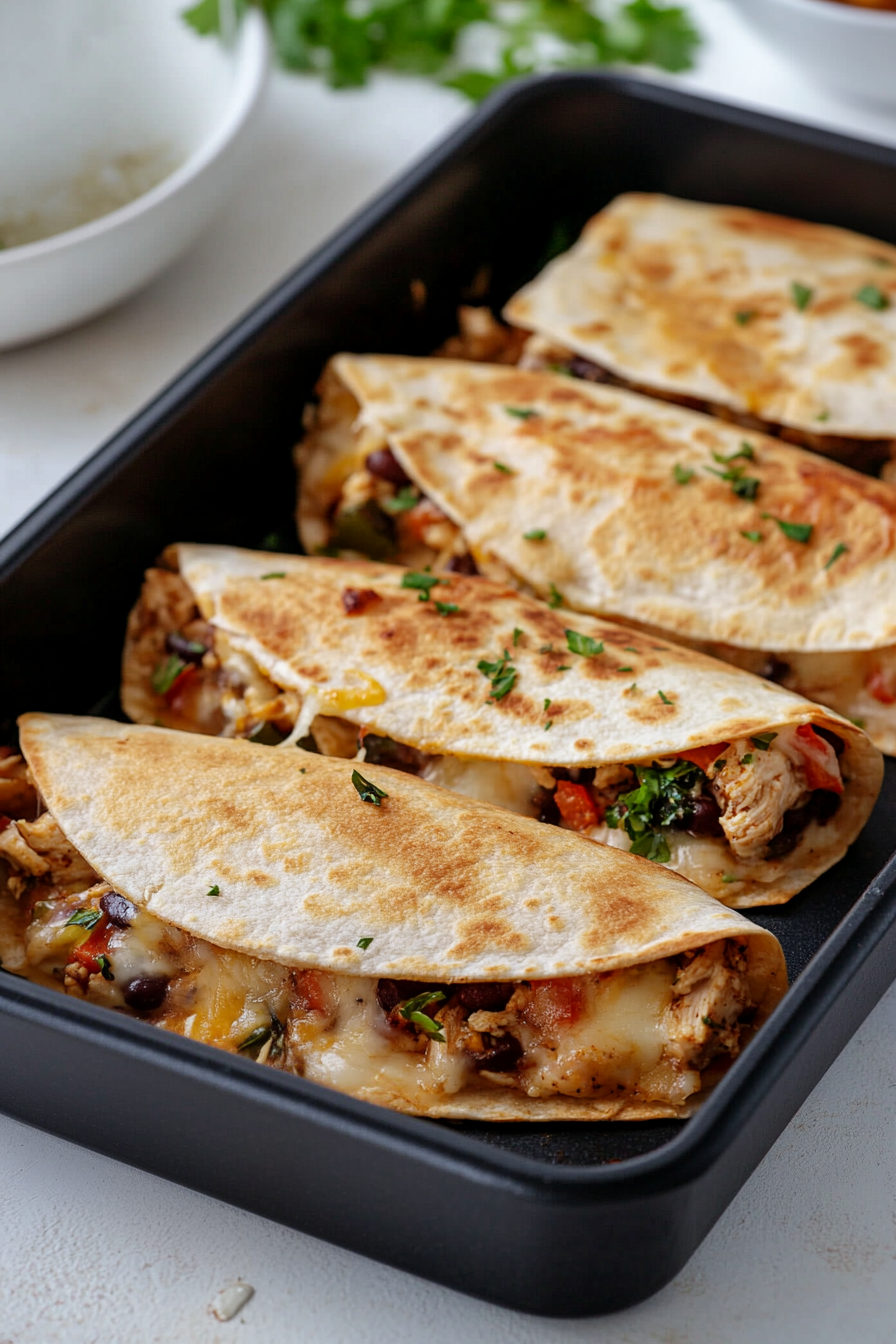
Carefully remove the heated baking tray from the oven and place the quesadillas onto it—you should hear a gentle sizzle.
Bake in the oven for 8 minutes, then flip the quesadillas over the folded edge and press down with an egg flip.
Continue baking for another 8 minutes or until the tortillas are crispy and golden.
Step 6: Serve and Enjoy
Remove the crispy quesadillas from the oven and serve them immediately.
Enjoy your delicious homemade quesadillas while they’re hot!