I used to think energy bites were just another health food trend that wouldn’t taste as good as the real deal. Growing up, my mom’s banana bread was our Sunday morning tradition, and nothing could compare to that warm, sweet smell filling the kitchen.
But then I discovered these banana bread energy balls, and they changed my mind completely. They’ve got all those familiar banana bread flavors I love, but in a convenient little package that doesn’t require any baking. Plus, my kids can grab them on their way to school instead of skipping breakfast like they usually do.
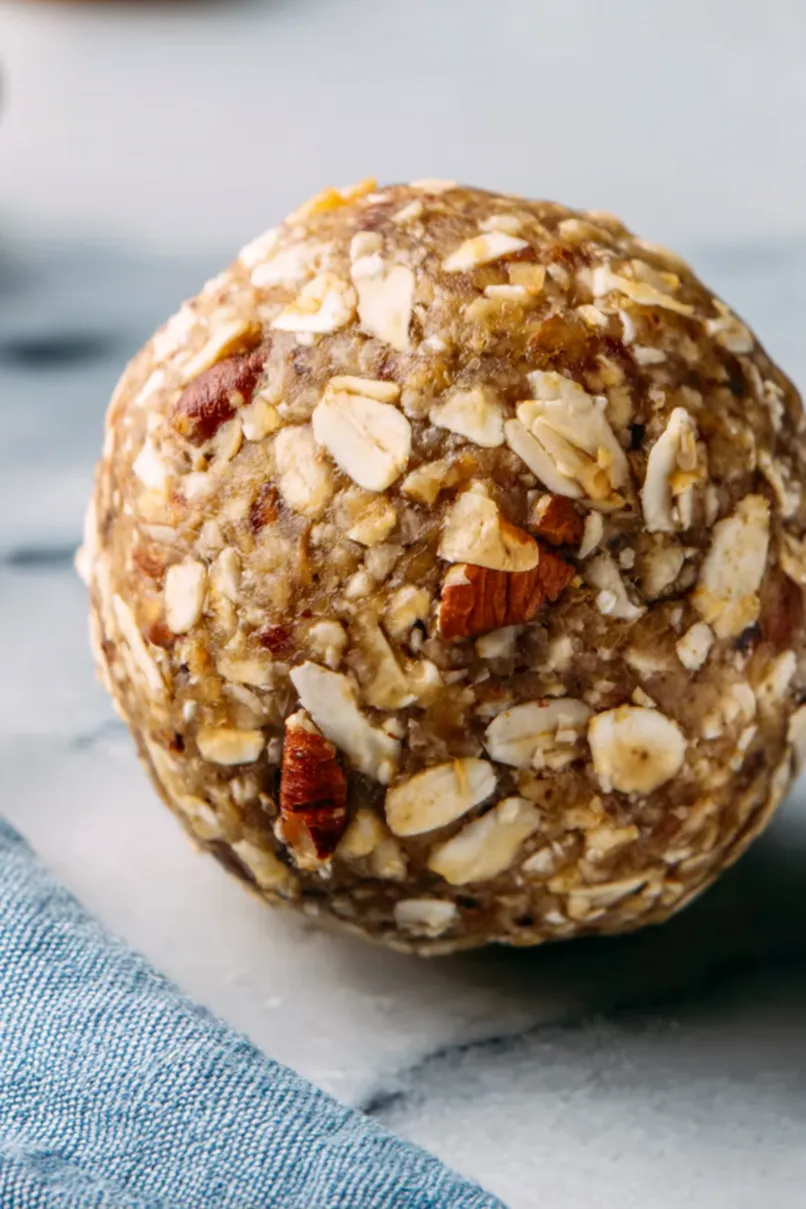
Why You’ll Love These Energy Balls
- No-bake convenience – These energy balls require zero oven time – just blend, roll, and they’re ready to enjoy. Perfect for hot summer days when you don’t want to turn on the oven.
- Healthy snacking – Packed with wholesome ingredients like oats, nuts, and natural sweeteners, these balls give you a perfect boost of energy without any processed sugars or artificial ingredients.
- Meal prep friendly – Make a batch on Sunday and you’ll have nutritious snacks ready for the entire week – they store perfectly in the fridge and are great for grab-and-go moments.
- Kid-approved taste – With the familiar flavor of banana bread in a fun, bite-sized form, these energy balls are a hit with both kids and adults alike.
What Kind of Oats Should I Use?
Traditional rolled oats (also called old-fashioned oats) are the best choice for these energy balls, though quick oats can work in a pinch. Rolled oats give the balls their ideal texture and help them hold together better than instant oats, which can become too mushy. Steel-cut oats aren’t recommended here since they’re too firm and won’t bind properly with the other ingredients. If you’re making these for someone who needs gluten-free options, just make sure to pick up certified gluten-free rolled oats, as regular oats might have cross-contamination from processing facilities.
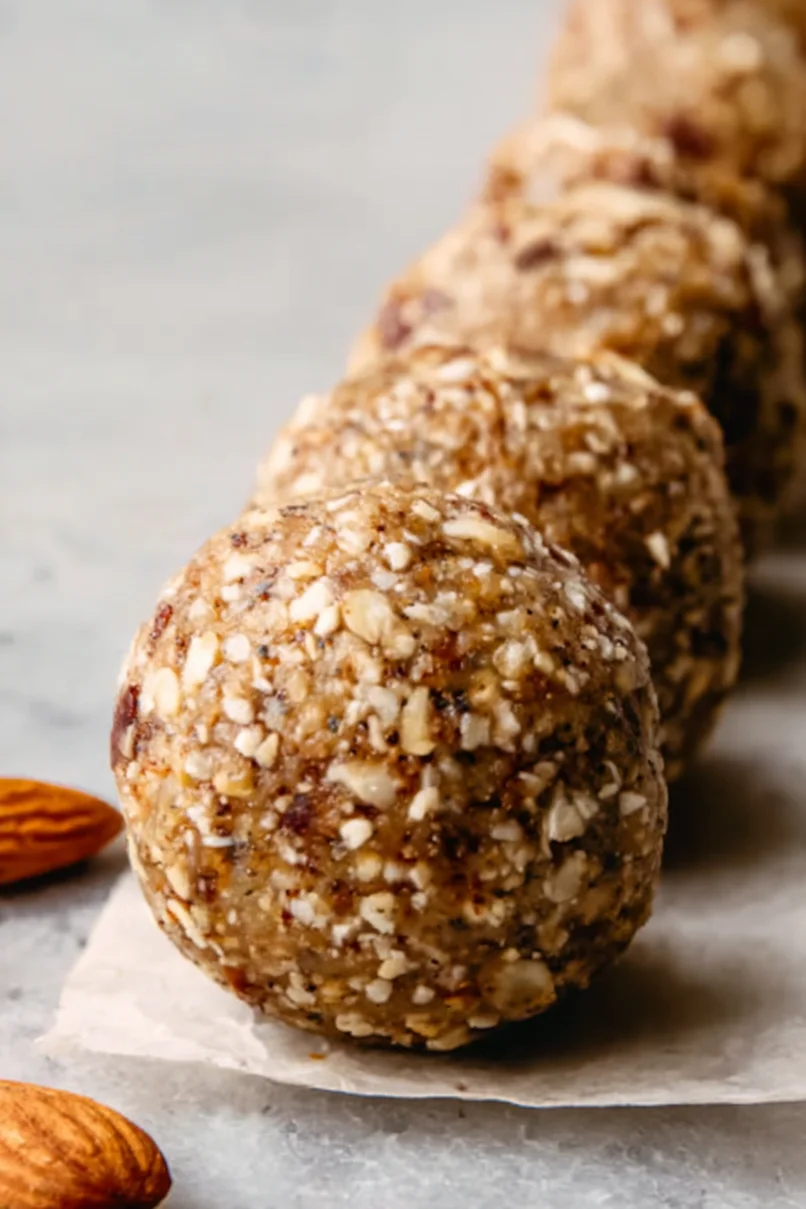
Options for Substitutions
These energy balls are super adaptable and you can make several swaps based on what you have in your pantry:
- Rolled oats: Quick oats can work in place of rolled oats, though the texture will be slightly different. Steel-cut oats won’t work here as they’re too hard.
- Almonds and pecans: Feel free to use any nuts you like! Walnuts, cashews, or even a mix of seeds (like sunflower or pumpkin) work great. For nut allergies, use all seeds or double up on oats.
- Maple syrup: Honey makes a good substitute, or try date syrup if you want to keep it vegan. Just note that honey will make the balls slightly sweeter.
- Banana: This is pretty key for the banana bread flavor, but you could use applesauce in a pinch – though you’ll lose that classic banana taste. Use the same amount.
- Vanilla essence: You can skip it if you don’t have it, or use vanilla powder. Some people even like to add almond extract for a different flavor twist.
- Cinnamon: While this adds nice flavor, you can leave it out or try other spices like nutmeg or pumpkin pie spice for a different taste.
Watch Out for These Mistakes While Making
The biggest challenge when making energy balls is getting the right consistency – if your mixture is too wet, you’ll end up with sticky balls that won’t hold their shape, so start by adding just half the mashed banana and adjust as needed. A food processor that’s not powerful enough can leave you with chunky nuts instead of the fine texture needed, so make sure to pulse the nuts first until finely ground before adding other ingredients. Many people skip chilling the mixture before rolling, but letting it rest in the fridge for 15-20 minutes makes the rolling process much easier and helps the balls maintain their shape. For the best texture and flavor, avoid over-processing the oats – pulse them just until broken down but not turned into flour, and if your banana is very ripe, you might want to reduce the maple syrup to prevent the balls from becoming too sweet.
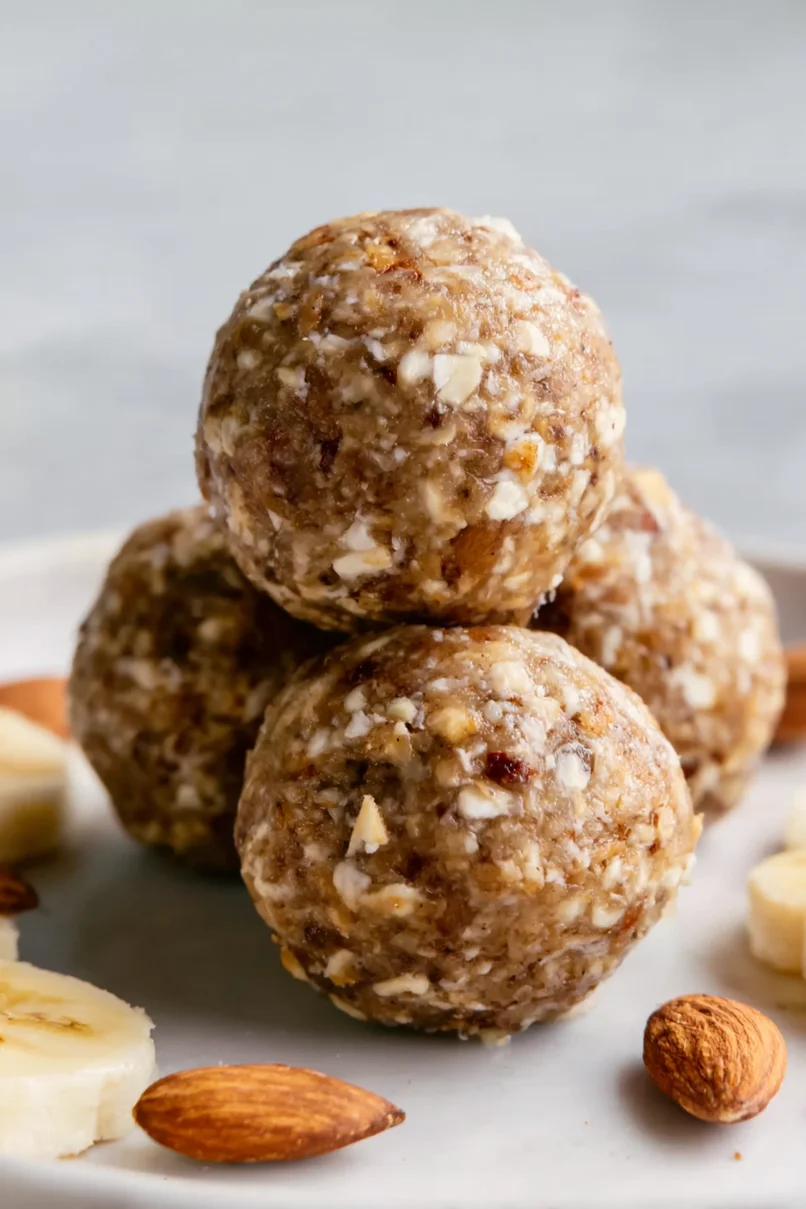
What to Serve With Energy Balls?
These banana bread energy balls make a perfect grab-and-go snack, but there are lots of tasty ways to enjoy them! They’re great alongside your morning coffee or tea, especially if you’re rushing out the door. For a more filling breakfast or afternoon pick-me-up, try serving them with a smoothie or glass of cold milk (dairy or plant-based works great). I also like to pack these energy balls in lunch boxes with some fresh fruit like apple slices or berries for a balanced snack that keeps me going through the day.
Storage Instructions
Keep Fresh: These banana bread energy balls stay good in an airtight container in the fridge for up to a week. I like to line my container with parchment paper to keep them from sticking together. They’re perfect for grabbing on your way to work or the gym!
Freeze: Want to make a bigger batch? These energy balls are great for freezing! Just pop them in a freezer-safe container or zip-top bag and they’ll keep for up to 3 months. I usually separate layers with parchment paper to prevent them from freezing into one big clump.
Thaw: When you’re ready to enjoy your frozen energy balls, just transfer them to the fridge the night before. They’ll be perfectly chewy by morning! If you’re in a hurry, letting them sit at room temperature for about 30 minutes works too.
| Preparation Time | 10-15 minutes |
| Cooking Time | 0 minutes |
| Total Time | 40-45 minutes |
| Level of Difficulty | Easy |
Estimated Nutrition
Estimated nutrition for the whole recipe (without optional ingredients):
- Calories: 1500-1600
- Protein: 32-36 g
- Fat: 80-90 g
- Carbohydrates: 200-210 g
Ingredients
- 1/4 tsp salt
- 1/4 tsp vanilla extract
- 1/3 cup maple syrup (pure maple syrup for best flavor)
- 1/2 cup mashed banana (about 1 medium-sized overripe banana)
- 2 cups rolled oats (old-fashioned preferred)
- 1/2 cup pecans (optional, for added crunch)
- 1/2 cup whole almonds
- 1 tsp cinnamon
Step 1: Blend the Ingredients
Add all of your ingredients into a food processor.
Pulse the mixture for about 10 seconds to start combining everything.
Then, scrape down the sides of the food processor to ensure all ingredients are being incorporated evenly.
Blend again until the mixture becomes fairly smooth but retains a slight bit of texture.
You will know the dough is ready when it starts to roll around the food processor as a cohesive mass.
Step 2: Form the Dough Balls
Using a medium cookie scoop, scoop out portions of the dough.
Roll each portion in between your hands to form a smooth ball.
Place each ball on a parchment-lined plate or baking tray.
Repeat this process until you have used up all the dough, making sure each ball is evenly shaped and spaced on the tray or plate.
Step 3: Chill and Enjoy
Once all the dough has been formed into balls, transfer the tray or plate to the refrigerator.
Chill the balls for about 30 minutes to allow them to firm up.
After they have chilled, they are ready to enjoy!
You can serve them immediately or store them in an airtight container to enjoy later.