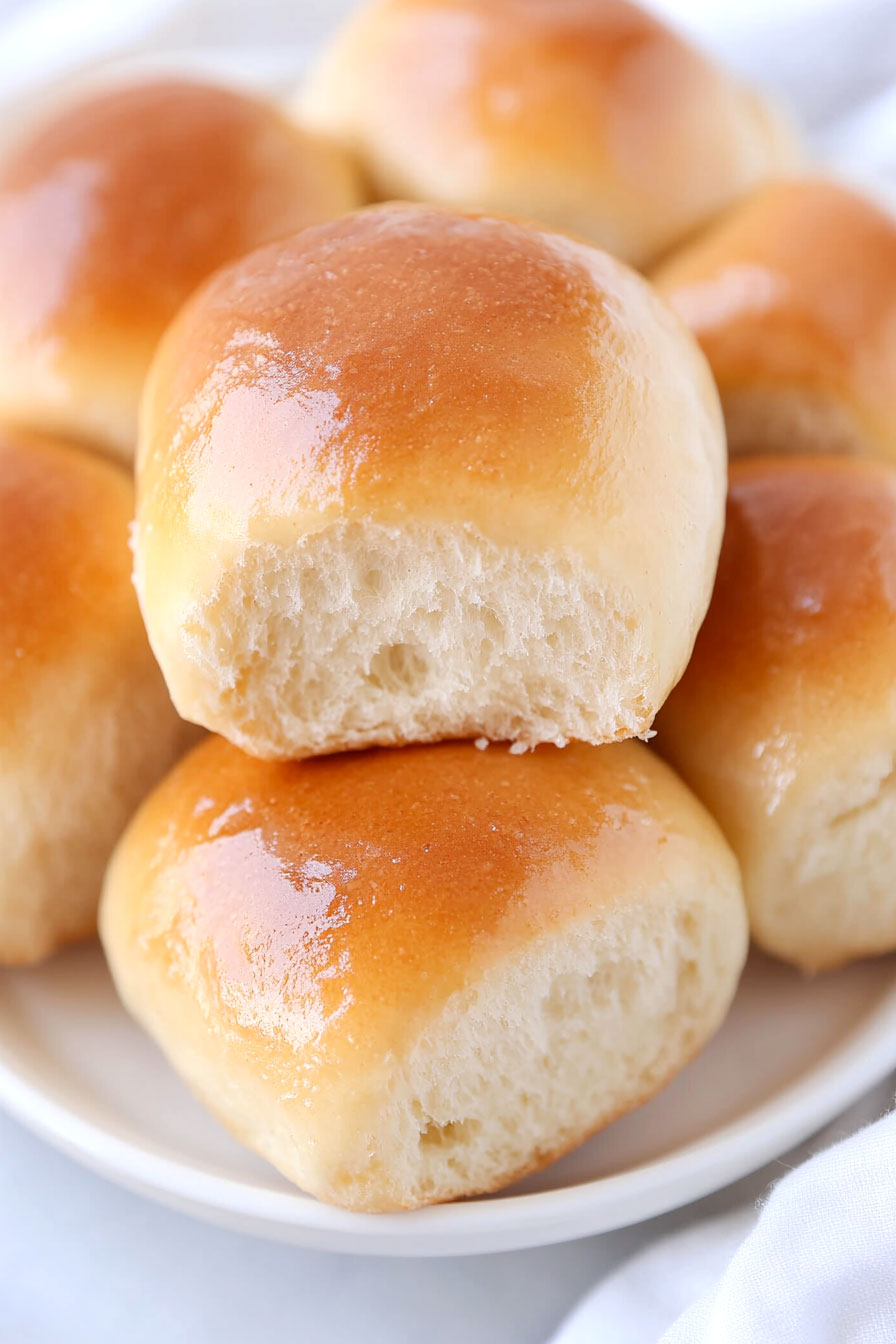
Here’s my go-to recipe for homemade dinner rolls made right in the bread machine. These rolls are soft, fluffy, and best of all, they’re made with wholesome ingredients that you can feel good about serving to your family.
These rolls have become a regular at our dinner table, and I usually make a double batch because they disappear so quickly. Plus, they’re perfect for sandwiches the next day – if they last that long!
Why You’ll Love These Dinner Rolls
- Hands-off baking – Your bread machine does most of the work, from kneading to the first rise – no messy counters or tired arms from manual kneading.
- Simple ingredients – You only need 6 basic pantry staples to make these rolls, making them perfect for last-minute baking.
- Budget-friendly – Making your own rolls costs a fraction of store-bought ones, and they taste so much better fresh from your kitchen.
- Customizable – The basic dough can be shaped into classic dinner rolls, hamburger buns, or even cinnamon rolls – it’s like getting multiple recipes in one.
What Kind of Flour Should I Use?
Strong flour, also known as bread flour, is the key player in making these dinner rolls turn out just right.
It has a higher protein content (usually around 12-14%) compared to all-purpose flour, which gives your rolls that perfect chewy texture and helps them rise beautifully.
While you could use all-purpose flour in a pinch, bread flour will give you the best results because it creates stronger gluten networks during kneading.
For whole wheat fans, you can substitute up to one cup of the strong flour with whole wheat flour, but keep in mind this will make your rolls a bit denser.
Just make sure your flour is fresh – flour stored for too long can affect how well your dough rises.
Possible Ingredient Alternatives
Options for Substitutions
Making these rolls but missing something? Here are some helpful substitutions you can try:
Granulated sugar: Honey or maple syrup can replace the sugar – use 2 tablespoons instead of 3. The yeast needs some kind of sugar to feed on, so don’t skip this ingredient completely.
Strong flour: Strong flour (bread flour) is important for the structure of these rolls, but in a pinch, you can use all-purpose flour. Just know your rolls might be slightly less chewy and a bit more tender.
Milk: Regular milk can be swapped with non-dairy alternatives like soy milk or almond milk. You can even use water, though the rolls won’t be as rich. If using water, add an extra tablespoon of butter for better flavor.
Active dry yeast: You can use instant yeast instead of active dry yeast – use the same amount but you can skip dissolving it first. If using fresh yeast, you’ll need about 2/3 of an ounce.
Butter: Feel free to replace butter with oil (any neutral-flavored oil works) or margarine in the same amount. For a dairy-free version, use plant-based butter substitutes.
Watch Out for These Mistakes While Baking
The temperature of your milk can make or break these dinner rolls – too hot will kill the yeast, while too cold won’t activate it properly, so aim for lukewarm milk around 110°F (43°C).
Another common mistake is not measuring flour correctly – instead of scooping directly with the measuring cup, spoon the flour into the cup and level it off with a knife to avoid dense, heavy rolls.
When adding ingredients to your bread machine, always follow the manufacturer’s recommended order (usually liquid ingredients first, then dry, with yeast last) to prevent the yeast from activating too soon or not at all.
For extra soft rolls, don’t skip the butter – it’s tempting to reduce it for health reasons, but this small amount is crucial for achieving that perfect tender texture and golden-brown crust.
What to Serve With Dinner Rolls?
Fresh dinner rolls are perfect for soaking up the sauce or gravy from your favorite main dishes!
These soft rolls go great with hearty meals like pot roast, beef stew, or any kind of soup. For a simple weeknight dinner, I love serving them alongside pasta dishes or using them to make mini sandwiches with leftover meatloaf or roasted chicken.
You can also split them open and spread them with butter and honey for a sweet breakfast treat, or use them to scoop up the last bits of marinara sauce from your spaghetti plate.
Storage Instructions
Keep Fresh: These homemade dinner rolls stay fresh at room temperature for up to 2 days when stored in a sealed plastic bag or airtight container. Just make sure they’re completely cool before storing to prevent moisture buildup. If you live in a warm climate, you might want to pop them in the fridge instead.
Freeze: These rolls are perfect for freezing! Place them in a freezer bag, squeeze out the air, and they’ll keep for up to 3 months. I like to freeze them the day they’re baked to maintain that fresh-baked taste. You can freeze them individually or in small batches – whatever works best for your needs.
Warm Up: To enjoy your frozen rolls, thaw them at room temperature for about an hour. For that fresh-from-the-oven experience, wrap them in foil and warm in a 350°F oven for 5-7 minutes. You can also give them a quick 10-15 seconds in the microwave if you’re in a hurry.
| Preparation Time | 15-20 minutes |
| Cooking Time | 16-18 minutes |
| Total Time | 91-98 minutes |
| Level of Difficulty | Easy |
Estimated Nutrition
Estimated nutrition for the whole recipe (without optional ingredients):
- Calories: 1200-1300
- Protein: 30-35 g
- Fat: 40-45 g
- Carbohydrates: 180-190 g
Ingredients
- 2 tbsp unsalted butter (melted and slightly cooled)
- 1 1/4 cups milk (whole milk recommended for richness)
- 1 package active dry yeast
- 3 cups bread flour (King Arthur brand is always my favorite)
- 1 tsp salt
- 3 tbsp granulated sugar
Step 1: Prepare Dough in Bread Machine
Place all the ingredients into the pan of your bread machine in the order recommended by your machine’s manufacturer.
If you’re using a similar model, follow the list order from your ingredients.
Set the machine to the DOUGH cycle and press START.
Allow the machine to knead and rise the dough.
Step 2: Shape the Dough into Rolls
Once the bread machine cycle is complete, remove the dough from the machine’s pan.
Place the dough onto a floured surface and lightly deflate it with your hands.
Divide the dough into 16 equal-sized pieces.
Gently roll each piece into a round ball.
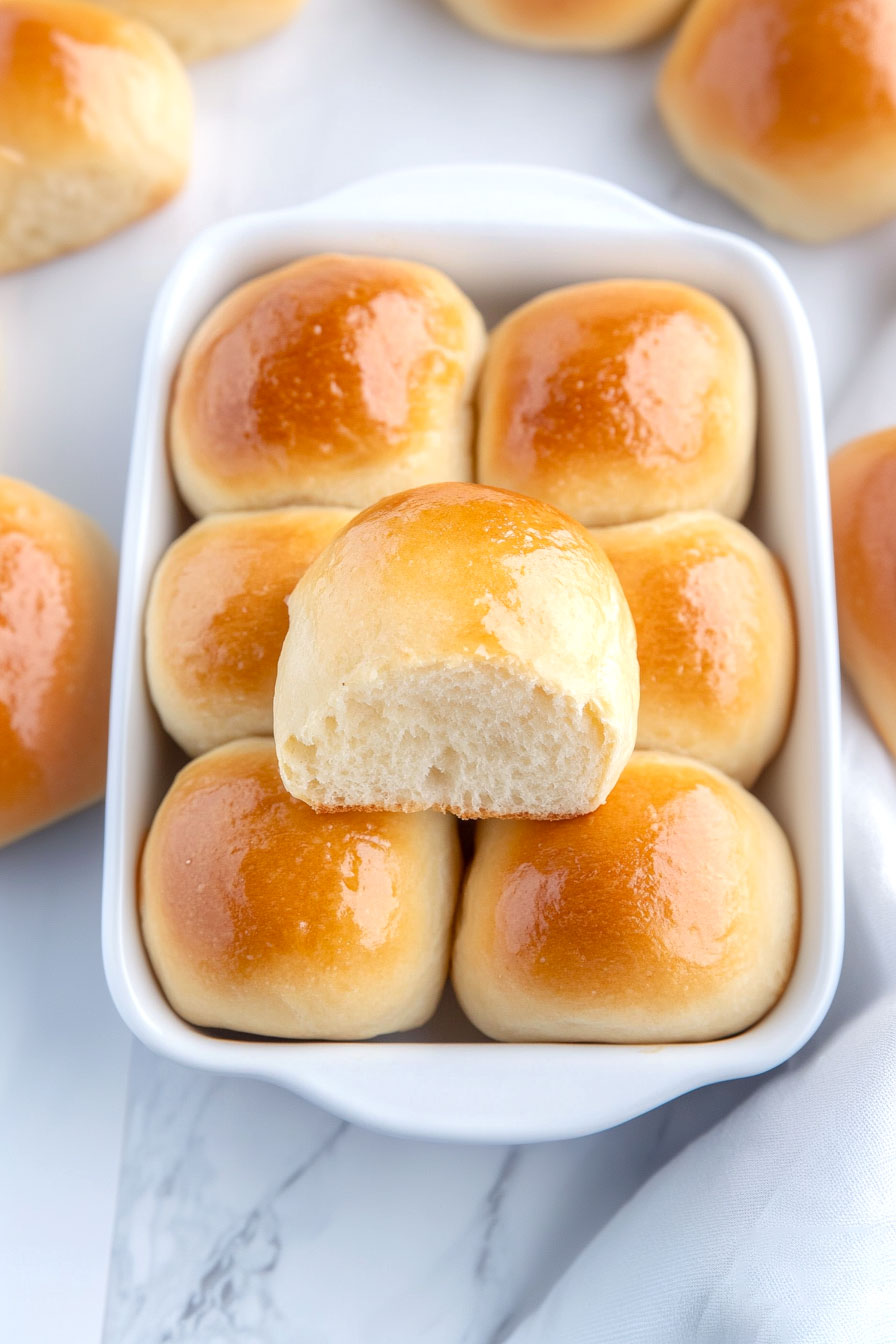
Step 3: Arrange and Let Rise
Take a 13×9 pan and spray it with nonstick spray.
Arrange the dough balls into the pan, placing them directly next to each other to ensure they rise together.
Cover the pan with a cloth towel and leave them to rise for 60 minutes.
During this time, the dough balls will nearly double in size.
Step 4: Bake the Rolls
Preheat your oven to 350 degrees Fahrenheit.
Once the dough has risen adequately, bake the rolls in the preheated oven for 16-18 minutes, or until the tops are golden brown.
Remove the rolls from the oven and allow them to cool down to the touch.
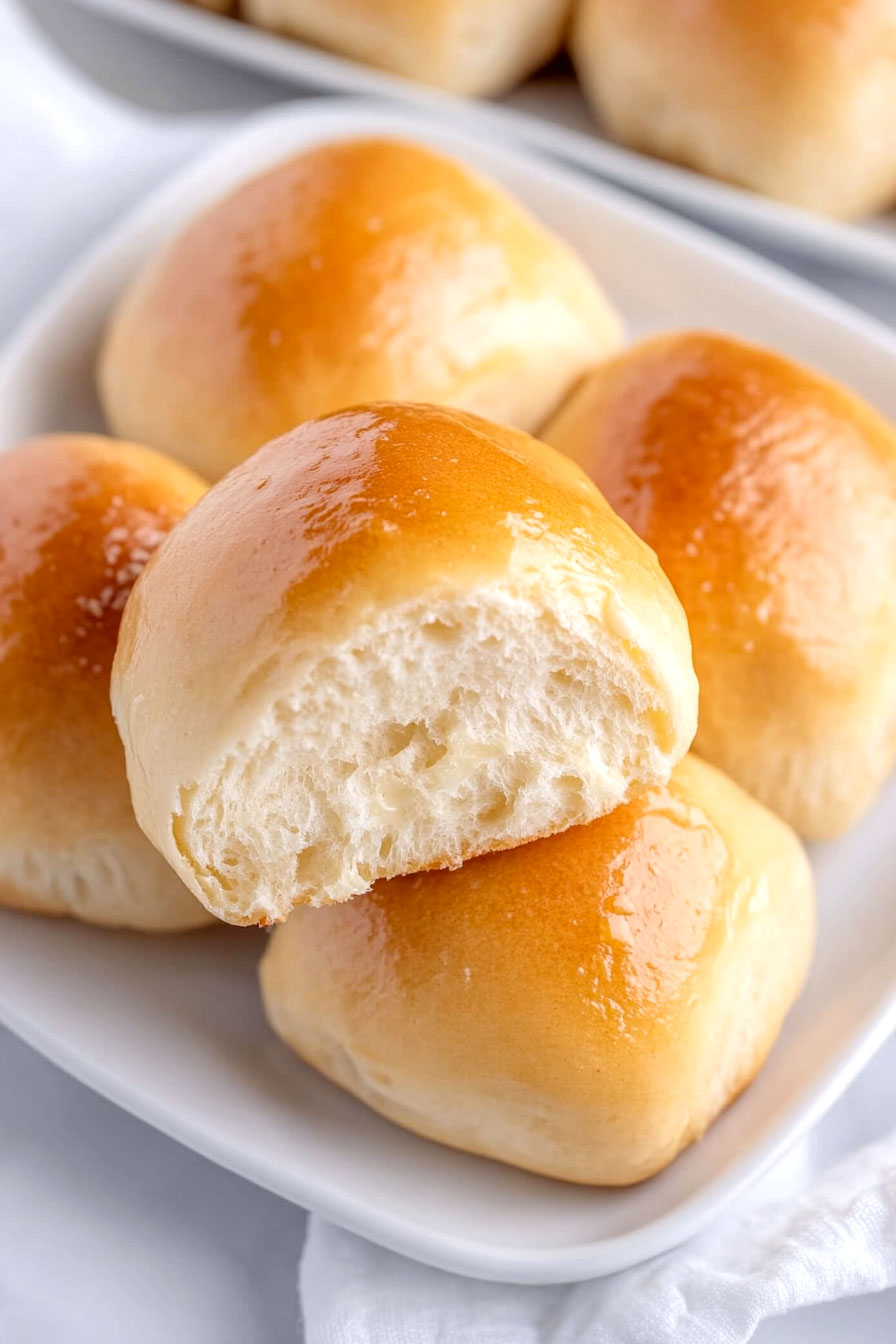
Step 5: Serve with a Butter Finish
Before serving, brush a little butter on top of each roll.
This will give the rolls a glossy finish and enhance their flavor.
Enjoy these delicious, homemade rolls fresh out of the oven!

These rolls were absolutely delicious! I have a very picky bread family and they loved them. I was politely told these are the ONLY rolls they will ever ask for. I would have loved to have gotten a picture hopefully next time.
I was asked to try it in bread form, so that will be next. Lol wish me luck.
Thank you so much!
I’ll leave it as rolls…lol if you have a good bread machine recipe for bread it would be greatly appreciated.
I’ve used as loaves – make two beautiful loaves! Slices nicely.
Have you ever frozen the dough to bake at a later date?
No. I didn’t try that. But please try and tell us how it went 🙂
I made them today.They look just like the picture.I’ll find out what the family think later.
Disregard my comment about making into bread!! It’s delicious I did it on light crust. I have the Zojirushi Bread machine it does amazing and a family favorite.
Thank you 😊
Easy and fantastic! These come out very pretty too. I added dried chives (didn’t have fresh) – so good! This recipe is a keeper and can modify with size and added herbs.
Thank you!
And today I added FRESH chives from my garden, along with a dash of dried rosemary! SO GOOD
I tried this for the first time for rolls but I added Italian seasoning a tiny bit of time and lemon zest just a little bit and they came out perfect. I wanted to make these specifically for a spaghetti dinner, couldn’t have turned out better. oh yes I also added one egg and two extra tablespoons of bread flour…
These were absolutely amazing they were so good and soft. I used grass fed butter, organic bread flour and there were so soft and fluffy I was so amazed about it. Thank you so much going to make again.
OMG that has been by far the best rolls I have made. Thank you so much, so soft and fluffy and easy. Used my Elite Gourmet bread maker and it was amazing. Thank you so much for this recipe making it for the second time.
Hello, I have a an Americas Favorite (West Brand) bread machine! My question is can you make this using Almond Milk, Soy Milk or Oat Milk??My youngest son (almost 8) is anaphylactic to dairy!And I have been really wanting to try using my bread machine to make bread etc..!And this recipe is something I know my family would love!But I’d love to make it safe for him too!