If you ask me, cheese balls are a holiday party must-have.
These festive appetizers bring smiles to faces and add a dash of fun to any Christmas gathering. The combination of creamy cheese, crunchy nuts, and savory seasonings creates a snack that’s impossible to resist.
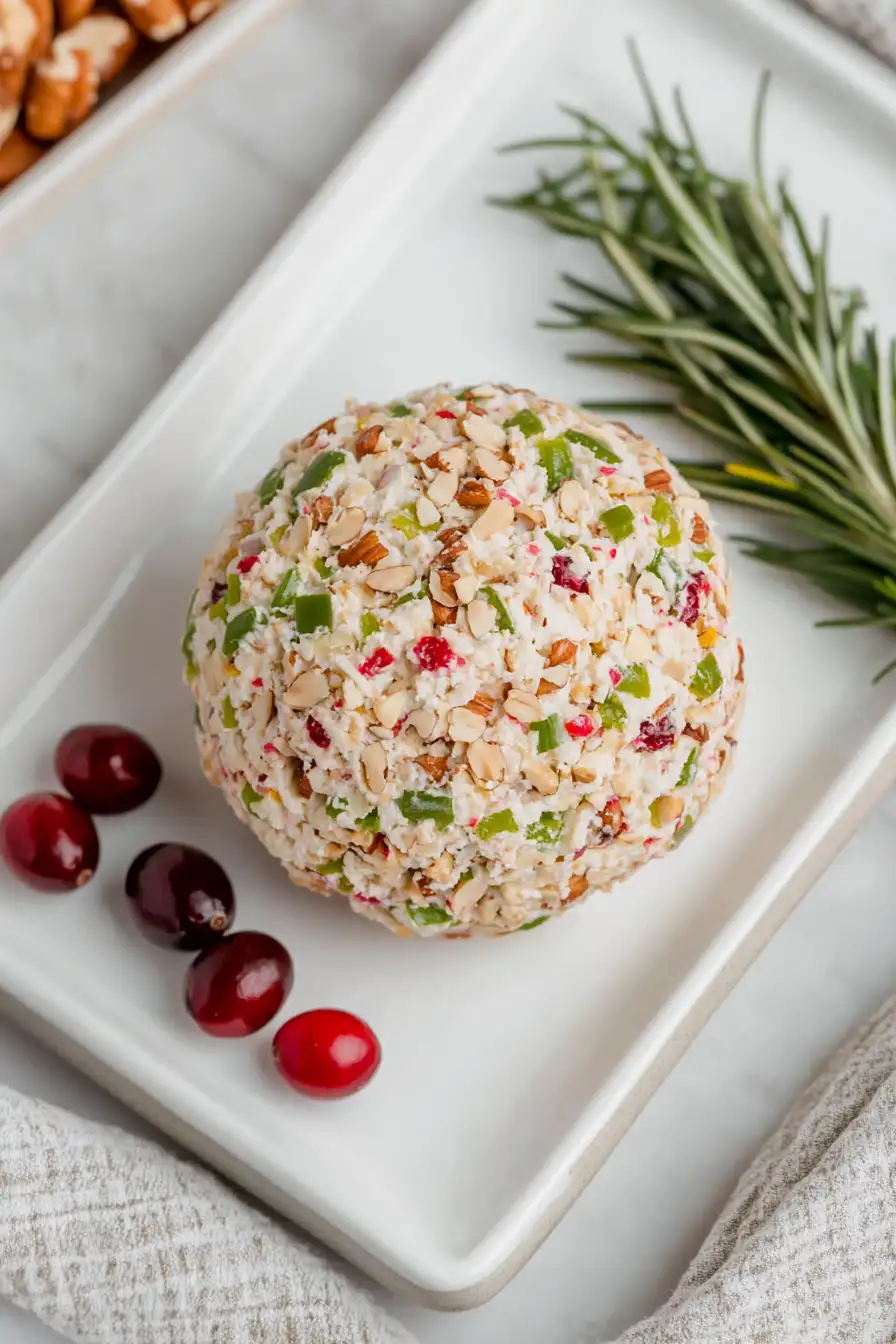
I roll mine in a mix of fresh herbs and finely chopped pecans, then serve them with an assortment of crackers. The best part? You can make them ahead of time, which is a real lifesaver during the busy holiday season.
It’s a tried-and-true party favorite that always disappears quickly, perfect for everything from casual get-togethers to fancy Christmas celebrations.
Why You’ll Love These Cheese Balls
- Make-ahead friendly – You can prepare these cheese balls up to 3 days before your holiday gathering, making your party prep so much easier.
- Perfect party food – These festive appetizers are always a hit at gatherings – guests can’t resist the creamy, cheesy goodness, and they look great on any holiday table.
- Customizable recipe – You can easily adjust the spice level, swap out different cheeses, or change up the nuts to match your taste preferences.
- No cooking required – Just mix, shape, and chill – no oven or stovetop needed, which means less stress during busy holiday prep.
What Kind of Cream Cheese Should I Use?
For cheese balls, you’ll definitely want to stick with full-fat block cream cheese rather than the spreadable kind that comes in tubs. Block cream cheese has a firmer texture that helps the cheese ball hold its shape, and it needs to be at room temperature for easy mixing. Store brands work just fine here, but Philadelphia cream cheese is the go-to choice for many cooks because of its consistent texture and taste. If you’re mixing by hand, let the cream cheese sit out for about an hour before starting – cold cream cheese will leave you with lumps and a sore arm from all that stirring!
Options for Substitutions
Need to switch things up with this cheese ball recipe? Here are some handy swaps you can try:
- Cream cheese: This is the base of the recipe, so stick with full-fat cream cheese for the best texture. If you must, you can use Neufchâtel cheese, but the ball might be slightly softer.
- Sour cream: Greek yogurt makes a great substitute for sour cream – just make sure to use full-fat for the right consistency.
- Cheddar cheese: Feel free to experiment with other firm cheeses like Colby, Monterey Jack, or even pepper jack for some extra kick. Just avoid soft cheeses as they’ll make the mixture too loose.
- Bell peppers: You can swap these with finely chopped celery, carrots, or even jarred pimentos. Just make sure to drain any wet ingredients well.
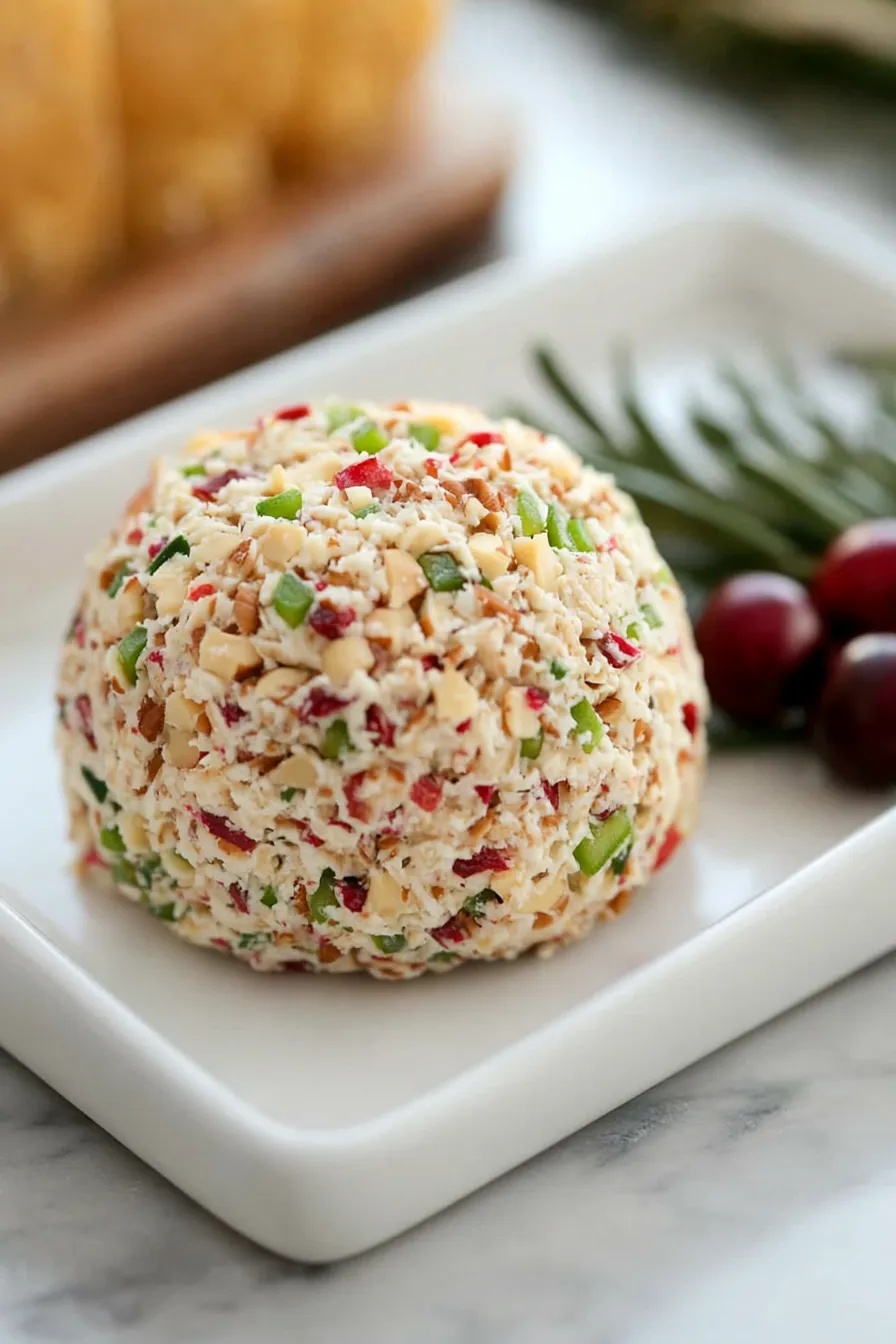
- Pecans: Any nuts work great here – try walnuts, almonds, or pistachios. For nut-free options, use finely chopped fresh herbs, bacon bits, or everything bagel seasoning.
- Worcestershire sauce: Soy sauce or coconut aminos can work in place of Worcestershire sauce – just use about half the amount since they’re saltier.
- Hot sauce: Any hot sauce works here – Tabasco, Frank’s RedHot, or even a pinch of cayenne pepper can replace Sriracha.
Watch Out for These Mistakes While Making
The biggest challenge when making cheese balls is working with cream cheese that’s too cold – make sure to let it soften at room temperature for at least 2 hours, or you’ll end up with lumpy balls that are hard to shape.
Another common mistake is adding too much liquid from the peppers, which can make your cheese mixture too soft to hold its shape – be sure to finely chop and pat dry your bell peppers with paper towels before mixing them in.
The texture of your cheese balls can be compromised if you skip the chilling time – plan to refrigerate them for at least 4 hours (or overnight) to allow the flavors to blend and the mixture to firm up properly.
For the best coating results, wait until just before serving to roll the balls in the chopped pecans, as this keeps the nuts fresh and crunchy, and don’t forget to remove the cheese balls from the refrigerator about 15-20 minutes before serving to make them easier to spread.
What to Serve With Cheese Balls?
While this recipe already includes some serving suggestions, let me share some extra ideas to make your cheese ball spread even more fun! A variety of crackers with different textures works great – think butter crackers, wheat thins, and water crackers for a nice mix. For a fresh crunch, put out some colorful veggie sticks like carrots, celery, cucumber spears, and cherry tomatoes. If you’re hosting a party, add some sliced baguette or pita chips to the platter, and maybe even some thinly sliced apples for a sweet-savory combo that really works with the cheese.
Storage Instructions
Chill: These festive cheese balls can be kept in the fridge for up to 5 days. Just wrap them tightly in plastic wrap or place in an airtight container. Pro tip: wait to roll them in the chopped pecans until right before serving to keep the nuts nice and crunchy!
Make Ahead: These are perfect for planning ahead! You can make the cheese mixture up to 3 days before your party. Shape the balls, wrap them well, and keep them in the fridge. When party time comes, just roll them in the chopped pecans and you’re good to go.
Freeze: Want to prep way ahead? Form the cheese balls (without the pecan coating), wrap them really well in plastic wrap and then foil, and pop them in the freezer for up to 1 month. Just thaw overnight in the fridge, then coat with nuts before serving.
| Preparation Time | 30-45 minutes |
| Cooking Time | 0-5 minutes |
| Total Time | 120-180 minutes |
| Level of Difficulty | Easy |
Estimated Nutrition
Estimated nutrition for the whole recipe (without optional ingredients):
- Calories: 2200-2500
- Protein: 50-60 g
- Fat: 180-200 g
- Carbohydrates: 40-50 g
Ingredients
For the cheese ball:
- 1/2 tsp onion powder
- 1/4 tsp black pepper (freshly ground for best flavor)
- sea salt to taste
- 2 cups shredded cheddar cheese
- 1 red bell pepper (finely diced)
- a splash of sriracha (optional, for a little kick)
- 1 lb cream cheese (softened to room temperature)
- 1 tsp garlic powder
- 2 tsp Worcestershire sauce (Lea & Perrins is my go-to)
- 1 green bell pepper (finely diced)
- 1/4 cup full-fat sour cream (I like Daisy brand)
- 1/4 tsp smoked paprika
For the coating:
- crackers, breadsticks, or cut-up vegetables for serving
- 3/4 cup chopped pecans (toasted for extra crunch)
Step 1: Prepare the Cheese Mixture
In a medium bowl, combine the cream cheese, sour cream, and shredded cheese.
You can use a rubber spatula to mix by hand or opt for a hand mixer for a smoother blend.
Add in half of the diced peppers, saving the rest for coating later.
Season the mixture with pepper, salt (to taste), garlic powder, onion powder, paprika, Worcestershire sauce, and a dash of hot sauce.
Stir well until all ingredients are thoroughly combined.
Step 2: Shape the Cheese Ball
With the help of your spoon or spatula, gather the mixture and roll it into a rough ball shape.
Then, place a large piece of plastic wrap on your work surface.
Transfer the cheese ball onto the center of the plastic wrap.
Using the plastic wrap, roll and smooth the cheese ball into a round, firm shape.
Ensure it is wrapped tightly to hold its form.
Step 3: Chill the Cheese Ball
Place the wrapped cheese ball into the fridge and allow it to chill for at least 2 hours to set the flavors.
For the best results, prepare and chill the cheese ball overnight, which allows the flavors to meld beautifully.
Step 4: Coat with Pecans and Peppers
Before serving, remove the cheese ball from the fridge and unwrap it from the plastic wrap.
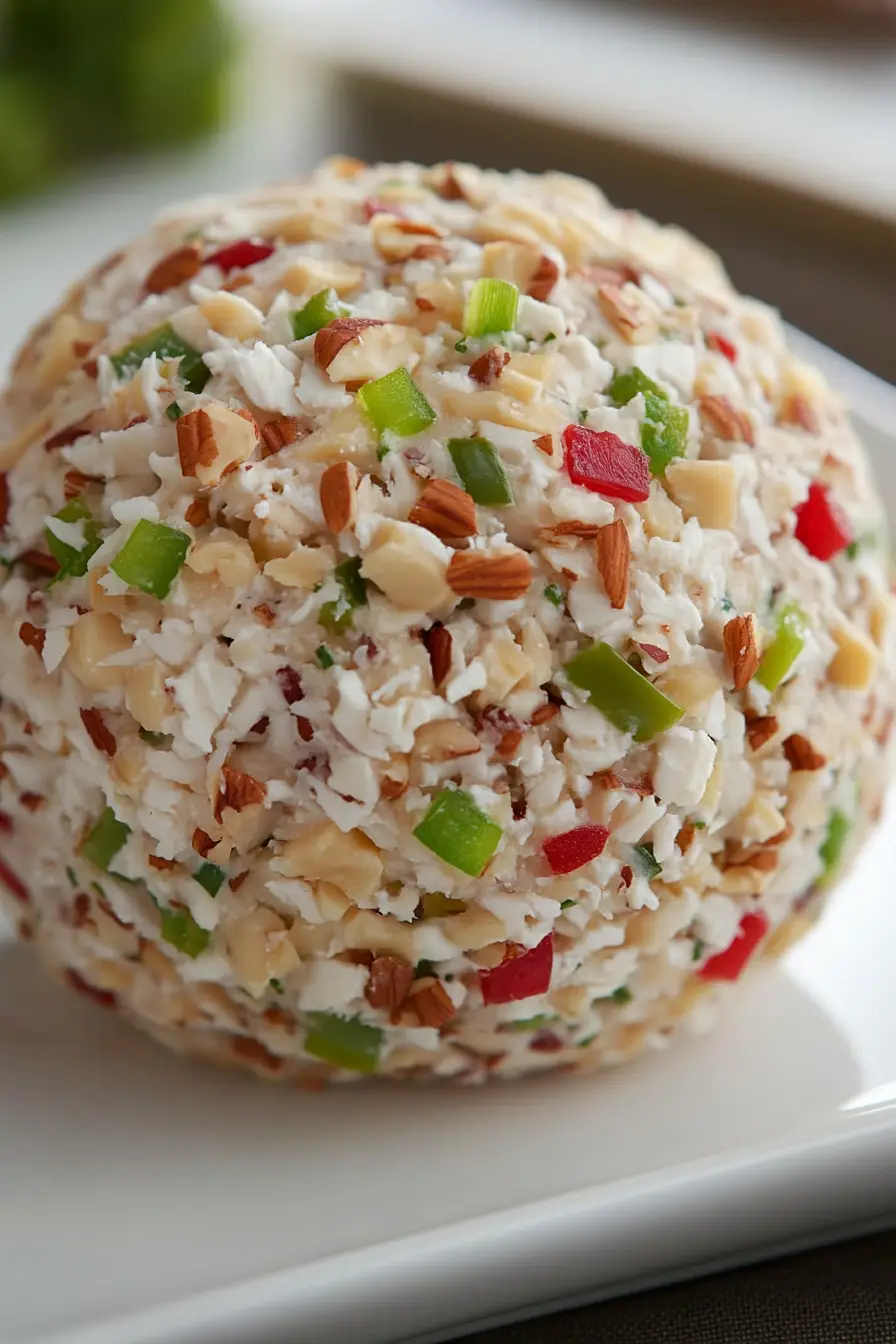
Roll the cheese ball in a mixture of chopped pecans and the remaining diced red and green peppers.
Ensure it is evenly coated, pressing lightly to adhere the toppings to the surface of the cheese ball.
Step 5: Serve and Enjoy
Place the beautifully coated cheese ball on a serving platter.
Serve it immediately with an assortment of your favorite crackers, pretzels, baguette slices, or veggie sticks for dipping and spreading.
Enjoy this delightful appetizer with family and friends!