Finding a good homemade jam recipe that doesn’t load you up with sugar can feel like searching for a needle in a haystack. Between juggling work schedules and trying to make healthier choices, most of us end up settling for store-bought options that are packed with added sweeteners and preservatives.
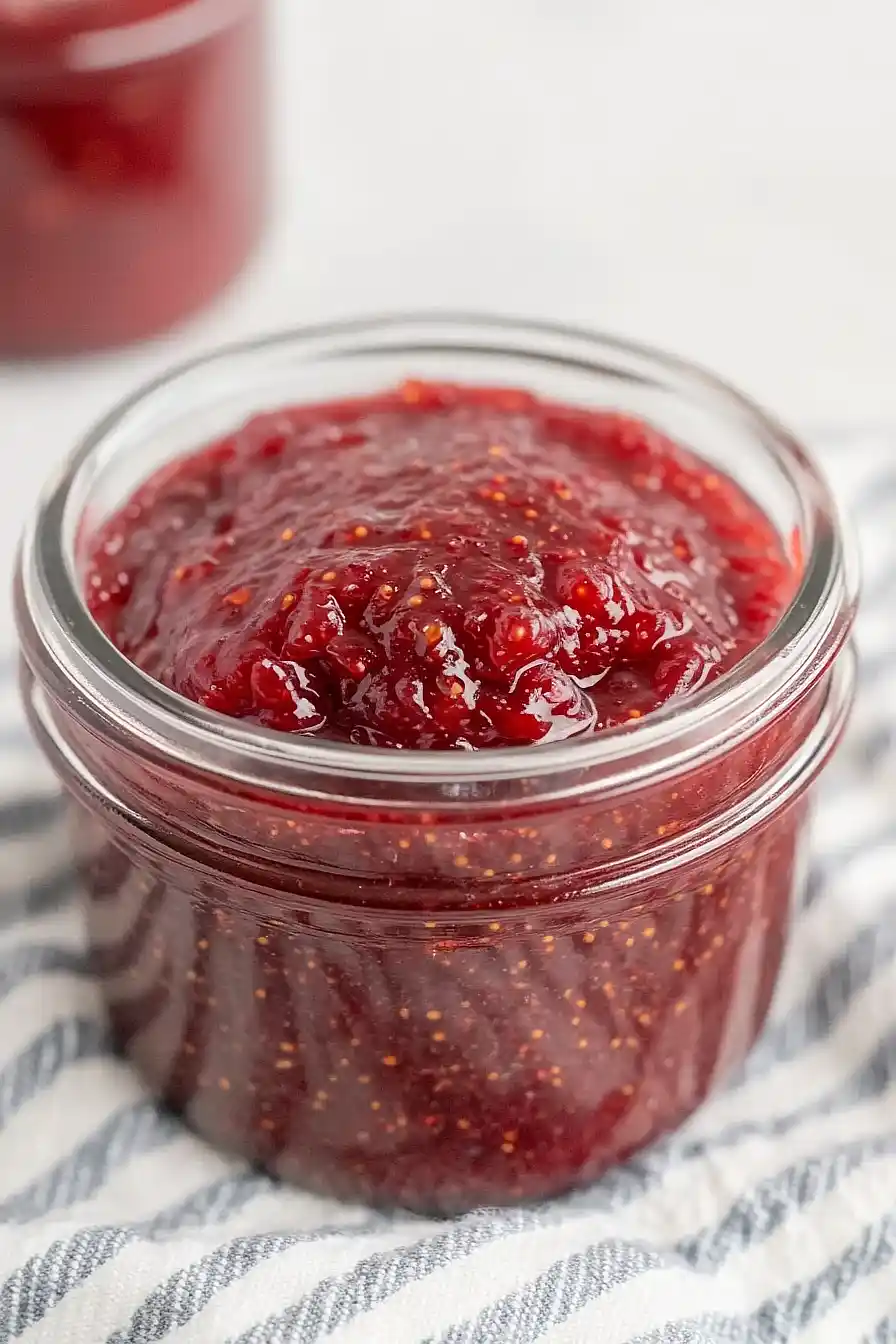
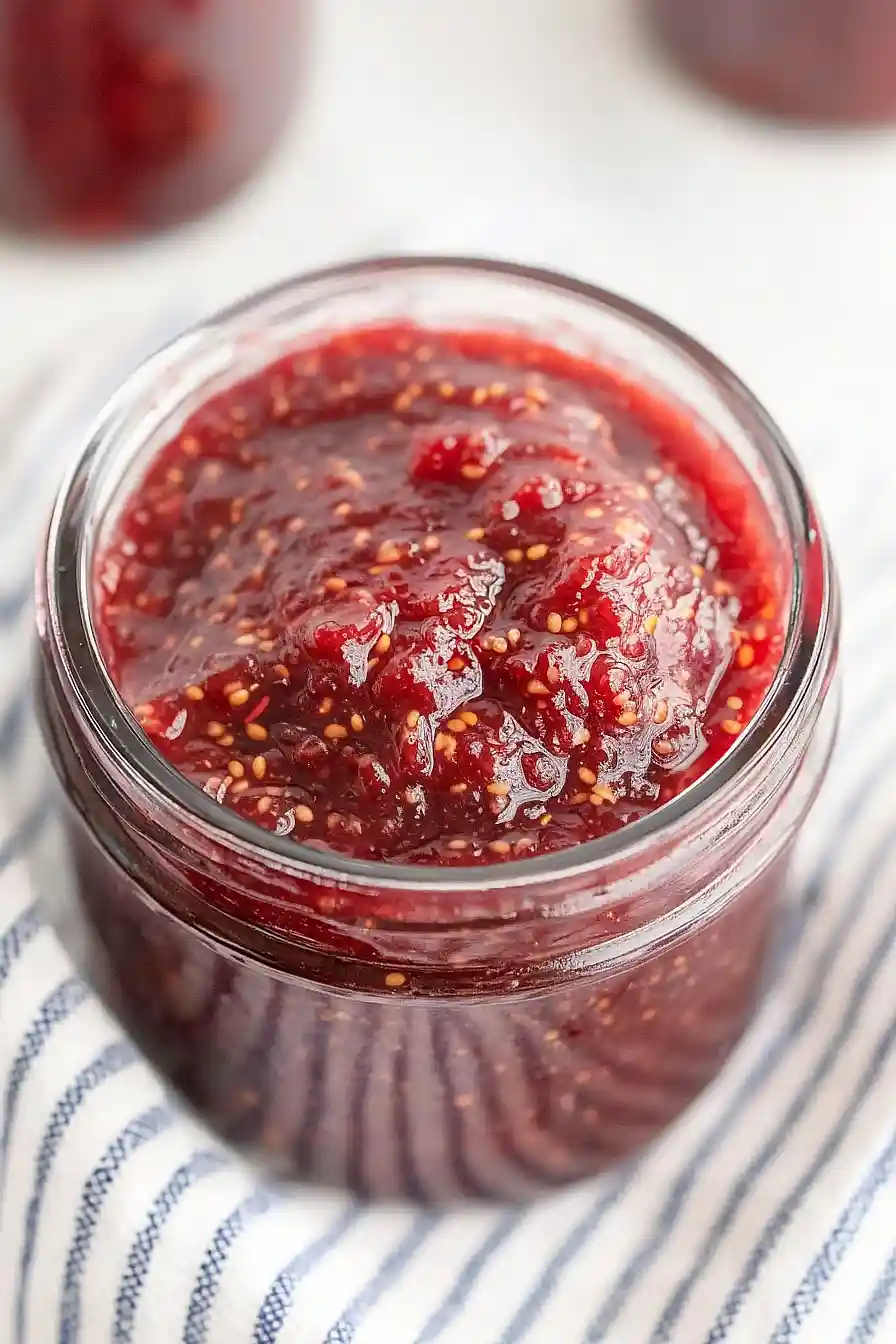
That’s why this naturally sweet fig jam has become my go-to recipe. It’s made with just fresh figs and a few simple ingredients, relies on the fruit’s natural sweetness, and takes less time to make than you might think. Plus, it’s perfect for spreading on your morning toast or stirring into yogurt when you want something that tastes great without the sugar crash.
Why You’ll Love This Fig Jam
- Naturally sweet – This jam relies solely on the natural sweetness of ripe figs, making it a perfect choice for those watching their sugar intake or preferring less processed foods.
- Clean ingredients – With just 5 simple ingredients and no refined sugar, you’ll know exactly what’s going into your jam – just pure, wholesome fruits and natural flavors.
- Healthier alternative – Unlike store-bought jams loaded with preservatives and added sugars, this homemade version lets you enjoy the pure taste of figs while keeping things nutritious.
- Versatile spread – This jam works perfectly on toast, in yogurt, with cheese plates, or as a natural sweetener in baking – and you can adjust the thickness to your liking.
What Kind of Figs Should I Use?
Fresh figs come in several varieties, and any ripe, sweet fig will work wonderfully in this sugar-free jam recipe. Black Mission figs are a popular choice because of their natural sweetness and deep flavor, while Brown Turkey figs tend to be a bit milder but still delicious. When selecting your figs, look for fruits that are soft to the touch but not mushy – they should give slightly when gently squeezed. The best figs for jam-making are those that are fully ripe, as they’ll provide the most natural sweetness to compensate for the lack of added sugar. Just avoid using figs that show any signs of mold or are overly squishy, as these are past their prime.
Options for Substitutions
Making this sugar-free fig jam? Here are some helpful substitution tips:
- Fresh figs: Fresh figs are the star here and can’t really be substituted if you want true fig jam. However, if your figs aren’t quite ripe enough, you can add 2-3 mashed ripe bananas to boost natural sweetness.
- Lemon juice and zest: You can swap lemon with lime juice and zest, though it will give a slightly different flavor. Orange juice and zest work too, but use only 3 tablespoons of juice since orange is sweeter.
- Vanilla essence: Feel free to use vanilla bean paste (1 teaspoon) or half a vanilla bean pod instead. You could also try almond extract (use just ½ teaspoon) or leave it out completely.
- Water: Apple juice or white grape juice can replace water to add natural sweetness. Just keep the same amount – ¼ cup.
Watch Out for These Mistakes While Cooking
The biggest challenge when making sugar-free fig jam is achieving the right consistency – using underripe figs will result in a less sweet, watery jam that won’t thicken properly, so make sure your figs are soft and fully ripe. Another common mistake is cooking the jam at too high a temperature, which can cause the natural sugars to burn and create a bitter taste – instead, maintain a gentle simmer and stir frequently to prevent sticking. To ensure your jam sets properly without added pectin, don’t skip the lemon juice, as the natural pectin in the lemon combines with the figs’ natural sugars to create the perfect jammy texture. For the best flavor development, give the jam enough time to reduce and thicken (usually about 45-60 minutes), and remember to sterilize your jars properly if you plan to store the jam long-term.

What to Serve With Fig Jam?
This naturally sweet fig jam is perfect for spreading on your morning toast or warm croissants, but there are so many other tasty ways to use it! Try adding a spoonful to your cheese board – it pairs wonderfully with both soft cheeses like brie and goat cheese, or aged hard cheeses like manchego. For breakfast or brunch, you can stir it into plain yogurt or oatmeal, or spread it on English muffins with a little butter. The jam also makes a great addition to sandwiches – try it with prosciutto and arugula on crusty bread for a simple but satisfying lunch.
Storage Instructions
Preserve: Once your fig jam has cooled completely, transfer it to clean, sterilized jars with tight-fitting lids. When properly sealed and stored in a cool, dark pantry, your homemade fig jam will stay good for up to 6 months. After opening, keep it in the fridge.
Refrigerate: Pop your opened jar of fig jam in the refrigerator where it’ll keep well for about 2-3 weeks. The natural pectin in the figs helps maintain the consistency, but give it a quick stir if you notice any separation.
Freeze: Want to keep your fig jam longer? Spoon it into freezer-safe containers, leaving about 1/2 inch of headspace for expansion, and it’ll stay fresh in the freezer for up to 6 months. Just thaw it overnight in the fridge when you’re ready to use it.
| Preparation Time | 10-15 minutes |
| Cooking Time | 75-90 minutes |
| Total Time | 85-105 minutes |
| Level of Difficulty | Medium |
Estimated Nutrition
Estimated nutrition for the whole recipe (without optional ingredients):
- Calories: 280-320
- Protein: 2-4 g
- Fat: 0-1 g
- Carbohydrates: 70-80 g
Ingredients
- 1/4 cup water
- 1 tsp vanilla essence (I use Nielsen-Massey vanilla essence)
- 2 tsp lemon zest (finely zested from fresh lemons)
- 2 lb fresh figs (quartered for easier cooking)
- 1/4 cup fresh lemon juice (Meyer lemons if available for a sweeter flavor)
Step 1: Prepare the Fig Mixture
In a large saucepan, combine figs, water, and lemon zest.
Place the saucepan over medium-low heat and begin to simmer the ingredients.
Stir constantly to ensure even cooking and to prevent sticking.
Step 2: Thicken the Mixture
Continue simmering the mixture over medium-low heat until it becomes thick and sticky.
At this point, add the lemon juice to the saucepan.
Cover the mixture and let it simmer over low heat for one hour, stirring occasionally to prevent the bottom from burning.
Step 3: Add Vanilla and Blend
After one hour, uncover the saucepan and stir in the vanilla extract.
Use an immersion blender to lightly blend the ingredients, taking care not to over-blend as you still want some texture in your jam.
Step 4: Final Simmer and Cool
Let the blended mixture continue to simmer for an additional fifteen minutes.
Afterward, remove the saucepan from heat and allow the jam to cool to room temperature.
Step 5: Store or Can the Jam
Once cooled, fill your preferred containers with the jam.
If you plan to store the jam long-term, follow an approved canning method and adhere to proper canning instructions to ensure safety and preserve the jam’s freshness.
