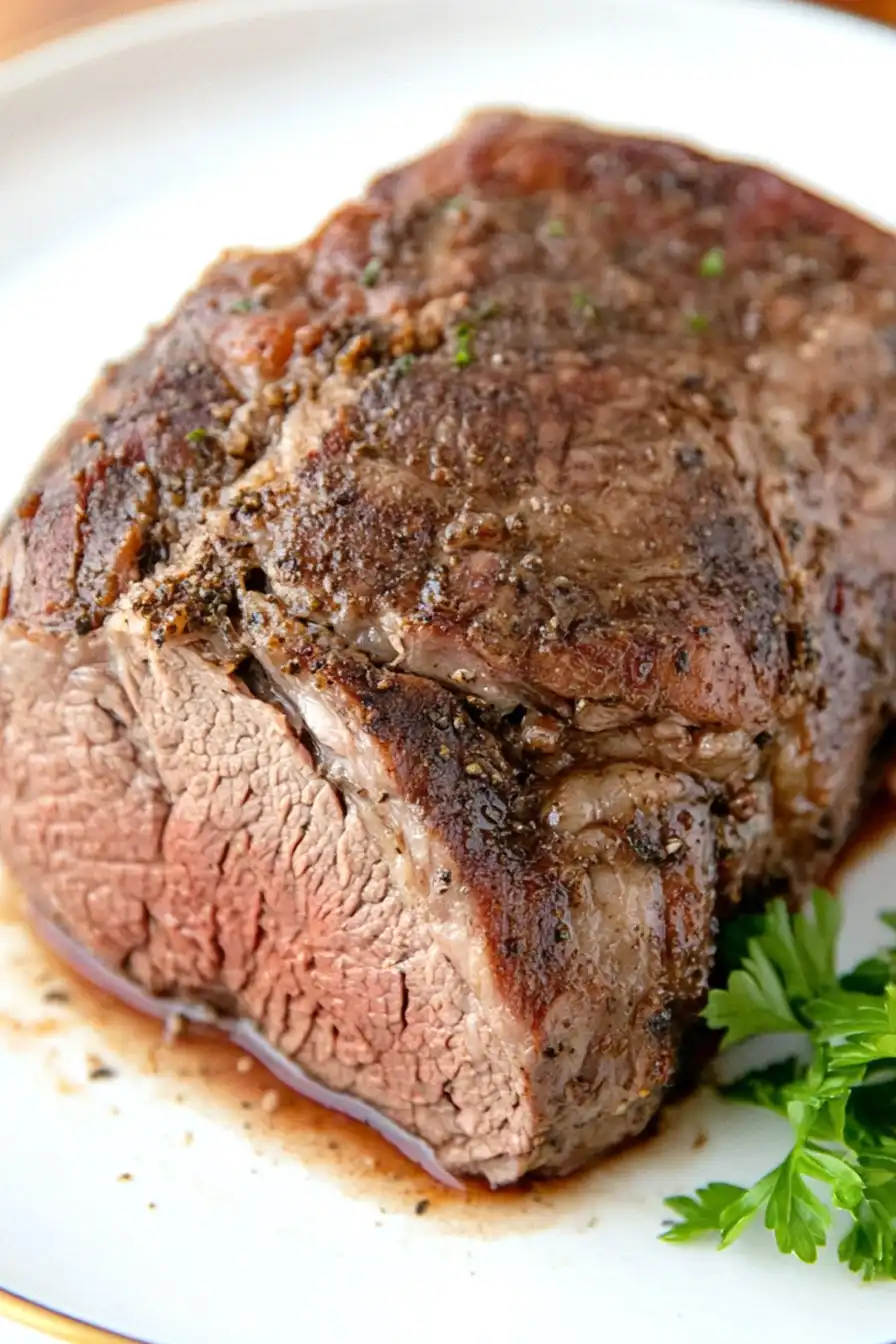
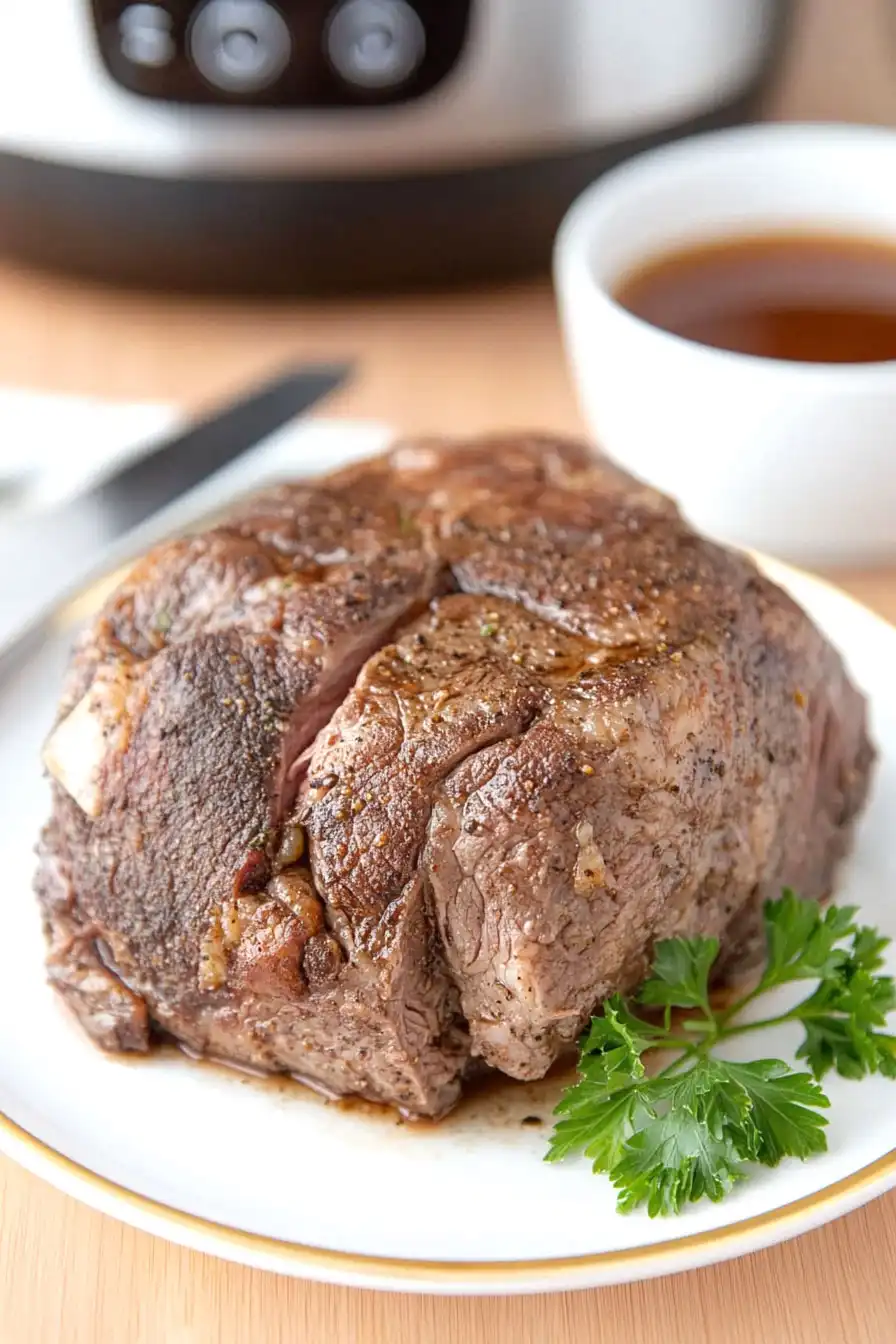
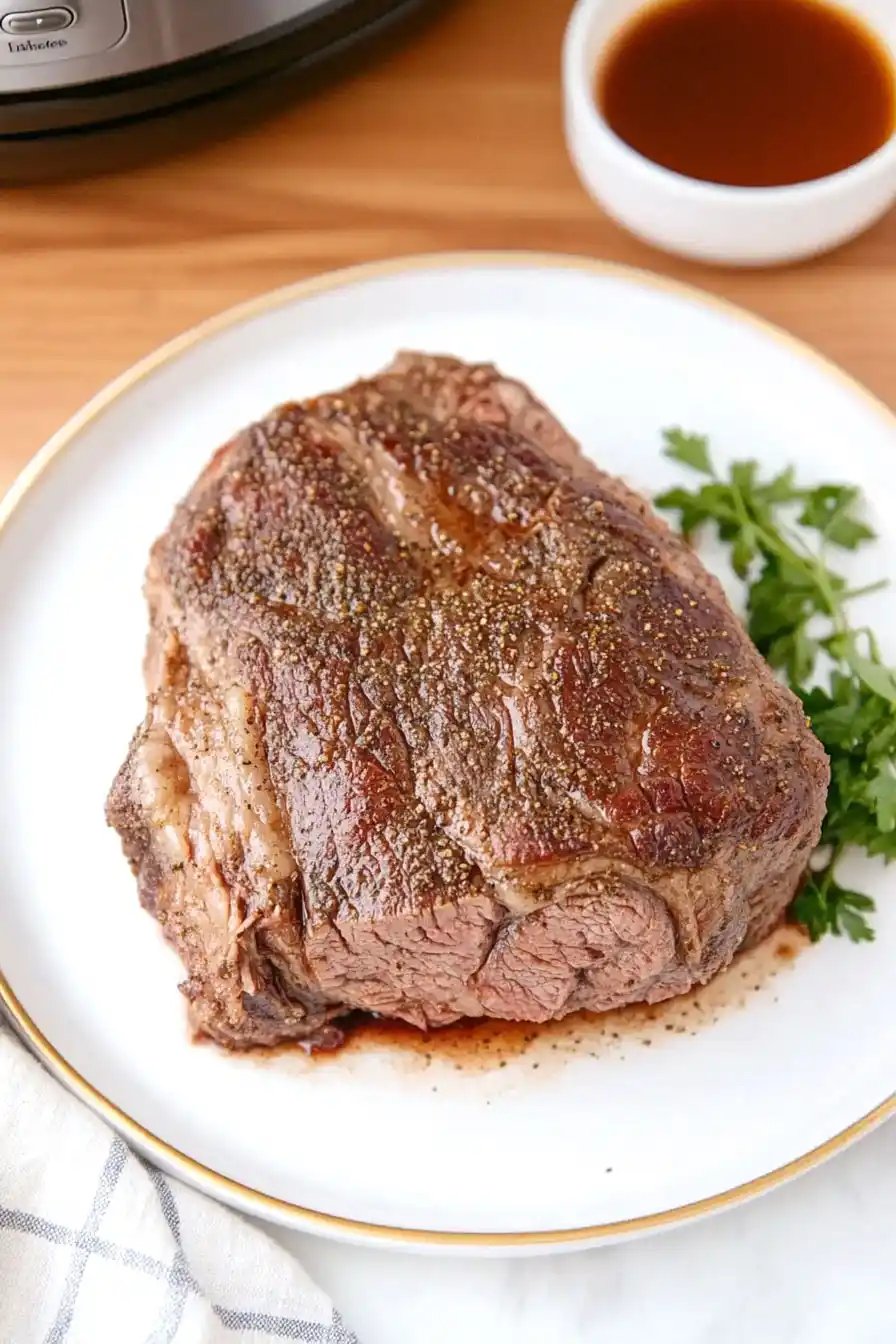
Here is my go-to Instant Pot chuck roast recipe, with tender meat that falls apart at the touch of a fork, rich gravy made from the cooking liquid, and vegetables that soak up all those good flavors.
This chuck roast has become our favorite Sunday dinner option, especially during the colder months. I love that I can set it up in the Instant Pot and let it do its thing while I tackle other things around the house. Plus, the leftovers make amazing sandwiches the next day!
Why You’ll Love This Chuck Roast
- Time-saving pressure cooking – What usually takes 4+ hours in the oven is ready in just 80 minutes in your Instant Pot, making this perfect for busy weeknights when you’re craving a comforting meal.
- Tender, fall-apart meat – The pressure cooking method breaks down the tough muscle fibers in chuck roast, giving you incredibly tender meat that pulls apart with just your fork.
- Rich, flavorful sauce – The combination of red wine, beef stock, and aromatics creates a deep, savory sauce that tastes like it’s been simmering all day.
- Simple ingredients – You’ll only need basic pantry staples and a few fresh ingredients to make this restaurant-quality meal at home.
What Kind of Chuck Roast Should I Use?
When shopping for chuck roast, look for a piece that has good marbling – those white streaks of fat running through the meat that make it tender after cooking. The most common cuts you’ll find are labeled as “chuck roast,” “shoulder roast,” or “pot roast,” and any of these will work great in your Instant Pot. For the best results, pick a piece that’s between 2.5 to 3.5 pounds and has a consistent thickness throughout – this helps it cook evenly. If you notice a piece that’s really lean without much marbling, skip it and look for another one, since those lean cuts can end up tough even after pressure cooking.
Options for Substitutions
Need to switch things up? Here are some handy substitutions for this Instant Pot recipe:
- Chuck roast: While chuck roast is really the best cut for this recipe, you can use bottom round, brisket, or shoulder roast if needed. Just keep in mind these cuts might give you slightly different results in texture.
- Red wine: Don’t cook with wine? Simply replace it with extra beef stock and add 1 tablespoon of balsamic vinegar to get that same rich flavor.
- Beef stock: You can use beef broth, bouillon cubes dissolved in water (2 cubes per 3 cups water), or even chicken stock with a beef bouillon cube added for more beefy flavor.
- Dried herbs: Fresh herbs work great too – use 1 tablespoon each of fresh rosemary and thyme instead of dried. You can also use Italian seasoning as a quick substitute for both herbs.
- Vegetable oil: Any neutral cooking oil works here – canola, grapeseed, or even light olive oil are good options for searing the meat.
- Tomato paste: In a pinch, you can use 6 tablespoons of tomato sauce reduced down to 3 tablespoons, or 3 tablespoons of ketchup (though this will add some sweetness).
Watch Out for These Mistakes While Cooking
The biggest mistake when cooking chuck roast in an Instant Pot is skipping the crucial step of searing the meat first – taking those extra 10 minutes to brown all sides creates a rich flavor base that makes a huge difference in the final dish. Another common error is adding too much liquid, which can dilute the flavors – stick to the recommended amount of beef stock and wine, as the meat and vegetables will release their own juices during cooking. When releasing the pressure, avoid doing a quick release as this can make your meat tough; instead, let it naturally release for at least 15-20 minutes to keep the meat tender and juicy. For the best results, cut your chuck roast into even-sized large chunks if it’s too big to fit comfortably in your pot, and make sure to deglaze the pot with wine after searing to capture all those flavorful browned bits stuck to the bottom.
What to Serve With Chuck Roast?
This tender chuck roast practically begs for classic comfort food sides that can soak up all that rich gravy. Creamy mashed potatoes are my go-to choice – they’re perfect for creating a little pool for the meat juices and sauce. You could also go with roasted baby potatoes, egg noodles, or even rice if you’re looking to switch things up. For vegetables, I like to keep it simple with roasted carrots, green beans, or Brussels sprouts, which complement the savory flavors of the meat without competing with them. Don’t forget some warm dinner rolls or crusty bread to mop up every last bit of that delicious sauce!
Storage Instructions
Keep Fresh: After your chuck roast has cooled down, place it in an airtight container with its gravy and pop it in the fridge. It’ll stay good for up to 4 days, and honestly, it often tastes even better the next day as the flavors have more time to mingle together!
Freeze: This chuck roast is perfect for freezing! Place the meat and gravy in a freezer-safe container or heavy-duty freezer bag, making sure to remove as much air as possible. It’ll keep well for up to 3 months in the freezer. I like to freeze it in portion sizes that work for my family.
Reheat: To warm up your chuck roast, place it with the gravy in a pot over low heat on the stove, or pop it in the microwave at 50% power, stirring occasionally. If it seems a bit dry, add a splash of beef broth. For frozen roast, thaw overnight in the fridge before reheating. The meat should be just as tender and flavorful as when you first made it!
| Preparation Time | 10-15 minutes |
| Cooking Time | 70-80 minutes |
| Total Time | 80-95 minutes |
| Level of Difficulty | Medium |
Estimated Nutrition
Estimated nutrition for the whole recipe (without optional ingredients):
- Calories: 2000-2200
- Protein: 150-160 g
- Fat: 120-130 g
- Carbohydrates: 40-50 g
Ingredients
- 3 garlic cloves, halved
- 3 lb beef chuck roast
- 1 tbsp Worcestershire sauce
- 1 tsp dried rosemary
- 1/2 cup red wine (a dry red like Cabernet Sauvignon works well)
- 1 tsp black pepper (freshly ground for best flavor)
- 1 tbsp kosher salt (Diamond Crystal for best results)
- 3 cups low-sodium beef stock
- 1 tsp dried thyme
- 1 onion, quartered (for easy removal later)
- 3 tbsp tomato paste
- 2 tbsp vegetable oil
Step 1: Prepare and Season the Roast
Begin by seasoning the roast generously with salt and pepper, ensuring all sides are well covered.
Once seasoned, set the roast aside to let the flavors develop slightly while you prepare the cooking area.
Step 2: Sauté the Meat
Drizzle oil into the inner pot of your Instant Pot and select the ‘Sauté’ function to begin pre-heating.
When the indicator shows ‘Hot’, carefully place the seasoned roast into the inner pot.
Brown the meat on all sides, which should take a few minutes.
Once browned, transfer the roast to a clean plate and set it aside temporarily.
Step 3: Cook Aromatics and Deglaze
With the inner pot still hot, add sliced onion and minced garlic, then cook for about 3 to 4 minutes until they start to soften and become fragrant.
Pour in red wine to deglaze the pot, using a spatula to scrape up any browned bits stuck to the bottom.
This will add flavor to the dish.
Step 4: Add Liquids and Seasonings
Add beef broth, tomato paste, Worcestershire sauce, rosemary, and thyme to the pot.
Stir to combine all ingredients thoroughly.
Return the browned roast back into the pot, nestled among the flavorful liquid and herbs.
Step 5: Pressure Cook
Securely close and lock the Instant Pot lid.
Ensure the steam release handle is set to the sealed position.
Select the ‘Pressure Cook’ function and set the timer for 60 minutes on high pressure.
Let the roast cook, absorbing all the delicious flavors.
Step 6: Release Pressure & Serve
Once the cooking time is complete, allow the Instant Pot to naturally release pressure for 10 minutes.
Carefully turn the steam release handle to the venting position to release any remaining steam.
When the pressure valve has dropped, unlock and open the lid cautiously.
Remove the roast to a cutting board and slice against the grain or shred it to your preference.
Serve with your favorite sides.
If desired, use the remaining liquid in the pot to make a savory gravy following your preferred method.
