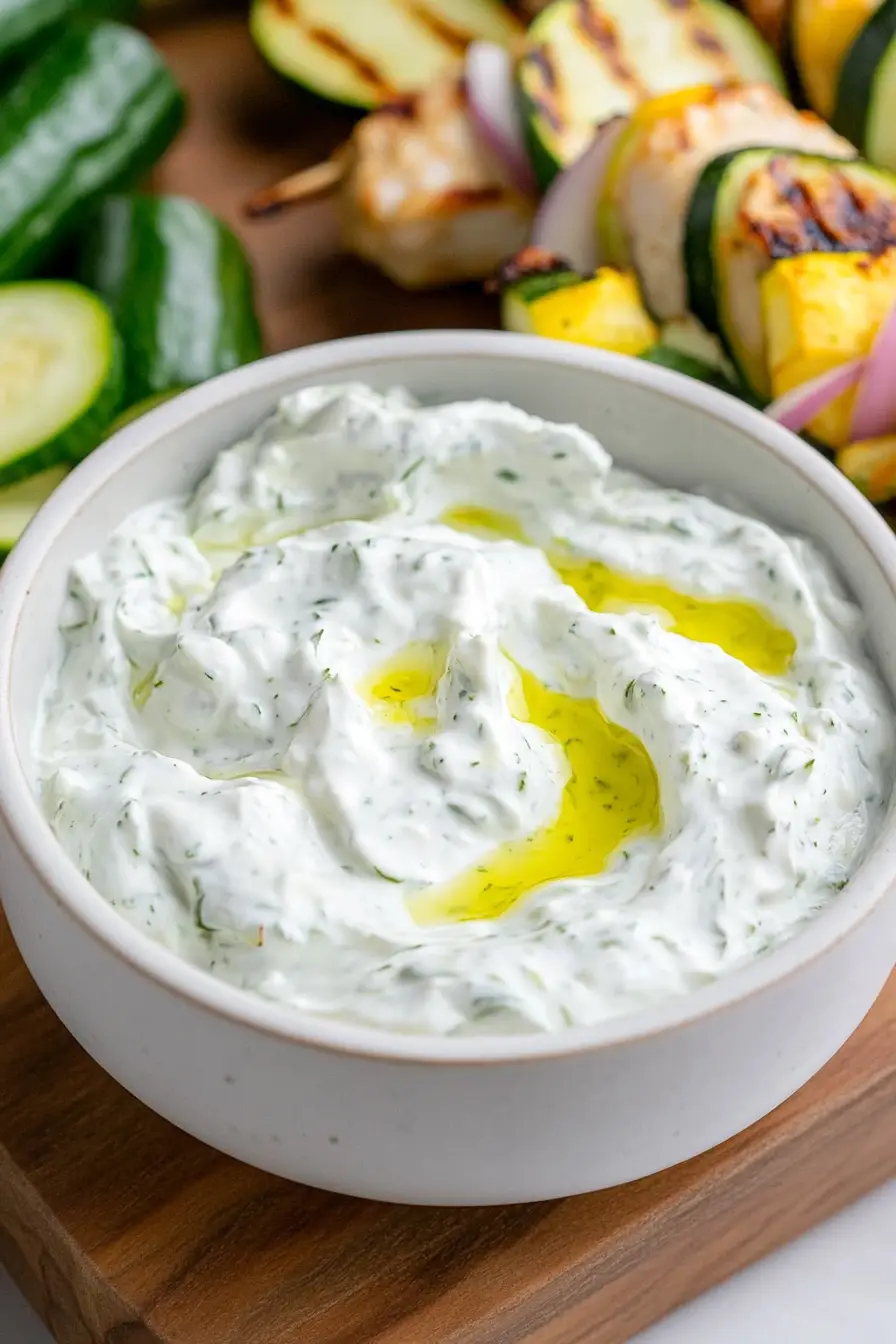
Here’s my go-to keto tzatziki recipe, with a creamy Greek yogurt base, fresh cucumber, garlic, and herbs that make the perfect low-carb dip or sauce for your favorite Mediterranean dishes.
This tzatziki has become my weekly staple since starting keto, and I always keep a batch in the fridge. It’s great on grilled meats, as a dip for vegetables, or honestly, just eaten straight from the bowl with a spoon (yes, I’ve done that more than once!).
Why You’ll Love This Tzatziki
- Quick and easy – This tzatziki comes together in just 15 minutes – simply chop, mix, and serve. No cooking required!
- Keto-friendly and healthy – Made with high-protein Greek yogurt and fresh cucumber, this low-carb dip fits perfectly into your keto lifestyle while keeping things nutritious.
- Fresh ingredients – Using real cucumber, fresh dill, and garlic creates an authentic Mediterranean flavor that store-bought versions just can’t match.
- Versatile sauce – This creamy sauce works great as a dip for vegetables, a spread for sandwiches, or a topping for grilled meats and salads.
What Kind of Greek Yogurt Should I Use?
Full-fat Greek yogurt is your best bet for making tzatziki, as it creates a richer, creamier sauce that won’t get watery. Look for plain Greek yogurt (not flavored!) with at least 5% fat content – brands like Fage and Chobani work great here. While you could use low-fat Greek yogurt in a pinch, it tends to be thinner and more watery, which can make your tzatziki runny. Just make sure whatever yogurt you choose is strained Greek-style yogurt rather than regular yogurt, since the extra straining gives Greek yogurt that thick, creamy texture that’s essential for good tzatziki.

Options for Substitutions
This keto tzatziki is pretty adaptable – here are some smart swaps you can try:
- Greek yogurt: For an even lower-carb version, you can use full-fat sour cream instead of Greek yogurt. Some people also like using a 50/50 mix of both. Just make sure to avoid regular yogurt as it’s too thin.
- English cucumber: Regular cucumbers work too, but you’ll need to peel and seed them first. Persian cucumbers are another good option – use about 2-3 to match the amount of one English cucumber.
- Fresh dill: If you’re out of fresh dill, you can use dried dill (about 2 teaspoons) – though fresh really does taste better here. In a pinch, fresh mint can work too for a different but nice flavor.
- Lemon juice: White wine vinegar can stand in for lemon juice – start with half the amount and adjust to taste.
- Olive oil: While olive oil is traditional, you can use avocado oil if you prefer a more neutral taste.
Watch Out for These Mistakes While Making
The biggest challenge when making tzatziki is dealing with excess cucumber moisture, which can make your sauce watery and diluted – always salt and drain your chopped cucumber in a colander for at least 30 minutes, then squeeze out any remaining liquid using a clean kitchen towel or cheesecloth.
Another common mistake is using regular yogurt instead of Greek yogurt, as regular yogurt contains too much whey and will result in a runny sauce – stick to thick, strained Greek yogurt for that authentic creamy texture.
When it comes to the garlic and herbs, avoid using pre-minced garlic from a jar or dried dill, as these won’t provide the same fresh, bright flavors that make tzatziki special – fresh garlic cloves and newly chopped dill make a noticeable difference in taste.
For the best flavor development, let your tzatziki rest in the refrigerator for at least 2 hours (or overnight) before serving, allowing all the ingredients to meld together perfectly.
What to Serve With Tzatziki?
This cool and creamy tzatziki sauce pairs perfectly with so many keto-friendly foods! For a classic Mediterranean spread, serve it alongside grilled meats like chicken souvlaki, lamb kebabs, or seasoned beef patties. It makes a fantastic dip for raw vegetables like cucumber slices, bell peppers, and celery sticks when you’re craving something fresh and crunchy. You can also spoon it over a Greek salad or use it as a spread on lettuce wraps for an easy lunch option. If you’re hosting friends, try setting it out as part of a mezze platter with olives, feta cheese, and grilled vegetables.
Storage Instructions
Keep Fresh: Your homemade tzatziki will stay fresh and tasty in an airtight container in the fridge for up to 5 days. The flavors actually get better after a day or two as everything mingles together! Just give it a quick stir before serving since the cucumber might release some water.
Prep Ahead: Want to get ahead? You can chop the cucumber and mix all ingredients except the yogurt up to a day in advance. When you’re ready, just fold in the yogurt, and you’re good to go. This helps the cucumber release its water before mixing with the yogurt.
Serve: Take your tzatziki out of the fridge about 10 minutes before serving to take the chill off – this lets the flavors shine through better. If you notice any liquid on top, just give it a quick stir to incorporate everything back together.
| Preparation Time | 15-30 minutes |
| Cooking Time | 0 minutes |
| Total Time | 15-30 minutes |
| Level of Difficulty | Easy |
Estimated Nutrition
Estimated nutrition for the whole recipe (without optional ingredients):
- Calories: 800-900
- Protein: 25-30 g
- Fat: 70-75 g
- Carbohydrates: 30-35 g
Ingredients
- 1 tbsp lemon juice (freshly squeezed for brighter flavor)
- 1 1/5 cups Greek yogurt (full fat for best texture)
- 2 tbsp fresh dill (finely chopped)
- 1 tsp sea salt
- 2 tbsp minced garlic
- 1 English cucumber (about 12-14 inches)
- 4 tbsp olive oil (good quality extra virgin)
- 1 tsp black pepper (freshly ground preferred)
Step 1: Prepare the Cucumber
Start by slicing a cucumber in half lengthwise and removing the seeds with a spoon.
Then, finely chop the cucumber into small pieces to ensure it blends well with the other ingredients.
Step 2: Combine Ingredients
In a medium-sized bowl, combine the finely chopped cucumber with your choice of other ingredients for the dip.
Mix everything together thoroughly until the ingredients are well incorporated, creating a smooth and even consistency.
Step 3: Chill the Dip
Transfer the mixed dip into a covered container and place it in the refrigerator.
Allow the dip to chill overnight to let the flavors meld and develop for a more enhanced taste.
Serve the chilled dip with your preferred dippers for a refreshing and flavorful experience.
