Finding desserts that fit into a low-carb lifestyle can feel like searching for a needle in a haystack. Between family gatherings, birthday celebrations, and those moments when you just need something sweet, it’s tough to find treats that won’t throw your healthy eating goals off track.
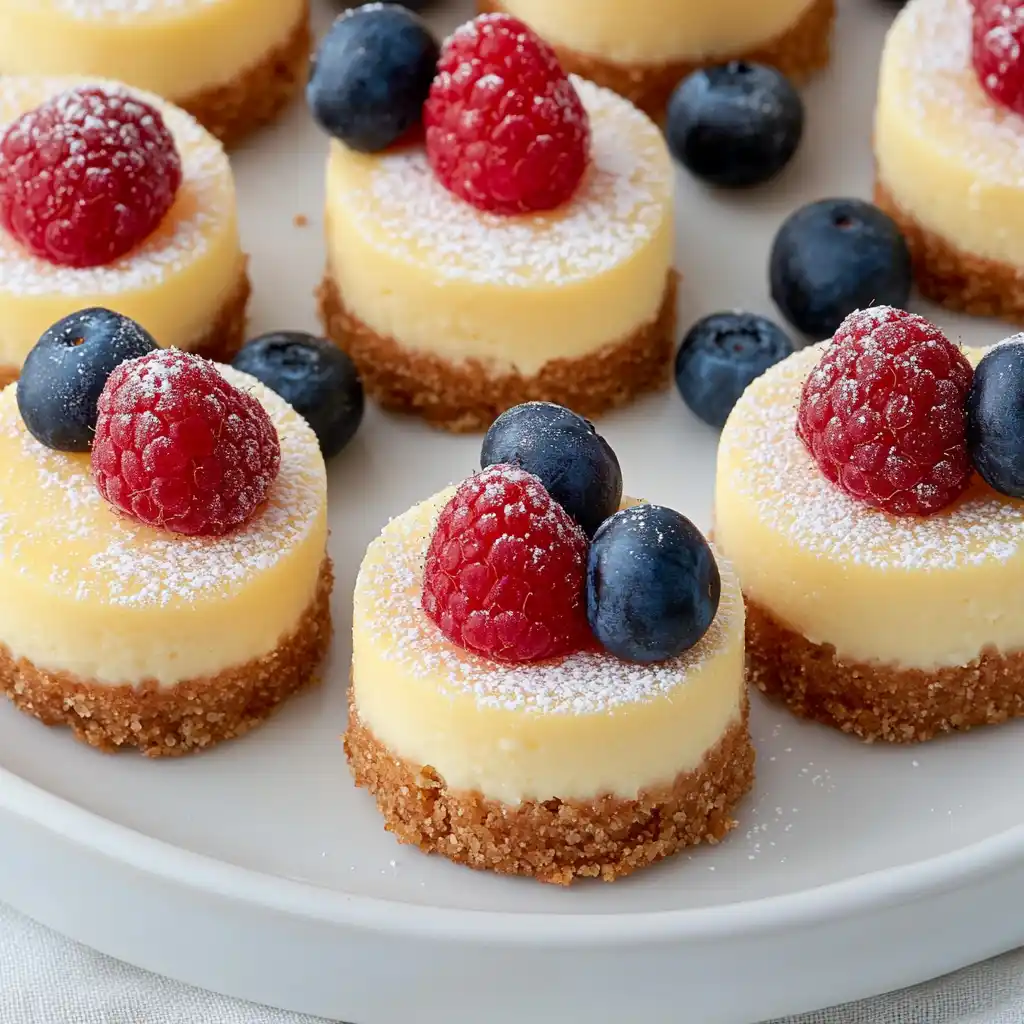
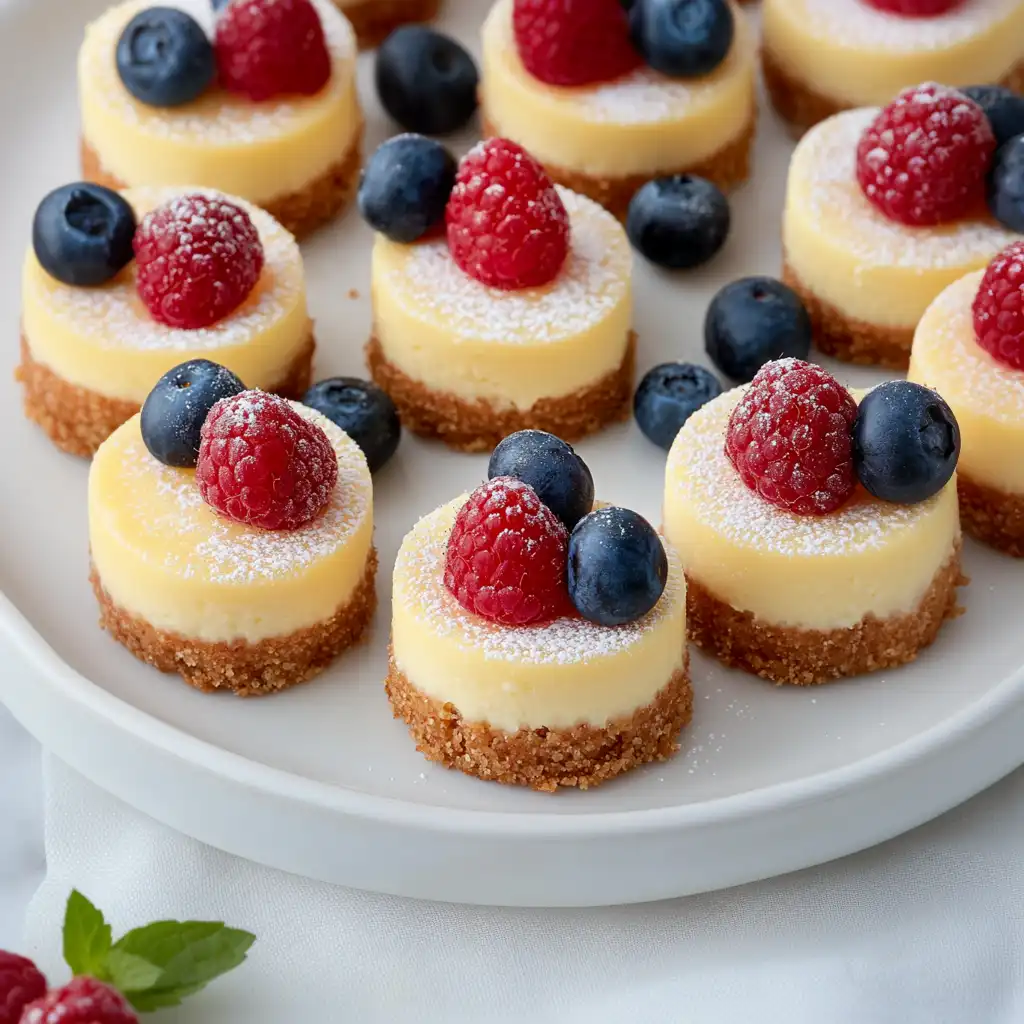
That’s where these mini cheesecakes with almond flour come in: they’re perfectly portioned, easy to make ahead, and taste just as good as the traditional version – all while keeping the carbs in check and leaving you feeling satisfied instead of sluggish.

Why You’ll Love These Mini Cheesecakes
- Gluten-free friendly – Made with almond flour instead of traditional graham crackers, these mini cheesecakes are perfect for anyone avoiding gluten or following a low-carb lifestyle.
- Perfect portion control – Each mini cheesecake is individually sized, making them great for parties, portion control, or when you just want a little something sweet.
- Make-ahead friendly – You can prepare these a day or two in advance and store them in the fridge, making them perfect for busy schedules or party planning.
- Simple ingredients – With just a handful of basic ingredients you might already have in your pantry, these cheesecakes are surprisingly easy to put together.
- Customizable toppings – The basic recipe works great on its own, but you can dress these up with different fruits, sauces, or toppings to match any occasion.
What Kind of Cream Cheese Should I Use?
For cheesecakes, full-fat block cream cheese is the way to go – avoid using cream cheese spread that comes in tubs. The block-style cream cheese has less water content and will give you that perfect, dense cheesecake texture we’re all looking for. Make sure to let your cream cheese come to room temperature before mixing, which usually takes about an hour on the counter. If you’re in a hurry, you can cut the blocks into smaller cubes to speed up the warming process, but avoid microwaving as this can affect the texture. Philadelphia brand is a popular choice among bakers, but any quality block cream cheese will work well in this recipe.
Options for Substitutions
Let me share some helpful substitution tips for these mini cheesecakes:
- Almond flour: You can swap almond flour with other nut flours like hazelnut or cashew flour for the crust. If nuts aren’t your thing, graham cracker crumbs work great too – use the same amount and keep everything else the same.
- Cream cheese: This is the star ingredient that you really shouldn’t substitute. For the best texture and taste, stick with full-fat cream cheese – it’s what makes a cheesecake a cheesecake!
- White sugar: Feel free to use coconut sugar or monk fruit sweetener in equal amounts. Just note that coconut sugar will make the color slightly darker.
- Vanilla essence: Vanilla extract works exactly the same way, or try almond extract for a nutty twist – but use only 1/2 teaspoon as it’s stronger.
- Lemon peel: Orange zest makes a nice alternative, or you can skip it altogether if you don’t have any citrus on hand.
- Berries: Any fresh fruit works great here – try sliced peaches, mangoes, or a drizzle of caramel sauce instead of berries.
Watch Out for These Mistakes While Baking
The biggest challenge when making mini cheesecakes is preventing cracks, which often happen when your ingredients aren’t at room temperature – especially the cream cheese and eggs should sit out for at least 1-2 hours before starting. Another common mistake is overmixing the batter after adding the eggs, which incorporates too much air and can lead to cracks and uneven texture – mix just until the ingredients are combined, no more. The almond flour crust can burn quickly, so keep an eye on the color and cover the tops loosely with foil if they’re browning too fast. For the smoothest possible texture, avoid opening the oven door while baking, as sudden temperature changes can cause the cheesecakes to sink in the middle, and always let them cool completely in the turned-off oven with the door cracked open.
What to Serve With Mini Cheesecakes?
These little cheesecakes are perfect for serving with fresh fruit toppings – I love using a mix of strawberries, raspberries, and blueberries to add some natural sweetness and color. A simple berry sauce made by cooking down your favorite berries with a bit of sugar makes a nice topping too. If you’re feeling fancy, try serving them with a dollop of whipped cream and a drizzle of caramel sauce, or keep it simple with just a light dusting of powdered sugar. For drinks, these pair really well with coffee, tea, or even a glass of dessert wine if you’re serving them at a dinner party.
Storage Instructions
Keep Fresh: These mini cheesecakes stay good in an airtight container in the fridge for up to 5 days. I like to place them in a single layer to keep their pretty tops intact. If you’re stacking them, put a piece of parchment paper between layers to prevent them from sticking together.
Freeze: Want to save some for later? These little treats freeze really well for up to 3 months! Just wrap each cheesecake individually in plastic wrap, then place them in a freezer bag. When you’re craving one, just move it to the fridge the night before you want to eat it.
Make Ahead: These mini cheesecakes are perfect for making ahead of time. You can bake them up to 2 days before serving – just keep them plain in the fridge and add your toppings like berries and powdered sugar right before serving. This makes them super convenient for parties or special occasions!
| Preparation Time | 20-30 minutes |
| Cooking Time | 20 minutes |
| Total Time | 2.5-3 hours |
| Level of Difficulty | Medium |
Estimated Nutrition
Estimated nutrition for the whole recipe (without optional ingredients):
- Calories: 1400-1600
- Protein: 30-35 g
- Fat: 100-110 g
- Carbohydrates: 90-100 g
Ingredients
For the crust:
- 1/4 cup sugar
- 1 tbsp lemon peel (freshly grated for best aroma)
- 1 pinch salt
- 3 tbsp unsalted butter (melted and cooled to room temperature)
- 1 1/4 cups almond flour (I use Bob’s Red Mill blanched almond flour for a finer texture)
For the filling:
- 1/2 cup sugar
- 16 oz cream cheese (softened to room temperature, about 70°F)
- 1 pinch salt
- 1 tsp vanilla essence
- 2 large eggs
For the garnish:
- fresh berries (such as raspberries or blueberries)
- powdered sugar
Step 1: Prepare the Oven and Muffin Pan
Preheat your oven to 350 degrees F.
Line a muffin pan with 12 muffin liners to ensure the cheesecakes don’t stick and are easy to remove after baking.
This will make your preparation and cleanup process much smoother.
Step 2: Make the Crust
In a medium mixing bowl, stir together all the dry ingredients required for your crust.
Once combined, stir in the butter until the mixture is thoroughly mixed and crumbly.
Divide the crust mixture evenly among the muffin liners, using about 18 grams or 3 1/2 teaspoons per liner.
Lightly press the mixture down with the bottom of a shot glass to form a compact crust base.
Step 3: Bake the Crust
Place the muffin pan in the preheated oven and bake the crusts for about 10 minutes or until they are very lightly browned.
Once done, remove them from the oven and let them cool for at least 10 minutes while you prepare the cheesecake filling.
Step 4: Prepare the Cheesecake Filling
Using an electric hand mixer or a stand mixer fitted with the beater attachment, beat the cream cheese and sugar together at medium speed until the mixture is light and creamy.
Add the vanilla and salt, and continue to beat until combined.
On low speed, beat in the eggs, one at a time, just until each is incorporated.
Be careful not to over mix the batter as this can affect the texture of the cheesecakes.
Step 5: Fill and Bake the Cheesecakes
Fill each muffin liner about 2/3 full with the cheesecake batter.
Return the pan to the oven and bake for another 10 minutes or until the centers of the cheesecakes remain firm and don’t jiggle when the pan is gently tapped.
Then, open the oven door at least 1 foot wide and let the cheesecakes cool to room temperature over the next 1 1/2 hours.
For easiest removal, you can remove the paper liners now, though they may also be removed after chilling.
Step 6: Chill and Decorate
Chill the cheesecakes in the refrigerator for at least 2 hours before serving.
This helps them set properly and enhances their flavor.
Once chilled, decorate with berries and dust with powdered sugar if desired.
Store any leftovers in the refrigerator for up to 4 days.
Enjoy your homemade mini cheesecakes!
