If you ask me, pickled turnips are a hidden gem in the world of fermented foods.
These Middle Eastern-style pickles bring a nice crunch and tang to any meal. The natural sweetness of turnips meets salt and vinegar to create something totally different from the raw vegetable.
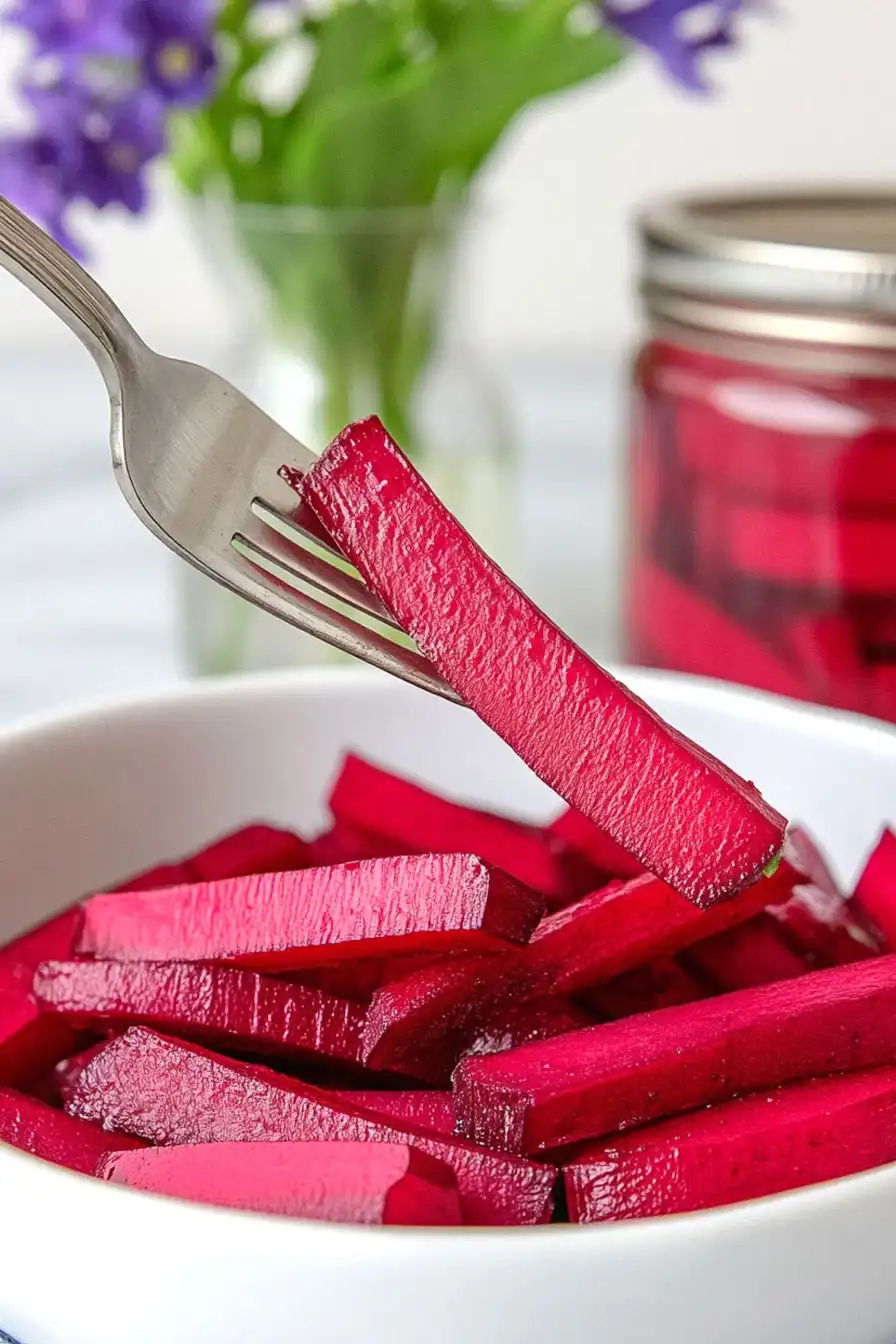
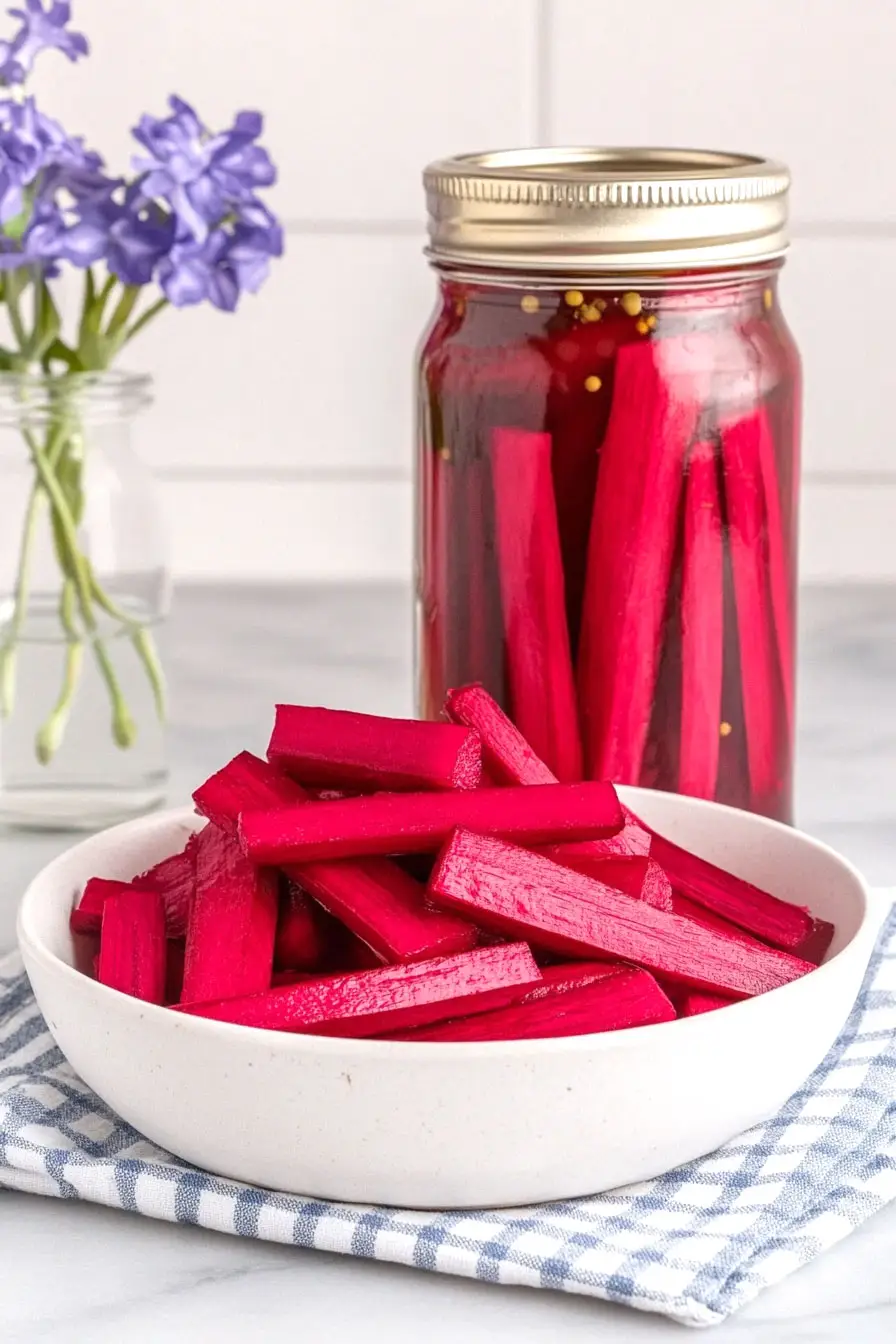
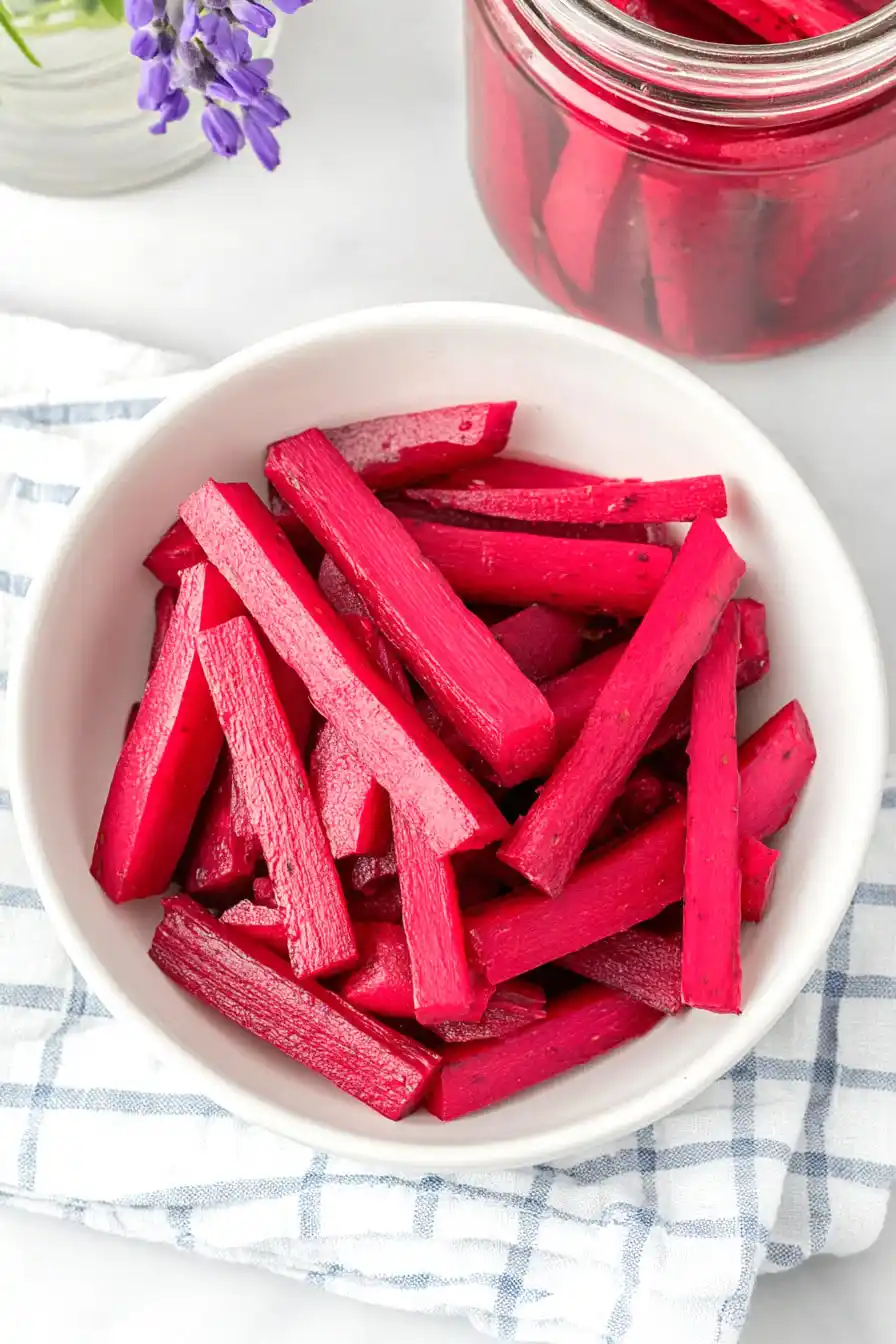
They’re stained a soft pink from a few slices of beet, which is the traditional way of making them. A touch of garlic and just the right amount of salt helps create that classic pickle flavor we all know and love.
It’s a great make-ahead recipe that gets better with time, perfect for adding a punch of flavor to sandwiches, salads, or as a simple side dish.
Why You’ll Love These Pickled Turnips
- Make-ahead convenience – While they need 5 days to pickle properly, the actual hands-on prep time is just 15-20 minutes. Make a batch and enjoy them for weeks!
- Simple ingredients – You only need basic pantry staples and a few fresh vegetables to create these tangy, colorful pickles at home.
- Cost-effective – Making your own pickled turnips costs a fraction of store-bought versions, and you’ll get that authentic homemade taste.
- Perfect for meal prep – These pickles last for weeks in the fridge and make a great addition to sandwiches, salads, or Middle Eastern mezze platters.
What Kind of Turnips Should I Use?
For pickling, you’ll want to look for small to medium-sized turnips that feel firm and heavy for their size. The standard white turnips you’ll find at most grocery stores work perfectly here – they’re mild in flavor and take on the pickling brine beautifully. If you spot Japanese hakurei turnips at your farmers market, these sweet, tender varieties are also excellent for pickling, though they might be a bit pricier than regular turnips. When selecting your turnips, avoid any that feel spongy or have dark spots, and try to pick ones that are about 2-3 inches in diameter, as larger turnips can sometimes be woody and bitter.
Options for Substitutions
While pickling is a specific process, there’s still room for some adjustments in this recipe:
- Distilled white vinegar: You can swap this with rice vinegar or apple cider vinegar. Just keep in mind that apple cider vinegar will add a slightly different flavor and might darken the turnips a bit.
- Coarse salt: Any pure salt without additives works here – kosher salt is a great alternative. Just avoid iodized table salt as it can make the brine cloudy and affect the taste.
- Turnips: While turnips are the star here, you can use daikon radish for a similar crunchy texture and mild flavor. Cut them the same way as you would turnips.
- Beet: The beet is mainly for color, so you could skip it if you don’t mind pale pickles. Red radish can work too, though it won’t give quite the same pink color.
- Garlic: If fresh garlic isn’t available, you can use 1/4 teaspoon of garlic powder, or skip it altogether.
Watch Out for These Mistakes While Pickling
The biggest challenge when making pickled turnips is getting the brine ratio wrong – too much salt can make them inedible, while too little won’t preserve them properly, so stick precisely to the measurements provided in the recipe. Another common mistake is cutting the turnips too thick or thin – aim for consistent 1/2-inch sticks to ensure even pickling and that satisfying crunch. When storing your pickled turnips, avoid using reactive metal containers or lids (stick to glass jars with plastic or glass lids) as the acidic brine can cause unwanted chemical reactions that affect both taste and safety. For the best flavor development, resist the urge to eat them right away – let them pickle for at least 5-7 days in the refrigerator, and make sure the vegetables stay completely submerged in the brine throughout the process.
What to Serve With Pickled Turnips?
These tangy pickled turnips are a staple in Middle Eastern cuisine and make a perfect addition to so many dishes! They’re great alongside falafel or shawarma wraps, adding a nice crunch and zingy flavor that cuts through rich meats. I love putting them on mezze platters next to hummus, baba ganoush, and warm pita bread – the pink-tinted turnips make everything look extra fun. You can also chop them up and add them to salads or grain bowls for a punch of flavor, or serve them as a simple side dish with grilled meats and rice.
Storage Instructions
Keep Fresh: These tangy pickled turnips need some time to develop their best flavor. Once you’ve made them, keep them in the fridge for at least 5 days before eating. After that, they’ll stay good in their sealed jar for up to 6 weeks in the refrigerator. The longer they sit, the more flavorful they become!
Container Tips: Always use clean, sterilized glass jars for storing your pickled turnips. Make sure the turnips stay completely submerged in the brine – this helps them stay fresh and crunchy. If you notice the brine getting cloudy or any off smells, it’s time to make a fresh batch.
Serving: Take out just what you need and always use clean utensils to grab the turnips from the jar. This prevents contamination and helps your pickles last longer. They’re best served cold straight from the fridge, which keeps them nice and crisp.
| Preparation Time | 15-20 minutes |
| Cooking Time | 0 minutes |
| Total Time | 5 days 15-20 minutes |
| Level of Difficulty | Easy |
Estimated Nutrition
Estimated nutrition for the whole recipe (without optional ingredients):
- Calories: 150-200
- Protein: 3-5 g
- Fat: 0-1 g
- Carbohydrates: 35-40 g
Ingredients
- 1 lb turnips (peeled and sliced into 1/4-inch rounds)
- 1 small beet, chopped
- 2 bay leaves
- 1/2 cup white vinegar
- 1.5 cups warm water (around 100°F/38°C)
- 2 tbsp coarse salt (such as Diamond Crystal kosher salt)
- 1 tbsp white sugar
- 1 large garlic clove, crushed
Step 1: Prepare the Pickling Solution
In a wide-mouthed 32-ounce glass mason jar, combine hot water, vinegar, salt, sugar, garlic, and bay leaves.
Stir the mixture continuously until both the salt and sugar have dissolved completely.
This ensures a balanced pickling solution for your vegetables.
Step 2: Add Vegetables to the Jar
Place the turnips and beets into the jar, ensuring they are fully submerged in the vinegar mixture.
Gently press down with a spoon if needed to keep everything submerged.
Allow the mixture to cool to room temperature, which helps the flavors meld and the vegetables crisp up.
Step 3: Ferment and Store
Once the jar has cooled, seal it tightly with a lid.
Let the jar sit for 5 days at room temperature in a cool, dark place.
This fermentation period deepens the flavors.
After the 5 days, transfer the jar to the refrigerator.
Ensure you use your pickled turnips and beets within one month for the best taste and quality.
