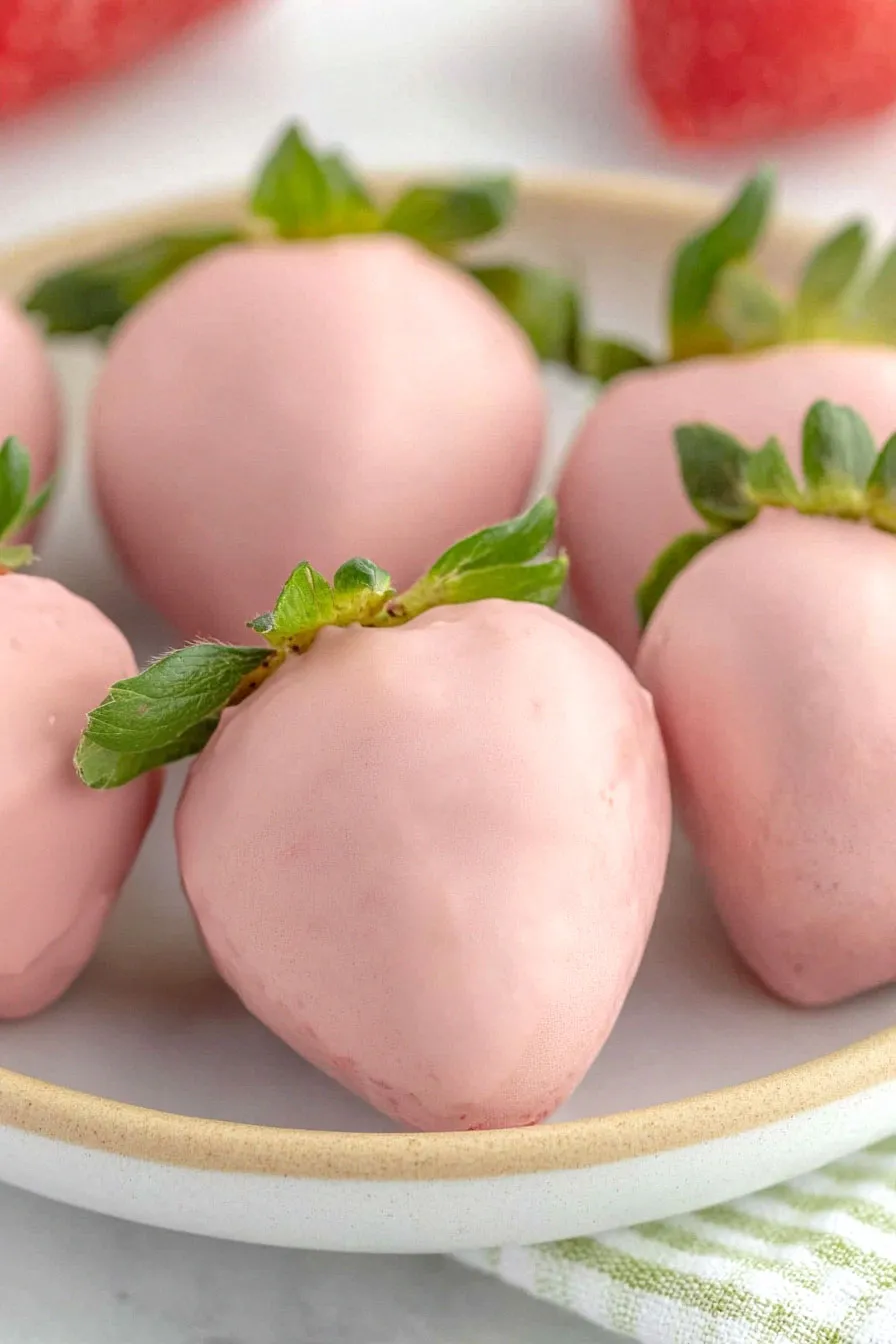
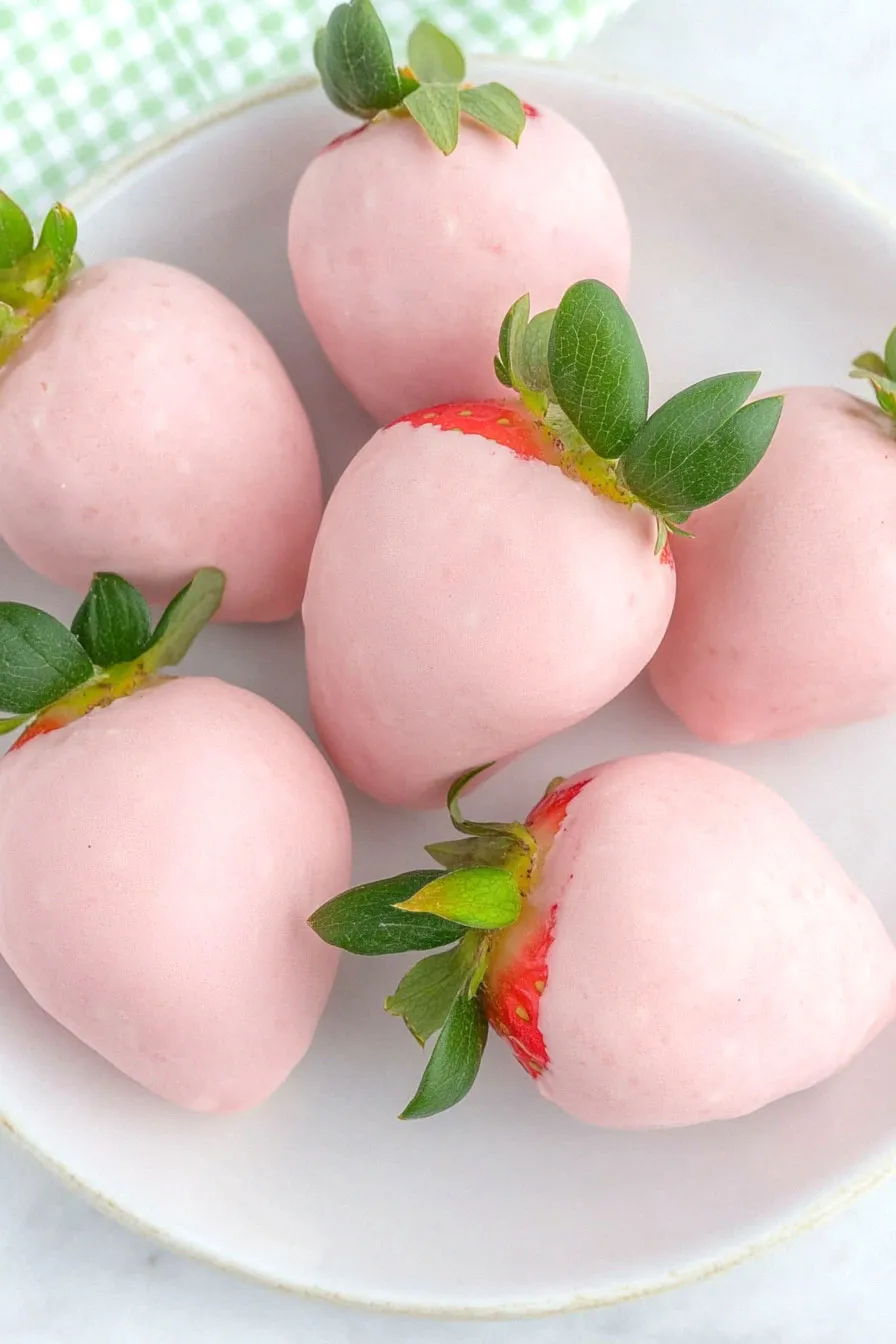
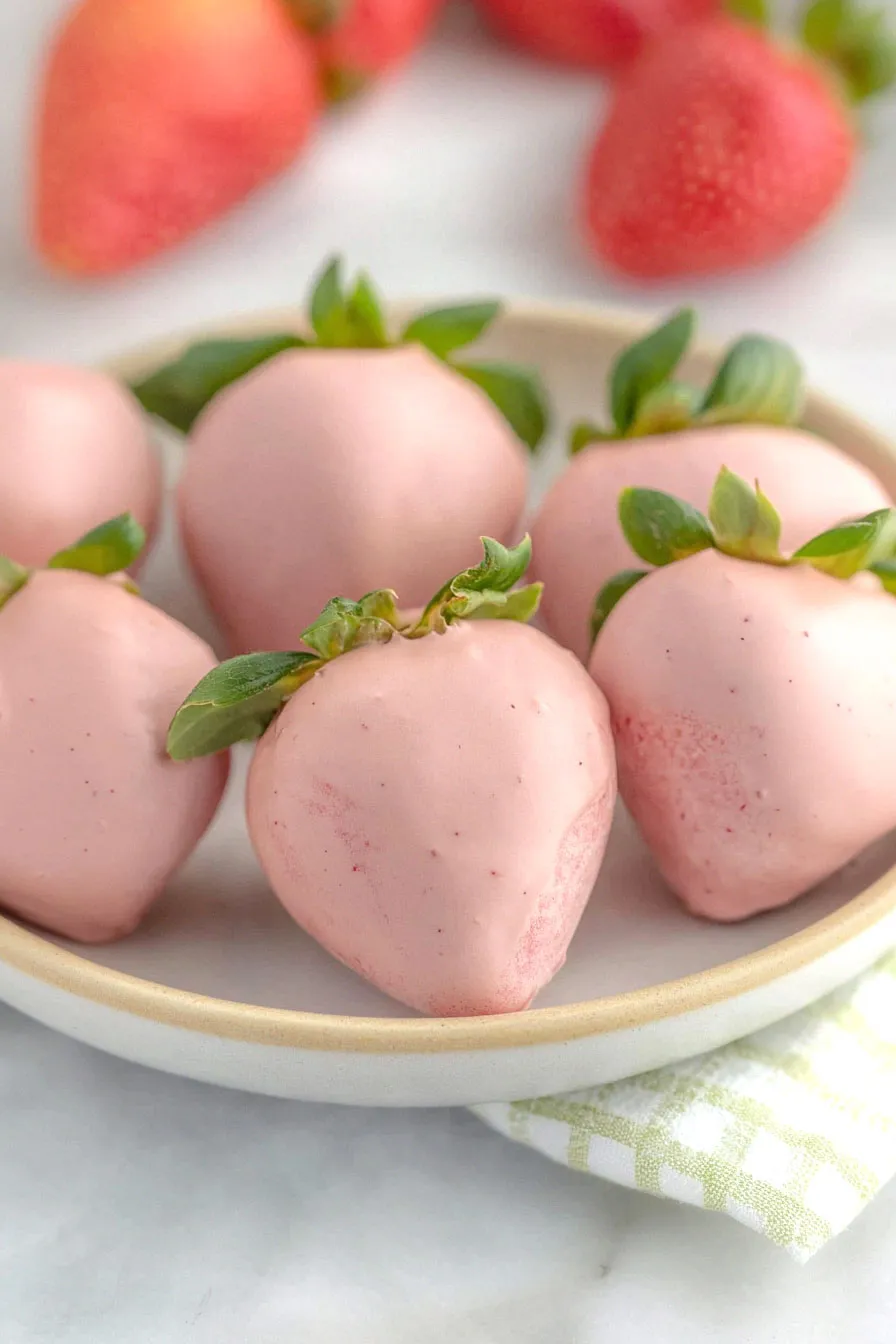
I’ve always had a soft spot for chocolate-covered strawberries. They’re one of those treats that make any occasion feel special, but pink ones? They take it to a whole new level of fun. My kids’ eyes light up whenever they spot these rosy beauties, and I have to admit – mine do too! Making them at home is actually way easier than you might think, and they cost so much less than the ones from fancy chocolate shops.
The best part about making these at home is that you can customize them exactly how you want. Sometimes I’ll add white sprinkles, other times I’ll drizzle them with regular chocolate. And let’s be honest – even the not-so-perfect ones taste just as good. I usually make a big batch because they disappear pretty quickly in my house, especially when we have friends over.
Remember when pink chocolate wasn’t really a thing? Now it’s everywhere, and I’m definitely not complaining. These strawberries are perfect for baby showers, Valentine’s Day, or just because it’s Tuesday and you want something sweet.
Why You’ll Love These Chocolate Covered Strawberries
- Quick and easy – With just 4 simple ingredients and about 30 minutes, you can create these beautiful treats – no baking or special skills required!
- Perfect for special occasions – These pink-tinted treats are ideal for Valentine’s Day, baby showers, bridal parties, or any time you want to add a touch of charm to your dessert table.
- Naturally gluten-free – When using certified gluten-free chocolate and food coloring, these strawberries are a safe and delicious option for those with dietary restrictions.
- Make-ahead friendly – You can prepare these strawberries up to 24 hours in advance, making them perfect for party planning and stress-free entertaining.
What Kind of Strawberries Should I Use?
For chocolate-covered strawberries, you’ll want to look for large, ripe berries that are firm and bright red, without any soft spots or signs of bruising. Regular strawberries from your grocery store work perfectly fine, but if you can find long-stemmed strawberries, they’ll give you something to hold onto while dipping and make for a prettier presentation. Fresh is definitely the way to go here – frozen strawberries won’t work since they’ll release too much moisture when thawed and prevent the chocolate from sticking properly. Just make sure to wash your strawberries and pat them completely dry before dipping, as any water droplets can make the chocolate seize up.
Options for Substitutions
Let’s talk about what you can swap in this recipe if needed:
- White chocolate chips: You can use white candy melts or white almond bark instead of white chocolate chips. Just keep in mind that real white chocolate gives the best taste. Avoid using regular chocolate chips as they won’t give you that pretty pink color when mixed with food coloring.
- Coconut oil: If you’re out of coconut oil, you can use shortening or vegetable oil to thin out your chocolate. Use the same amount as called for in the recipe.
- Gel food coloring: While gel food coloring works best, you can use regular liquid food coloring – just be careful not to add too much as it can make your chocolate seize up. You might need to add a few extra drops to get the same color intensity.
- Fresh strawberries: Fresh strawberries are a must for this recipe – frozen ones won’t work as they’ll release too much moisture when thawed and prevent the chocolate from sticking properly. Make sure your fresh berries are completely dry before dipping.
Watch Out for These Mistakes While Making
The biggest challenge when making chocolate covered strawberries is dealing with moisture – make sure your strawberries are completely dry after washing, as even a few drops of water can cause your chocolate to seize and become grainy.
When melting white chocolate, keep a close eye on the temperature and never exceed 110°F (43°C), or it will become thick and unusable – using short 30-second intervals in the microwave while stirring between each burst will give you the smoothest results.
A common mistake is rushing the setting process – instead of putting them in the refrigerator, let your dipped strawberries set at room temperature for about 30 minutes, as cold temperatures can cause condensation and make the chocolate look cloudy or streaky.
For the prettiest pink coating, add your food coloring to the melted chocolate gradually, starting with just a drop or two, since you can always add more but can’t take it away once it’s mixed in.
What to Serve With Chocolate Covered Strawberries?
These pink chocolate covered strawberries make a perfect dessert on their own, but they’re even better when part of a sweet spread! Try serving them alongside some champagne or prosecco for a romantic touch, or pair them with other bite-sized treats like chocolate truffles or macarons for a dessert platter. If you’re hosting a party, these strawberries work great next to a chocolate fondue fountain where guests can dip other fruits like pineapple chunks or banana slices. For a cozy night in, serve them with a cup of hot coffee or tea to balance out the sweetness.
Storage Instructions
Keep Cool: Your pink chocolate covered strawberries will stay fresh and pretty in the refrigerator for 1-2 days. Place them in a single layer in an airtight container lined with paper towels – this helps absorb any excess moisture and keeps the chocolate from getting too soft.
Room Temperature: If you’re planning to serve these beauties at a party, they can sit out at room temperature for up to 2 hours. Just keep them away from direct sunlight or heat sources to prevent the chocolate from melting.
Make Ahead: These treats are best made the same day you plan to enjoy them, but if needed, you can prep them up to 24 hours in advance. The strawberries tend to release moisture over time, which can affect the chocolate coating, so the sooner you serve them, the better they’ll look and taste!
| Preparation Time | 30-35 minutes |
| Cooking Time | 1-2 minutes |
| Total Time | 31-37 minutes |
| Level of Difficulty | Easy |
Estimated Nutrition
Estimated nutrition for the whole recipe (without optional ingredients):
- Calories: 1600-1800
- Protein: 10-15 g
- Fat: 80-90 g
- Carbohydrates: 250-280 g
Ingredients
- 4-6 drops pink gel food coloring (gel coloring provides vibrant color without thinning the chocolate)
- 1 tbsp coconut oil (adds a nice subtle flavor and shine, I use Carrington Farms Organic)
- 12 oz white chocolate chips
- 2 lbs fresh strawberries (select firm, ripe berries)
Step 1: Prepare the Strawberries
Begin by rinsing the strawberries thoroughly under cool running water.
Use a clean kitchen towel or paper towels to gently pat them dry.
It’s important to let the strawberries dry completely at room temperature for about 30 minutes to ensure the chocolate adheres properly.
Step 2: Set Up Your Dipping Station
Line a baking sheet with parchment paper and set it aside.
This will be where you place your dipped strawberries to harden.
In a small bowl, combine coconut oil with a few drops of red or pink food coloring.
Stir until the color is evenly distributed, then set it aside for later use.
Step 3: Melt the White Chocolate
Place white chocolate chips in a microwave-safe container.
Heat them in the microwave for 30 seconds, then stir the chocolate.
Continue melting the chocolate in additional 15-20 second intervals, stirring after each interval, until the chocolate is smooth and fully melted.
Step 4: Prepare the Pink Chocolate Coating
Once the white chocolate is completely melted, use a fork to mix the pink-colored coconut oil thoroughly into the melted chocolate.
This will create a smooth pink chocolate ready for dipping.
Step 5: Dip the Strawberries
Hold each strawberry by its leaves or stem and dip it into the pink chocolate mixture, ensuring it is fully coated.
Allow any excess chocolate to drip back into the bowl.
Place each chocolate-covered strawberry onto the parchment paper-lined baking sheet.
Step 6: Set the Chocolate and Enjoy
Let the chocolate-covered strawberries sit at room temperature for 10-15 minutes, or until the chocolate has hardened.
Once set, your strawberries are ready to be enjoyed!
