Chicken legs and thighs have been my go-to dinner choice for years. There’s something so comforting about the way they turn out – always juicy on the inside with that nice, crispy skin. I used to think roasting chicken was complicated, but now it’s what I make when I don’t want to fuss too much in the kitchen.
I’ve learned that chicken legs and thighs are pretty forgiving, even if you’re not watching the clock like a hawk. They’re less expensive than chicken breasts, and in my opinion, they pack more flavor. Plus, my kids never complain when they see these on their plates – especially when I serve them with some roasted potatoes that have soaked up all those tasty pan drippings.
Whether you’re cooking for a busy weeknight or having friends over for Sunday dinner, this recipe hits all the right notes. It’s simple enough for beginners but still delivers results that’ll make you feel like you really know what you’re doing in the kitchen.
Why You’ll Love This Roasted Chicken
- Budget-friendly protein – Dark meat chicken pieces are not only more affordable than chicken breast, but they’re also more flavorful and harder to overcook.
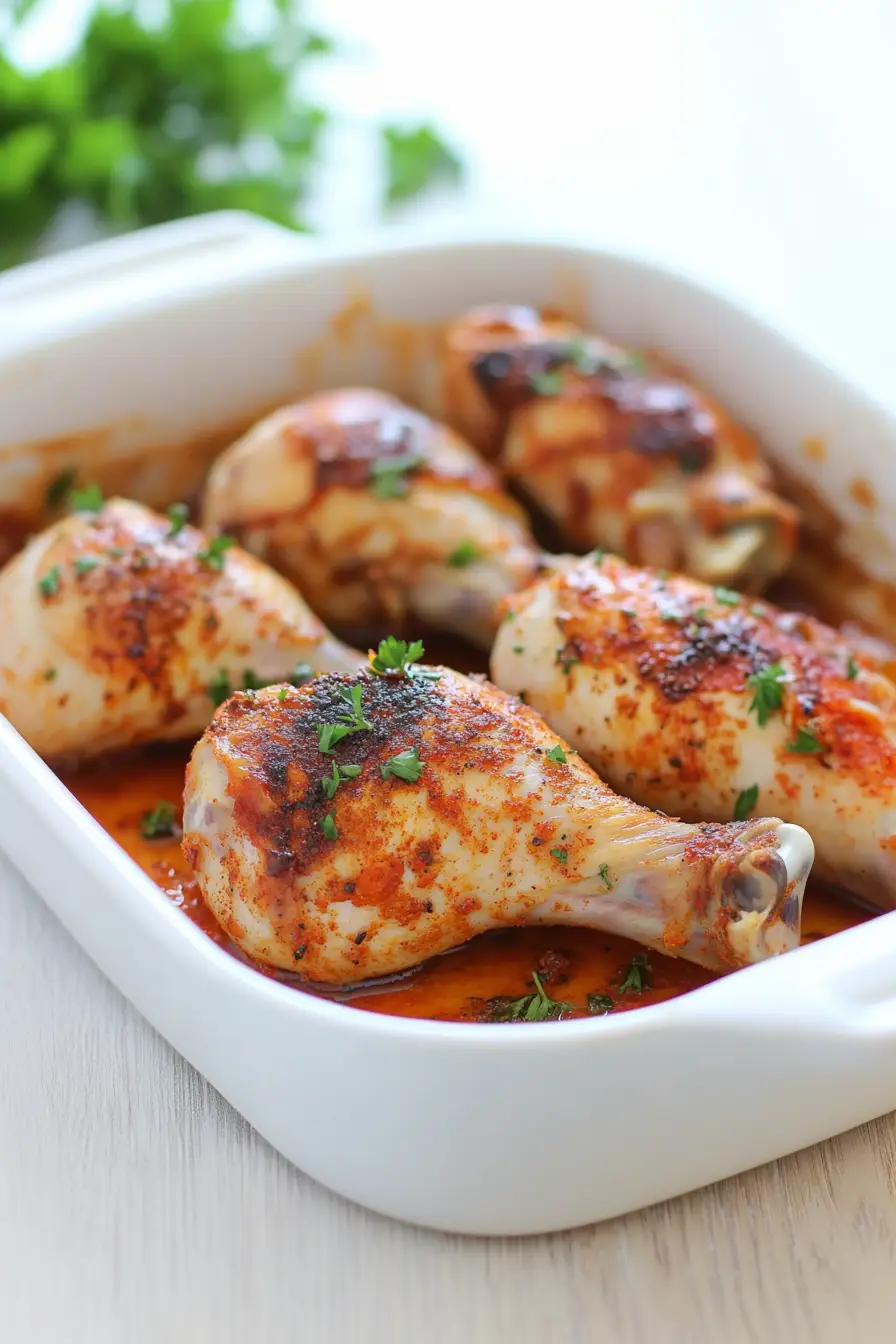
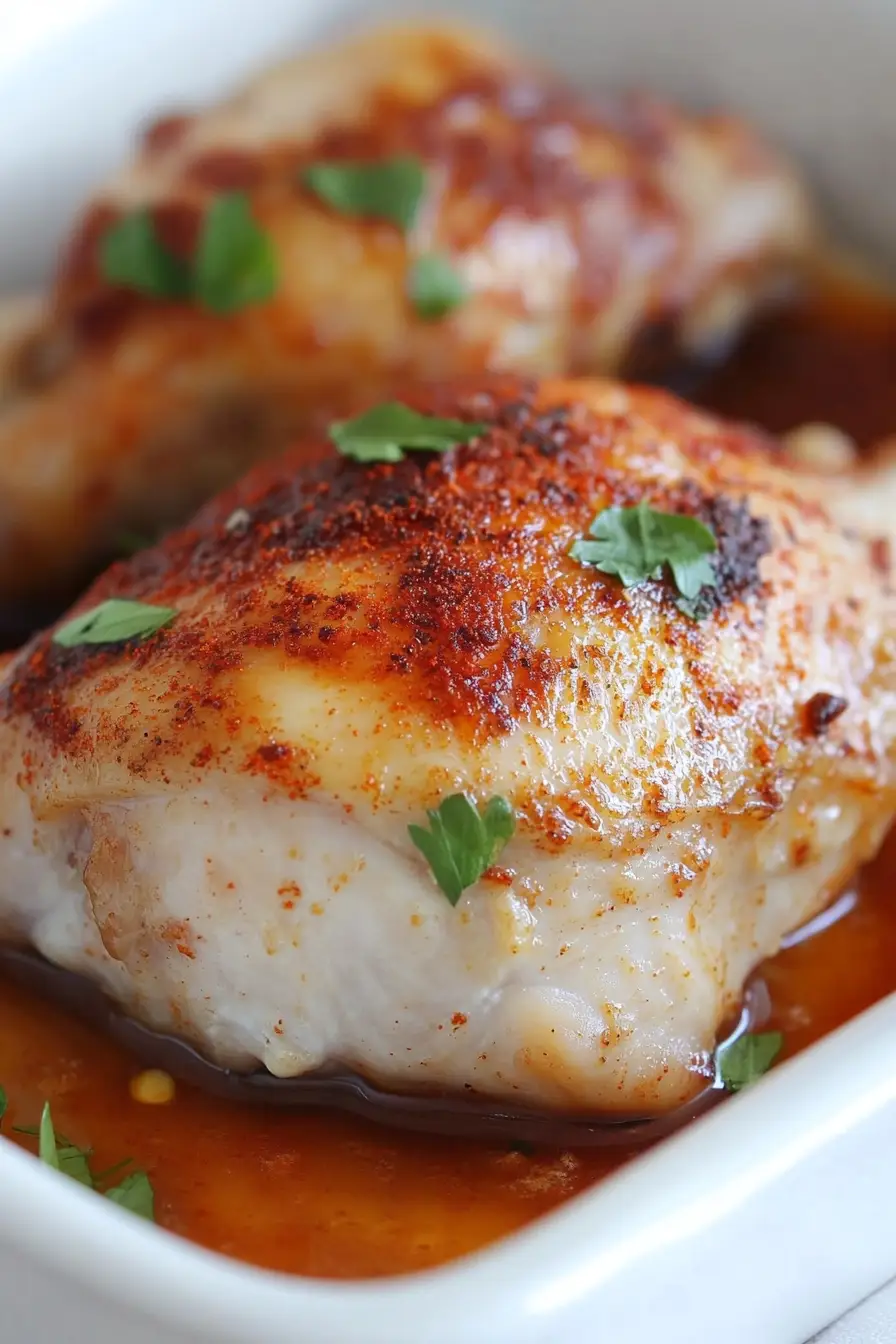
- Crispy skin, juicy meat – This cooking method gives you that perfect combination of golden-brown, crispy skin on the outside while keeping the meat tender and juicy on the inside.
- Simple seasonings – The recipe uses common spices and herbs you likely already have in your pantry, creating a delicious blend that brings out the best in dark meat chicken.
- Hands-off cooking – Once you’ve seasoned the chicken and put it in the oven, you can focus on other things while it roasts to perfection.
- Naturally low-carb – This recipe fits perfectly into keto and low-carb diets while still being satisfying enough for anyone to enjoy.
What Kind of Chicken Should I Use?
For this recipe, you can use either conventional or organic chicken legs and thighs – both will give you great results. If your budget allows, free-range chicken often has better flavor and texture, but don’t stress if regular supermarket chicken is what’s available to you. The most important thing is to look for pieces that are similar in size so they cook evenly, and check that the skin is intact since we’ll be crisping it up. Fresh chicken is ideal, but if you’re using frozen pieces, just make sure they’re completely thawed and patted dry before seasoning to help achieve that crispy skin we’re after.
Options for Substitutions
This chicken recipe is pretty flexible and you can make several easy swaps if needed:
- Chicken pieces: While the recipe calls for thighs and drumsticks, you can use all thighs or all drumsticks. Just keep in mind that cooking times might vary slightly – thighs typically need a few extra minutes.
- Olive oil: You can swap olive oil with avocado oil, melted coconut oil, or any neutral cooking oil you have on hand.
- Lemon juice: Fresh lime juice works great as an alternative, or you can use white wine vinegar (use half the amount) for that acidic kick.
- Fresh garlic: If you’re out of fresh garlic, use 1/2 teaspoon of garlic powder instead of the 2 fresh cloves.
- Dried herbs: Feel free to use Italian seasoning instead of the oregano and thyme. If using fresh herbs, triple the amount called for dried ones.
- Butter: For dairy-free cooking, simply skip the butter or use ghee. The skin will still get crispy from the oil alone.
- Sweet paprika: You can use smoked paprika for a deeper flavor, or regular paprika works fine too – just note that the taste will be slightly different.
Watch Out for These Mistakes While Roasting
The biggest mistake when roasting chicken legs and thighs is not patting the skin completely dry before seasoning – moisture is the enemy of crispy skin, so take an extra minute with paper towels to ensure the surface is thoroughly dried. Another common error is overcrowding the pan, which creates steam and prevents proper browning – make sure to leave some space between each piece of chicken for the best results. Starting with cold chicken straight from the fridge can lead to uneven cooking, so let your chicken rest at room temperature for 20-30 minutes before roasting, and always use a meat thermometer to check that the internal temperature reaches 165°F at the thickest part near the bone. For extra-crispy skin, try basting the chicken with its own juices (or melted butter) halfway through cooking, and consider turning on the broiler for the final 2-3 minutes of cooking time.
What to Serve With Roasted Chicken?
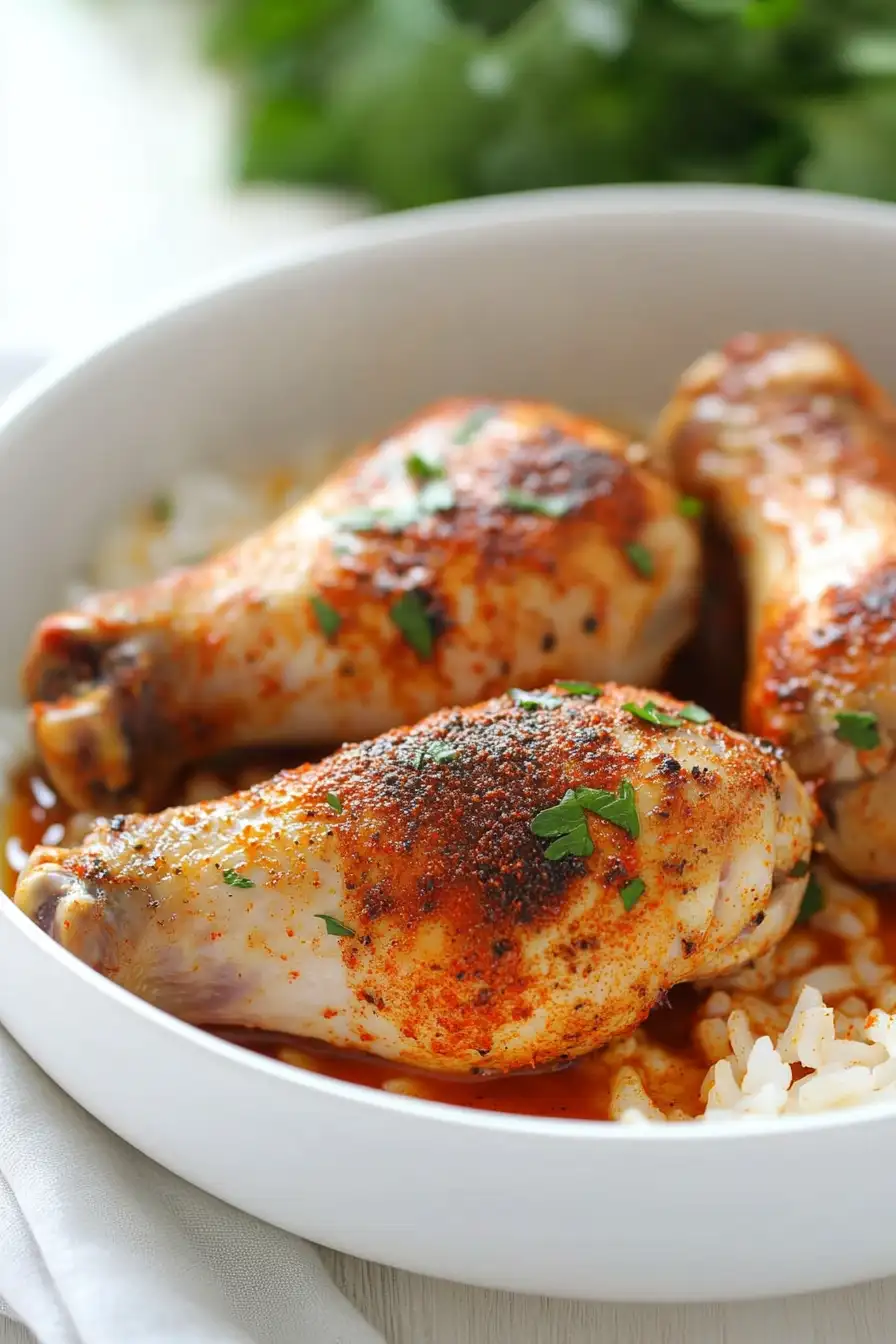
These flavorful roasted chicken pieces pair perfectly with classic comfort food sides that can soak up all those tasty pan juices. A simple mashed potato is always a crowd-pleaser, but roasted vegetables like carrots, Brussels sprouts, or sweet potatoes work great too since you can cook them right alongside the chicken. For a lighter option, try serving it with a fresh green salad dressed in a light vinaigrette, or go with steamed rice to catch every bit of the herb-seasoned sauce. If you’re feeding a hungry crowd, don’t forget some crusty bread to mop up all those delicious drippings from the pan!
Storage Instructions
Keep Fresh: Got leftover chicken? Pop it in an airtight container and keep it in the fridge for up to 4 days. The flavors actually get even better after a day or two as the spices continue to work their magic!
Freeze: These roasted chicken pieces freeze really well for up to 3 months. Just wrap them individually in foil, then place them in a freezer bag. This way, you can grab exactly what you need when you’re ready to eat.
Reheat: To get that skin crispy again, pop the chicken in a 350°F oven for about 15-20 minutes. If you’re in a hurry, you can use the microwave, but the skin won’t be as crispy. Just make sure the chicken is heated through to 165°F before serving.
| Preparation Time | 15-60 minutes |
| Cooking Time | 40-45 minutes |
| Total Time | 55-105 minutes |
| Level of Difficulty | Medium |
Estimated Nutrition
Estimated nutrition for the whole recipe (without optional ingredients):
- Calories: 800-950
- Protein: 60-70 g
- Fat: 50-60 g
- Carbohydrates: 5-10 g
Ingredients
For the marinade:
- 2 tbsp lemon juice
- 1 tsp paprika
- 1/2 tsp pepper
- 1/2 tsp dried thyme
- 1/2 tsp dried oregano
- 2 tbsp olive oil
- 1/2 tsp turmeric
- 1 pinch cayenne pepper
- 1 tsp salt
- 2 minced garlic cloves
For the chicken:
- 4 chicken drumsticks
- 2 tbsp unsalted butter
- 2 chicken thighs
Step 1: Preheat Oven and Prepare Marinade
Start by preheating your oven to 425°F.
In a bowl, combine olive oil, lemon juice, garlic, salt, pepper, 1/2 teaspoon of sweet paprika, turmeric, oregano, thyme, and cayenne.
Mix everything together until well blended, creating a flavorful marinade.
Step 2: Coat the Chicken
Place the chicken in an oven-safe dish such as a casserole dish or cast-iron skillet.
Pour the prepared marinade over the chicken, ensuring that you coat both sides thoroughly.
Rub the marinade well into the chicken to maximize flavor absorption.
If you prefer, this step can be done the night before.
Simply cover and refrigerate the chicken until you’re ready to cook.
Step 3: Prepare for Roasting
Position the chicken with the skin side up in the dish.
Sprinkle the remaining 1/2 teaspoon of sweet paprika over the chicken for enhanced color and flavor.
Transfer the casserole dish to the preheated oven, allowing the chicken to begin roasting.
Step 4: Roast the Chicken
Roast the chicken for 40-45 minutes, or until the internal temperature reaches 165°F.
Partway through the roasting process, after approximately 20 minutes, you may choose to add a small pat of butter to each piece of chicken for an extra layer of flavor and crispy skin.
This step is optional and can be skipped if desired.
Step 5: Rest and Serve
When the chicken has reached the desired internal temperature of 165°F, remove it from the oven.
Allow the chicken to rest for 5 minutes before serving.
This resting time helps the juices to redistribute, ensuring a juicy and flavorful meal.
Serve and enjoy your perfectly roasted chicken!
