As a mom, I’ve learned that keeping kids healthy during cold and flu season can feel like a full-time job. I started making elderberry syrup a few years ago when my little ones kept bringing home the sniffles from school. Now it’s become such a regular part of our routine that my kids actually remind me when we’re running low. The best part? It’s so much cheaper to make at home than buying it from the store, and I know exactly what goes into each batch.
Making elderberry syrup feels a bit like brewing tea, except you end up with this sweet, dark liquid that my kids actually look forward to taking. I usually whip up a batch on Sunday afternoons while I’m meal prepping for the week. It takes about an hour from start to finish, but most of that time is just letting it simmer while I do other things around the house.
If you’ve been curious about making your own elderberry syrup but felt intimidated, don’t worry – it’s really as simple as combining a few natural ingredients and letting them do their thing. Plus, you can adjust the sweetness to your family’s taste, which is something you can’t do with store-bought versions.

Why You’ll Love This Elderberry Syrup
- Natural immune support – Made with just three simple ingredients, this elderberry syrup is a natural way to support your kids’ immune system during cold and flu season.
- Cost-effective – Making your own elderberry syrup at home costs much less than store-bought versions, and you’ll know exactly what’s in it.
- Kid-friendly taste – The natural sweetness from honey makes this syrup something your children will actually want to take – no battles required!
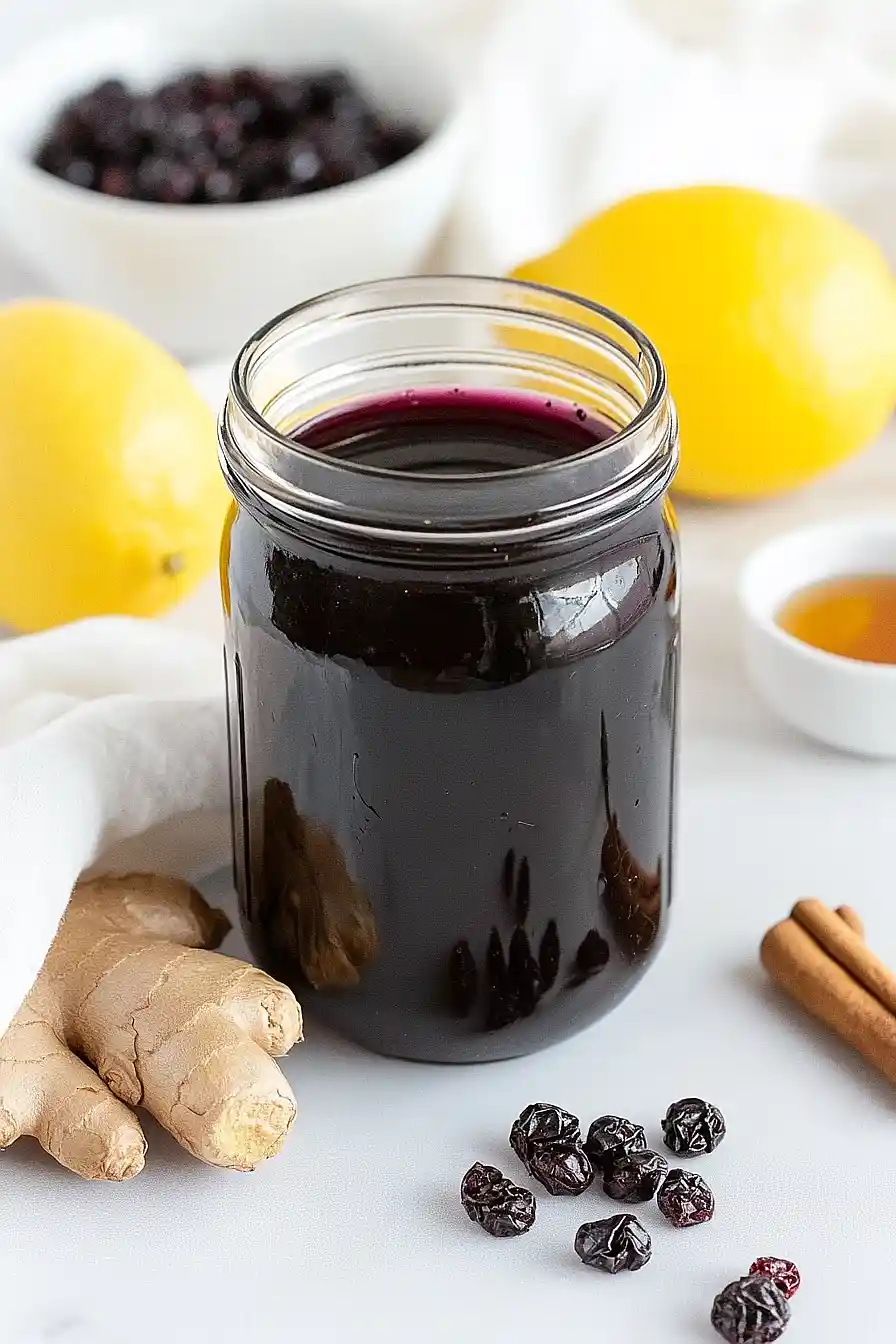
- Simple ingredients – With just elderberries, water, and honey, you won’t find any artificial preservatives, colors, or flavors in this homemade version.
- Make-ahead friendly – One batch lasts for several weeks in the fridge, so you can always have it ready when you need it.
What Kind of Elderberries Should I Use?
You can use either dried or fresh elderberries for this syrup, though dried ones are much easier to find and are available year-round. If you’re using dried berries, make sure they’re European black elderberries (Sambucus nigra), which are the most common and safest variety for making syrup. Fresh elderberries work great if you can find them in late summer or early fall, but they need to be fully ripe – look for deep purple-black clusters and always remove the stems completely since they can be toxic. When shopping for dried elderberries, stick to reputable herb suppliers or well-known natural food stores to ensure you’re getting high-quality berries. Just remember that raw elderberries shouldn’t be eaten – they need to be properly cooked to be safe for consumption.
Options for Substitutions
When making this immune-supporting syrup, here’s what you need to know about substitutions:
- Elderberries: Elderberries are the star ingredient here and can’t really be substituted – they’re what makes this syrup special. You can use either dried or fresh berries, just remember that if switching from dried to fresh, you’ll need to double the amount (3 cups fresh for 1½ cups dried).
- Honey: While raw honey is best for its natural benefits, you can use maple syrup if making this for babies under 12 months (honey isn’t safe for infants). For adults, agave nectar works too, though it won’t have the same immune-supporting properties as honey.
- Water: Water is pretty straightforward, but you could use half water and half apple juice to add a fruity twist that kids might enjoy. Just keep in mind this will make the syrup sweeter.
Watch Out for These Mistakes While Cooking
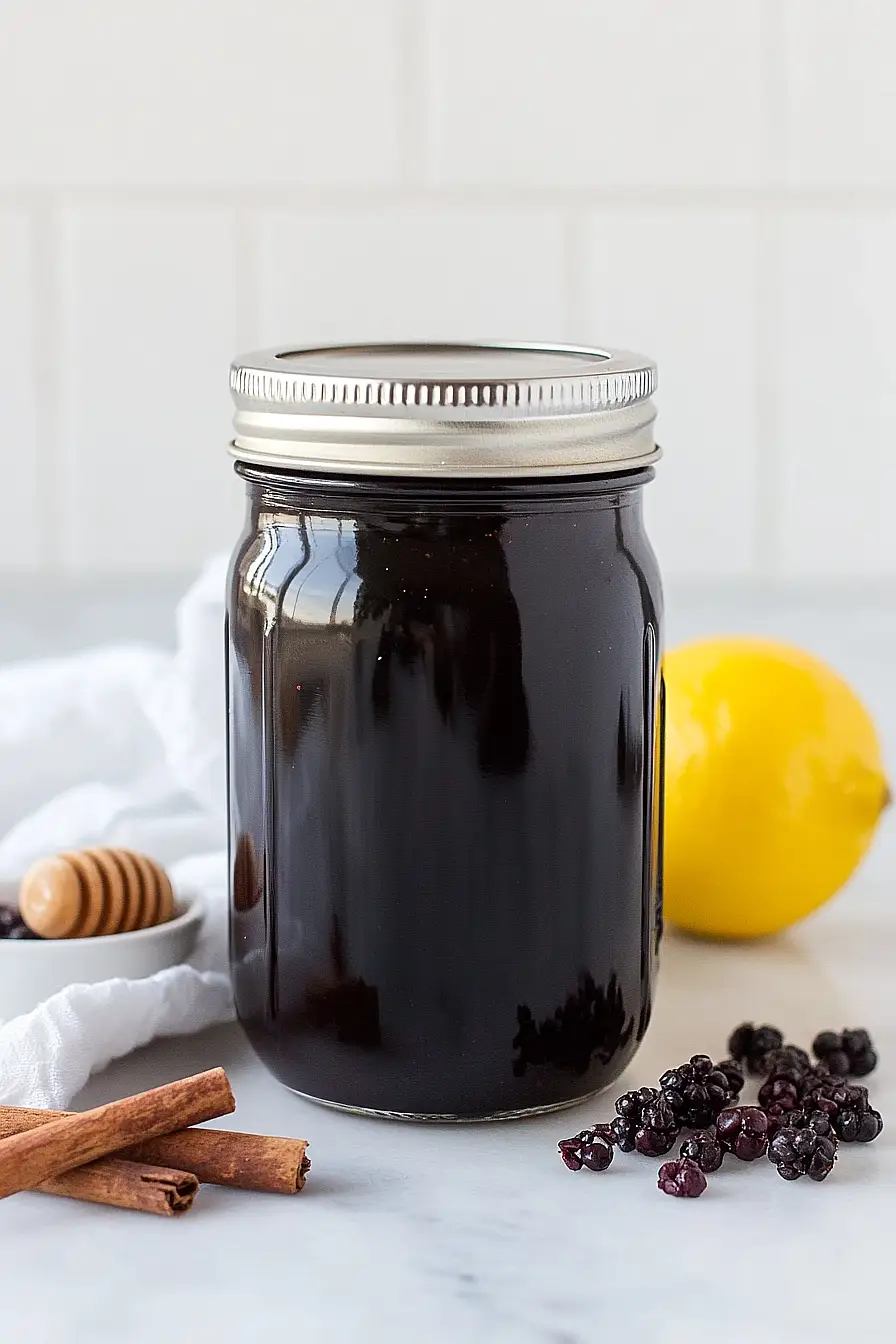
The biggest mistake when making elderberry syrup is not cooking the berries long enough – raw and undercooked elderberries contain toxic compounds that can cause nausea, so make sure to simmer them for at least 45 minutes until the liquid is reduced by half. Another common error is adding honey while the syrup is still hot, which destroys its beneficial properties – always let the mixture cool to room temperature before stirring in the honey. When straining the berries, avoid the temptation to press or squeeze them through the strainer, as this can make your syrup cloudy and bitter; instead, let gravity do the work and allow the liquid to drain naturally. For the best results, store your elderberry syrup in a clean, airtight glass container in the refrigerator, where it will keep for up to 3 months.
What to Serve With Elderberry Syrup?
This immune-supporting elderberry syrup is super easy to incorporate into your family’s daily routine! You can stir a spoonful into hot tea or add it to sparkling water for a refreshing drink that kids love. Many parents mix it into morning smoothies or drizzle it over yogurt and granola for breakfast. I also like adding a splash to homemade lemonade or mixing it into warm oatmeal during cold and flu season – it’s an easy way to make healthy foods more appealing to little ones.
Storage Instructions
Keep Cool: Pour your homemade elderberry syrup into a clean glass bottle or jar with a tight-fitting lid. Keep it in the refrigerator where it will stay good for about 3 months. The honey acts as a natural preservative, helping it last longer!
Small Portions: Consider dividing the syrup into smaller containers or ice cube trays for easy daily portions. This way, you only need to take out what you’ll use that day, keeping the rest fresh in the fridge. Each cube can be one serving, making it super convenient for kids!
Quality Check: While your syrup should last about 3 months, always check for any unusual smell, taste, or appearance before using. If you notice any mold or fermentation, it’s best to make a fresh batch. Remember, natural remedies are best when fresh!
| Preparation Time | 10-15 minutes |
| Cooking Time | 30-35 minutes |
| Total Time | 60-90 minutes |
| Level of Difficulty | Easy |
Estimated Nutrition
Estimated nutrition for the whole recipe (without optional ingredients):
- Calories: 1200-1300
- Protein: 0-5 g
- Fat: 0-5 g
- Carbohydrates: 300-320 g
Ingredients
- 1 cup honey (local, raw honey is best)
- 20 fl oz water
- 1.5 cups dried elderberries (frontier co-op is my favorite brand)
Step 1: Cook the Elderberries
- 1 1/2 cups dried elderberries (or 3 cups fresh elderberries)
- 20 fl oz water
Combine the dried elderberries (or fresh elderberries) and water in a heavy saucepan.
If you’d like to add spices, herbs, or lemon for extra flavor, this is the perfect time to do so.
Bring the mixture to a boil over medium-high heat, then reduce the heat to a low simmer and cook uncovered for 30 minutes, stirring regularly.
This will help extract all the beneficial compounds from the elderberries.
Step 2: Steep and Strain the Syrup
- elderberry mixture from Step 1
Remove the saucepan from heat and allow the elderberry mixture to steep for 1 hour.
After steeping, strain the mixture through a fine-mesh sieve into a large measuring cup or mixing bowl, making sure to press or squeeze out as much liquid as possible.
Discard the used elderberries at this stage.
Step 3: Add Honey and Bottle the Syrup
- reserved elderberry liquid from Step 2
- 1 cup honey
Let the elderberry liquid cool to room temperature before stirring in the honey.
The syrup should feel cool to the touch to preserve honey’s natural benefits.
I like to gently stir the honey in until it is fully dissolved, as this keeps the syrup smooth and well-blended.
Pour the finished syrup into a clean, sterilized container for storage.
