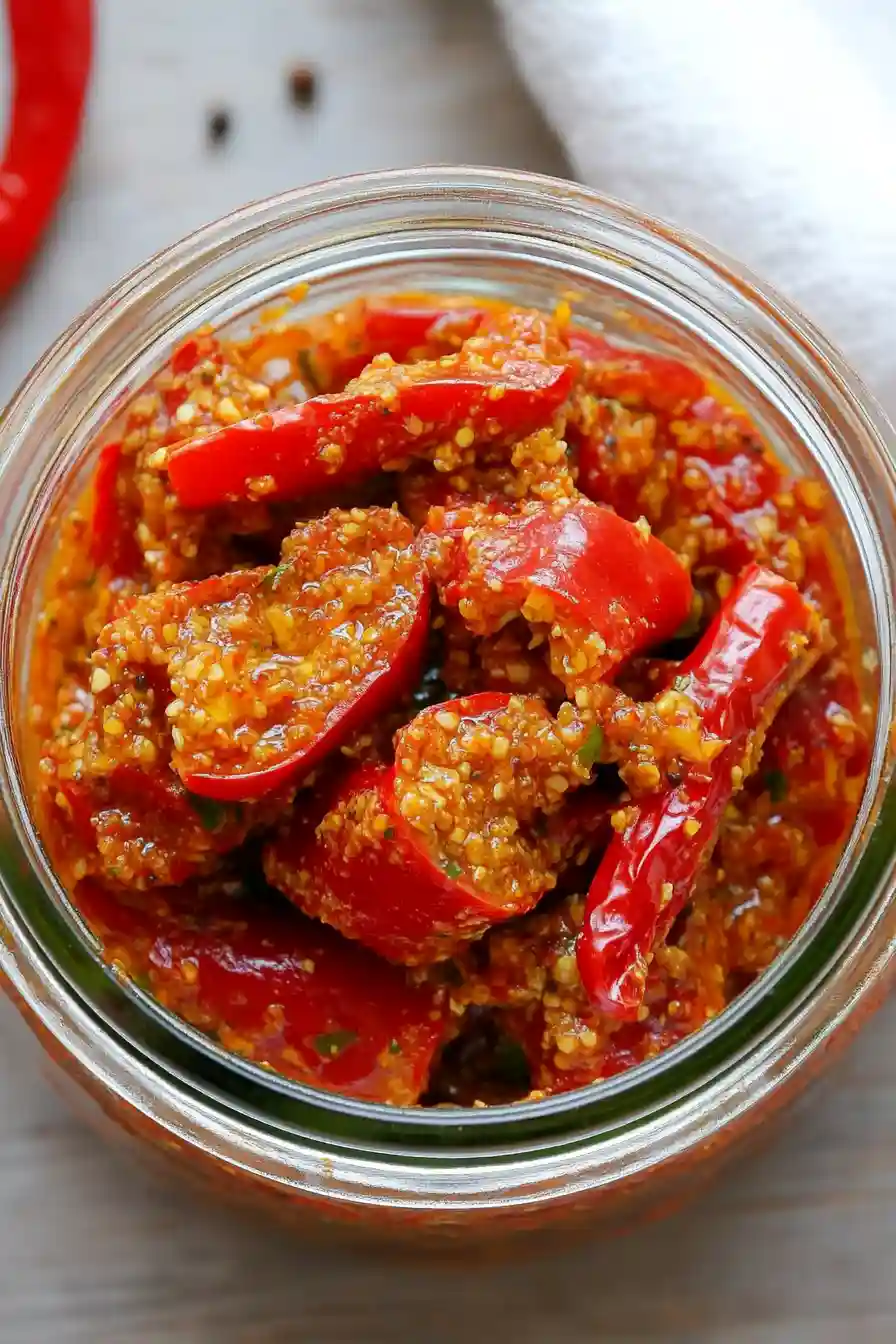
If you ask me, Indian pickles are a culinary treasure worth knowing about.
These bold condiments bring together the warmth of spices and the tang of fermentation in ways that can turn any simple meal into something special. From the classic mango pickle to mixed vegetable varieties, each jar tells its own story.
The process starts with fresh vegetables or fruits, gets a generous coating of salt and spices, and then patiently waits in the sun until everything melds together just right. It’s the kind of recipe that’s been passed down through generations.
It’s a fantastic way to preserve seasonal produce while creating something that adds a punch of flavor to your everyday meals.
Why You’ll Love These Indian Pickles
- Make-ahead convenience – These pickles get better with time and can be stored for weeks in the refrigerator, making them perfect for meal prep or as a ready-to-go condiment.
- Bold, authentic flavors – The combination of aromatic spices like mustard seeds, fennel, and fenugreek creates that classic Indian pickle taste you’d find in your favorite restaurant.
- Customizable heat level – You can easily adjust the amount of red chilies to make your pickles as mild or as spicy as you prefer.
- Simple ingredients – While the ingredient list might look long, these are all basic Indian pantry staples that you can find in most Asian grocery stores or online.
- Quick preparation – Unlike traditional Indian pickles that take days to ferment, this quick version comes together in under an hour while still delivering authentic taste.
What Kind of Red Chili Peppers Should I Use?
For Indian pickles, you’ve got several good options when it comes to choosing your red chili peppers. The most common choices are Kashmiri red chilies, which give a deep red color without too much heat, or regular Indian red chilies if you want your pickle to pack more of a punch. If you can’t find these specific varieties, regular red cayenne peppers from your local grocery store will work just fine – just keep in mind they might be spicier than traditional Indian chilies. Before using your chilies, make sure they’re fresh and bright red in color, without any dark spots or signs of moisture. It’s also helpful to remove the stems and give them a quick wipe with a dry cloth to remove any dust before chopping them up for your pickle.

Options for Substitutions
While Indian pickles are pretty specific in their ingredients, here are some substitutions you can try if needed:
- Red chili peppers: You can use different types of red chilies based on your heat preference. Kashmiri red chilies work great for color and mild heat, while regular red chilies give more heat. Just avoid green chilies as they’ll change the pickle’s taste and appearance.
- Asafoetida: This unique spice is hard to substitute, but if you can’t find it, use a pinch of garlic powder and onion powder combined. The flavor won’t be exactly the same, but it’ll work in a pinch.
- Fenugreek seeds: If you’re out of fenugreek, you can skip it, though it does add a special flavor. There’s no real substitute that matches its unique taste.
- White vinegar: Apple cider vinegar works well as a replacement. Rice vinegar can also work, but avoid balsamic or red wine vinegar as they’ll change the pickle’s color and taste.
- Vegetable oil: Any neutral oil like sunflower or canola oil works fine. Avoid olive oil or sesame oil as they’ll change the traditional flavor.
- Mustard seeds: Black mustard seeds are important for authentic taste – yellow mustard seeds won’t give the same flavor, so try to stick with black ones.
Watch Out for These Mistakes While Cooking
The biggest challenge when making Indian pickles is moisture control – any water content can lead to spoilage, so make sure your chili peppers are completely dry before starting and always use thoroughly cleaned, bone-dry jars for storage. The second common mistake is rushing the pickling process – these pickles need at least 4-5 days of sun exposure (or warm spot) to develop their characteristic flavor and proper fermentation, so patience is key. When heating the oil for tempering spices, be careful not to burn them – add the mustard seeds first and wait for them to pop, then quickly follow with other spices in the right order to prevent bitterness. For the best results, use a wooden or stainless steel spoon for mixing (never use metal utensils once the pickle is made), and remember to shake the jar daily during the first week to ensure even distribution of salt and spices.
What to Serve With Indian Pickles?
Indian pickles are the perfect spicy sidekick to just about any Indian meal, but they’re especially good with simple dishes like dal and rice or plain paratha. A dollop of these tangy pickles can really wake up a basic plate of yogurt rice or make a simple roti feel like a complete meal. I love adding them to rice dishes like biryani or pulao, where they add a burst of flavor and heat. For a casual lunch, try them with plain chapati and some cooling raita on the side – the combination of spicy, tangy, and cool is just perfect.
Storage Instructions
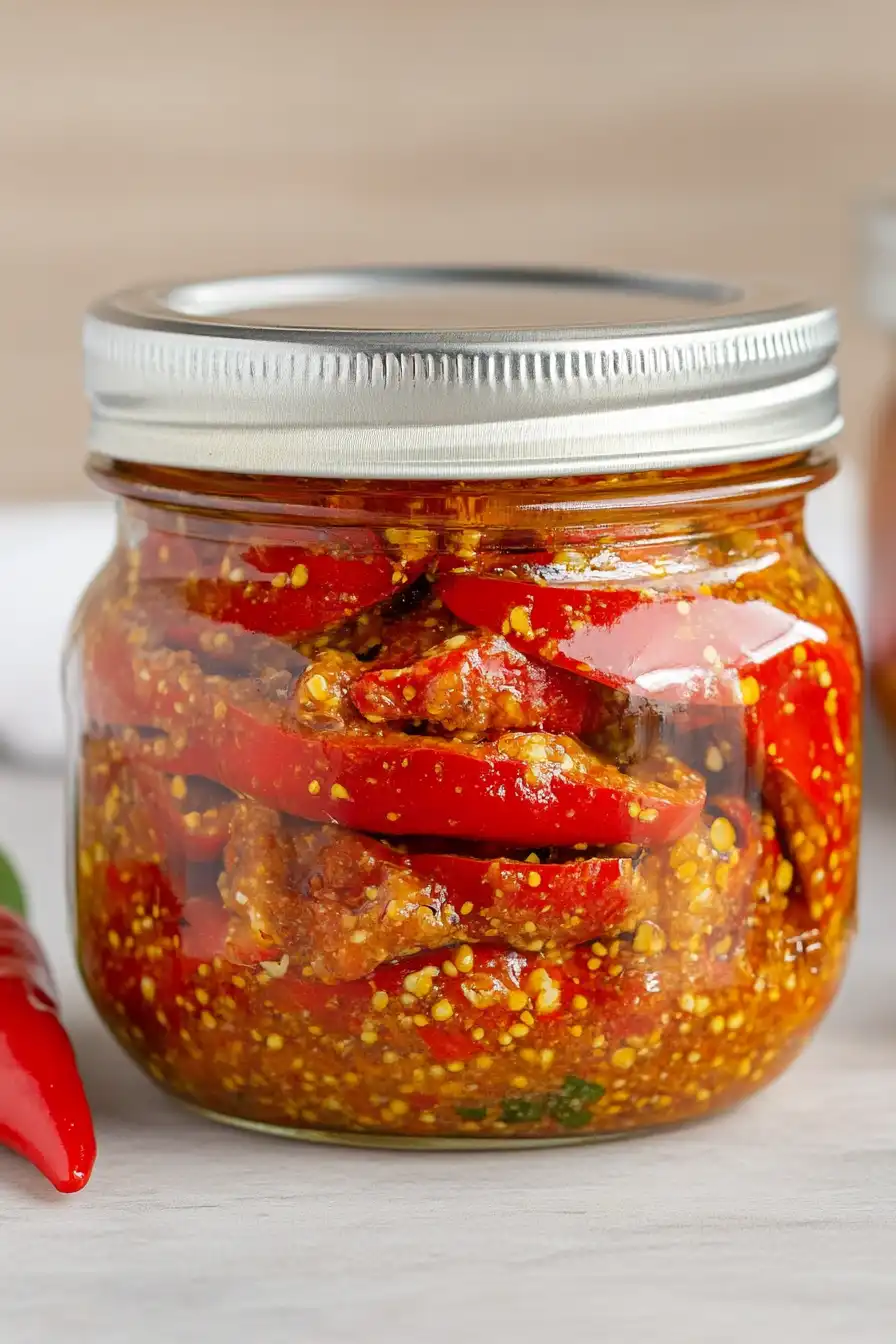
Container Selection: Pour your Indian pickle into clean, sterilized glass jars with tight-fitting lids. Make sure the jars are completely dry before adding the pickle – even a drop of water can cause spoilage. Always use a clean, dry spoon when serving to prevent contamination.
Keep Fresh: Your homemade pickle needs to mature for about a week at room temperature before it develops its full flavor. After that, you can keep it in a cool, dark place or in the refrigerator. When stored properly, it stays good for up to 6 months – sometimes even longer! The oil and vinegar act as natural preservatives.
Sun Method: For the first week, you can place your sealed pickle jar in direct sunlight for a few hours each day. This traditional method helps develop deeper flavors and speeds up the fermentation process. Just remember to bring it back inside afterward and give it a gentle shake every couple of days.
| Preparation Time | 30-40 minutes |
| Cooking Time | 10-15 minutes |
| Total Time | 40-55 minutes |
| Level of Difficulty | Medium |
Estimated Nutrition
Estimated nutrition for the whole recipe (without optional ingredients):
- Calories: 2100-2300
- Protein: 6-10 g
- Fat: 200-220 g
- Carbohydrates: 50-60 g
Ingredients
For the chili preparation:
- 250g red chili peppers
- 3 tbsp salt
- 1/2 cup fresh lemon juice
For the spiced oil:
- 1 tsp fenugreek seeds
- 1 tbsp coriander seeds (toasted and ground for more aroma)
- 2 tbsp fennel seeds
- 2 tbsp white vinegar
- 1/2 cup vegetable oil (or any neutral oil like canola)
- 1 tsp sugar
- 1 tsp asafoetida
- 7-8 whole black peppercorns
- 2 tbsp black mustard seeds (for a pungent flavor)
- 1 tsp turmeric
Step 1: Prepare the Chillies
Begin by washing the red chillies thoroughly, then dry them on a kitchen paper towel to eliminate all moisture.
Once dry, top and tail the chillies, and cut them in half lengthwise to prepare for layering.
Step 2: Layer the Chillies with Salt and Lemon Juice
In a flat glass container, start by placing a layer of salt at the bottom.
Add a layer of the halved chillies on top of the salt, and then sprinkle another layer of salt over the chillies.
Continue this process of layering salt and chillies until you’ve used up all the chillies.
Finally, pour the lemon juice evenly over the layered chillies and cover the container with cling film.
Set the container in a cool, dark place during the day and refrigerate it overnight.
Step 3: Roast and Grind the Spices
For the spiced oil, combine all the spices except for the black pepper in a pan.
Heat the spices over low heat for 2-3 minutes, shaking and stirring continuously to prevent burning.
After roasting, grind the spices into a fine powder using a grinder or a pestle and mortar.
Step 4: Prepare the Spiced Oil
In a saucepan, heat the vegetable oil until it is moderately hot.
Add the black peppercorns and cook them in the oil for 1-2 minutes.
Remove the saucepan from the heat and add the asafoetida or garlic to the oil.
Allow the mixture to rest for about 10 minutes so that the flavors can infuse into the oil.
