If you ask me, homemade dinner rolls are one of life’s simple pleasures.
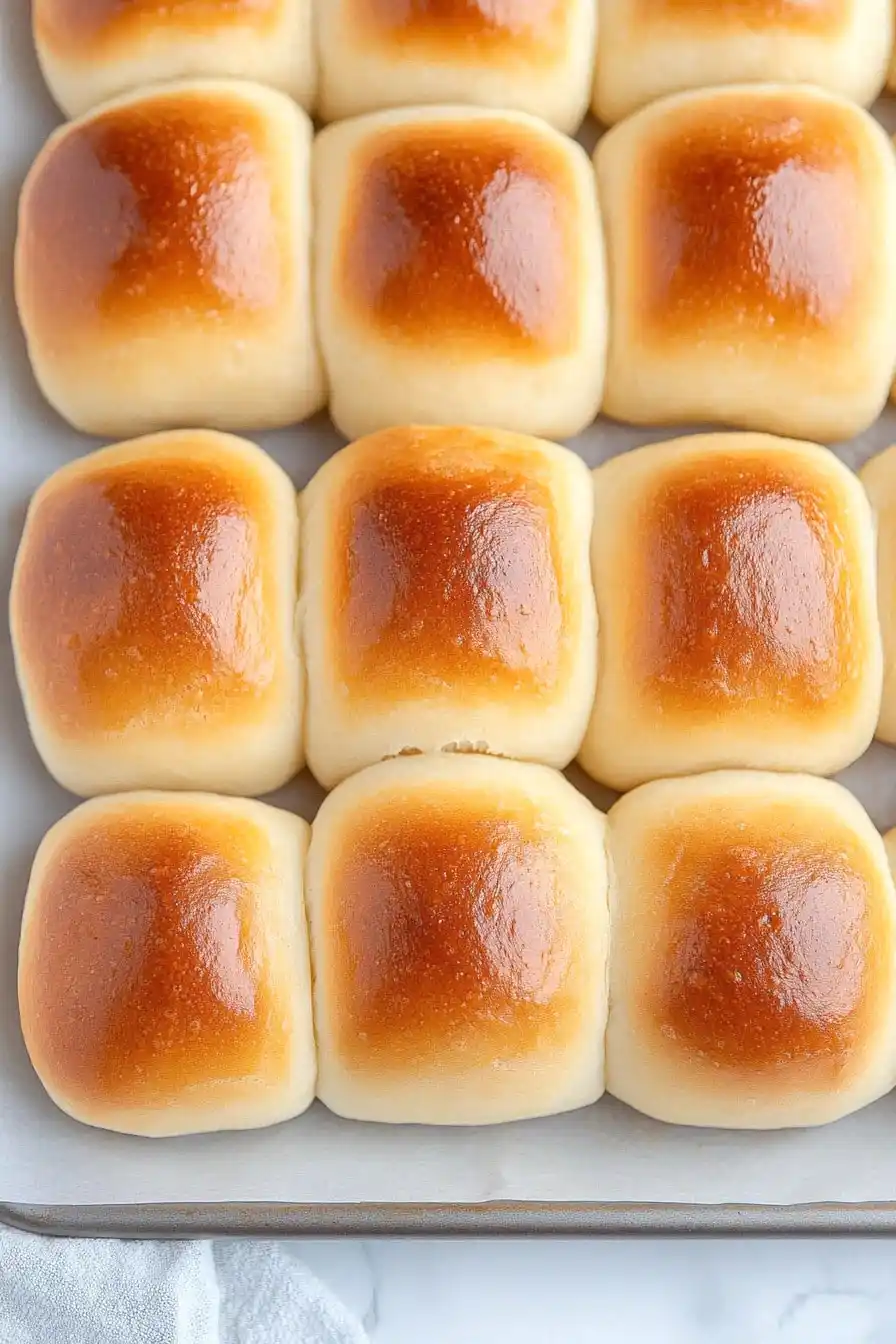
These pull-apart rolls come out soft and fluffy, with a golden-brown top that makes everyone at the table reach for seconds. The smell of fresh-baked bread filling the kitchen brings back memories of Sunday family dinners.
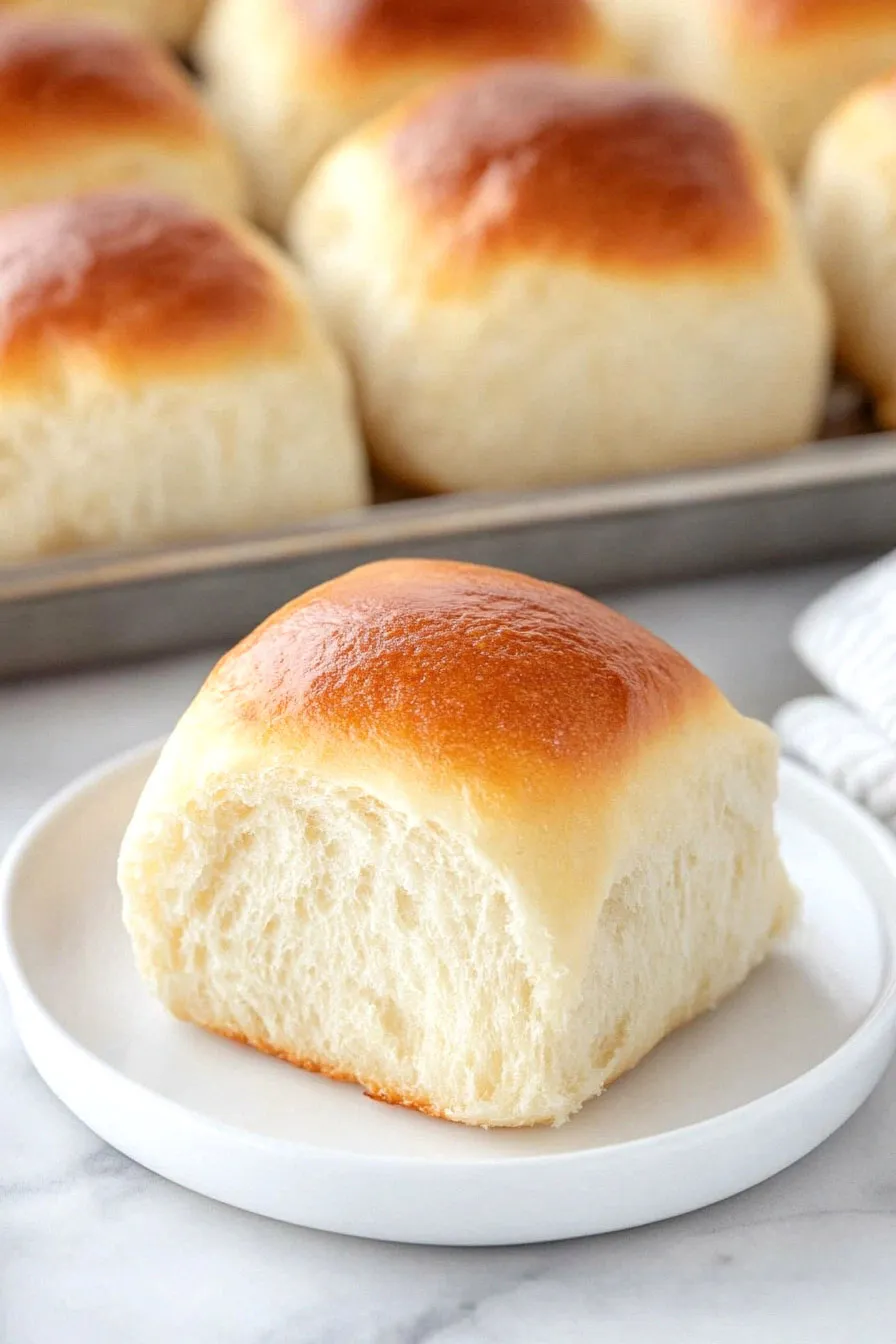
They’re brushed with melted butter right before baking, which gives them that classic shine and tender crust. The best part? When you pull them apart, you’ll find pillowy centers that are perfect for soaking up gravy or sauce.
It’s a comforting side dish that works for both weeknight meals and special occasions – and trust me, people always ask for the recipe.
Why You’ll Love These Dinner Rolls
- Soft and fluffy texture – These rolls come out perfectly pillowy every time, with a golden-brown top and the most amazing pull-apart layers that everyone loves.
- Basic pantry ingredients – You probably have most of these ingredients in your kitchen already – just flour, butter, milk, and a few other common baking staples.
- Make-ahead friendly – You can prepare these rolls in advance and refrigerate them overnight, making them perfect for holiday meals or busy weeknight dinners.
- Beginner-friendly recipe – Even if you’re new to bread making, this recipe’s straightforward steps will help you create impressive homemade rolls that taste better than store-bought.
- Perfect for any meal – These rolls work great for everything from casual family dinners to holiday feasts, and they’re amazing for making mini sandwiches with leftovers.
What Kind of Flour Should I Use?
For soft and fluffy dinner rolls, all-purpose flour or bread flour will both give you great results. All-purpose flour is the more common choice and produces tender rolls with a nice, even crumb. If you want rolls with a bit more chew and structure, bread flour is your friend since it has a higher protein content. Just keep in mind that if you’re using bread flour, you might need to add a little extra liquid to your dough since it absorbs more moisture. When measuring your flour, try to spoon it into the measuring cup and level it off rather than scooping directly from the bag – this helps prevent using too much flour which can make your rolls dense.

Options for Substitutions
Need to make some swaps for these dinner rolls? Here are some helpful substitutions you can try:
- Milk: You can use plant-based alternatives like unsweetened almond milk, soy milk, or oat milk. For extra richness, go with full-fat coconut milk. Just make sure they’re plain and unsweetened.
- Butter: Swap with dairy-free margarine, coconut oil, or vegetable oil. If using oil, use about 2-3 tablespoons less than the butter amount called for.
- Instant yeast: You can use active dry yeast instead, but you’ll need to proof it first in the warm water with a pinch of sugar. Wait 5-10 minutes until it’s foamy before using.
- Eggs: For each egg, you can substitute with either 1/4 cup mashed banana, 1/4 cup applesauce, or a flax egg (1 tablespoon ground flaxseed mixed with 3 tablespoons water). Note that the texture might be slightly different.
- All-purpose flour: Bread flour works great here too. For a whole wheat version, replace up to half the flour with whole wheat flour – just know your rolls might be a bit denser.
Watch Out for These Mistakes While Baking
The temperature of your liquid ingredients can make or break these dinner rolls – milk and water that’s too hot will kill the yeast, while too cold liquids won’t activate it properly, so aim for lukewarm temperatures between 100-110°F. Another common mistake is adding too much flour too quickly, which can lead to dense, heavy rolls – instead, add flour gradually while kneading until the dough becomes soft and slightly tacky but not sticky. The rising time is crucial – don’t rush it by placing the dough in a very hot spot, as this can affect the flavor development; instead, let it rise in a warm (not hot) place until doubled in size, usually about 1 hour. For perfectly golden tops, brush the rolls with melted butter right after baking, not before – this gives them that soft, tender crust everyone loves.
What to Serve With Dinner Rolls?
These soft and fluffy dinner rolls are perfect for soaking up all kinds of delicious sauces and gravies from your main dishes! They’re great alongside hearty meals like pot roast, beef stew, or your favorite pasta dishes. For holiday dinners, I love serving them with turkey and gravy or glazed ham – just add a pat of butter and watch it melt into the warm bread. If you’re making a cozy weeknight dinner, these rolls are wonderful with soups, chili, or any saucy chicken dish where you’ll want something to mop up every last bit of flavor from your plate.
Storage Instructions
Keep Fresh: These dinner rolls stay soft and tasty at room temperature for up to 2 days when kept in a sealed plastic bag or airtight container. Just make sure they’re completely cool before storing to prevent moisture buildup. I like to place a paper towel in the container to absorb any extra moisture.
Freeze: These rolls are perfect for freezing! Once they’re completely cool, pop them in a freezer bag, squeeze out the air, and they’ll keep for up to 3 months. You can freeze them individually or in clusters – whatever works best for your needs. This is super handy when you want to prep ahead for holidays or busy weeknights.
Warm Up: To enjoy your frozen rolls, thaw them at room temperature for about an hour. When you’re ready to eat, wrap them in foil and warm in a 350°F oven for 5-10 minutes. For an extra treat, brush some melted butter on top before serving – they’ll taste just like freshly baked!
| Preparation Time | 15-20 minutes |
| Cooking Time | 15-17 minutes |
| Total Time | 60-70 minutes |
| Level of Difficulty | Medium |
Estimated Nutrition
Estimated nutrition for the whole recipe (without optional ingredients):
- Calories: 3000-3500
- Protein: 50-60 g
- Fat: 150-170 g
- Carbohydrates: 450-500 g
Ingredients
For the dough:
- 2 tbsp instant yeast (I use SAF-Instant Yeast)
- 2 tsp salt
- 2 large eggs
- 1/2 cup warm water (105-115°F)
- 1/2 cup granulated sugar
- 1/2 cup unsalted butter (sliced into 8 pieces)
- 6 1/2 to 7 1/2 cups all-purpose flour (I always use King Arthur all-purpose flour)
- 2 cups milk
For the finishing:
- 2 tbsp melted unsalted butter
Step 1: Prepare the Milk and Butter Mixture
Add milk and butter to a microwave-safe bowl or measuring cup.
Heat in the microwave for about 1-2 minutes until the butter is completely melted.
Pour the warmed milk and melted butter into a large bowl or the bowl of a stand mixer.
This mixture will be the base for activating the yeast.
Step 2: Activate the Yeast
Add yeast, warm water, and sugar to the milk and butter mixture.
Stir to combine the ingredients and allow it to rest for five minutes.
This resting period will help the yeast activate, and you’ll notice it starting to bubble or froth.
Step 3: Mix the Dough
To the activated yeast mixture, add salt, eggs, and 3 cups of flour.
Mix until these ingredients are well incorporated.
Gradually add additional flour, 1/2 cup at a time, until the dough pulls away from the sides of the bowl and is only slightly sticky to the touch when tapped lightly.
Once the desired texture is achieved, knead the dough for five minutes to build up the gluten and create a smooth, elastic dough.
Step 4: Let the Dough Rise
Transfer the dough to a greased bowl, cover it with a clean cloth, and let it rise in a warm place for about 30 minutes.
This step allows the dough to double in size, resulting in light and fluffy rolls.
Step 5: Shape the Rolls
After the dough has risen, gently punch it down to release excess air.
Divide the dough into 32 even pieces, using a kitchen scale if desired to ensure uniform size.
Roll each piece of dough into a ball and place them on a baking sheet.
Cover and let the rolls rise again until they double in size, approximately another 30 minutes.
Step 6: Bake and Finish the Rolls
While the rolls are rising, preheat your oven to 400°F (200°C).
Once preheated, bake the rolls for 15-17 minutes until they turn a golden brown.
Immediately after removing them from the oven, brush the tops with melted butter for a soft and flavorful finish.
Serve warm and enjoy!
