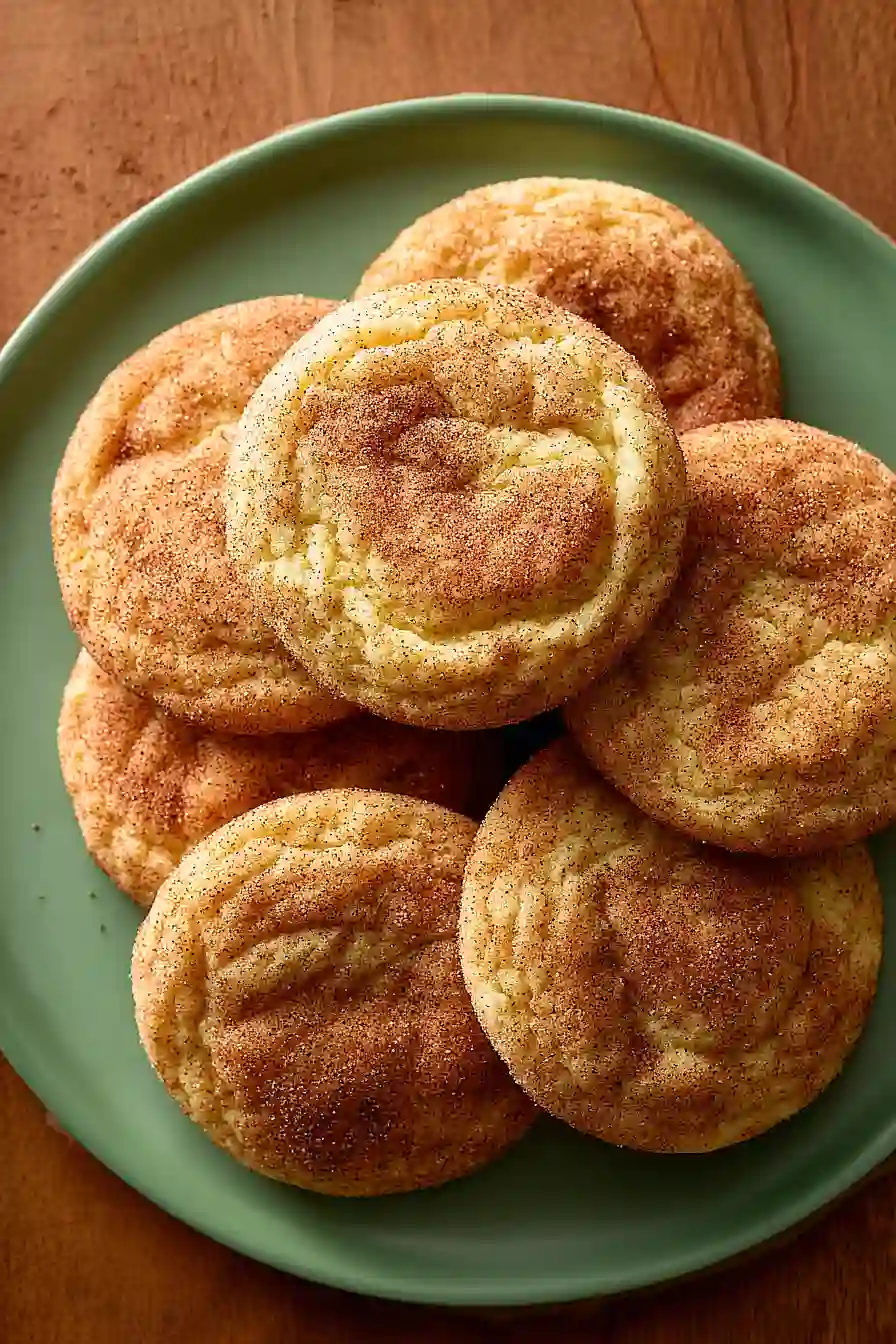
I made snickerdoodles with butter for years before I realized why they never tasted quite right. Turns out, traditional snickerdoodles call for shortening—or at least a mix of shortening and butter. That’s the secret to getting those signature crackly tops and soft, chewy centers.
My friend’s grandmother always used Crisco in hers, and they were perfect every time. When I finally tried her method, I got it. The shortening keeps the cookies from spreading too much and gives them that classic snickerdoodle texture. I still add some butter though, because let’s be honest, butter makes everything taste better.
Why You’ll Love These Snickerdoodles
- Quick and easy – These cookies come together in under 30 minutes, making them perfect for last-minute dessert cravings or unexpected guests.
- Classic flavor with a twist – Using shortening alongside butter gives you that traditional snickerdoodle texture – soft and chewy on the inside with slightly crisp edges.
- Simple pantry ingredients – You probably already have everything you need in your kitchen to whip up a batch of these cinnamon-sugar cookies.
- Kid-friendly baking project – Rolling the dough balls in cinnamon sugar is fun for little hands, making this a great recipe to bake with children.
What Kind of Shortening Should I Use?
For snickerdoodles, you’ll want to use vegetable shortening, which is what you’ll typically find at any grocery store in the baking aisle. Brands like Crisco are the most common and work perfectly for this recipe. Some bakers prefer butter-flavored shortening for an extra hint of richness, but plain vegetable shortening is the traditional choice and gives you that classic snickerdoodle texture. The shortening is what helps create those signature crackly tops and keeps the cookies soft and thick in the middle, so don’t be tempted to swap it out entirely for butter – the combination of both fats is what makes these cookies special.
Options for Substitutions
While snickerdoodles are pretty straightforward, here are some swaps you can make if needed:
- Shortening: You can replace the shortening with additional butter for a total of ½ cup butter. The cookies will spread a bit more and have a richer flavor, but they’ll still taste great.
- Salted butter: If you only have unsalted butter, go ahead and use it – just increase the sea salt to ¼ teaspoon to make up for it.
- Cream of tartar: This ingredient gives snickerdoodles their signature tangy flavor and chewy texture, so I wouldn’t recommend skipping it. If you’re really in a bind, you can use 1 ½ teaspoons of lemon juice or white vinegar, though the texture won’t be quite the same.
- All-purpose flour: Stick with all-purpose flour for these cookies – cake flour will make them too delicate, and bread flour will make them too tough.
- Pure vanilla extract: Imitation vanilla works fine here if that’s what you have. You could also try vanilla bean paste for a more intense vanilla flavor.
Watch Out for These Mistakes While Baking
The biggest mistake when making snickerdoodles is skipping the chilling step after forming the dough balls, which causes the cookies to spread too thin and lose their signature puffy texture – pop them in the fridge for 15-20 minutes before baking for thicker, chewier cookies.
Another common error is overmixing the dough once you add the flour, as this develops too much gluten and makes your cookies tough instead of tender, so mix just until the flour disappears.
Don’t forget to use room temperature butter and egg, since cold ingredients won’t blend properly with the shortening and can result in uneven texture throughout your cookies.
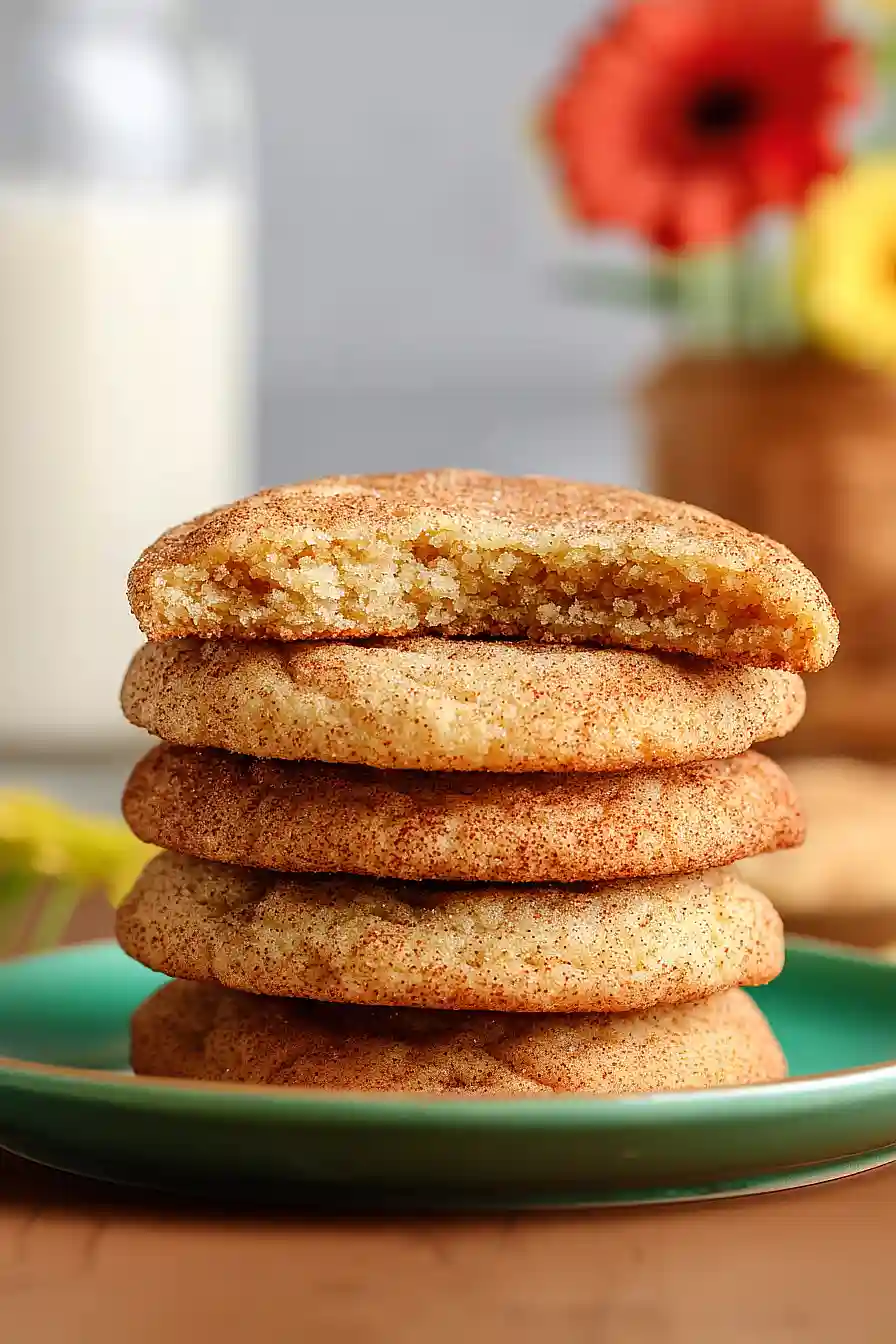
Finally, pull the cookies from the oven when they still look slightly underdone in the center – they’ll continue baking on the hot pan and firm up as they cool, giving you that perfect soft and chewy bite.
What to Serve With Snickerdoodles?
These cinnamon-sugar cookies are perfect alongside a cold glass of milk or a hot cup of coffee for an afternoon snack. I love serving snickerdoodles with vanilla ice cream for a simple dessert – the warm cookie melts the ice cream just a bit and creates an amazing combination. They’re also great for dunking into hot chocolate during the colder months, or you can pair them with fresh apple slices and caramel dip for a fall-themed treat. If you’re putting together a cookie platter, snickerdoodles go well with chocolate chip cookies and peanut butter cookies for variety.
Storage Instructions
Store: Keep your snickerdoodles in an airtight container at room temperature for up to a week. They’ll stay soft and chewy if you toss a slice of bread in the container with them – it really works! Just make sure they’re completely cooled before storing or they’ll get sticky.
Freeze: These cookies freeze really well, either baked or as dough. For baked cookies, layer them between parchment paper in a freezer bag for up to 3 months. You can also freeze the dough balls already rolled in cinnamon sugar, then bake them straight from frozen – just add a minute or two to the baking time.
| Preparation Time | 15-20 minutes |
| Cooking Time | 8-10 minutes |
| Total Time | 23-30 minutes |
| Level of Difficulty | Easy |
Estimated Nutrition
Estimated nutrition for the whole recipe (without optional ingredients):
- Calories: 1450-1550
- Protein: 13-16 g
- Fat: 58-65 g
- Carbohydrates: 220-235 g
Ingredients
For the dough:
- 1/4 cup shortening (Crisco preferred for traditional snickerdoodles)
- 1/2 tsp baking soda
- 1 tsp cream of tartar (essential for chewy centers)
- 1/8 tsp sea salt
- 1 egg (room temperature)
- 1/4 tsp cinnamon
- 1/4 cup salted butter (softened to room temperature)
- 1/2 tsp vanilla extract
- 3/4 cup sugar
- 1 1/3 cups all-purpose flour (I use King Arthur)
For the coating:
- 1 1/2 tsp cinnamon (freshly ground for best flavor)
- 2 tbsp sugar
Step 1: Prepare the Mise en Place and Preheat
- 1 egg
Start by preheating your oven to 375°F so it reaches the right temperature by the time you’re ready to bake.
While the oven heats, bring your egg to room temperature by letting it sit out for 5-10 minutes—this helps it incorporate smoothly into the dough for better texture.
Measure out all your ingredients and have them ready before you begin mixing.
Step 2: Mix the Dry Ingredients
- 1 1/3 cups all-purpose flour
- 1/4 tsp cinnamon
- 1 tsp cream of tartar
- 1/2 tsp baking soda
- 1/8 tsp sea salt
In a medium bowl, whisk together the flour, 1/4 teaspoon cinnamon, cream of tartar, baking soda, and sea salt.
This combines your leavening agents evenly throughout the flour, which is crucial for consistent rise and that signature chewy snickerdoodle center.
Set this mixture aside—you’ll fold it into the wet ingredients in just a moment.
Step 3: Cream the Butter, Shortening, and Sugar
- 1/4 cup shortening
- 1/4 cup salted butter
- 3/4 cup sugar
In a mixer or with a hand mixer, beat together the softening butter, shortening, and 3/4 cup sugar for 2-3 minutes until the mixture is light, fluffy, and pale.
This creaming process incorporates air into the dough, which helps the cookies rise slightly and develop that tender, pillowy crumb that makes snickerdoodles special.
I like using equal parts butter and shortening—the shortening gives that classic tender texture while the butter adds real flavor.
Step 4: Add the Egg and Vanilla, Then Incorporate Dry Ingredients
- creamed butter mixture from Step 3
- 1 egg
- 1/2 tsp vanilla extract
- dry ingredient mixture from Step 2
Add the room temperature egg and vanilla extract to your creamed mixture and beat until smooth and fully combined, about 1 minute.
Then add the dry ingredient mixture from Step 2 and mix on low speed just until no streaks of flour remain—don’t overmix, as this can develop too much gluten and make the cookies tough.
The dough should come together quickly and feel soft and slightly sticky.
Step 5: Prepare the Cinnamon-Sugar Coating
- 2 tbsp sugar
- 1 1/2 tsp cinnamon
While your dough rests slightly, mix the 2 tablespoons sugar with 1 1/2 teaspoons of freshly ground cinnamon in a small bowl.
I always use freshly ground cinnamon here rather than pre-ground—the flavor is noticeably brighter and more aromatic, which really makes the coating shine.
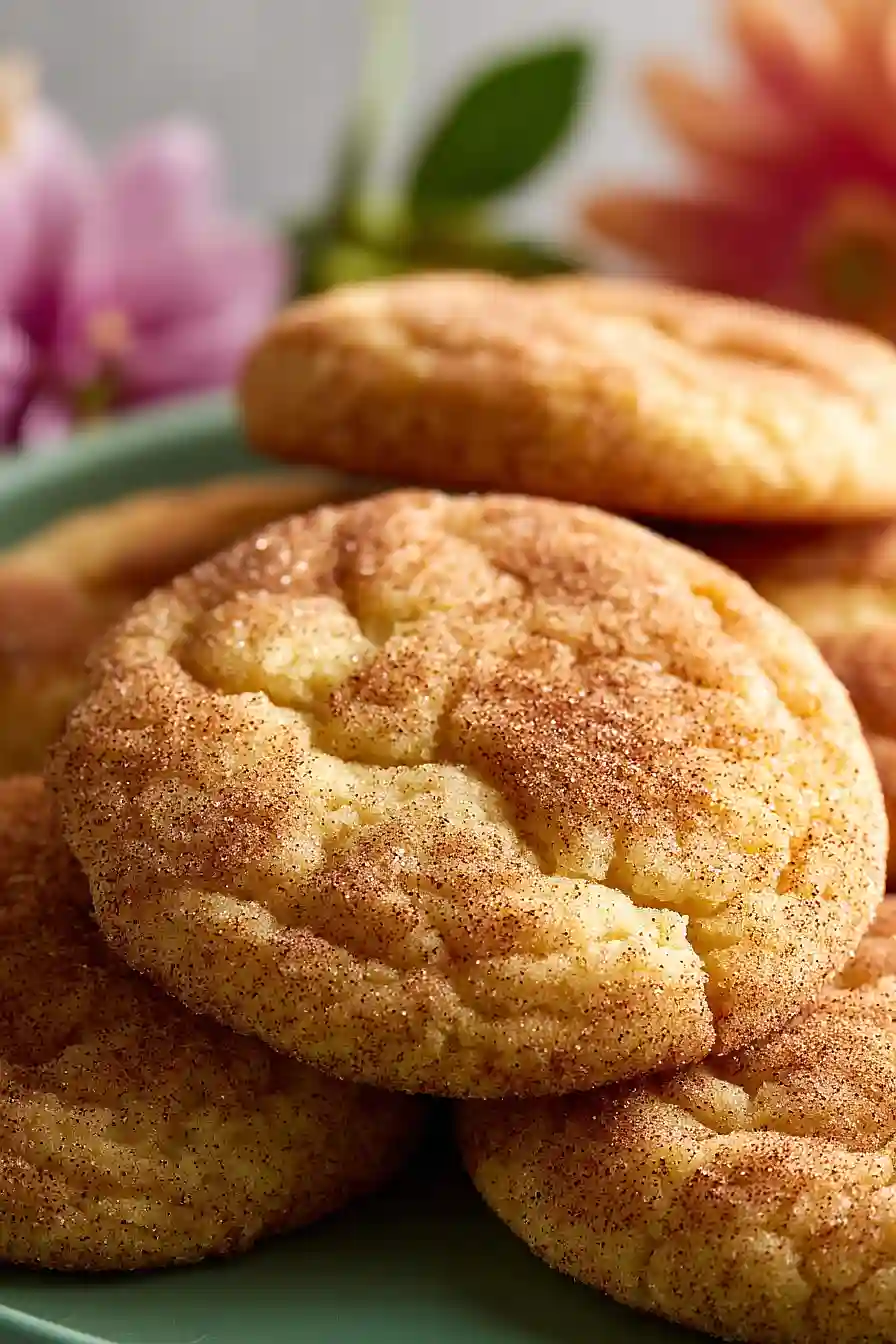
This cinnamon-sugar coating is what gives snickerdoodles their signature sparkly, crackled tops.
Step 6: Shape and Coat the Cookies
- dough from Step 4
- cinnamon-sugar coating from Step 5
Roll the dough into 1 1/2 tablespoon-sized balls (about the size of a walnut), then roll each ball in the cinnamon-sugar mixture from Step 5 until fully coated on all sides.
Place the coated dough balls about 2 inches apart on your baking sheets—they’ll spread slightly as they bake, so give them room.
The spacing is important because it allows them to bake evenly and develop that prized crackled surface.
Step 7: Bake and Cool
Bake for 8-10 minutes until the edges are set but the centers still look slightly underdone and soft—this is key to getting that chewy center.
The cookies will continue to cook slightly on the baking sheet after you remove them from the oven.
Transfer them to a cooling rack immediately and let them cool for at least 5 minutes before enjoying.
I like to eat them while they’re still slightly warm, when the cinnamon sugar coating is still a bit sticky and the cookie is at its chewiest.
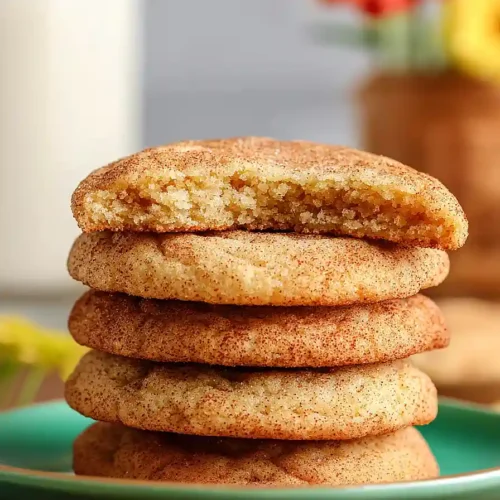
Homemade Snickerdoodles with Shortening
Ingredients
For the dough:
- 1/4 cup shortening (Crisco preferred for traditional snickerdoodles)
- 1/2 tsp baking soda
- 1 tsp cream of tartar (essential for chewy centers)
- 1/8 tsp sea salt
- 1 egg (room temperature)
- 1/4 tsp cinnamon
- 1/4 cup salted butter (softened to room temperature)
- 1/2 tsp vanilla extract
- 3/4 cup sugar
- 1 1/3 cups all-purpose flour (I use King Arthur)
For the coating:
- 1 1/2 tsp cinnamon (freshly ground for best flavor)
- 2 tbsp sugar
Instructions
- Start by preheating your oven to 375°F so it reaches the right temperature by the time you're ready to bake. While the oven heats, bring your egg to room temperature by letting it sit out for 5-10 minutes—this helps it incorporate smoothly into the dough for better texture. Measure out all your ingredients and have them ready before you begin mixing.
- In a medium bowl, whisk together the flour, 1/4 teaspoon cinnamon, cream of tartar, baking soda, and sea salt. This combines your leavening agents evenly throughout the flour, which is crucial for consistent rise and that signature chewy snickerdoodle center. Set this mixture aside—you'll fold it into the wet ingredients in just a moment.
- In a mixer or with a hand mixer, beat together the softening butter, shortening, and 3/4 cup sugar for 2-3 minutes until the mixture is light, fluffy, and pale. This creaming process incorporates air into the dough, which helps the cookies rise slightly and develop that tender, pillowy crumb that makes snickerdoodles special. I like using equal parts butter and shortening—the shortening gives that classic tender texture while the butter adds real flavor.
- Add the room temperature egg and vanilla extract to your creamed mixture and beat until smooth and fully combined, about 1 minute. Then add the dry ingredient mixture from Step 2 and mix on low speed just until no streaks of flour remain—don't overmix, as this can develop too much gluten and make the cookies tough. The dough should come together quickly and feel soft and slightly sticky.
- While your dough rests slightly, mix the 2 tablespoons sugar with 1 1/2 teaspoons of freshly ground cinnamon in a small bowl. I always use freshly ground cinnamon here rather than pre-ground—the flavor is noticeably brighter and more aromatic, which really makes the coating shine. This cinnamon-sugar coating is what gives snickerdoodles their signature sparkly, crackled tops.
- Roll the dough into 1 1/2 tablespoon-sized balls (about the size of a walnut), then roll each ball in the cinnamon-sugar mixture from Step 5 until fully coated on all sides. Place the coated dough balls about 2 inches apart on your baking sheets—they'll spread slightly as they bake, so give them room. The spacing is important because it allows them to bake evenly and develop that prized crackled surface.
- Bake for 8-10 minutes until the edges are set but the centers still look slightly underdone and soft—this is key to getting that chewy center. The cookies will continue to cook slightly on the baking sheet after you remove them from the oven. Transfer them to a cooling rack immediately and let them cool for at least 5 minutes before enjoying. I like to eat them while they're still slightly warm, when the cinnamon sugar coating is still a bit sticky and the cookie is at its chewiest.
