Finding satisfying dinner options that please everyone at the table can feel like an uphill battle sometimes. Between busy schedules, picky eaters, and the desire to serve something both nutritious and filling, weeknight meals often become more stressful than they need to be.
That’s where these dutch oven stuffed bell peppers come to the rescue – they’re hearty, nutritious, and best of all, customizable to suit different tastes. Plus, the dutch oven method makes cleanup a breeze while ensuring the peppers cook perfectly every time.
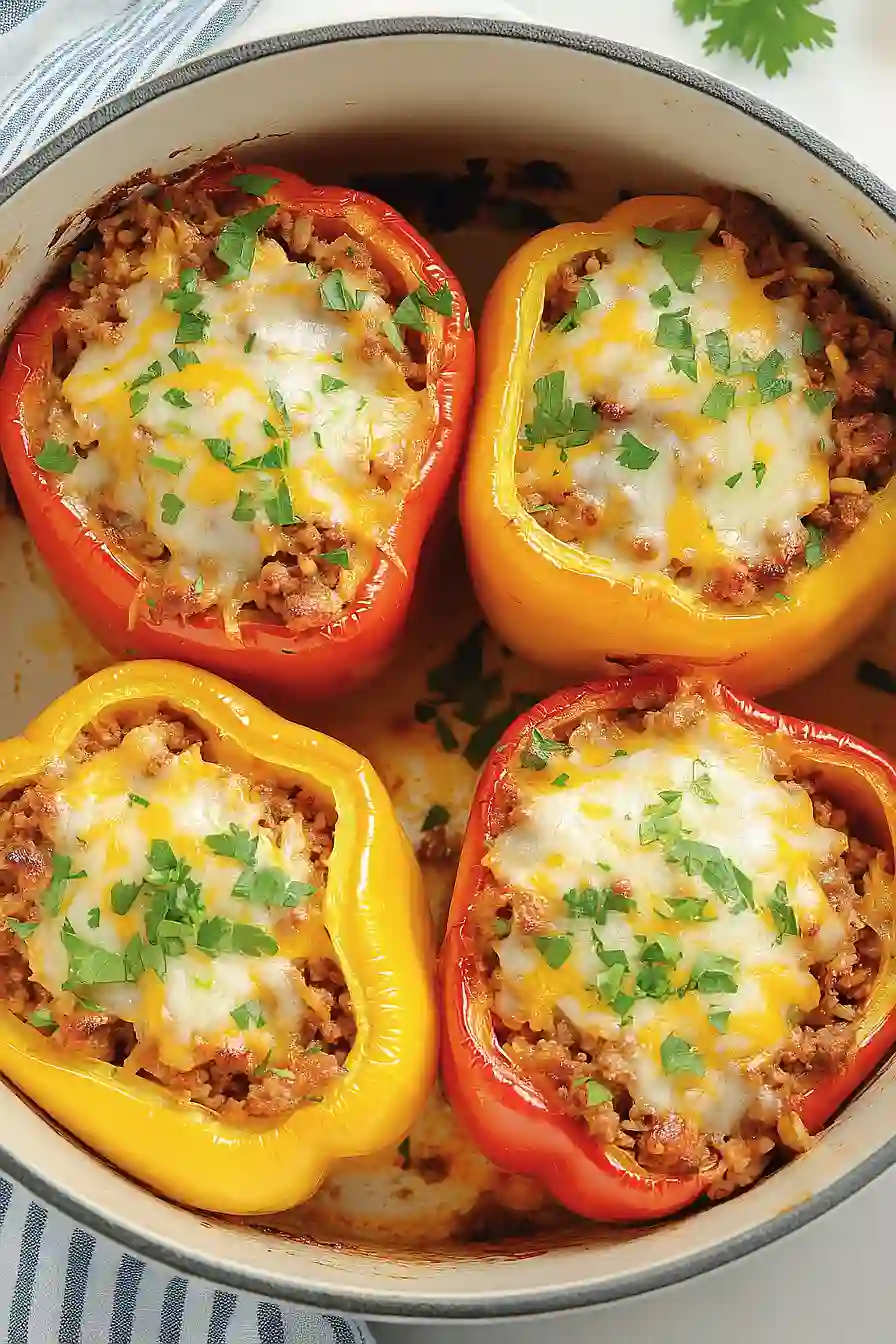
Why You’ll Love These Stuffed Bell Peppers
- One-pot meal – The Dutch oven does all the heavy lifting, meaning less cleanup and more time to enjoy your evening.
- Make-ahead friendly – You can prep these peppers in advance and pop them in the oven when you’re ready to eat – perfect for busy weeknight planning.
- Customizable recipe – Switch up the ground meat, try different cheese combinations, or make it vegetarian with plant-based alternatives – it’s totally up to you!
- Complete meal in one pepper – Each pepper delivers protein, vegetables, and grains in one neat package, making it a balanced dinner option that’s both filling and nutritious.
- Family-friendly dinner – The mild, savory flavors and fun presentation make these stuffed peppers a hit with both kids and adults.
What Kind of Bell Peppers Should I Use?
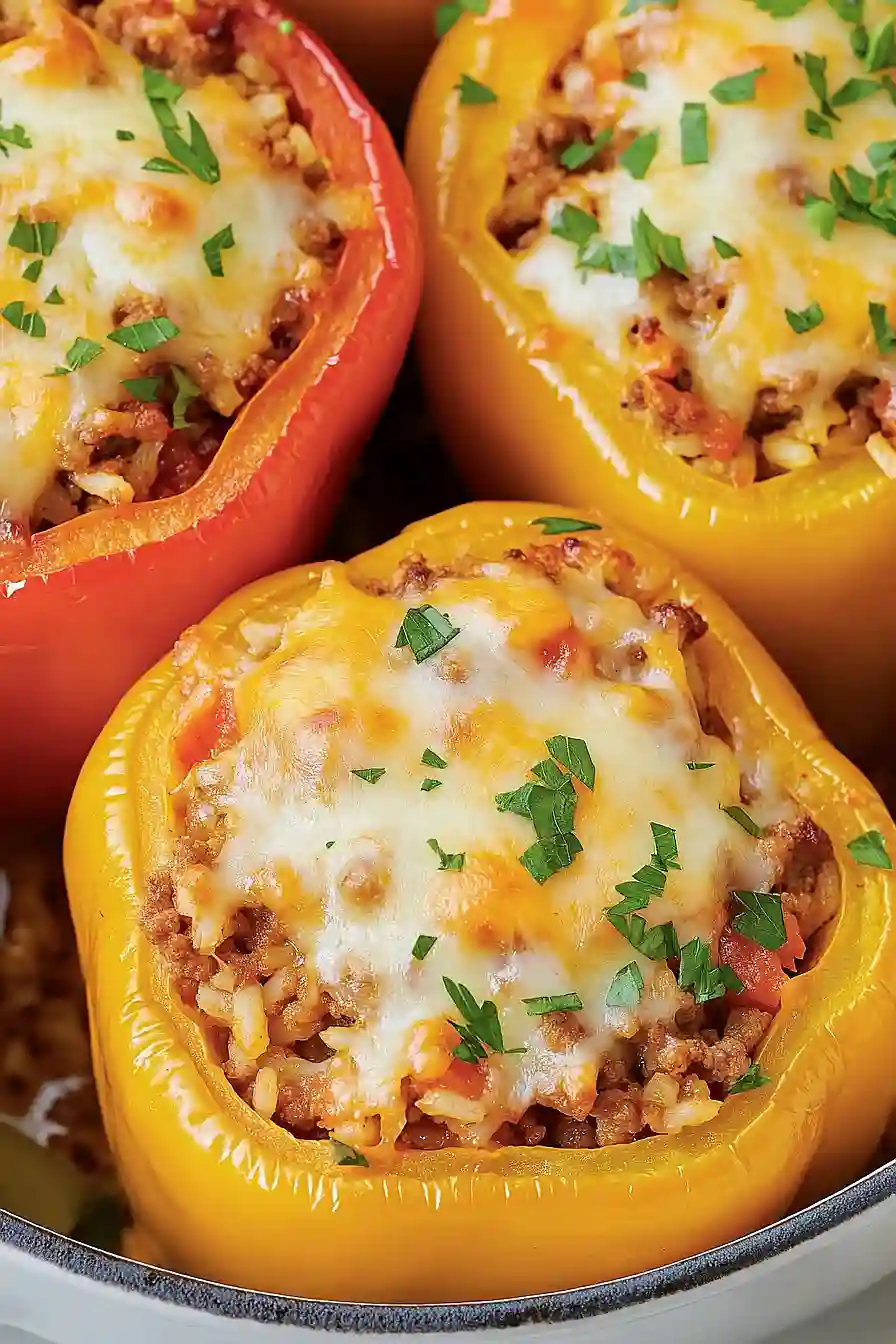
For stuffed peppers, you can use any color bell pepper you like – red, yellow, orange, or green all work great in this recipe. Green peppers tend to be slightly more bitter and less sweet than their colorful cousins, while red peppers are the sweetest of the bunch since they’ve been left on the vine the longest. When shopping, look for peppers that feel firm and heavy for their size, with smooth, unblemished skin. The best ones for stuffing are those with flat bottoms that can stand upright easily, and make sure they’re similar in size so they’ll cook evenly. If you’re prepping ahead, store your peppers in the crisper drawer of your fridge where they’ll keep fresh for about a week.
Options for Substitutions
This stuffed pepper recipe is pretty flexible and you can make several swaps based on what you have in your kitchen:
- Bell Peppers: While bell peppers are the star here, you can mix and match colors, or even use poblano peppers for a mild kick. Just make sure they’re large enough to stuff!
- Ground Beef: Not feeling beef? Ground turkey, chicken, or pork work great. For a vegetarian version, try crumbled tempeh or a mix of mushrooms and walnuts ground up in a food processor.
- Fire-roasted tomatoes: Regular diced tomatoes work fine – just add a pinch of smoked paprika to get that roasted flavor. In a pinch, crushed tomatoes or plain tomato sauce will do too.
- Rice: Any cooked grain works here – try quinoa, bulgur, or cauliflower rice for a low-carb option. Just make sure it’s cooked before adding to the filling.
- Cheese: The recipe is flexible with cheese – cheddar, mozzarella, monterey jack, or a Mexican blend all work well. For dairy-free versions, try dairy-free shreds or skip it altogether.
- Fresh herbs: If you have fresh herbs instead of dried, use about 3 times the amount listed. You can also mix up the herbs based on what you have – Italian seasoning works great as a catch-all replacement.
Watch Out for These Mistakes While Cooking
The biggest challenge when making stuffed peppers is preventing them from becoming too watery – to avoid this, don’t skip the crucial step of pre-cooking your bell peppers for 3-5 minutes in boiling water, then letting them drain upside down before stuffing. Another common mistake is undercooking the rice before mixing it into your filling – make sure it’s fully cooked, as it won’t soften much more once inside the peppers. When preparing the meat filling, be careful not to overcook it during the initial browning phase, as it will continue to cook inside the peppers – stop when it’s just barely pink. For the best results, place your peppers standing upright in the Dutch oven (not laying on their sides), and consider adding a small amount of water or broth to the bottom of the pot to create steam and prevent the bottoms from burning.
What to Serve With Stuffed Bell Peppers?
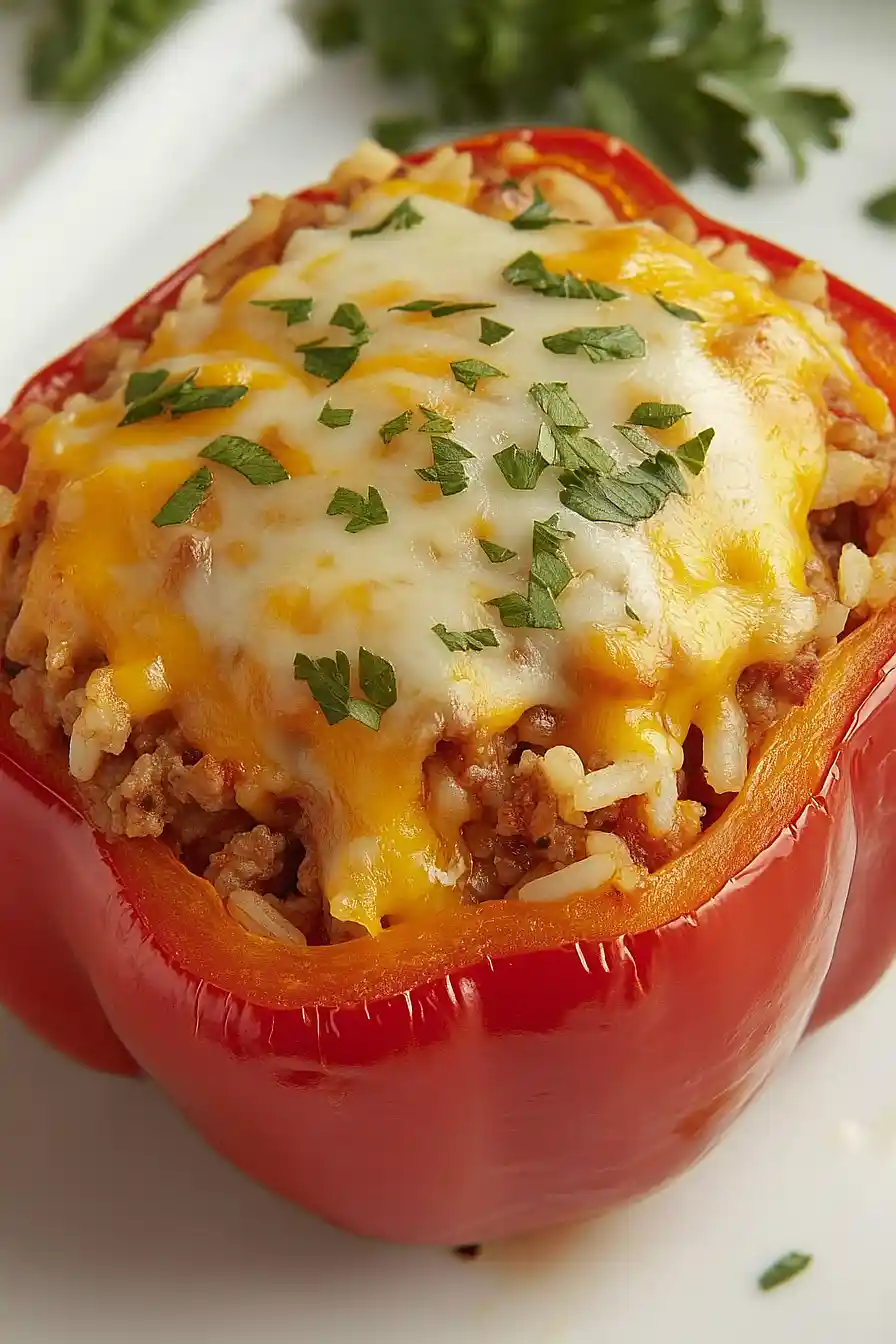
Since stuffed peppers are already packed with protein, grains, and veggies, they work great as a standalone meal, but a few simple sides can make dinner even better! A light green salad with a lemony vinaigrette adds freshness and cuts through the richness of the beef and cheese. For something warm, roasted vegetables like zucchini or Brussels sprouts complement the Mediterranean flavors in the peppers really well. If you’re extra hungry, some crusty bread on the side is perfect for soaking up any tasty sauce that escapes from the peppers.
Storage Instructions
Keep Fresh: These stuffed peppers are perfect for leftovers! Place them in an airtight container and pop them in the fridge – they’ll stay good for up to 4 days. The flavors actually get better as they sit, making them perfect for meal prep.
Freeze: If you want to make these ahead, they freeze really well. Let them cool completely, then wrap each pepper individually in foil and place them in a freezer bag. They’ll keep for up to 3 months in the freezer. It’s like having a homemade frozen dinner ready to go!
Reheat: To warm up refrigerated peppers, pop them in the microwave for 2-3 minutes or in the oven at 350°F for about 15-20 minutes. For frozen peppers, thaw them overnight in the fridge first, then heat them up the same way. Add a sprinkle of fresh cheese on top before reheating for extra yumminess!
| Preparation Time | 15-20 minutes |
| Cooking Time | 60-70 minutes |
| Total Time | 75-90 minutes |
| Level of Difficulty | Medium |
Estimated Nutrition
Estimated nutrition for the whole recipe (without optional ingredients):
- Calories: 1200-1400
- Protein: 100-110 g
- Fat: 60-70 g
- Carbohydrates: 100-110 g
Ingredients
For the peppers:
- 6 bell peppers (any color, stems and seeds removed)
For the filling:
- 1/2 tsp dried oregano
- 1 can fire-roasted tomatoes (I use Muir Glen for robust flavor)
- 1/2 tsp dried parsley
- 1 tbsp Worcestershire sauce
- 1/4 tsp black pepper
- 1 lb ground beef (80/20 lean for best flavor)
- 1 medium onion (finely diced for even cooking)
- 3 garlic cloves (freshly minced for best flavor)
- 1/2 tsp dried basil
- 1/2 tsp salt (adjust to taste)
- 1 tbsp olive oil
- 1 cup cooked rice (any long-grain white rice works well)
- 2 tbsp tomato paste
For the topping:
- 3/4 cup grated cheese (cheddar or Monterey Jack are great options)
Step 1: Prepare the Ingredients
Start by preheating your oven to 350ºF.
Cook rice according to package directions and set aside 1 cup of cooked rice for the recipe.
Cut the tops off of your rainbow peppers, remove the pith and seeds from the inside, and arrange them in your Dutch oven so they are evenly spaced.
You may need to cut a small amount off the bottom to help them stand upright.
Step 2: Sauté the Aromatics and Beef
Heat a heavy-bottomed skillet over medium heat.
Once the skillet is hot, add olive oil and swirl to coat the pan.
Add minced onion to the skillet and sauté until softened.
Next, add ground beef and crumble it with the bottom of a wooden spoon.
Cook until the beef is browned and cooked through, then use a spoon to remove any excess grease from the skillet.
Add garlic cloves and sauté until fragrant, about 1 minute.
Step 3: Incorporate the Tomato Mix
To the skillet with beef and aromatics, add a full can of fire-roasted tomatoes, tomato paste, Worcestershire sauce, and all the seasonings.
Stir to combine thoroughly.
Step 4: Mix in the Rice
Add the reserved 1 cup of cooked rice to the skillet, stirring until everything is evenly distributed throughout the beef mixture.
This step ensures that the flavors are well integrated.
Step 5: Stuff and Bake the Peppers
Spoon the rice and ground beef mixture into each prepared pepper, filling them to the top.
Place the cover on the Dutch oven and bake for 45 minutes in the preheated oven.
After 45 minutes, remove the lid and continue baking for an additional 15 minutes to ensure the peppers are thoroughly cooked.
Step 6: Add Cheese and Broil
Remove the Dutch oven from the oven and top each pepper with shredded cheese.
Place them under the broiler for 1-2 minutes or until the cheese is melted and bubbly.
Serve hot and enjoy the stuffed peppers, garnished with parsley if desired.