Disclaimer: Our editors have used AI to create or enhance parts of this article and some images. All content has been fact-checked by our team to ensure accuracy.
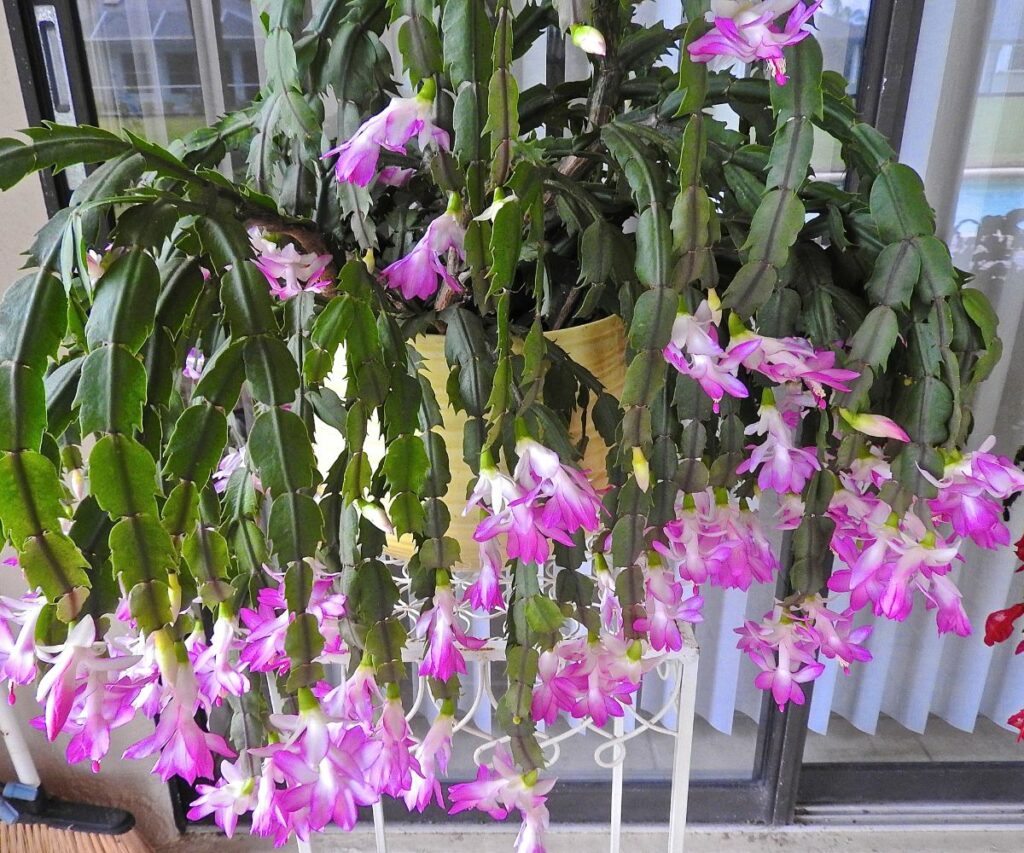
The Christmas cactus, beloved for its vibrant flowers and verdant leaves, adds a burst of color to indoor spaces during the winter months. Ensuring it blooms at the right time, however, requires understanding the unique interplay of light, temperature, and care this plant demands. Achieving the desired profusion of festive blossoms can be effortless with the right techniques.
Within this discussion, you’ll discover how to navigate the nuances of Christmas cactus care. Embrace the guidance provided on temperature regulation and light exposure adjustments to transform your space with the timely blooms of this cherished houseplant for the holiday celebrations.
Challenges with Christmas Cactus Flowering

1. Excessive Moisture
Your Christmas cactus may be receiving more water than necessary. These plants thrive in a balanced moisture environment; excessive water may cause root rot which inhibits flower growth. It’s crucial to let the soil’s top layer dry out before watering again, and always ensure you use soil that facilitates proper drainage.
2. Elevated Temperature Levels
The flourishing of Christmas cacti is more likely in cooler conditions. Placing your cactus in overly warm spaces can disrupt its natural flowering process. Position it in an area with lower temperature, preferably between 50 to 60 degrees Fahrenheit at night, to encourage blooming.
3. Adjustment Post-Repotting
A recently repotted Christmas cactus may undergo stress, focusing more on rooting than blooming. It’s advisable to delay repotting until it’s absolutely necessary, usually when roots are visible outside the drainage hole of the pot. After repotting, allow some time for the plant to stabilize; blooms should appear once the cactus is comfortable in its new home.
4. Incorrect Cactus Species
Confirm that your plant is indeed a Christmas cactus (genus Schlumbergera), which bears distinct flowering requirements from the Thanksgiving cactus (Schlumbergera truncata) or the Easter cactus (Rhipsalidopsis gaertneri). Identifying your plant correctly is key to providing the care it requires to bloom.
Initiating Blooming in Christmas Cactus
For optimal blooming, position your Christmas cactus in bright, filtered sunlight; a window facing north is ideal. As autumn approaches, the natural decrease in daylight and the increase in continuous darkness generally aids in triggering the flowering process. Those living in sunny regions should transfer the plant to a seldom-used room to minimize exposure to artificial light during the night.
Temperature control also plays a pivotal role. Maintain an environment below 65°F, steering clear of heat sources like radiators and fireplaces, which can impede blooming.
During this pivotal growth phase, reduce your watering regime, ensuring that you hydrate the cactus only when the soil is dry to the touch.
Feed your cactus with fertilizer in spring and fall to encourage blossoming. Properly fertilized, it stands a strong chance of showcasing vibrant flowers.
Looking to expand your collection? Consider these options:
- Fifteen Must-Have Flowering Succulents: Expand your succulent array with this selection that promises visual delight in any garden setting.
Timing Your Christmas Cactus’s Blooming Cycle
Your Christmas Cactus typically showcases its vibrant flowers between November and January. If you’re looking to enjoy a second flowering period, you can prompt the cactus to bloom once more during the spring by ensuring it experiences shorter days and longer nights, coupled with cooler temperatures within your home.
Initiate the process by giving the plant:
- Around 6-8 weeks to form buds
- An additional 8-12 weeks for the actual flowers to open
When in bloom, you’ll have approximately 5-7 days to admire the beauty of the flowers. Your Christmas Cactus will generally require 3-6 weeks to complete its blooming phase.
Troubleshooting a Flowering Christmas Cactus That Won’t Grow
- Temperature: Your cactus prefers cooler conditions for secondary growth (50-54°F) and warmer for primary (60-70°F).
- Moisture: Ensure the plant is not overwatered to prevent root rot. Allow the soil to dry slightly between waterings.
- Potting: Use a container with drainage holes and opt for high-grade potting mix.
- Ventilation: Maintain good air circulation around your plant.
- Pruning: Remove older stems at the base to encourage fresh growth and potentially use them to propagate new plants.