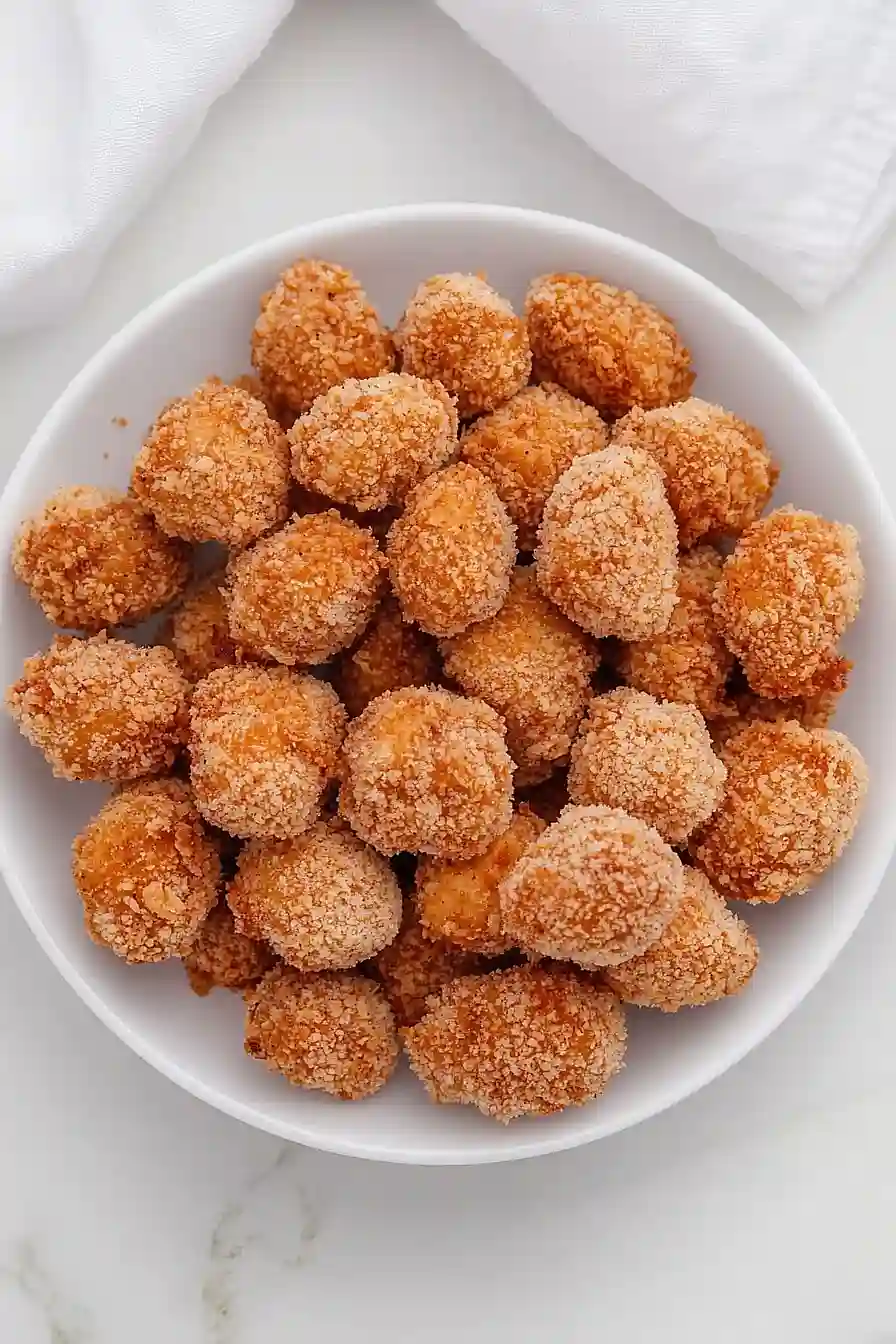
If you ask me, fried chicken bites are pure comfort food magic.
These crispy, golden pieces make the perfect appetizer or main dish that both kids and adults go crazy for. Tender chicken gets coated in a seasoned flour mixture and fried until perfectly crunchy on the outside.
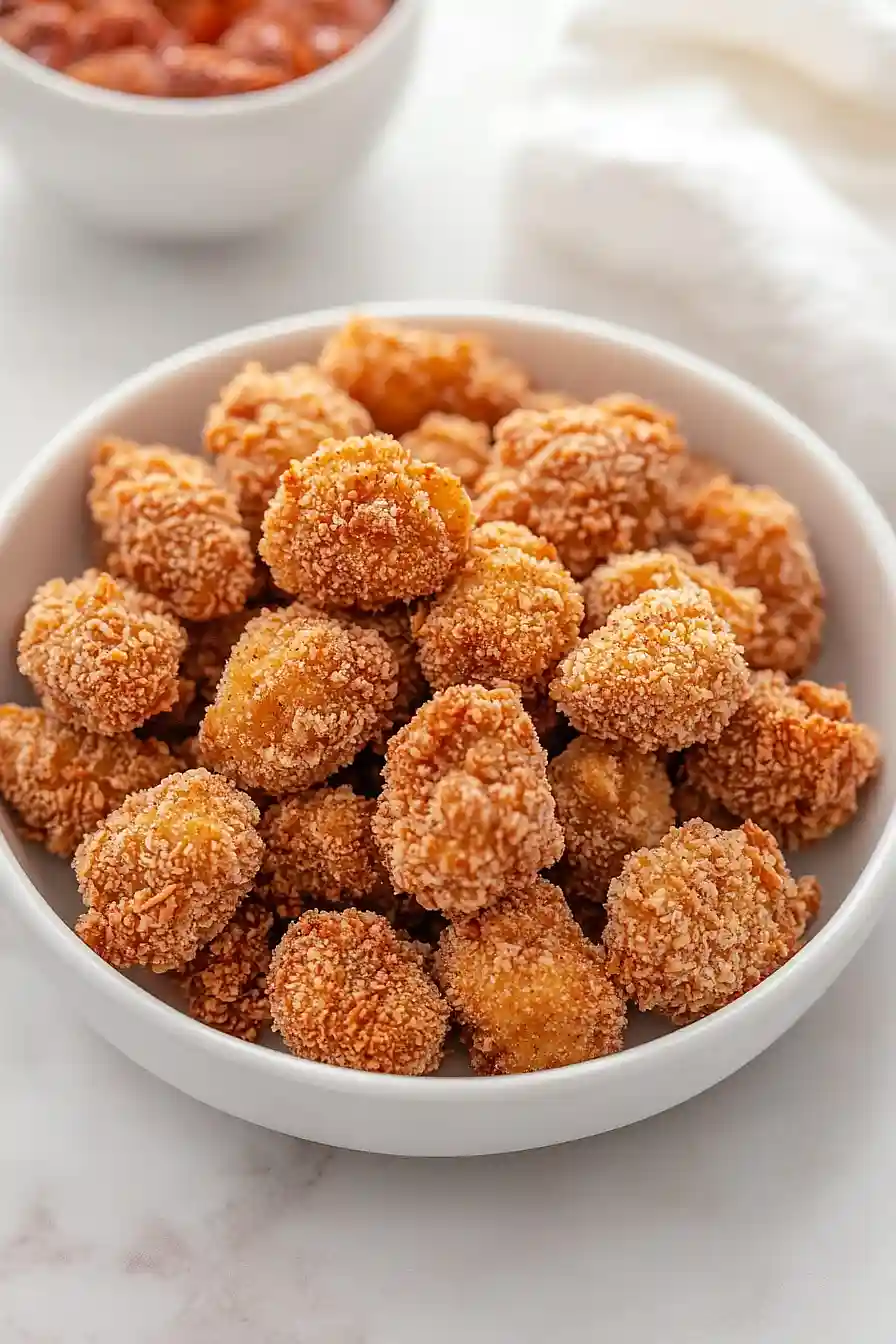
They’re bite-sized and easy to eat, making them ideal for game day parties or weeknight dinners when you want something fun. A simple dipping sauce or just a squeeze of lemon helps bring out all the flavors.
It’s a crowd-pleasing dish that disappears fast, perfect for when you want to make everyone at the table happy.
Why You’ll Love These Fried Chicken Bites
- Perfect bite-sized portions – These little chicken pieces are ideal for snacking, parties, or when you want all the flavor of fried chicken without the mess of eating a whole piece.
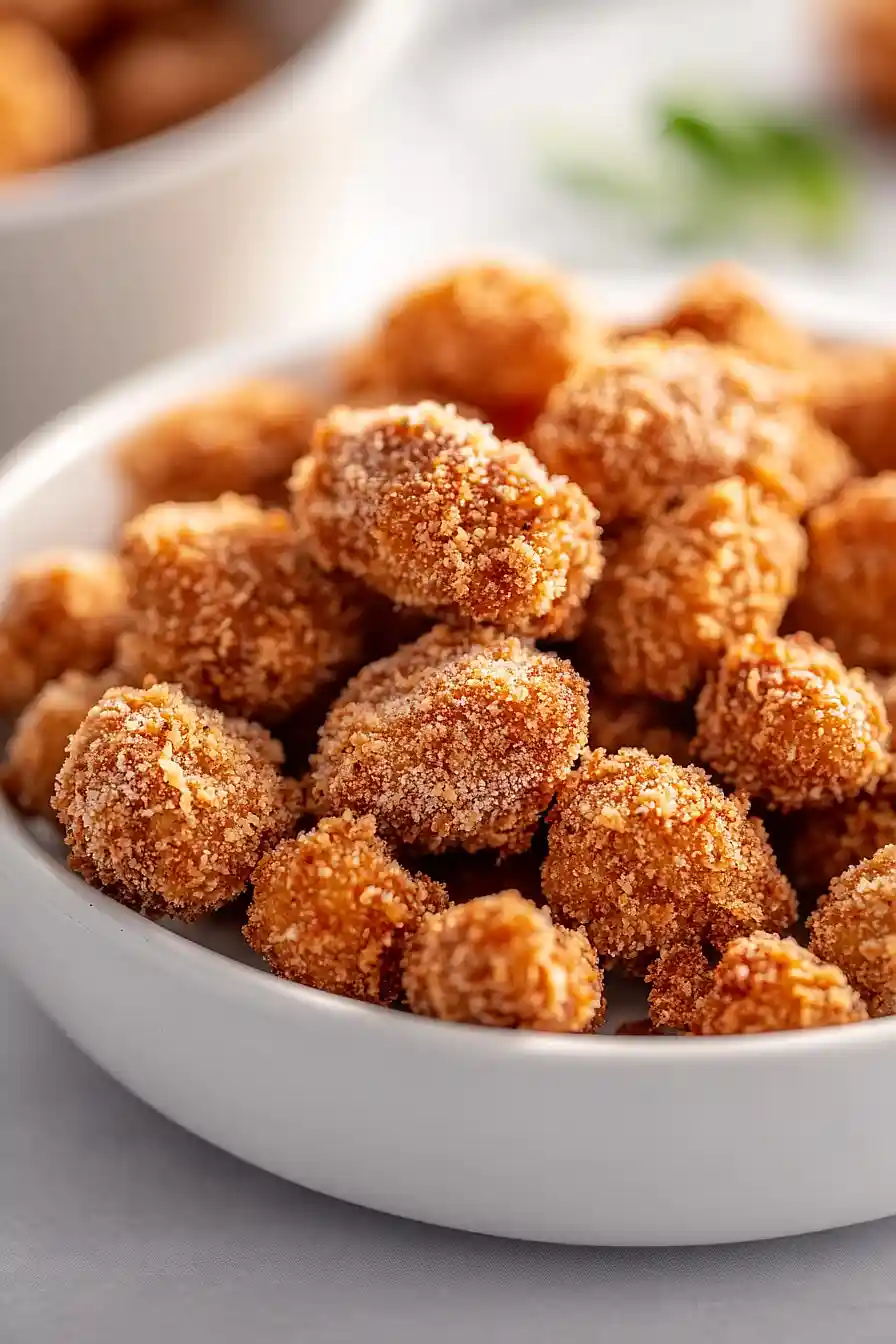
- Extra crispy coating – The combination of seasoned flour and panko breadcrumbs creates an incredibly crunchy exterior that stays crispy even after cooling.
- Tender, juicy chicken – The buttermilk marinade keeps the chicken moist and flavorful, while the small pieces cook quickly and evenly for the perfect texture every time.
- Kid-friendly favorite – These are basically homemade chicken nuggets that taste way better than anything from a drive-thru, and kids absolutely love them.
- Great for meal prep – You can make a big batch and reheat them throughout the week for quick lunches, snacks, or easy dinners.
What Kind of Chicken Should I Use?
Boneless chicken breast is the go-to choice for these crispy bites since it’s easy to cut into uniform pieces and cooks quickly. You can also use boneless chicken thighs if you prefer a juicier, more flavorful result – just trim off any excess fat before cutting. When shopping, look for chicken that feels firm to the touch and has a fresh smell. For the best texture, try to cut your chicken pieces to a similar size so they cook evenly, and don’t worry if they’re not perfect cubes – slightly irregular shapes actually help the coating stick better.
Options for Substitutions
This crispy chicken bites recipe is pretty forgiving when it comes to swaps:
- Boneless chicken breast: Chicken thighs work great here and actually stay juicier than breast meat. You can also use chicken tenders cut into smaller pieces – just adjust cooking time since they’re already more tender.
- Buttermilk: No buttermilk? Mix 1 cup regular milk with 1 tablespoon lemon juice or white vinegar and let it sit for 5 minutes. Plain yogurt thinned with a little milk also works well.
- All-purpose flour: For gluten-free options, use a 1:1 gluten-free flour blend. Regular flour can also be swapped with cornstarch for extra crispiness, though you’ll need about ½ cup instead of ¾ cup.
- Panko breadcrumbs: Regular breadcrumbs work fine, though panko gives better crunch. You can also crush up cornflakes or crackers for a different texture. For gluten-free, make sure your breadcrumbs are certified gluten-free.
- Spice blend: Feel free to mix up the seasonings based on what you have. Cayenne pepper adds heat, while herbs like dried thyme or oregano give a different flavor profile.
Watch Out for These Mistakes While Cooking
The biggest mistake when making fried chicken bites is not maintaining the right oil temperature – if it’s too low, your chicken will absorb too much oil and become greasy, while too high heat will burn the coating before the chicken cooks through, so aim for 350°F and use a thermometer to stay consistent.
Another common error is skipping the buttermilk marinating step or rushing it, as letting the chicken sit in buttermilk for at least 30 minutes (or up to 4 hours) helps tenderize the meat and creates better coating adhesion.
Don’t overcrowd your pan when frying, which drops the oil temperature and leads to uneven cooking – work in small batches and give each piece enough space to cook properly.
Finally, resist the urge to flip the chicken too early or too often, as this can cause the coating to fall off; instead, let each side cook undisturbed for 3-4 minutes until golden brown before turning once.
What to Serve With Fried Chicken Bites?
These crispy chicken bites are perfect for dipping, so I always set out a variety of sauces like honey mustard, ranch, buffalo sauce, or even a spicy mayo. They make a great appetizer for parties, but you can easily turn them into a full meal by serving them over a bed of mixed greens or alongside some creamy coleslaw and biscuits. For a fun twist, try tossing them in your favorite wing sauce and serving with celery sticks and blue cheese dressing. These bites also work wonderfully as a protein topping for salads or stuffed into warm pita pockets with some fresh veggies.
Storage Instructions
Keep Fresh: Store your leftover fried chicken bites in the refrigerator in an airtight container for up to 3 days. They’ll lose some of their crispiness, but they’re still delicious cold or at room temperature. I like to toss them on top of a salad or eat them as a quick snack.
Freeze: These chicken bites freeze really well for up to 3 months. Let them cool completely first, then spread them on a baking sheet to freeze individually before transferring to a freezer bag. This way they won’t stick together and you can grab just what you need.
Reheat: To get that crispy texture back, reheat them in a 375°F oven for about 8-10 minutes, or pop them in an air fryer at 350°F for 3-4 minutes. Skip the microwave if you can – it’ll make them soggy instead of crispy.
| Preparation Time | 30-1440 minutes |
| Cooking Time | 20-30 minutes |
| Total Time | 50-1470 minutes |
| Level of Difficulty | Medium |
Estimated Nutrition
Estimated nutrition for the whole recipe (without optional ingredients):
- Calories: 1900-2100
- Protein: 95-115 g
- Fat: 55-75 g
- Carbohydrates: 230-250 g
Ingredients
For the marinade:
- 1 cup buttermilk
- 1 tsp sea salt
- 1 lb boneless chicken breast (cut into 1-inch pieces)
For the flour coating:
- 1 1/2 tsp baking powder
- 3/4 cup all-purpose flour (I always use King Arthur all-purpose flour)
- 1 tsp garlic powder
- 1 tsp ground black pepper (freshly ground preferred for more flavor)
- 1 tsp salt
- 1 tsp sweet paprika (adds a beautiful color and mild flavor)
- 1 tsp onion powder
For the breading and frying:
- Cooking oil (like canola or vegetable, for deep frying)
- 2 cups panko (for an extra crispy coating)
Step 1: Marinate the Chicken
- 1 lb boneless chicken breast, cut into 1-inch pieces
- 1 cup buttermilk
- 1 tsp sea salt
In a large bowl, combine the chicken pieces, buttermilk, and sea salt.
Mix well so that all the chicken is coated, then cover and let the chicken marinate for at least 30 minutes at room temperature, or up to 24 hours in the fridge for deeper flavor and extra tenderness.
Step 2: Prepare the Breading Stations
- 3/4 cup all-purpose flour (may use gluten-free)
- 1 1/2 tsp baking powder
- 1 tsp garlic powder
- 1 tsp onion powder
- 1 tsp sweet paprika
- 1 tsp salt
- 1 tsp ground black pepper
- 2 cups panko or breadcrumbs (gluten-free if desired)
In one shallow bowl, whisk together the all-purpose flour, baking powder, garlic powder, onion powder, sweet paprika, 1 tsp salt, and 1 tsp ground black pepper until evenly combined.
In a separate shallow bowl, add the panko or breadcrumbs.
Setting up these two bowls side by side creates an easy dipping station for coating the chicken.
Step 3: Bread the Chicken
- marinated chicken from Step 1
- flour mixture from Step 2
- panko or breadcrumbs from Step 2
- remaining buttermilk from Step 1
Using a slotted spoon, remove some marinated chicken pieces from the buttermilk (from Step 1), allowing excess buttermilk to drip back into the bowl.
Dredge the pieces in the seasoned flour mixture (from Step 2), making sure they are well coated.
Next, dip each floured piece back into the buttermilk, then transfer it to the bowl of panko or breadcrumbs and coat fully.
Place each breaded piece on a baking sheet.
Repeat this process with all remaining chicken.
Once all the chicken is breaded, refrigerate the pieces for 15 minutes to help the breading set and stick better during frying.
I always find this short chill in the fridge gives an extra-crispy finish!
Step 4: Fry the Popcorn Chicken
- breaded chicken from Step 3
- cooking oil, for frying
Pour about 1 ½ inches of cooking oil into a high-sided skillet and heat it over medium heat to 350°F (use an oil thermometer for accuracy).
Carefully add several pieces of breaded chicken (from Step 3) to the hot oil, making sure not to overcrowd the pan.
Fry the chicken for 3-4 minutes on each side, or until golden brown and crispy.
Remove the cooked chicken with a dry slotted spoon and place it on a plate lined with paper towels to drain excess oil.
Allow the oil to return to temperature between batches, and continue frying until all the chicken is done.
For extra flavor, I like to add a light sprinkle of sea salt to the hot chicken as soon as it comes out of the oil.
