Finding a cookie recipe that feels special but doesn’t require hours in the kitchen can be tough. Most fancy cookies demand multiple steps, specialty ingredients, or decorating skills that leave you feeling more stressed than satisfied, and let’s be honest—who has time for that on a regular Tuesday?
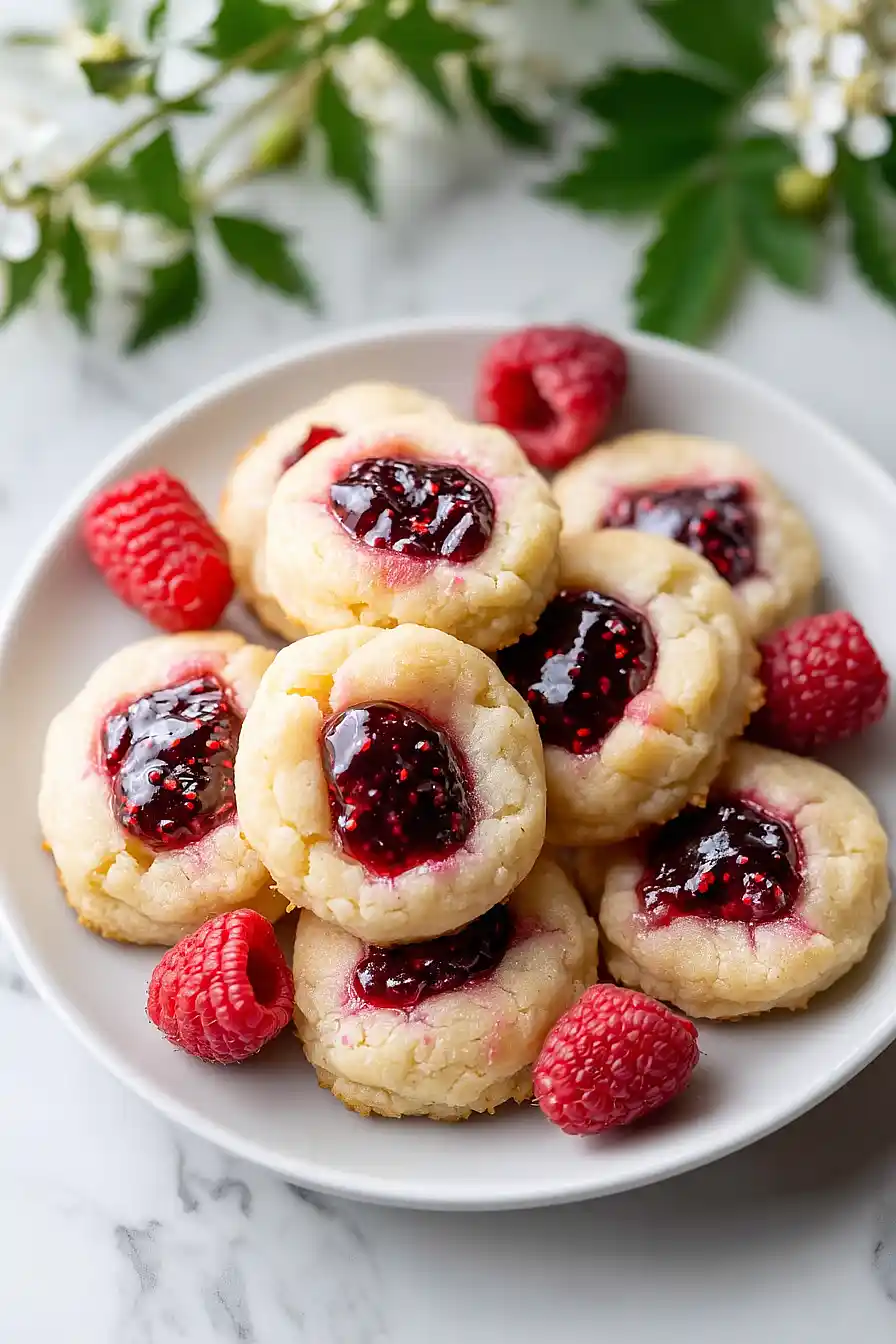
That’s where these cream cheese thumbprint cookies come in. They’ve got that bakery-quality look and taste with their tender, melt-in-your-mouth texture and jewel-like center of jam, but they come together with just five simple ingredients and minimal fuss.
Why You’ll Love These Cream Cheese Thumbprint Cookies
- Quick and easy – These cookies come together in under an hour, making them perfect for last-minute gatherings or when you need a sweet treat fast.
- Simple ingredients – You only need five basic ingredients that you probably already have in your kitchen, with no fancy equipment required.
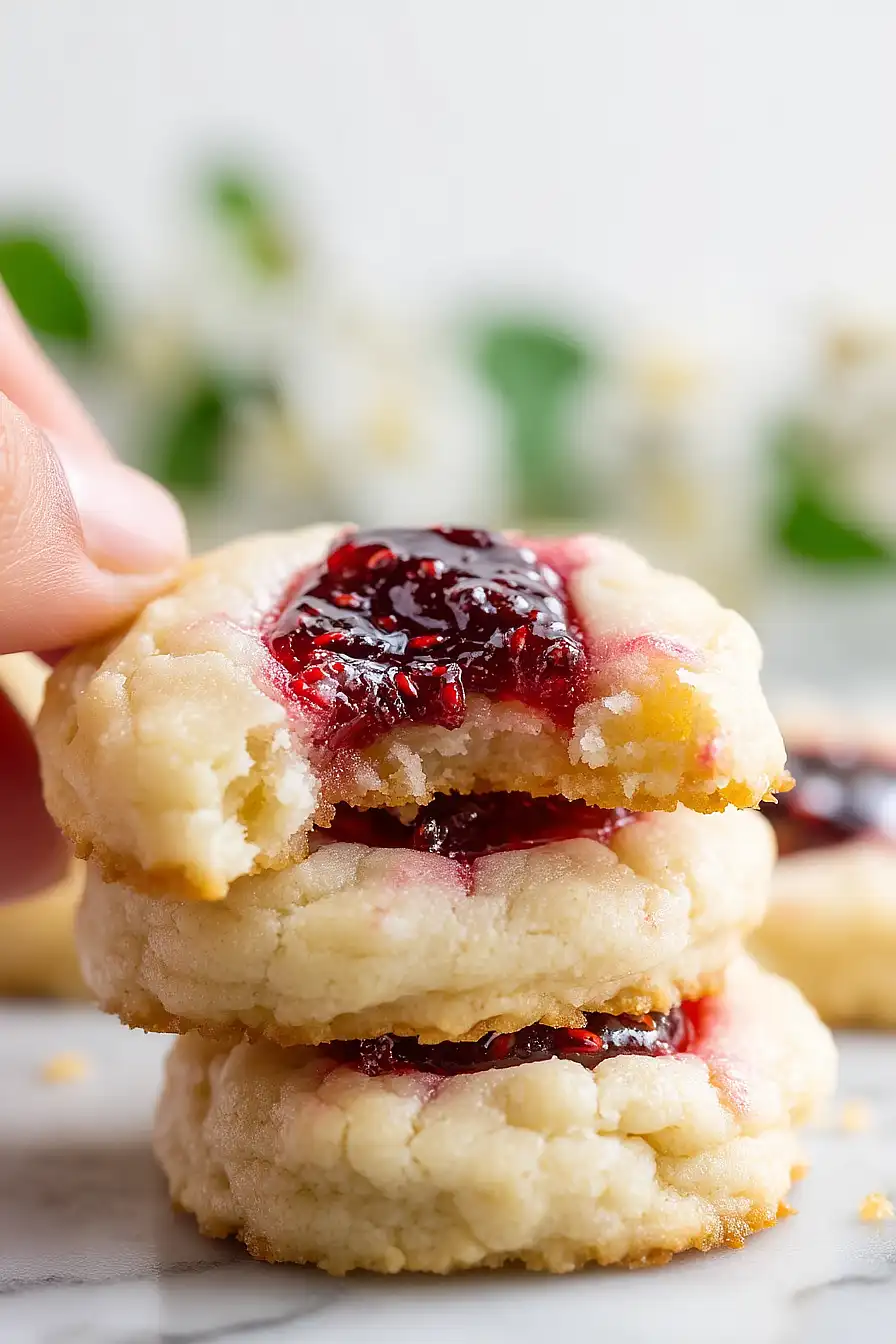
- Soft, tender texture – The cream cheese makes these cookies incredibly soft and melt-in-your-mouth delicious, setting them apart from regular thumbprint cookies.
- Customizable flavors – While I use raspberry preserves, you can swap in any jam or preserve you like to match your taste or what you have on hand.
- Perfect for any occasion – These cookies look fancy enough for holiday cookie trays but are easy enough to make for a casual weeknight dessert.
What Kind of Cream Cheese Should I Use?
For thumbprint cookies, regular full-fat cream cheese is your best bet – the kind that comes in the rectangular foil-wrapped block. Make sure it’s really softened to room temperature before you start, otherwise you’ll end up with lumps in your dough that are tough to work out. Avoid using whipped cream cheese or the spreadable kind that comes in a tub, as those have different consistencies and won’t give you the same results. If you’re in a pinch and your cream cheese is still cold, you can cut it into small cubes and let it sit on the counter for about 30 minutes to speed things up.
Options for Substitutions
These cookies are pretty straightforward, but here are a few swaps you can make if needed:
- Cream cheese: The cream cheese is what makes these cookies tender and rich, so I wouldn’t recommend substituting it. Make sure it’s fully softened to room temperature so it mixes smoothly with the butter.
- Salted butter: If you only have unsalted butter, just add a pinch of salt (about 1/4 teaspoon) to the dough. Either way works fine.
- Raspberry preserves: This is where you can get creative! Try strawberry, apricot, blueberry, or even lemon curd. You can also use Nutella or caramel sauce for a different flavor profile.
- All-purpose flour: Stick with regular all-purpose flour for this recipe. Other flours like whole wheat or almond flour will change the texture too much and won’t give you that classic thumbprint cookie consistency.
Watch Out for These Mistakes While Baking
The biggest mistake with thumbprint cookies is not chilling the dough before baking, which causes the cookies to spread too much and lose their shape – pop the dough in the fridge for at least 30 minutes to keep those indentations nice and deep.
Another common error is making the thumbprint too shallow or waiting until after baking to add it, so press firmly into each dough ball before they go in the oven to create a well that’s deep enough to hold the jam.
To prevent your preserves from burning or bubbling over, wait until the cookies have baked for about 8-10 minutes before adding the jam, then return them to the oven to finish baking.
Finally, make sure your butter and cream cheese are truly at room temperature and not melted – they should be soft enough to blend easily but still hold their shape, which creates the perfect tender, melt-in-your-mouth texture.
What to Serve With Cream Cheese Thumbprint Cookies?
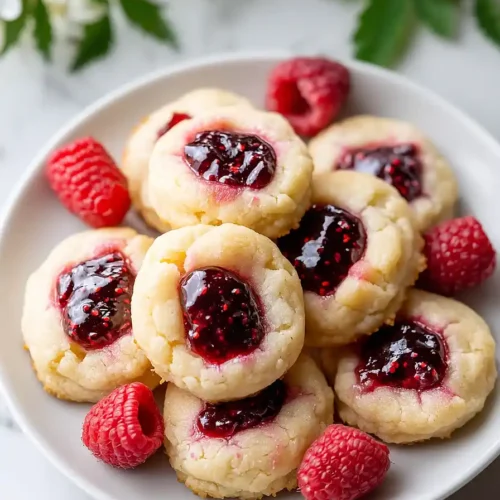
These cookies are perfect for serving at holiday gatherings, cookie exchanges, or afternoon tea parties with friends and family. They pair beautifully with a hot cup of coffee or tea, and the cream cheese makes them rich enough that you don’t need much else alongside them. If you’re putting together a cookie platter, these look great next to chocolate chip cookies, snickerdoodles, or shortbread for variety. For a fancier presentation, serve them on a pretty plate with fresh berries scattered around, or dust them lightly with powdered sugar right before serving.
Storage Instructions
Store: Keep your thumbprint cookies in an airtight container at room temperature for up to 5 days. Just make sure the jam filling is completely set before stacking them, or use parchment paper between layers to keep them from sticking together.
Freeze: These cookies freeze really well for up to 3 months. You can freeze them before or after adding the jam filling. If freezing with the jam, let them thaw at room temperature so the preserves don’t get too runny.
Make Ahead: The dough can be made a day or two in advance and kept wrapped tightly in the fridge. Let it sit at room temperature for about 10 minutes before rolling into balls so it’s easier to work with.
| Preparation Time | 30-40 minutes |
| Cooking Time | 10-15 minutes |
| Total Time | 40-55 minutes |
| Level of Difficulty | Medium |
| Servings | 24 cookies |
Estimated Nutrition
Estimated nutrition for the whole recipe (without optional ingredients):
- Calories: 1400-1550
- Protein: 13-16 g
- Fat: 92-102 g
- Carbohydrates: 155-170 g
Ingredients
- 1 cup plus 3 tbsp flour (I use King Arthur all-purpose flour)
- 1/2 cup plus 3 tbsp sugar
- 1/4 cup raspberry preserves (or your favorite jam)
- 4 oz cream cheese (softened to room temperature)
- 8 tbsp salted butter (softened)
Step 1: Cream the Butter and Cheese for a Fluffy Base
- 4 oz cream cheese
- 8 tbsp salted butter
In a medium bowl, combine the softened cream cheese and softened butter.
Using an electric mixer on medium speed, beat for 2-3 minutes until the mixture is light, fluffy, and pale in color.
This creaming process incorporates air into the dough, which creates a tender cookie with a delicate crumb.
Make sure both ingredients are truly softened to room temperature before starting—cold butter will be difficult to blend smoothly.
Step 2: Add Sugar and Develop the Sweet Base
- 1/2 cup plus 3 tbsp sugar
- creamed butter and cream cheese mixture from Step 1
Add the sugar to the creamed butter and cream cheese mixture, and beat on medium speed for another 1-2 minutes until well combined and the mixture looks slightly grainy and lighter.
This step dissolves the sugar and incorporates more air, which contributes to the cookies’ tender texture.
Step 3: Incorporate Flour and Form the Dough
- 1 cup plus 3 tbsp flour
- sugar and butter mixture from Step 2
Add the flour slowly to the sugar mixture, beating on low speed until just combined.
Stop mixing as soon as you don’t see streaks of flour—overworking the dough at this stage will make the cookies tough instead of tender.
I like to add the flour in two additions, mixing until just combined after each, which gives me better control and ensures an even texture throughout the dough.
Step 4: Chill the Dough for Easier Handling
- dough from Step 3
Transfer the dough to plastic wrap or a container and refrigerate for at least 45 minutes, up to 2 hours.
While you wait, preheat your oven to 375°F and line a baking sheet with parchment paper.
Chilled dough is much easier to roll into uniform balls and will hold its shape better when you press the thumbprints.
Step 5: Shape, Fill, and Bake the Cookies
- chilled dough from Step 4
- 1/4 cup raspberry preserves
Working with the chilled dough, scoop about 1 tablespoon of dough at a time and roll between your palms into smooth balls.
Place them on the prepared baking sheet, spacing them about 1 inch apart.
Using your thumb, gently press a small indent into the center of each ball, then fill each indent with about 1/2 teaspoon of raspberry preserves.
Bake for 11-12 minutes until the edges are just golden brown but the centers still look slightly underbaked—they’ll continue to cook as they cool.
Step 6: Cool and Set the Cookies
Remove the baking sheet from the oven and let the cookies rest on the hot sheet for 10 minutes—this allows them to set slightly and develop their structure without drying out.
Transfer them to a wire cooling rack to cool completely.
I find that letting them cool on the sheet first prevents the jam from running too much while they’re still very hot, which keeps those pretty thumbprint indents looking defined.
Jammy Cream Cheese Thumbprint Cookies
Ingredients
- 1 cup plus 3 tbsp flour (I use King Arthur all-purpose flour)
- 1/2 cup plus 3 tbsp sugar
- 1/4 cup raspberry preserves (or your favorite jam)
- 4 oz cream cheese (softened to room temperature)
- 8 tbsp salted butter (softened)
Instructions
- In a medium bowl, combine the softened cream cheese and softened butter. Using an electric mixer on medium speed, beat for 2-3 minutes until the mixture is light, fluffy, and pale in color. This creaming process incorporates air into the dough, which creates a tender cookie with a delicate crumb. Make sure both ingredients are truly softened to room temperature before starting—cold butter will be difficult to blend smoothly.
- Add the sugar to the creamed butter and cream cheese mixture, and beat on medium speed for another 1-2 minutes until well combined and the mixture looks slightly grainy and lighter. This step dissolves the sugar and incorporates more air, which contributes to the cookies' tender texture.
- Add the flour slowly to the sugar mixture, beating on low speed until just combined. Stop mixing as soon as you don't see streaks of flour—overworking the dough at this stage will make the cookies tough instead of tender. I like to add the flour in two additions, mixing until just combined after each, which gives me better control and ensures an even texture throughout the dough.
- Transfer the dough to plastic wrap or a container and refrigerate for at least 45 minutes, up to 2 hours. While you wait, preheat your oven to 375°F and line a baking sheet with parchment paper. Chilled dough is much easier to roll into uniform balls and will hold its shape better when you press the thumbprints.
- Working with the chilled dough, scoop about 1 tablespoon of dough at a time and roll between your palms into smooth balls. Place them on the prepared baking sheet, spacing them about 1 inch apart. Using your thumb, gently press a small indent into the center of each ball, then fill each indent with about 1/2 teaspoon of raspberry preserves. Bake for 11-12 minutes until the edges are just golden brown but the centers still look slightly underbaked—they'll continue to cook as they cool.
- Remove the baking sheet from the oven and let the cookies rest on the hot sheet for 10 minutes—this allows them to set slightly and develop their structure without drying out. Transfer them to a wire cooling rack to cool completely. I find that letting them cool on the sheet first prevents the jam from running too much while they're still very hot, which keeps those pretty thumbprint indents looking defined.
