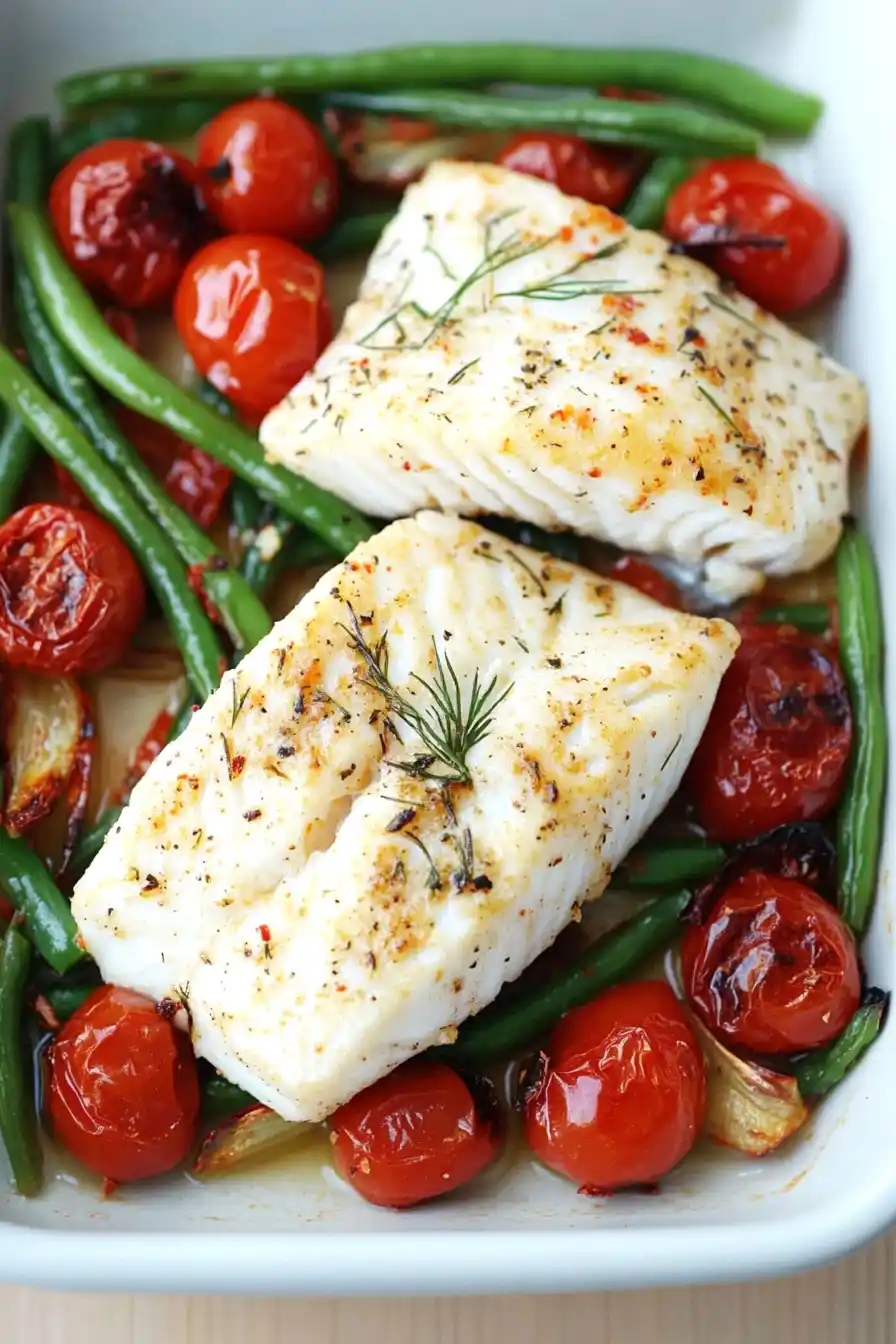
Growing up, fish was always a mystery in our house. My mom would buy frozen fillets and bake them until they were dry as cardboard. I remember drowning those pieces in tartar sauce just to get them down. It wasn’t until I started cooking for my own family that I realized fish, especially halibut, doesn’t have to be a dinner disappointment.
That’s because the secret to good fish isn’t complicated at all—it’s just about timing and temperature. This baked halibut with vegetables is pretty much impossible to mess up, even if you’re not confident in the kitchen. With just a few basic ingredients and a sheet pan, you’ll have a dinner that even former fish-haters will enjoy.
Why You’ll Love This Baked Halibut
- Quick and healthy dinner – Ready in just 30-40 minutes, this lean protein-packed meal fits perfectly into your healthy eating goals without sacrificing time.
- One-pan convenience – Everything cooks together on a single sheet pan, meaning less cleanup and more time to enjoy your evening.
- Mediterranean flavors – The combination of fresh lemon, herbs, and olive oil creates a light yet satisfying dish that tastes like something from a seaside restaurant.
- Nutritious ingredients – With fresh vegetables, heart-healthy fish, and olive oil, this recipe checks all the boxes for a well-balanced, nutrient-rich meal.
- Customizable – You can easily swap in different seasonal vegetables or adjust the seasonings to match your taste preferences.
What Kind of Halibut Should I Use?
For this baked dish, you’ll want to look for fresh Pacific halibut fillets, though frozen will work just fine if that’s what’s available at your market. Pacific halibut tends to be meatier and more flavorful than Atlantic halibut, and you’ll want to choose pieces that are firm and translucent with no brown spots or strong fishy smell. When buying your fillets, aim for pieces that are similar in thickness (about 1 to 1½ inches) so they cook evenly. If you’re working with frozen halibut, make sure to thaw it completely in the refrigerator overnight and pat it dry with paper towels before cooking to get the best results.
Options for Substitutions
This fish dish is pretty adaptable – here are some handy swaps you can try:
- Halibut: Since halibut can be expensive or hard to find, you can use other firm white fish like cod, haddock, or sea bass. Just watch the cooking time – thinner fillets will cook faster than halibut.
- Fresh green beans: No fresh green beans? Try asparagus spears, broccoli florets, or even sugar snap peas. If using frozen green beans, thaw and pat them dry first to prevent excess water in the dish.
- Cherry tomatoes: Regular tomatoes cut into chunks work fine – just remove some of the seeds to prevent the dish from getting too watery. You can also use grape tomatoes or even sun-dried tomatoes for a more intense flavor.
- Fresh dill: If you’re using dried dill instead of fresh, use about 2/3 teaspoon since dried herbs are more concentrated. Fresh basil or parsley can also work well here.
- Lemon: No fresh lemons? Use 3 tablespoons of bottled lemon juice, though you’ll miss out on the zest. In that case, add an extra pinch of dried herbs to make up for the missing citrus notes.
Watch Out for These Mistakes While Baking
The biggest mistake when cooking halibut is overcooking, which can turn this delicate fish dry and rubbery – aim for an internal temperature of 135°F, as the fish will continue cooking even after you remove it from the oven. Another common error is not patting the fish dry before seasoning, which prevents proper browning and can make the fish steam instead of bake – take a minute to thoroughly dry the fillets with paper towels. The vegetables need enough space to roast properly, so avoid overcrowding the pan, which can lead to steaming instead of the desired caramelization – use two baking sheets if needed. For the best results, arrange the fish on top of the partially cooked vegetables during the last 10-12 minutes of cooking time, ensuring everything finishes at the same moment.
What to Serve With Baked Halibut?
Since this baked halibut already comes with green beans and tomatoes, you’ll want to focus on some simple sides that complement without overwhelming the delicate fish. A scoop of fluffy rice or quinoa makes an excellent base to soak up all those lovely lemony juices from the fish and vegetables. For something a bit more special, try serving it with roasted baby potatoes tossed with butter and fresh herbs, or a light couscous flavored with a touch of lemon zest. If you’re looking to round out the meal even more, a simple mixed green salad dressed with a light vinaigrette would work perfectly here.
Storage Instructions
Keep Fresh: Place any leftover baked halibut and vegetables in an airtight container and pop it in the fridge. The fish will stay good for up to 2 days, though it’s best enjoyed within 24 hours to maintain its texture and flavor. The cooked vegetables can last 3-4 days in the refrigerator.
Make Ahead: You can prep the vegetables and seasonings up to a day in advance – just store them separately in the fridge. I recommend waiting to cook the halibut until you’re ready to serve, as fresh-baked fish always tastes best. You can also squeeze the lemon juice and zest the lemons ahead of time, keeping them in separate containers.
Warm Up: To enjoy your leftovers, gently warm the fish and vegetables in the oven at 275°F for about 10-15 minutes. Try to avoid using the microwave, as it can make the fish rubbery. A quick sprinkle of fresh lemon juice after reheating helps bring back the flavors!
| Preparation Time | 10-15 minutes |
| Cooking Time | 20-25 minutes |
| Total Time | 30-40 minutes |
| Level of Difficulty | Easy |
Estimated Nutrition
Estimated nutrition for the whole recipe (without optional ingredients):
- Calories: 2400-2600
- Protein: 180-200 g
- Fat: 220-240 g
- Carbohydrates: 70-80 g
Ingredients
For the halibut:
- 1 tsp seasoned salt
- 1.5 lb halibut fillet
- 0.5 tsp ground black pepper (freshly ground preferred)
- 2 tsp dill
- 1 tsp dried oregano (crushed for better aroma)
- 0.5 to 0.75 tsp coriander powder
For the vegetables:
- 1 large yellow onion (finely chopped)
- 1 lb green beans (trimmed)
- 1 cup olive oil (I use Colavita extra virgin)
- 1 lb cherry tomatoes (halved if large)
For the topping:
- zest and juice from 2 lemons
- 1.5 tbsp minced garlic (about 4 cloves, freshly minced)
Step 1: Prepare the Oven and Ingredients
Start by preheating your oven to 400°F (200°C).
While the oven is heating, slice the halibut fillet into 1 1/2-inch pieces and set them aside, ready to be seasoned.
Step 2: Season the Halibut
In a large bowl, combine dill weed, dried oregano, ground coriander, seasoned salt, and ground black pepper.
Add the halibut pieces to the bowl and toss them until they are evenly coated with the spice mixture.
Step 3: Prepare the Vegetables
In a separate large baking dish, arrange the fresh green beans, cherry tomatoes, and sliced yellow onion.
Drizzle the vegetables with extra-virgin olive oil and toss them to ensure they are well coated.
Step 4: Assemble the Dish
Take the seasoned halibut pieces and spread them evenly over the prepared vegetables in the baking dish.
In a small bowl, mix the lemon zest and lemon juice together.
Pour this tangy mixture over the halibut and vegetables to enhance the flavors.
Step 5: Bake and Finish
Optional: Season with additional seasoned salt, if desired.
Place the dish in the preheated oven and bake for about 20-25 minutes.
The dish is ready when the halibut is cooked through and flakes easily with a fork.
Once done, remove the dish from the oven and let it rest for a few minutes before serving.
Step 6: Serve and Enjoy
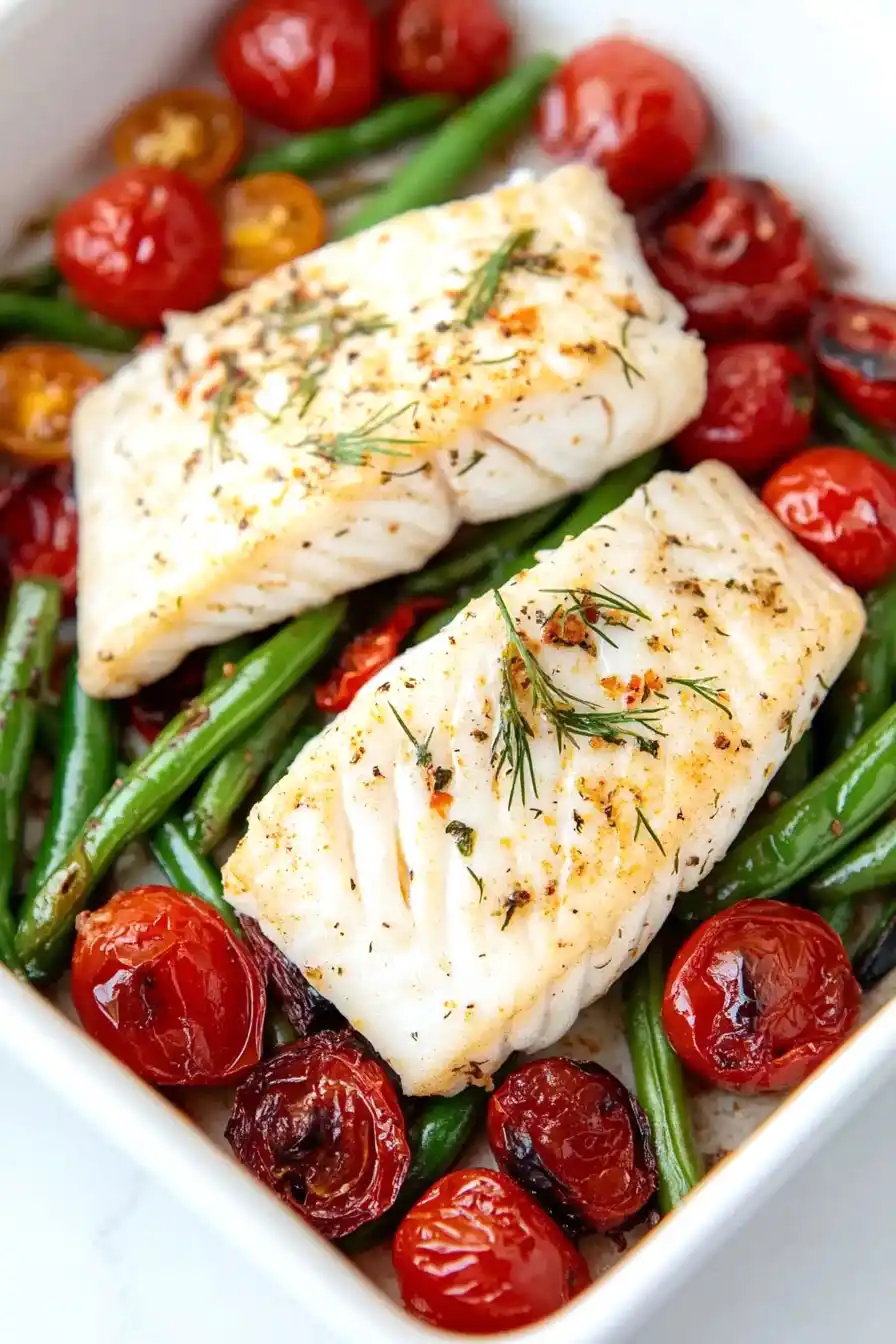
After letting it rest, serve the baked halibut and vegetables warm.
This dish delivers a delightful combination of flavors and textures that will surely please your palate.
