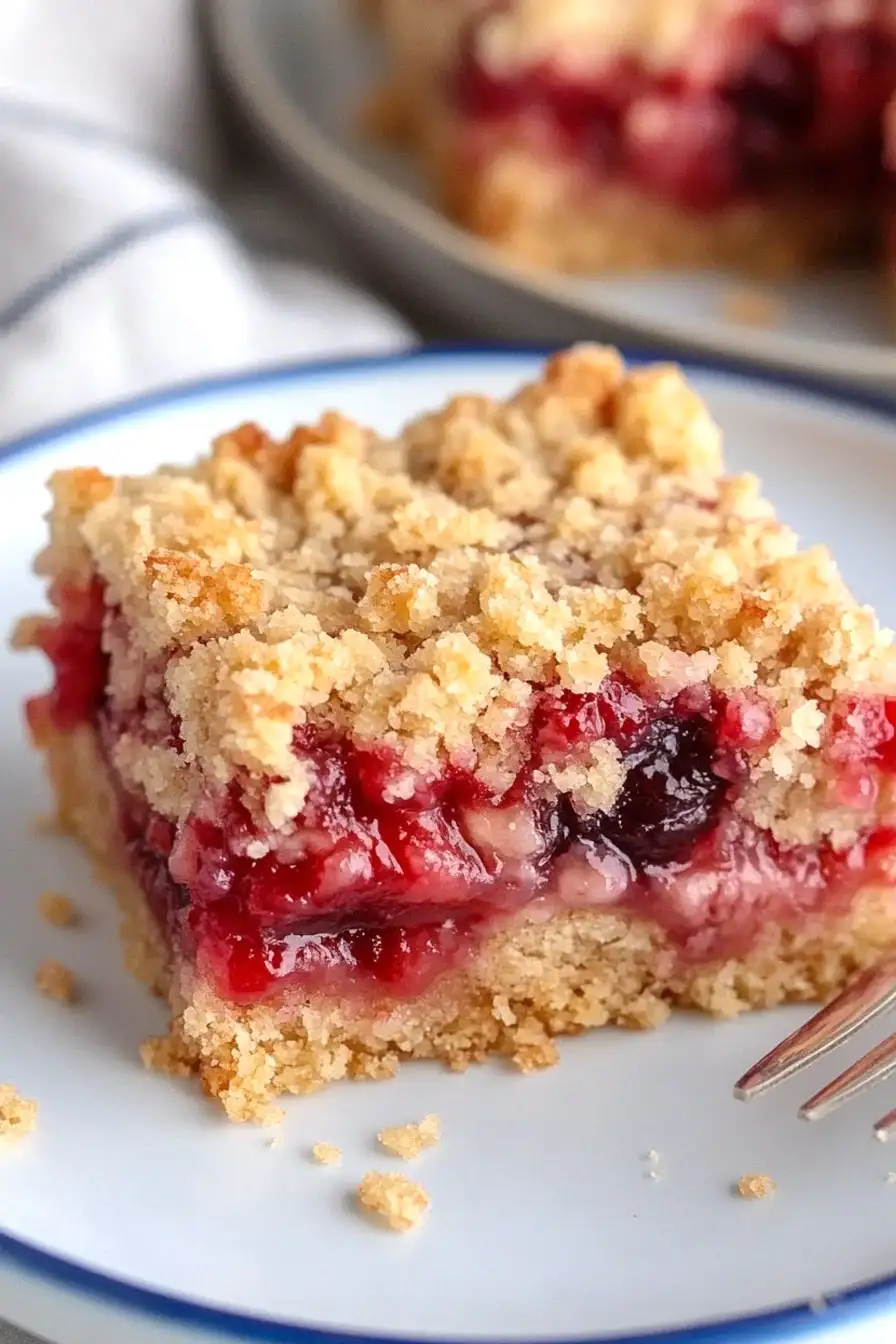
If you ask me, cherry crumble bars made with cake mix are a lazy baker’s dream come true.
These sweet and buttery bars combine the convenience of boxed cake mix with juicy cherries and a golden crumbly topping. The filling gets just the right amount of tang from the fruit, while the crust stays soft and tender.
It’s one of those recipes that comes together in minutes but tastes like you spent hours in the kitchen. A sprinkle of powdered sugar on top is all you need to finish these off.
These bars are perfect for potlucks and bake sales, and they’re so simple that even beginner bakers can nail them on the first try.
Why You’ll Love These Cherry Crumble Bars
- Shortcut baking – Using cake mix as your base means you can skip measuring multiple dry ingredients, making these bars a breeze to throw together.
- Simple ingredients – With just 7 basic ingredients that you can easily find at any grocery store, these bars don’t require any special shopping trips.
- Perfect for beginners – If you’re new to baking, this recipe is foolproof – just mix, layer, and bake. No complicated techniques required!
- Make-ahead friendly – These bars stay fresh for several days and are perfect for potlucks, bake sales, or meal prep when you need a sweet treat ready to go.
What Kind of Cherry Pie Filling Should I Use?
For these crumble bars, you can use any brand of canned cherry pie filling you find at your local grocery store – they’ll all work well in this recipe. The most common type you’ll find is made with tart cherries, which gives a nice balance to the sweet cake mix topping, but sweet cherry pie filling works great too if that’s your preference. If you’re feeling ambitious, you can even make your own filling using fresh or frozen cherries, some sugar, and cornstarch (though the canned version definitely saves time). Just make sure whatever filling you use isn’t too runny, as this could make your bars soggy – if your filling seems very liquid, you might want to cook it down a bit first.
Options for Substitutions
This easy dessert recipe is pretty adaptable – here are some simple swaps you can try:
- Cake mix: While the recipe calls for white or yellow cake mix, you can experiment with vanilla, french vanilla, or even butter cake mix. Just avoid chocolate or strongly flavored varieties that might clash with the cherries.
- Quick oats: Out of quick oats? Old-fashioned oats work too, though they’ll give a slightly chewier texture. You can pulse them briefly in a food processor to make them more like quick oats.
- Cherry pie filling: Feel free to swap in any other pie filling you like – apple, blueberry, or strawberry all work great. You can even use homemade fruit filling if you prefer.
- Pecans: Any nuts will work here – try walnuts, almonds, or even macadamia nuts. If you need to avoid nuts altogether, you can leave them out or replace them with rolled oats for extra crunch.
- Margarine/butter: These can be used interchangeably in this recipe. You could also try coconut oil, though it might slightly change the flavor.
- Brown sugar: White sugar plus a teaspoon of molasses works as a substitute. You can also use coconut sugar, though it might make the topping a bit less crispy.
Watch Out for These Mistakes While Baking
The biggest mistake when making cherry crumble bars is using melted butter instead of softened butter – softened butter creates that perfect crumbly texture, while melted butter can make your bars too dense and hard.
Another common error is not pressing the bottom layer firmly enough into the pan, which can lead to a crumbly mess when cutting – use the back of a measuring cup to really compact that first layer, ensuring clean, neat squares later.
When adding the cherry filling, make sure to spread it evenly but leave a small border around the edges, as the filling can bubble and stick to the pan during baking, making it difficult to remove the bars.
For the perfect topping, avoid overworking the crumble mixture – simply toss the remaining cake mix, oats, and butter together until you see pea-sized crumbs, as overmixing can result in a tough, cookie-like top rather than that desirable crispy crumble.

What to Serve With Cherry Crumble Bars?
These sweet and fruity cherry crumble bars are perfect for serving with a scoop of vanilla ice cream or a dollop of fresh whipped cream – both help balance out the tartness of the cherries. If you’re enjoying these bars for breakfast or brunch, try pairing them with a hot cup of coffee or a cold glass of milk. For an extra special dessert presentation, you can warm the bars slightly and serve them with a drizzle of caramel sauce or a sprinkle of powdered sugar on top. You might also like to add some fresh berries on the side for a pop of color and extra fruity flavor.
Storage Instructions
Keep Fresh: These cherry crumble bars stay good at room temperature for about 2 days when kept in an airtight container. If you want them to last longer, pop them in the fridge where they’ll keep for up to a week. Just place some parchment paper between layers to prevent them from sticking together.
Freeze: These bars are perfect for freezing! Cut them into individual portions, wrap them in plastic wrap, and store them in a freezer-safe container. They’ll stay fresh for up to 3 months. It’s super handy when you want a quick treat or need to make them ahead for an event.
Thaw & Enjoy: When you’re ready to enjoy your frozen bars, just transfer them to the fridge overnight or let them sit at room temperature for about 2 hours. If you like them warm, pop them in the microwave for 15-20 seconds – they taste amazing with a scoop of vanilla ice cream!
| Preparation Time | 15-20 minutes |
| Cooking Time | 30-40 minutes |
| Total Time | 45-60 minutes |
| Level of Difficulty | Easy |
Estimated Nutrition
Estimated nutrition for the whole recipe (without optional ingredients):
- Calories: 2000-2200
- Protein: 25-30 g
- Fat: 90-100 g
- Carbohydrates: 280-300 g
Ingredients
For the cake mix base:
- 1 box yellow cake mix
- 6 tbsp unsalted butter (I use Kerrygold unsalted butter for richer flavor)
- 1 egg
- 1 cup quick oats
For the filling:
- 1 can cherry pie filling (I prefer Duncan Hines Wilderness Cherry Pie Filling)
For the crumb topping:
- 1/2 cup chopped pecans (toasted beforehand for extra depth of flavor)
- 1/4 cup quick oats
- 1/4 cup brown sugar
- 2 tbsp unsalted butter
Step 1: Prepare the Oven and Baking Pan
Preheat your oven to 350°F (175°C).
While the oven is heating, grease and flour a 13×9-inch baking pan to prevent the cake from sticking and ensure easy removal after baking.
Step 2: Combine Ingredients for Crust and Topping
In a mixing bowl, combine the cake mix, 6 tablespoons of butter, and 1 cup of rolled oats.
Mix until the ingredients are well incorporated.
Reserve 1 cup of this mixture to use later as a crumb topping.
Step 3: Make and Press the Crust
To the remaining mixture in the bowl, add an egg and mix well until the dough forms.
Press this mixture evenly into the prepared baking pan to form the crust.
Step 4: Add the Cherry Filling
Pour cherry filling over the crust, spreading it out evenly with a spatula to cover the entire surface of the crust.
This will ensure each piece is filled with delicious cherry flavor.
Step 5: Prepare and Add the Crumb Topping
In a large bowl, combine the reserved 1 cup of crumb mixture with an additional 1/4 cup of oats, 2 tablespoons of butter, nuts, and brown sugar.
Mix these ingredients well until they are crumbly.
Sprinkle this mixture evenly over the cherry filling, creating a delicious crumb topping.
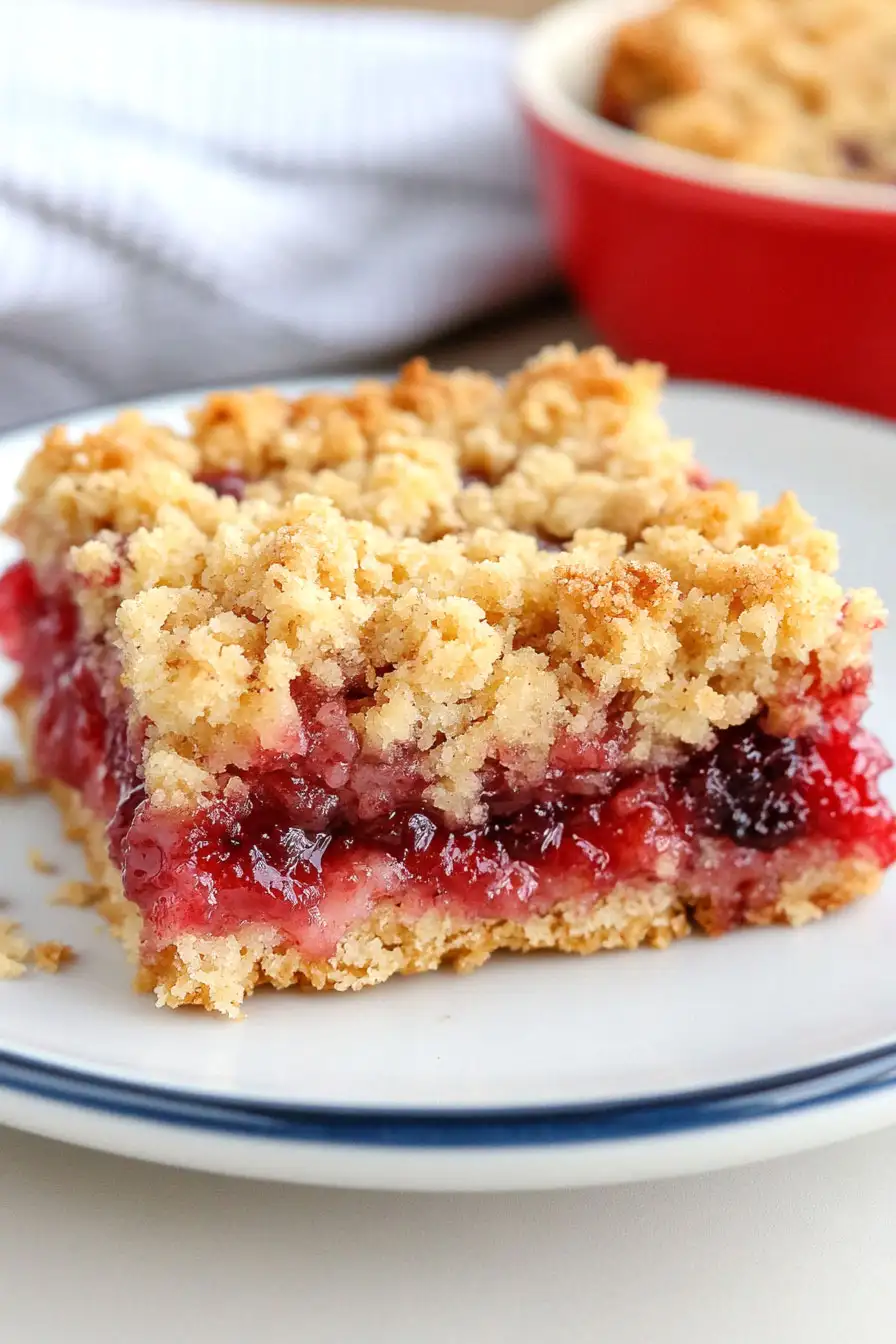
Step 6: Bake and Serve
Place the baking pan in the preheated oven and bake for 30 to 40 minutes, or until the topping turns golden brown and the filling is bubbling.
Once done, remove from the oven and allow it to cool slightly before serving.
Enjoy your delightful cherry dessert warm or at room temperature.
