There’s something nostalgic about cherry pie that always takes me back to summer afternoons in my grandma’s kitchen. But sometimes I don’t want to fuss with traditional pie crust – especially when I’m craving something a bit different. That’s where this graham cracker crust version comes in handy.
I started making this pie years ago when my kids asked for “something different” for our weekend dessert. The sweet, slightly crunchy graham cracker base pairs so perfectly with the tart cherries, it’s become our go-to recipe. Plus, it’s way easier than rolling out pastry dough, which means less time in the kitchen and more time enjoying dessert with family.
Whether you’re looking for a quick dessert for a weeknight dinner or something casual for a backyard get-together, this pie hits all the right notes. And the best part? You probably already have most of the ingredients sitting in your pantry right now.
Why You’ll Love This Cherry Pie
- Time-saving crust option – Using a graham cracker crust (whether store-bought or homemade) cuts down on prep time compared to traditional pie crust, and adds a sweet, crispy texture that everyone loves.
- Simple ingredients – With basic pantry staples and canned filling, you can whip this up without hunting down special ingredients or waiting for cherry season.
- Make-ahead friendly – This pie can be made a day in advance and stored in the fridge, making it perfect for holiday planning or when you’re expecting guests.
- Crowd-pleasing dessert – The combination of sweet cherries, buttery crumb topping, and graham cracker crust makes this a dessert that both kids and adults will reach for.
What Kind of Cherries Should I Use?
While this recipe calls for canned cherry pie filling, you can also make it with fresh or frozen cherries if you’re feeling ambitious. Sweet cherries like Bing or Rainier work great for a traditional sweet pie, while tart cherries like Montmorency give you that classic cherry pie tang that many people love. If you’re using fresh cherries, you’ll need about 4 cups, and don’t forget you’ll have to pit them first (a cherry pitter makes this job much easier). When using frozen cherries, there’s no need to thaw them first – just toss them right in with your other filling ingredients and they’ll cook up perfectly in the oven.
Options for Substitutions
Here are some helpful swaps you can try with this cherry pie recipe:
- Graham cracker crust: If you’re out of graham crackers, try using crushed vanilla wafers, digestive biscuits, or even crushed gingersnaps for a spicier twist. Just use the same amount as you would graham crackers.
- Cherry pie filling: While fresh cherries are best when in season (you’ll need about 6 cups), you can also use frozen cherries – just cook them with 1 cup sugar and 2 tablespoons cornstarch first. Other berry fillings work too, like blueberry or mixed berry.
- Vanilla essence: You can use vanilla extract instead, or try almond extract for a nice complement to the cherry flavor – but use only 1/4 teaspoon as it’s stronger.
- Brown sugar: White sugar works fine here, or try coconut sugar for a different flavor. The measurement stays the same.
- Unsalted butter: If you only have salted butter, that’s okay – just reduce the added salt to 1/4 teaspoon. You can also use margarine or coconut oil in the same amount.
- Cinnamon: Feel free to skip it or try nutmeg or allspice instead – use about half the amount as these spices are stronger.
Watch Out for These Mistakes While Baking
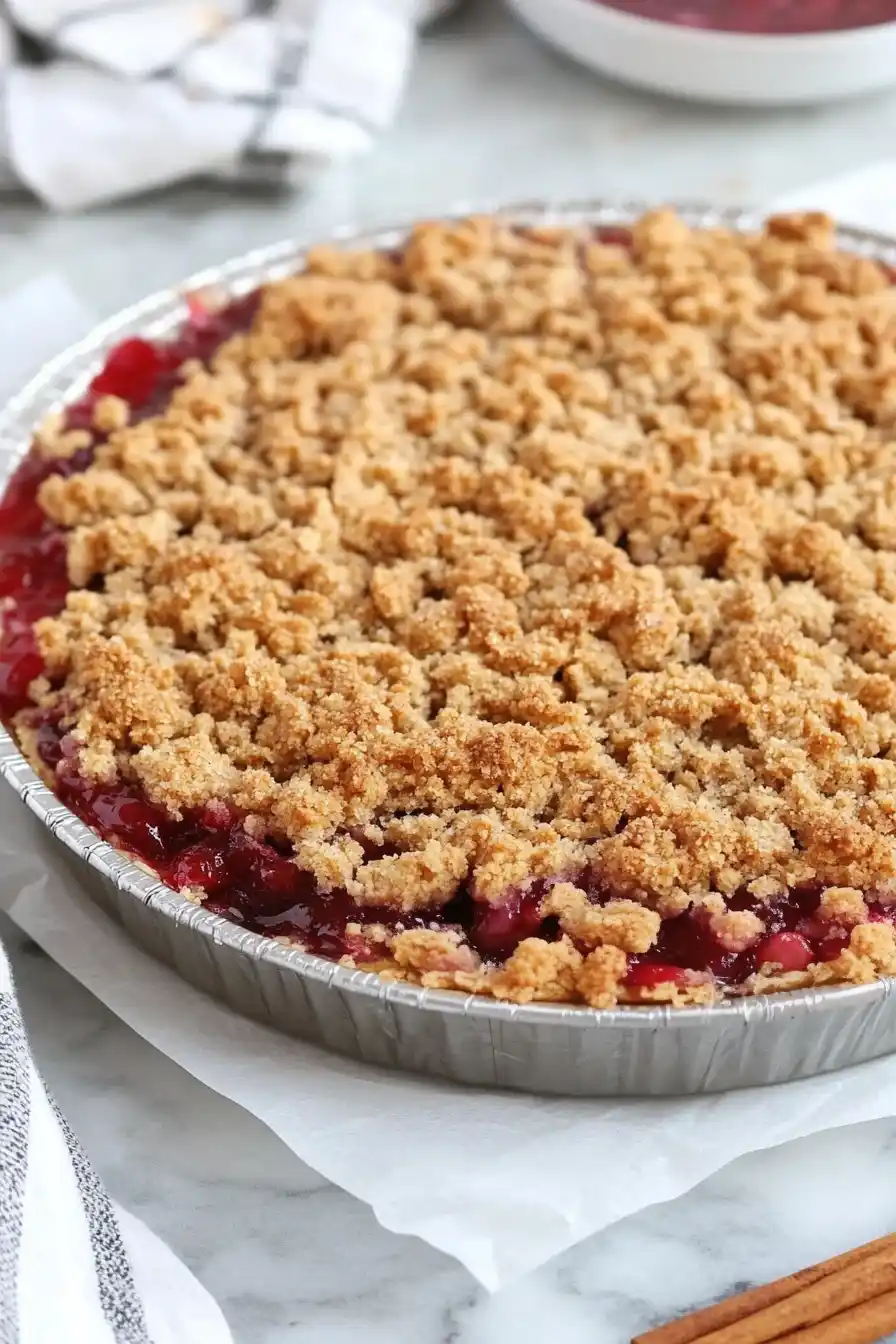
The biggest challenge when making a cherry pie with graham cracker crust is preventing a soggy bottom – you can avoid this by pre-baking your graham cracker crust for 8-10 minutes at 350°F before adding the filling. Another common mistake is overworking the crumb topping mixture – for the best texture, use your fingertips to gently combine the butter with dry ingredients just until coarse crumbs form, as overmixing will create a dense, hard topping. When adding the cherry filling, make sure to drain off any excess liquid from the canned cherries and stir in the vanilla essence thoroughly – this prevents a runny pie that won’t set properly. For perfect slicing, let the pie cool completely for at least 3 hours before cutting, as the filling needs time to set and thicken to the right consistency.
What to Serve With Cherry Pie?
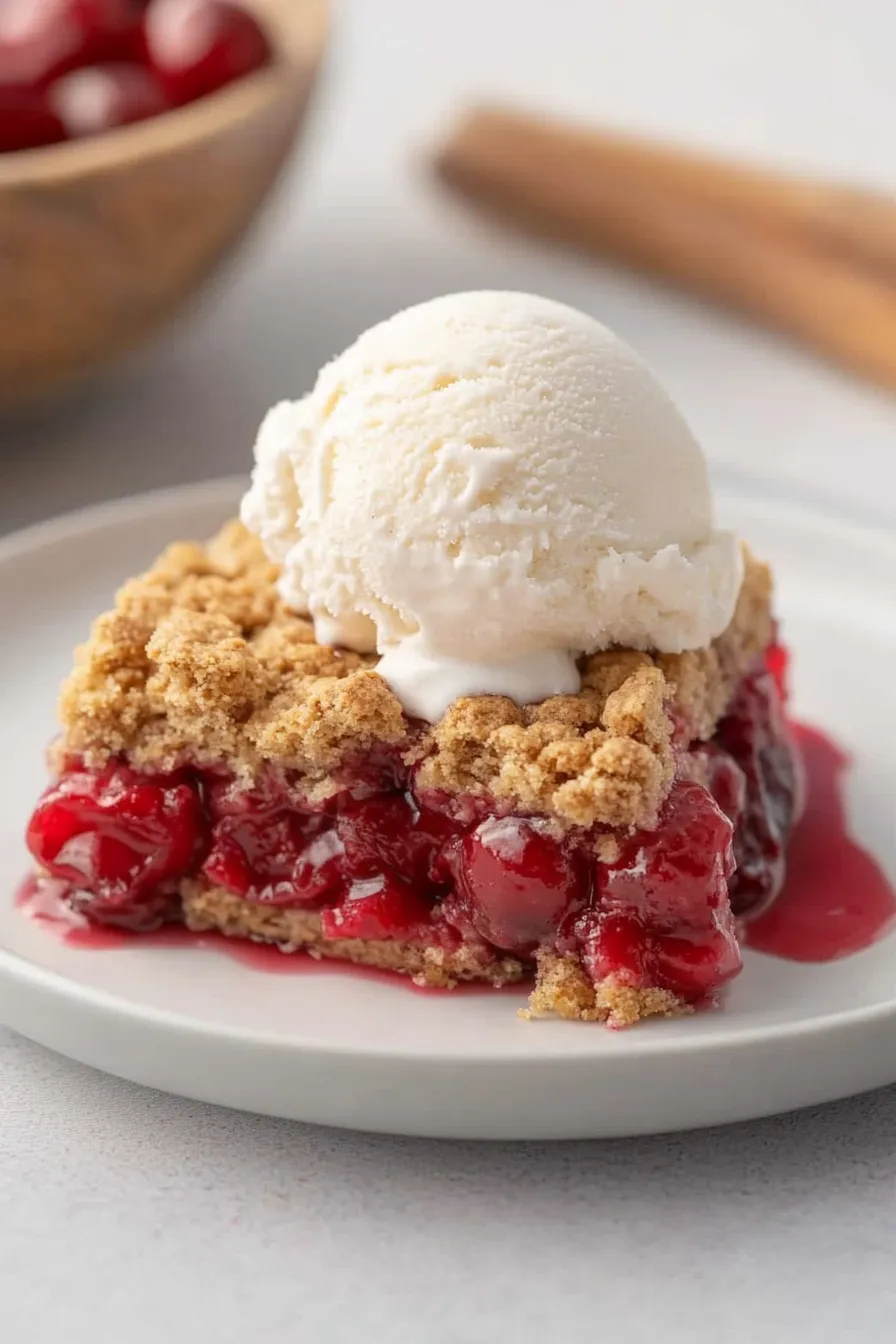
Cherry pie is all about those sweet-tart flavors, and there’s nothing better than topping each slice with a scoop of vanilla ice cream that slowly melts into all those warm cherries. If you’re not in the mood for ice cream, a dollop of fresh whipped cream or even a spoonful of mascarpone cheese adds a nice creamy touch. For a morning treat, serve your cherry pie with a hot cup of coffee or, if you’re enjoying it as an after-dinner dessert, try pairing it with a small glass of port wine or a creamy cup of hot chocolate. Keep in mind that this pie is pretty rich on its own, so simple accompaniments work best!
Storage Instructions
Counter or Fridge: Your cherry pie can hang out on the counter for about 2 days if covered with foil or plastic wrap. If you want it to last longer, pop it in the fridge where it’ll stay good for up to 5 days. Just make sure to cover it well to prevent it from drying out or picking up other flavors.
Freeze: This pie freezes really well! Let it cool completely, then wrap it tightly in plastic wrap and aluminum foil. It’ll keep in the freezer for up to 4 months. I like to freeze individual slices too – perfect for when you need a quick dessert fix!
Enjoy Later: When you’re ready to dig into your frozen pie, let it thaw overnight in the fridge. Want to serve it warm? Pop it in the oven at 350°F for about 15 minutes. The graham cracker crust might not be as crispy as fresh, but it’ll still taste great!
| Preparation Time | 15-20 minutes |
| Cooking Time | 45-50 minutes |
| Total Time | 120-130 minutes |
| Level of Difficulty | Easy |
Estimated Nutrition
Estimated nutrition for the whole recipe (without optional ingredients):
- Calories: 2200-2400
- Protein: 15-20 g
- Fat: 100-120 g
- Carbohydrates: 320-350 g
Ingredients
For the crust:
- 1 9-inch graham cracker pie crust (store-bought for convenience)
For the filling:
- 1 tsp vanilla extract (I use McCormick pure vanilla extract)
- 2 cans cherry pie filling (21 oz each)
For the crumble topping:
- 1/2 cup packed light brown sugar
- 1/2 tsp cinnamon
- 1/2 tsp salt
- 1/2 cup unsalted butter (softened to room temperature)
- 1 cup all-purpose flour
Step 1: Prepare the Graham Cracker Crust
Begin by preheating your oven to 350°F (175°C).
Place the store-bought graham cracker crust in the preheated oven and bake it for 5 minutes.
This step will help to crisp the crust slightly, providing a better base for your pie.
Step 2: Make the Crumble Topping
While the crust is baking, make the crumble topping.
In a medium bowl, whisk together the flour, light brown sugar, salt, and ground cinnamon.
Once mixed, cut the softened butter into the dry ingredients using two forks or a pastry blender.
Continue until the mixture resembles coarse crumbs.
Set the crumble mixture aside.
Step 3: Prepare the Cherry Pie Filling
In a large bowl, mix the vanilla extract into the cherry pie filling until well combined.
This will enhance the flavor of the filling, adding a subtle hint of vanilla.
Step 4: Assemble the Pie
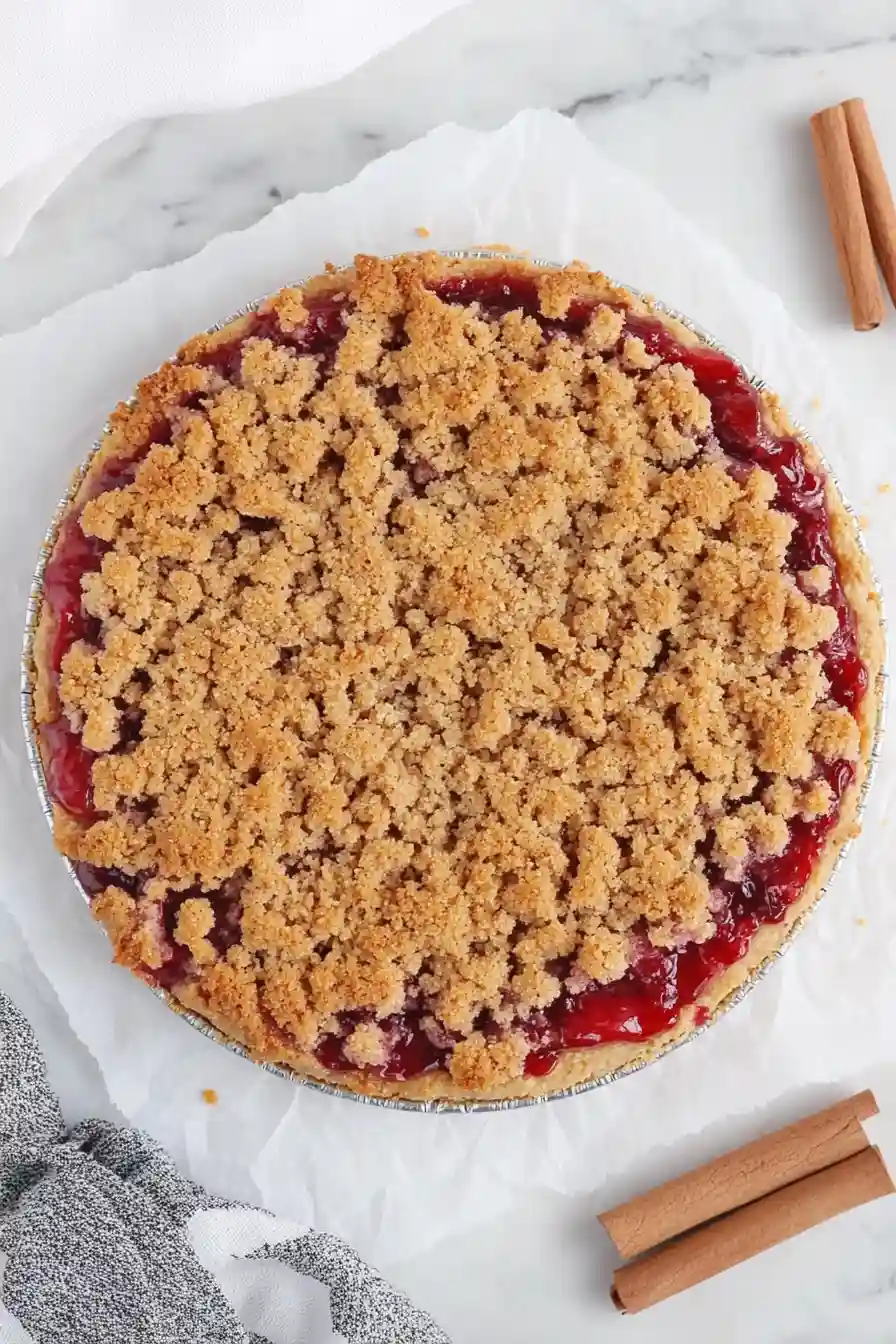
Pour the cherry pie filling into the prepared graham cracker crust, spreading it evenly.
Then, evenly disperse the crumble topping over the filling, ensuring it covers the filling completely.
Step 5: Bake the Pie
Place the assembled pie into the oven and bake for 40-45 minutes.
You’ll know it’s ready when the crumble topping is golden brown and the filling is bubbly beneath it.
Keep an eye on it to prevent the crust from burning.
Step 6: Cool and Set the Pie
Remove the pie from the oven and let it cool at room temperature for about 2 hours.
This initial cooling will help the pie to firm up slightly.
After the room temperature cooling, transfer the pie to the refrigerator to allow it to set completely.
