If you ask me, homemade chicken tenders are way better than anything from a drive-thru.
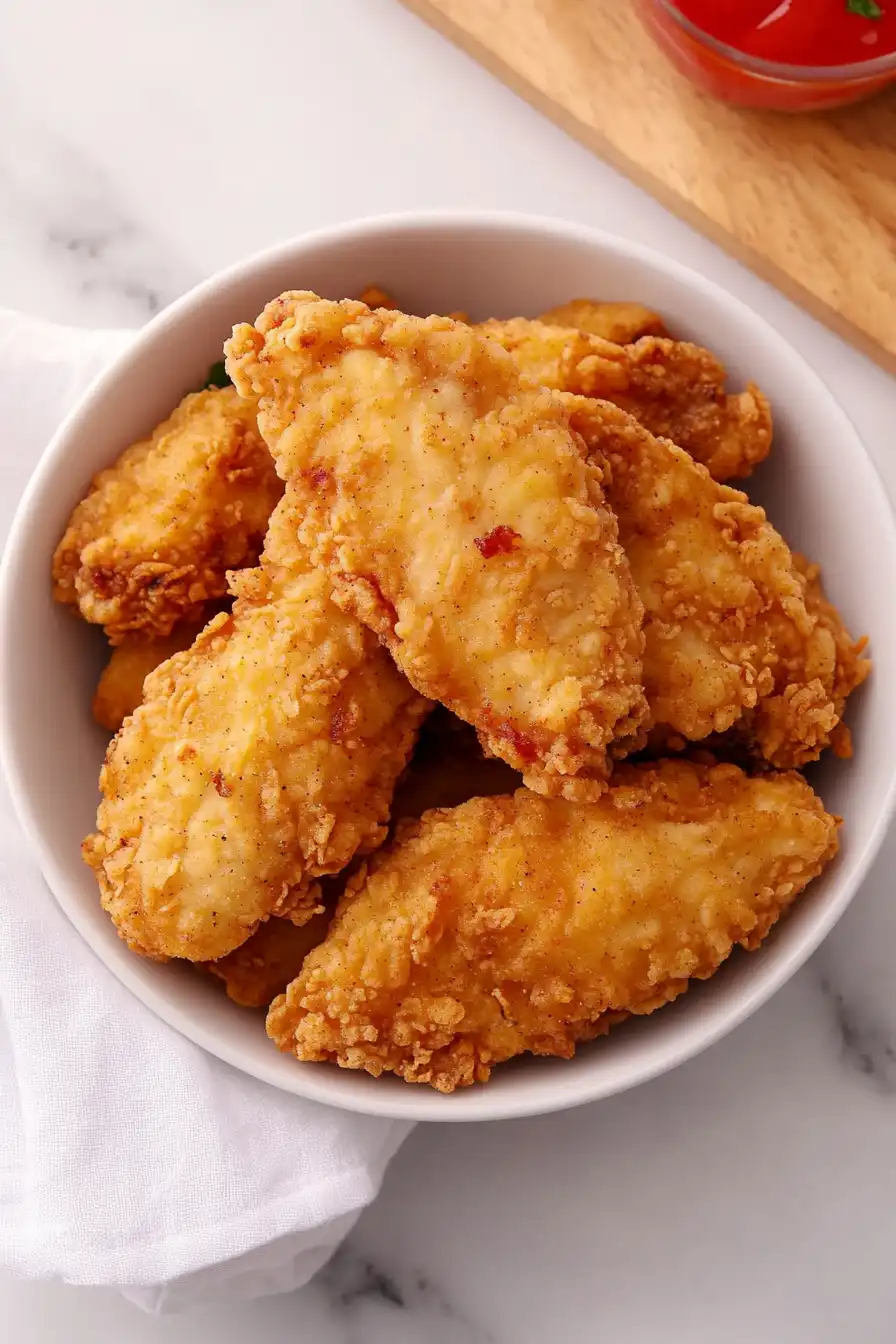
These crispy, golden-brown tenders are exactly what comfort food should be – simple, satisfying, and totally crave-worthy. The seasoned coating gets nice and crunchy while the chicken stays juicy on the inside.
I keep the breading classic with a mix of flour and everyday spices you probably already have in your cabinet. A quick dip in buttermilk helps everything stick just right and adds a subtle tanginess.
It’s the kind of no-fuss recipe that makes everyone at the table happy, perfect for busy weeknights or weekend Family dinners.
Why You’ll Love These Chicken Tenders
- Restaurant-quality taste – These homemade chicken tenders have that perfect crispy coating and juicy interior that rivals your favorite restaurant, but at a fraction of the cost.
- Simple ingredients – You’ll only need basic pantry staples and chicken to make these tenders – no fancy or hard-to-find ingredients required.
- Quick preparation – From start to finish, you can have these on the table in less than an hour, making them perfect for busy weeknight dinners.
- Kid-friendly meal – These tenders are always a hit with children, and you can adjust the seasoning to make them as mild or spicy as your family prefers.
- Make-ahead friendly – You can bread the chicken ahead of time and keep it in the fridge until you’re ready to fry, making dinner prep even faster.
What Kind of Chicken Tenders Should I Use?
You’ve got two good options when it comes to chicken tenders for this recipe. You can either buy pre-cut chicken tenderloins from the store (they’re those long, thin strips that come ready to cook) or cut your own from whole chicken breasts. If you’re cutting your own, look for the small strip of meat that runs along the underside of each breast – that’s the actual tenderloin – or simply slice the breast into even strips about 1½ inches wide. For the juiciest results, try to choose tenders that are roughly the same size so they’ll cook evenly, and make sure they’re not too thick. Fresh chicken will give you the best results, but if you’re using frozen tenders, just make sure they’re completely thawed and patted dry before breading.
Options for Substitutions
Don’t worry if you’re missing some ingredients – here are some simple swaps that work well in this recipe:
- Buttermilk: No buttermilk? Make your own by adding 1½ tablespoons of lemon juice or white vinegar to regular milk and letting it sit for 5 minutes. Plain yogurt thinned with a bit of milk works too!
- Chicken tenders: You can use chicken breast cut into strips instead of tenders. Just slice them about 1-inch thick to ensure even cooking.
- Plain flour: All-purpose flour is best here, but self-rising flour can work too – just reduce the salt in the recipe by half since it already contains salt.
- Hot sauce: Any hot sauce works here – Tabasco, Frank’s, or even a pinch of cayenne pepper can do the job. Skip it altogether if you don’t like heat.
- Vegetable oil: Canola oil, peanut oil, or corn oil are all good options for frying. Just avoid olive oil as it has a low smoke point.
- Seasonings: Feel free to adjust the spices to your taste. Italian seasoning, dried herbs, or cajun seasoning can be nice additions. Just keep the salt level similar to ensure proper flavor.
Watch Out for These Mistakes While Frying
The biggest mistake when frying chicken tenders is not maintaining the right oil temperature – if your oil is too hot, you’ll get burnt outsides and raw insides, while too cool oil results in greasy, soggy tenders. Keep your oil between 350-375°F using a thermometer, and don’t overcrowd the pan as this drops the temperature too quickly. Another common error is skipping the 30-minute buttermilk soak – this step is crucial for tender, juicy chicken that holds its breading well. When coating your tenders, shake off excess flour and press it gently into the chicken to help it stick, then let them rest on a wire rack for 5-10 minutes before frying – this helps the coating adhere better and prevents it from falling off during cooking. For extra-crispy results, don’t flip the tenders more than once during frying, and always let them drain on a paper towel-lined plate to keep that crunchy exterior intact.
What to Serve With Chicken Tenders?
These crispy chicken tenders are super versatile and pair well with all kinds of sides! For a classic fast-food style meal, serve them with crispy french fries or sweet potato fries and your favorite dipping sauces like honey mustard, ranch, or BBQ sauce. If you want to add some vegetables to the mix, a simple coleslaw or a crisp garden salad makes a great side dish to balance out the richness of the fried chicken. For a fun weekend lunch, you can even turn these tenders into sliders by putting them on small rolls with lettuce, tomato, and your choice of sauce.
Storage Instructions
Keep Fresh: These crispy chicken tenders stay good in an airtight container in the fridge for up to 3 days. I like to place a paper towel in the container to absorb any excess moisture – this helps keep that outer coating nice and crisp!
Freeze: Want to make a big batch? Once completely cooled, place the tenders on a baking sheet and freeze until solid (about 2 hours). Then transfer them to a freezer bag and they’ll keep for up to 3 months. This is super handy for quick weeknight dinners!
Reheat: To get that crispy coating back, pop them in the oven at 375°F for about 10-15 minutes, or until heated through. You can also use an air fryer at 375°F for 5-7 minutes. I’d skip the microwave – it tends to make them soggy. If reheating from frozen, add a few extra minutes to the cooking time.
| Preparation Time | 20-30 minutes |
| Cooking Time | 15-25 minutes |
| Total Time | 35-55 minutes |
| Level of Difficulty | Medium |
Estimated Nutrition
Estimated nutrition for the whole recipe (without optional ingredients):
- Calories: 2800-3200
- Protein: 120-140 g
- Fat: 180-220 g
- Carbohydrates: 250-300 g
Ingredients
For the dry coating:
- 1/2 tsp sea salt
- 1 1/2 cups flour (I always use King Arthur all-purpose flour)
- 1/2 tsp onion powder
- 1 tsp paprika
- 1 tsp coarse black pepper (freshly ground preferred for more flavor)
- 1 tsp garlic salt
For the wet coating:
- 1 1/2 cups buttermilk (for extra tender chicken)
- 1 tsp hot sauce (I like Frank’s RedHot)
For the chicken:
- 1 1/2 lb chicken tenders
For frying:
- 4 cups vegetable oil (or any neutral oil like canola)
Step 1: Prepare the Chicken
Ensure that the chicken tenders are completely thawed, drained of excess moisture, and thoroughly patted dry with paper towels.
This will help in achieving a crispy coating as it prevents splattering and uneven frying.
Step 2: Heat the Oil
Fill a Dutch oven or a heavy stock pot with at least 4 inches of oil, preferably 6 inches, to ensure the chicken can be submerged completely.
Start heating the oil until it reaches a temperature of 350°F.
This process will take about 15 minutes, so begin heating while you prepare the chicken to save time.
Step 3: Prepare the Coating Mixtures
In one bowl, whisk together buttermilk and hot sauce, which will serve as the wet coating for the chicken.
In a separate shallow bowl or on a sheet of parchment paper, mix together flour, salt, pepper, paprika, and onion powder.
This dry mixture will form the crispy coating.
Step 4: Coat the Chicken Tenders
Take each chicken tender and dip it first into the flour mixture, ensuring it’s fully coated.
Then, dip the chicken into the buttermilk mixture, and once again into the flour mixture.
For an extra crunchy breading, repeat this process, dipping again into the buttermilk and flour mixture a second time.
Step 5: Fry the Chicken
Once the oil has reached 350°F, carefully drop one coated chicken tender at a time into the hot oil.
Fry the chicken until it is cooked through, with the internal temperature reaching 165°F.
The breading should turn a deep golden brown and become crispy, which typically takes about 5 minutes.
Ensure the oil temperature is maintained at 350°F for even cooking and optimal crispiness.
Step 6: Drain and Serve
Once cooked, remove the chicken from the oil and place it on paper towels or brown paper bags to absorb any excess oil.
Serve the crispy chicken tenders immediately while they’re hot and enjoy them as a delicious, golden treat!
