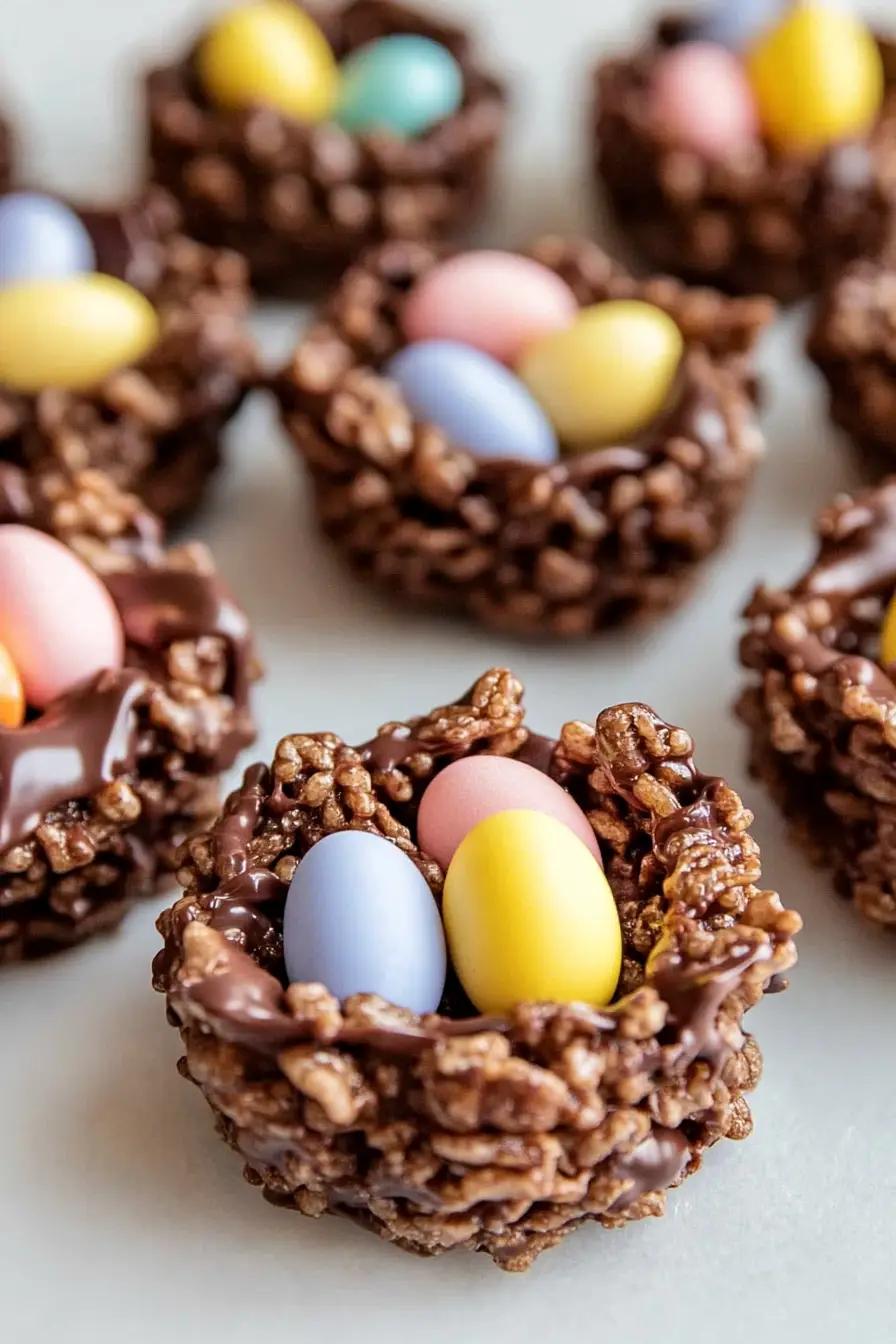
Looking for a fun and festive treat to make with the kids during Easter season? These Easter egg bird nest cookies are a perfect project when you want to combine baking and crafting into one activity. After all, getting little ones excited about being in the kitchen isn’t always easy, but these cute cookies have a way of bringing out everyone’s creative side.
These no-fuss treats are exactly what you need: they’re simple enough for kids to help make, quick to put together when time is tight, and you can customize them with whatever candy eggs and decorations your family loves most.
Why You’ll Love These Bird Nest Cookies
- No-bake simplicity – These treats come together without ever turning on the oven – just melt, mix, and shape. Perfect for busy holiday prep or when you don’t want to heat up the kitchen.
- Kid-friendly activity – Little ones can help shape the nests and place the eggs, making this a fun family Easter tradition that creates sweet memories.
- Quick preparation – You’ll have these adorable treats ready in just 20 minutes or less, giving you more time to enjoy other Easter festivities.
- Basic ingredients – With just 4 simple ingredients that you can easily find at any grocery store, these cookies are a stress-free holiday treat.
What Kind of Peanut Butter Should I Use?
Regular creamy peanut butter from brands like Jif, Skippy, or Peter Pan works best for these nest cookies since they contain stabilizers that help the treats hold their shape. Natural peanut butter, while tasty, can be tricky in this recipe because its oils tend to separate and it’s generally runnier, which might make your nests fall apart. If you do prefer natural peanut butter, make sure it’s well-stirred and slightly chilled to help it maintain structure. Just avoid using reduced-fat peanut butter – it contains added ingredients that can affect how well the nests stick together and set up properly.
Options for Substitutions
These cute nest cookies are pretty adaptable – here’s what you can swap if needed:
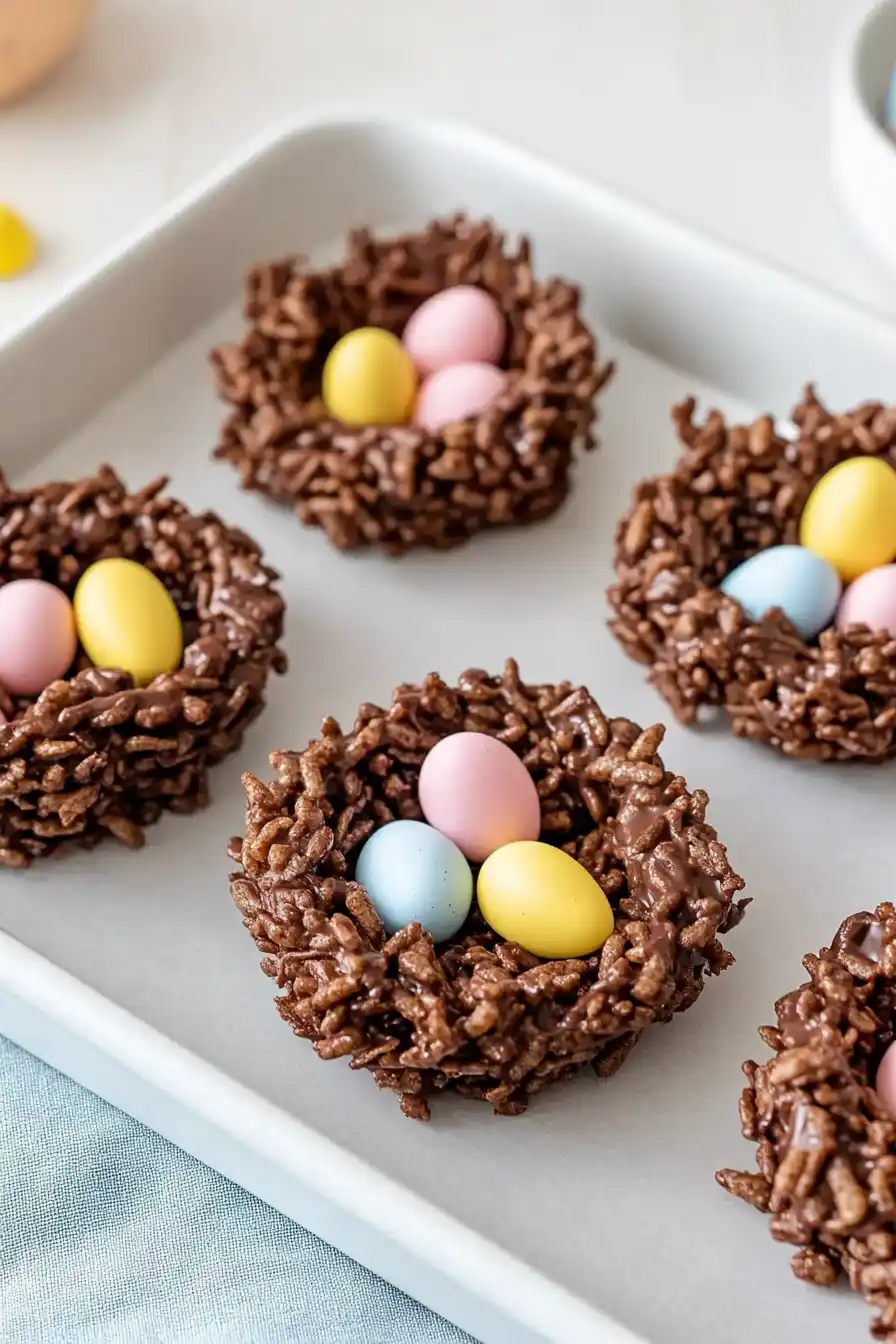
- Chocolate puffed rice cereal: Regular puffed rice cereal works fine – just know your nests will be lighter in color. You could also use crushed cornflakes or even chow mein noodles for a different texture.
- Peanut butter: Not a fan of peanut butter or dealing with allergies? Try almond butter, sunflower seed butter, or cookie butter instead. Just make sure to use the creamy kind for the right consistency.
- Milk chocolate chips: Feel free to use dark chocolate or semi-sweet chocolate chips instead. White chocolate works too, though it might make the nests a bit sweeter.
- Cadbury mini eggs: Can’t find Cadbury eggs? M&Ms, jelly beans, or any small egg-shaped candy will work great as replacements. You could even use malted milk balls or chocolate covered raisins in a pinch.
Watch Out for These Mistakes While Making
The biggest challenge when making these nest cookies is getting the chocolate-peanut butter mixture at just the right temperature – if it’s too hot, the cereal will become soggy, and if it’s too cool, the mixture won’t hold together properly. For perfect results, let the melted chocolate and peanut butter cool for 2-3 minutes before adding the cereal.
Another common mistake is rushing the setting process – these nests need adequate time in the refrigerator (at least 30 minutes) to firm up, or they’ll fall apart when you try to add the eggs. When shaping the nests, avoid pressing too hard on the mixture, as this will crush the cereal and create dense, hard cookies instead of light, crispy ones.
Pro tip: lightly grease your hands with cooking spray or butter before shaping the nests to prevent the mixture from sticking to your fingers, and work quickly while the mixture is still pliable but not hot.
What to Serve With Easter Nest Cookies?
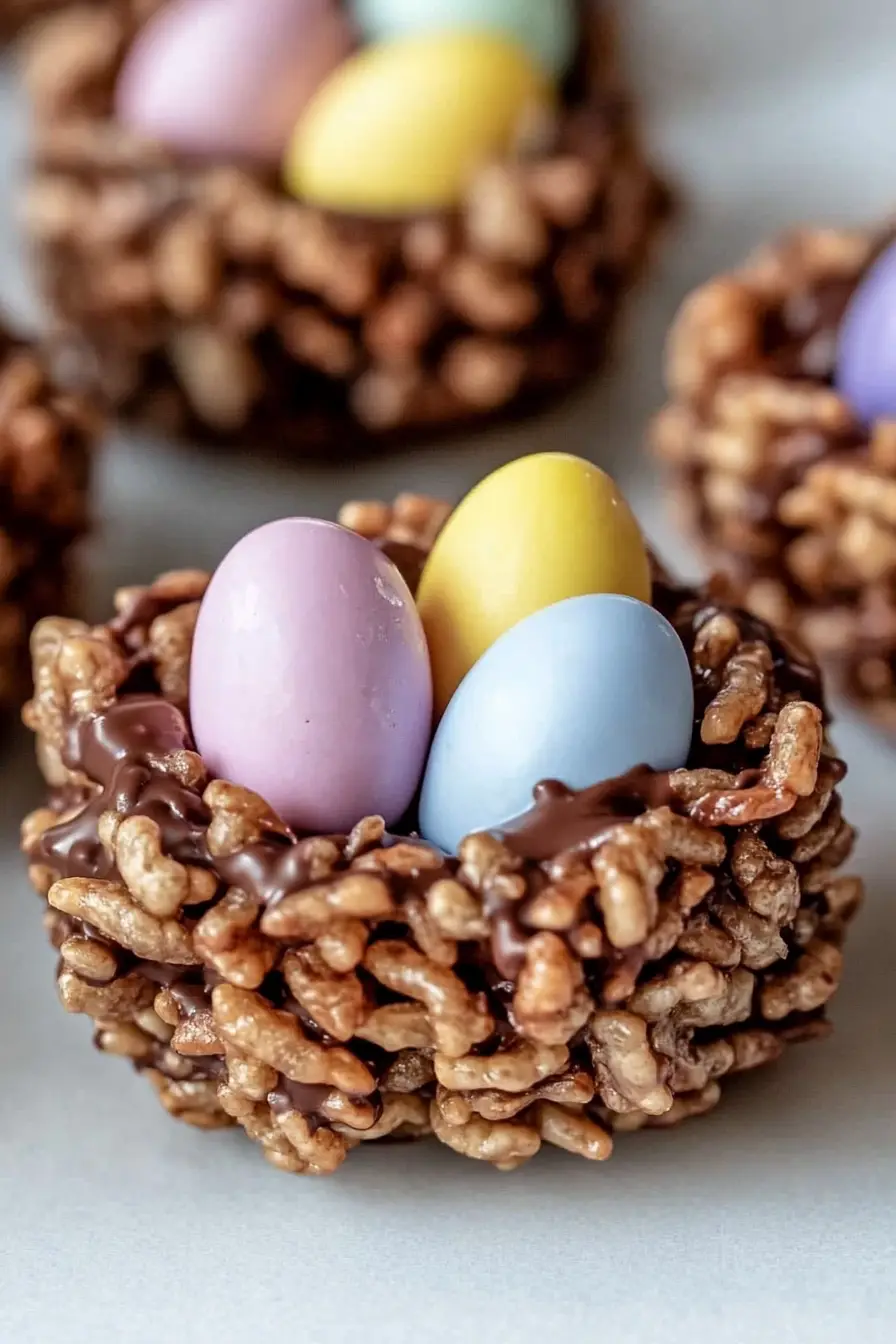
These sweet and chocolatey nest cookies are perfect for serving at Easter celebrations alongside other festive treats! I love pairing them with a cold glass of milk or a warm cup of coffee to balance out the richness of the chocolate and peanut butter. Since these cookies are on the sweeter side, they work really well as part of a dessert spread that includes some fruity options like strawberries or fresh orange segments. For a fun Easter dessert table, try setting them out with some vanilla ice cream – kids especially love making their own “nest sundaes” by crumbling the cookies over a scoop or two.
Storage Instructions
Keep Fresh: These cute bird nest cookies stay fresh in an airtight container at room temperature for up to 5 days. Place a piece of wax paper between layers to prevent them from sticking together. They’re perfect for making a few days before Easter!
Refrigerate: If your house is warm, you might want to pop these in the fridge to keep the chocolate from getting too soft. In the refrigerator, they’ll stay good for up to 2 weeks. Just bring them to room temperature for about 15 minutes before serving for the best texture.
Freeze: Want to plan way ahead? These nest cookies freeze really well for up to 3 months. Just place them in a freezer-safe container with wax paper between layers. Let them thaw in the fridge overnight when you’re ready to serve them.
| Preparation Time | 10-15 minutes |
| Cooking Time | 0-5 minutes |
| Total Time | 10-20 minutes |
| Level of Difficulty | Easy |
Estimated Nutrition
Estimated nutrition for the whole recipe (without optional ingredients):
- Calories: 2700-2900
- Protein: 50-60 g
- Fat: 130-150 g
- Carbohydrates: 300-320 g
Ingredients
- 3 cups chocolate puffed rice cereal
- 1 cup creamy peanut butter (I use Jif creamy peanut butter)
- 1 cup milk chocolate chips
- 36 Cadbury mini eggs (or other small chocolate eggs)
Step 1: Melt the Chocolate Chips
Begin by placing chocolate chips in a microwave-safe bowl.
Melt the chocolate on low power in 30-second intervals, making sure to stir in between each interval until the chocolate is fully melted and smooth.
This helps prevent overheating and ensures even melting.
Step 2: Combine with Peanut Butter
Once the chocolate is fully melted, immediately stir in peanut butter until the mixture is smooth and fully combined.
The heat from the chocolate will help incorporate the peanut butter quickly, resulting in a creamy mixture.
Step 3: Coat the Rice Krispies
Pour the chocolate and peanut butter mixture into a bowl containing the Rice Krispies.
Stir thoroughly until all the cereal is fully coated with the chocolate mixture.
This ensures an even distribution and helps create the base for the ‘bird nests’.
Step 4: Prepare the Muffin Tin and Shape Nests
Use butter or cooking spray to grease a 12-count muffin tin.
Scoop the chocolate-coated cereal mixture evenly into each muffin cup, filling them completely.
Use a round measuring spoon to gently press down and create a slight hollow in the center of each ‘bird nest’ to form a cavity for the eggs.
Step 5: Harden the Nests
Place the muffin tin in the refrigerator or freezer, allowing the ‘bird nests’ to harden.
This step ensures the nests will hold their shape and makes them easier to remove from the muffin tin once set.
Allow sufficient time for the nests to chill completely.
Step 6: Add the Finishing Touches
Once the nests are fully hardened, gently remove them from the muffin tin.
Place three Cadbury mini eggs in the center of each nest, pressing them slightly into the indentation you created earlier.
Your delicious and adorable ‘bird nest’ treats are now ready to serve.
Enjoy!

