There’s something so satisfying about cooking on the Blackstone griddle. I love how it brings back memories of those classic diner meals, but right in my own backyard. These ham and cheese sliders have become my go-to when I’m feeding a crowd or just want to make something quick for the family. They’re simple enough for a casual lunch but still hit the spot when you’re craving comfort food.
I started making these sliders on the Blackstone after realizing how perfectly the griddle gets those buns toasted and the cheese melted. It’s like having a professional flat-top right at home, minus all the restaurant noise. Plus, I can cook a whole batch at once, which means everyone gets to eat together – no more serving sandwiches one at a time!
Whether you’re planning a game day get-together or just want to switch up your regular sandwich routine, these griddle sliders are the answer. And the best part? Clean-up is a breeze compared to using the oven or multiple pans on the stove.
Why You’ll Love These Ham and Cheese Sliders
- Quick preparation – These sliders come together in less than 20 minutes, making them perfect for busy weeknight dinners or quick lunches.
- Simple ingredients – With just four basic ingredients you probably already have in your fridge, you can whip up these satisfying sandwiches anytime.
- Perfect for Blackstone cooking – The flat top griddle gives these sandwiches an amazing golden-brown crust and perfectly melted cheese that you just can’t get from a regular pan.
- Kid-friendly meal – The classic combination of ham and cheese is always a hit with kids and adults alike, making this recipe a reliable go-to for any family meal.
What Kind of Ham Should I Use?
While this recipe calls for Black Forest ham, you’ve got plenty of tasty options for your slider. Black Forest ham has a slightly smoky flavor and tender texture, but Virginia ham or honey ham would work just as well. If you’re getting it from the deli counter, ask them to slice it thin – about the thickness of a piece of paper – which helps create the perfect meat-to-bread ratio and ensures even heating. For the best results, look for ham that’s freshly sliced rather than pre-packaged, since it tends to be more moist and flavorful. Just make sure to avoid pressed or chopped ham products, as they won’t give you that classic deli sandwich texture.

Options for Substitutions
Making these sliders but missing something? Here are some easy swaps you can try:
- Artisan-style bread: Any good quality bread works here – try sourdough, brioche, or even regular sandwich bread. Just make sure it’s sturdy enough to hold up on the griddle.
- Black Forest ham: You can use any type of ham you have – honey ham, Virginia ham, or even turkey ham. Leftover holiday ham works great too!
- Cheddar cheese: Feel free to switch up the cheese – Swiss, provolone, American, or Havarti all melt nicely. Just avoid fresh cheeses like mozzarella as they can get too watery.
- Butter: While butter gives the best flavor, you can use margarine or even mayonnaise for a crispy exterior. If using mayo, spread it thin as it can brown quickly.
Watch Out for These Mistakes While Cooking
The biggest challenge when making sliders on a Blackstone is managing the heat – too hot and you’ll burn the bread before the cheese melts, too cool and you’ll miss out on that perfect golden-brown crust. A medium heat setting around 350°F gives you the sweet spot for even cooking and proper cheese melting. Another common mistake is pressing down too hard on the sandwich while cooking – a gentle press is all you need, as squishing it too much will squeeze out all the melty cheese and make your slider dense. To get the most flavor from your sliders, don’t forget to butter the outside of both pieces of bread (not just the griddle surface), and let the butter melt completely before placing the sandwich down – this ensures that perfect crispy exterior. For the best results, cover your sandwich with a dome or metal bowl for about 30 seconds while cooking to help the cheese melt completely.

What to Serve With Ham and Cheese Sliders?
These hot, melty sliders are perfect with some crispy potato chips or french fries on the side – you really can’t go wrong with either choice! For something a bit lighter, I like to serve them with a simple coleslaw or a handful of dill pickle spears, which add a nice tangy crunch to balance out the rich sandwich. If you’re feeding a crowd, consider putting together a quick pasta salad or some fresh fruit on the side. These little sandwiches also pair really well with a warm bowl of tomato soup for dipping, especially on chilly days.
Storage Instructions
Keep Fresh: These ham and cheese sliders are best enjoyed right off the Blackstone while they’re still warm and the cheese is melty. If you have leftovers, wrap them in aluminum foil or place them in an airtight container in the fridge for up to 2 days.
Make Ahead: You can prep these sliders in advance by assembling them without butter, then wrapping them in plastic wrap. Keep them in the fridge for up to 24 hours before cooking. When you’re ready to cook, just butter the outside and throw them on the Blackstone!
Warm Up: To bring back that fresh-off-the-griddle taste, warm up leftover sliders on the Blackstone for 1-2 minutes per side, or pop them in a regular pan over medium heat. You can also use a toaster oven for about 3-4 minutes – just keep an eye on them so they don’t get too crispy.
| Preparation Time | 5-10 minutes |
| Cooking Time | 6-10 minutes |
| Total Time | 11-20 minutes |
| Level of Difficulty | Easy |
Estimated Nutrition
Estimated nutrition for the whole recipe (without optional ingredients):
- Calories: 600-700
- Protein: 30-35 g
- Fat: 35-40 g
- Carbohydrates: 50-60 g
Ingredients
- 1 tbsp butter (unsalted preferred)
- 2 slices cheddar cheese (I like Tillamook sharp cheddar)
- 3 oz thinly sliced black forest ham
- 2 slices artisan bread
Step 1: Preheat and Prepare Bread
Begin by preheating your Blackstone Grill to medium-high heat, approximately 400 degrees F.
While the grill is heating, butter one side of each piece of bread.
Step 2: Assemble the Sandwich
Place one piece of bread, buttered side down, onto the preheated grill.
Lay a slice of cheese on the bread, then layer your desired amount of ham on top of the cheese.
Add another slice of cheese over the ham and finish by placing the second piece of bread on top, with the buttered side facing outward.
Step 3: Grill the Sandwich
Cook the sandwich for 3-5 minutes until the bottom piece of bread is golden brown.
Carefully flip the sandwich and grill the other side for another 3-5 minutes, ensuring that both sides become evenly toasted and the cheese inside melts.
Step 4: Rest and Serve
Remove the sandwich from the grill and place it on a plate.
Allow it to rest for a few minutes, which will help settle the cheese and make it easier to eat without burning your mouth.
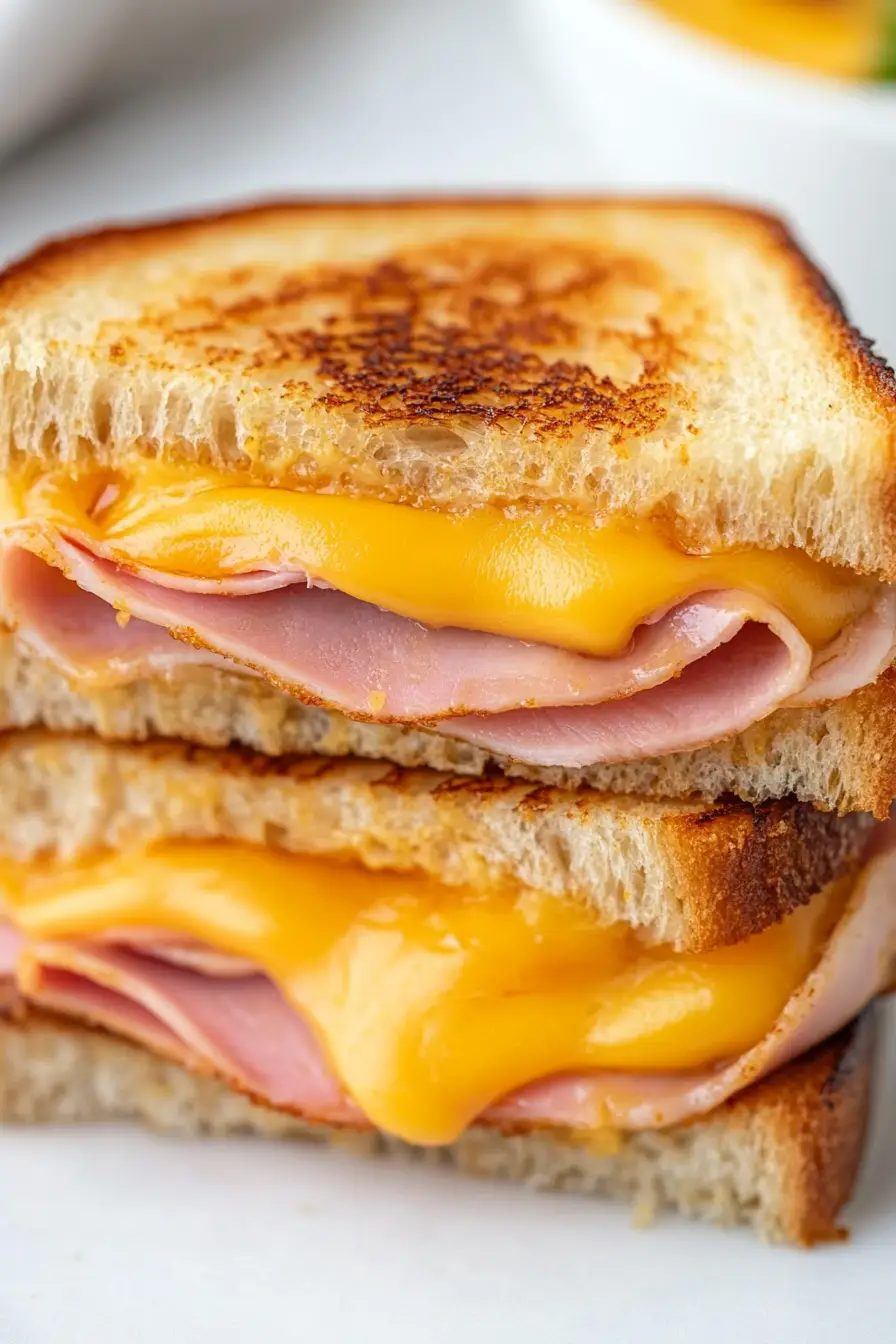
Once slightly cooled, slice the sandwich in half and enjoy your homemade grilled ham and cheese sandwich!
