Game meat used to intimidate me. I’d see pheasant at the butcher shop and walk right past, thinking it was too fancy or complicated for a weeknight dinner. But once I discovered how easy it is to make in the Instant Pot, everything changed. Now it’s one of my go-to meals when I want something different from the usual chicken routine.
The pressure cooker does all the work for you. No worrying about overcooking or drying out the meat. The pheasant comes out tender and juicy every time, and the flavors develop beautifully in that sealed environment. Plus, it’s ready in under an hour, which means I can have it on the table faster than most roasts.
If you’ve never cooked pheasant before, this is the perfect recipe to start with. And if you’re already a fan, you’ll love how hands-off this method is. Either way, your family is in for a treat.
Why You’ll Love This Instant Pot Pheasant
- Quick cooking time – Ready in under an hour, this recipe makes cooking pheasant so much faster than traditional methods that can take hours.
- Tender, juicy results – The Instant Pot’s pressure cooking keeps the pheasant meat incredibly moist and tender, which can be tricky to achieve with this lean game bird.
- Simple ingredients – You probably have most of these pantry staples on hand already – just basic flour, seasonings, and chicken broth.
- Perfect for game bird beginners – If you’ve never cooked pheasant before, this foolproof method takes the guesswork out of preparing this special protein.
- One-pot convenience – Everything cooks in your Instant Pot, so there’s minimal cleanup and less dishes to wash afterward.
What Kind of Pheasant Should I Use?
For this Instant Pot recipe, you can use either wild pheasant or farm-raised pheasant, though wild birds tend to have a bit more flavor and slightly firmer texture. If you’re using wild pheasant, keep in mind that older birds might be a little tougher, but the pressure cooking method will help break down those fibers nicely. Farm-raised pheasant is usually more tender and has a milder taste, making it a great option if you’re new to cooking game birds. Whether you hunt your own or buy from a specialty meat shop, make sure the pheasant is properly cleaned and cut into serving-sized pieces before you start cooking.
Options for Substitutions
This recipe is pretty adaptable if you need to make some swaps:
- Pheasant: If you can’t find pheasant, chicken thighs or rabbit work well as substitutes. Chicken will cook a bit faster, so reduce the cooking time by about 5 minutes.
- Hungarian paprika: Regular paprika works fine, though you’ll miss some of that smoky depth. You can also try smoked paprika for a similar flavor profile.
- Chicken broth: Beef broth or vegetable broth both work here. If using beef broth, the flavor will be richer and heartier.
- Flour: All-purpose flour is best for coating, but you can use cornstarch if needed – just use about 3/4 cup instead of the full cup.
- Vegetable oil: Any neutral oil with a high smoke point works – canola, avocado, or even peanut oil are good choices for browning the meat.
- Butter: If you’re out of butter, you can use ghee or just add a bit more oil, though you’ll lose some of that rich buttery flavor.
Watch Out for These Mistakes While Cooking
The biggest mistake when cooking pheasant in an Instant Pot is treating it like chicken – pheasant is much leaner and can become dry and tough if overcooked, so stick to the minimum cooking time and use natural pressure release to avoid overcooking.
Don’t skip the dredging step or rush through browning the pieces, as this creates a nice crust that helps seal in moisture and adds flavor to your final dish.
Another common error is not using enough liquid – while 1 1/2 cups of broth might seem like a lot, the Instant Pot needs adequate liquid to build pressure, and pheasant benefits from the extra moisture since it’s such a lean game bird.
Finally, let the meat rest for a few minutes after cooking before serving, which allows the juices to redistribute and keeps your pheasant tender rather than stringy.
What to Serve With Instant Pot Pheasant?
This tender, flavorful pheasant pairs beautifully with classic comfort sides that can soak up all those delicious pan juices. Creamy mashed potatoes or buttery egg noodles are my go-to choices since they complement the rich, savory flavors perfectly. A simple side of roasted vegetables like carrots, Brussels sprouts, or green beans adds a nice contrast to the hearty meat. For something a bit more special, try serving it over wild rice or with a warm dinner roll to round out this satisfying meal.
Storage Instructions
Refrigerate: Your cooked pheasant will keep nicely in the fridge for up to 3 days in an airtight container. Make sure to store any leftover broth or pan juices with the meat to keep it moist. I like to shred any leftover meat and use it for sandwiches or salads later in the week.
Freeze: This pheasant freezes really well for up to 3 months in freezer-safe containers or bags. Let it cool completely first, and try to include some of the cooking liquid to prevent freezer burn. It’s great to have on hand for quick weeknight dinners when you don’t feel like cooking from scratch.
Reheat: Warm up your pheasant gently in the microwave with a splash of broth, or heat it on the stovetop over low heat. You can also pop it back in the Instant Pot with a little extra liquid for a few minutes on low pressure to bring back that tender texture.
| Preparation Time | 10-15 minutes |
| Cooking Time | 35-45 minutes |
| Total Time | 45-60 minutes |
| Level of Difficulty | Medium |
Estimated Nutrition
Estimated nutrition for the whole recipe (without optional ingredients):
- Calories: 1700-2000
- Protein: 100-110 g
- Fat: 85-100 g
- Carbohydrates: 90-110 g
Ingredients
For the pheasant:
- 1 tsp salt
- 1 egg (beaten for dredging)
- Paprika (Hungarian paprika for authentic flavor)
- 1 cup all-purpose flour (I always use King Arthur all-purpose flour)
- 1 tsp black pepper
- 1 pheasant, bone-in
For cooking and sauce:
- Vegetable oil (for browning the pheasant)
- 1 1/2 cups chicken broth (I use Swanson chicken broth)
- 2-3 tbsp unsalted butter
Step 1: Prepare the Egg Wash and Seasoned Flour
- 1 egg
- 1 cup all-purpose flour
- 1 tsp salt
- 1 tsp ground black pepper
- Hungarian paprika, to taste
Crack the egg into a bowl and beat it with a little water until smooth.
In a separate bowl, combine the all-purpose flour, salt, ground black pepper, and Hungarian paprika to taste, mixing thoroughly to make a seasoned dredging mixture.
Step 2: Coat the Pheasant Pieces
- 1 pheasant, bone-in, cut into portions
- beaten egg from Step 1
- seasoned flour mixture from Step 1
Dip the pheasant portions, one at a time, first into the beaten egg, letting any excess drip off, and then dredge each piece in the seasoned flour mixture to ensure they are well-coated on all sides.
Step 3: Brown the Pheasant in the Pressure Cooker
- vegetable oil, for browning
- coated pheasant from Step 2
Heat a few tablespoons of vegetable oil in the bottom of the pressure cooker on the brown or sauté setting.
When the oil is hot, add the coated pheasant pieces and brown them on all sides.
Work in batches if necessary to avoid overcrowding the pan.
This step adds rich flavor and color to the dish.
I like to make sure each piece gets a nice golden crust before moving on.
Step 4: Pressure Cook the Pheasant
- 1 1/2 cups chicken broth
- browned pheasant from Step 3
Pour the chicken broth into the pressure cooker with the browned pheasant.
Secure the lid and bring the cooker up to full pressure.
Maintain full pressure and cook for 25 minutes.
Afterward, allow the pressure to release naturally before opening the lid.
This helps keep the meat tender and juicy.
Step 5: Finish the Sauce
- 2 or 3 tbsp unsalted butter
- sauce left in the cooker after removing pheasant
Remove the cooked pheasant from the pressure cooker and set aside.
With the cooker still on the brown setting, whisk in the unsalted butter to the remaining sauce and cook briefly until the sauce is smooth and glossy.
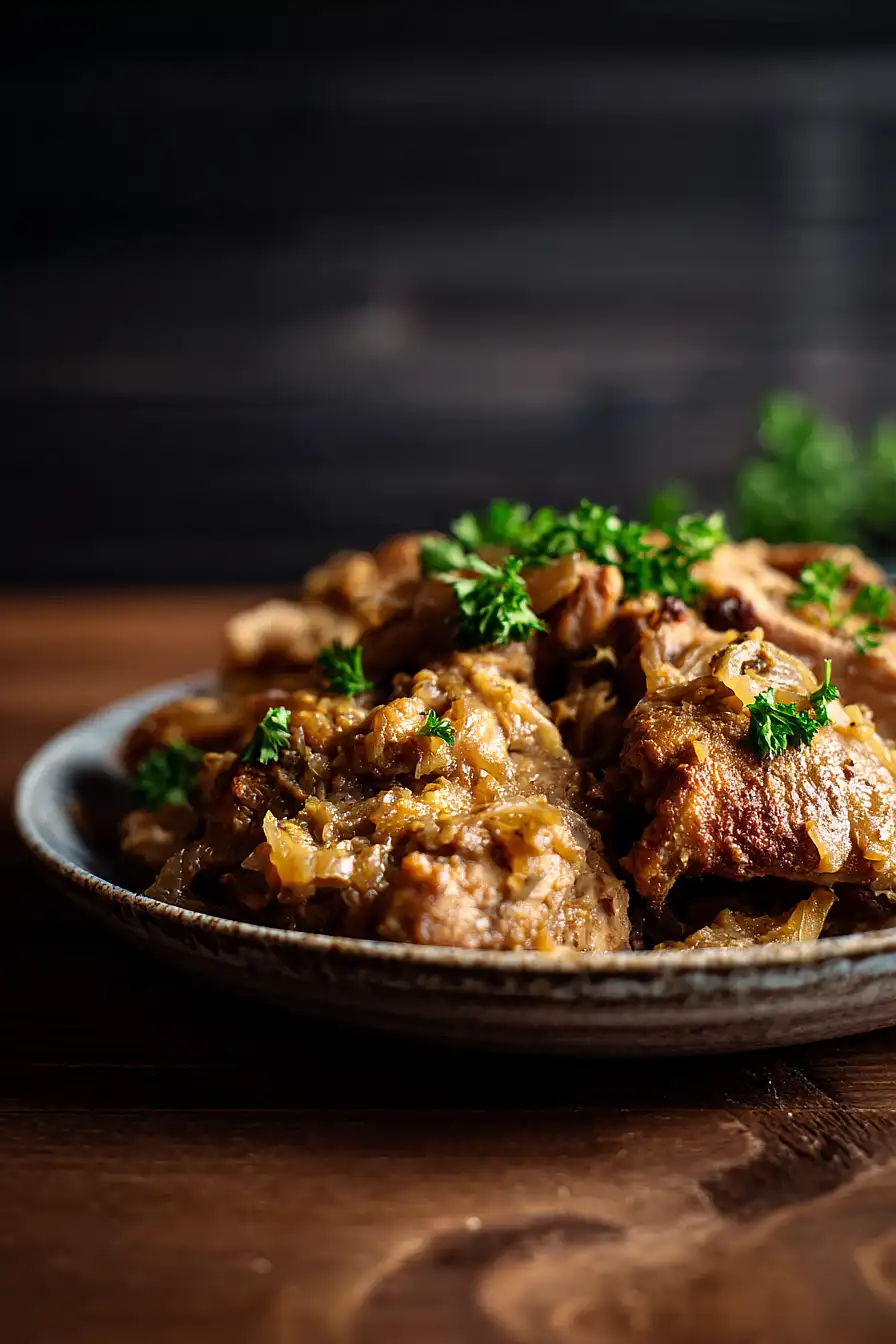
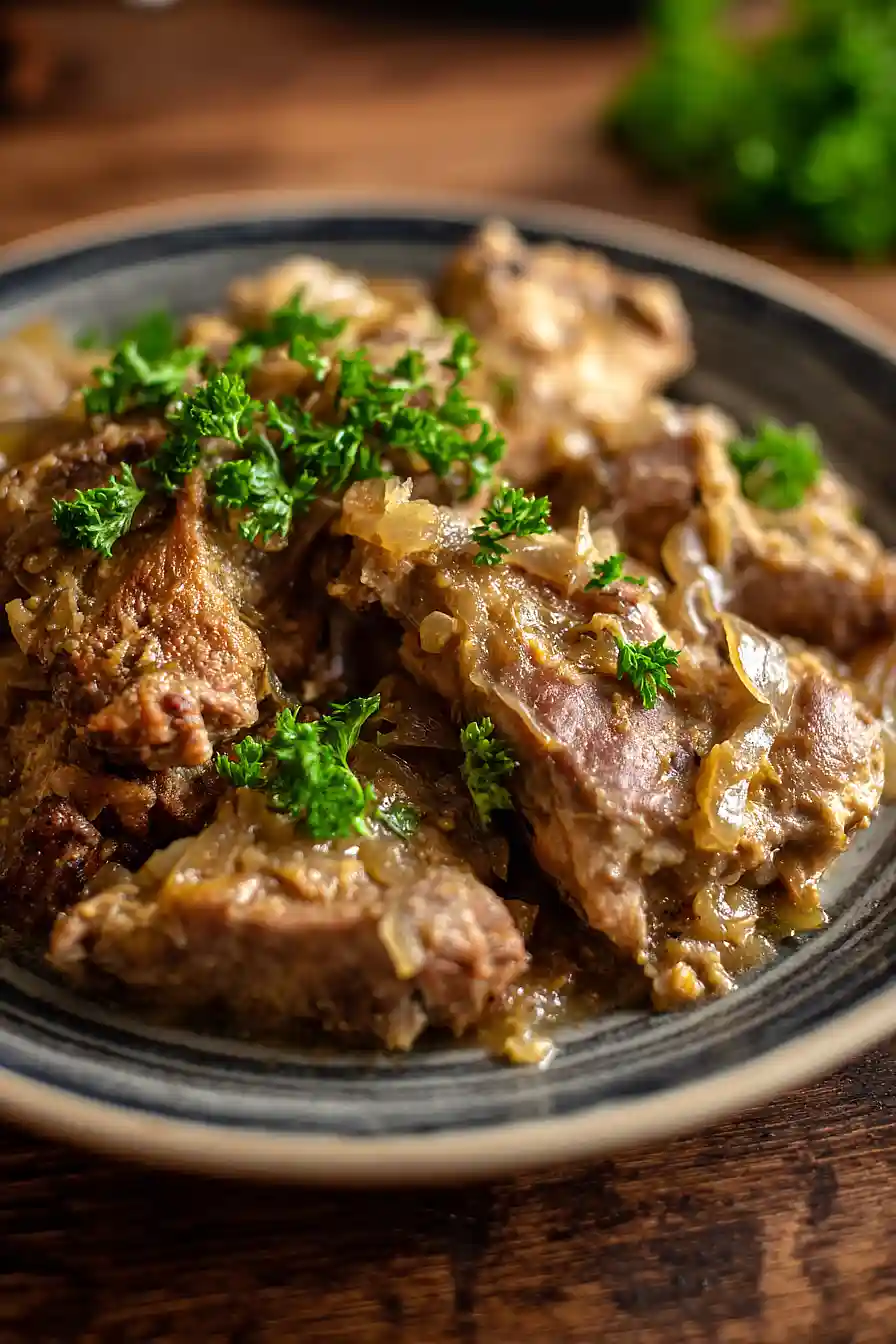
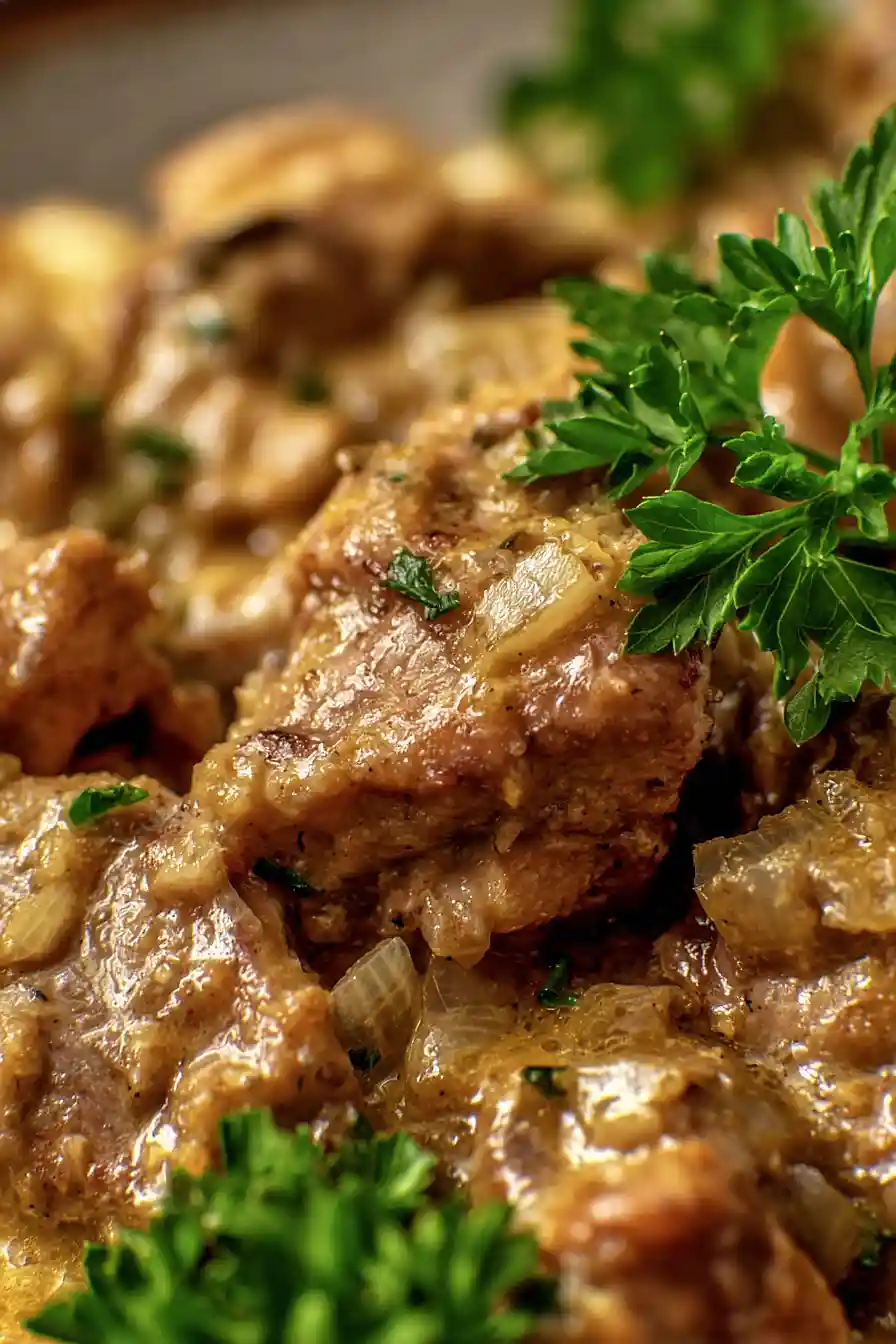
Serve the pheasant topped with this rich, buttery sauce.
Sometimes, I like to add just a touch more paprika at this point for extra flavor.
