Making a rhubarb pie doesn’t mean you have to wait for spring anymore. I discovered frozen rhubarb a few years ago, and it’s been a game-changer in my kitchen. Now I can satisfy those mid-winter cravings for my favorite tart and sweet dessert without having to stalk the produce section.
When I first tried using frozen rhubarb in my pie, I was a bit nervous about how it would turn out. But after a few tries (and some helpful tips from my grandmother’s recipe cards), I figured out the tricks to getting it just right. The secret is managing the extra moisture that comes with frozen rhubarb – and I’m happy to share what I’ve learned along the way.
Whether you’re new to baking with rhubarb or you’re just looking for a way to enjoy this classic pie year-round, this recipe has become my reliable go-to. It’s simple, straightforward, and turns out great every time.
Why You’ll Love This Rhubarb Pie
- Year-round dessert – Using frozen rhubarb means you can enjoy this classic pie any time of the year, not just during rhubarb season.
- Simple ingredient list – With just 5 basic ingredients, this pie proves that sometimes the simplest recipes are the most delicious.
- Make-ahead friendly – You can prepare this pie in advance and freeze it, making it perfect for planning ahead for special occasions or unexpected guests.
- Perfectly balanced flavor – The natural tartness of rhubarb combined with sweet sugar creates that classic sweet-tart combination that makes rhubarb pie so irresistible.
What Kind of Rhubarb Should I Use?
While this recipe calls for frozen rhubarb, you can actually use either fresh or frozen with great results. Frozen rhubarb is super convenient since it’s available year-round and comes already cleaned and chopped – just make sure to thaw it completely and drain off any excess liquid before using. If you’re working with fresh rhubarb, look for stalks that are firm and crisp, with a bright pink to red color (though the green parts are perfectly fine to use too). When prepping fresh rhubarb, remember to remove all the leaves since they’re not edible, then wash the stalks and cut them into roughly 1-inch pieces. No need to peel the stalks – the skin is tender enough to cook down nicely in your pie.
Options for Substitutions
Making this rhubarb pie and need some substitutions? Here’s what you can try:
- Rhubarb: While rhubarb gives this pie its classic taste, you can use a mix of tart apples and strawberries as a substitute. Use 2 cups of each to match the original amount. The cooking time stays the same.
- All-purpose flour: For thickening, you can swap the flour with 4 tablespoons of cornstarch or 3 tablespoons of instant tapioca. If using tapioca, let the filling rest for 15 minutes before baking.
- Granulated sugar: You can use brown sugar instead of white, though it will give a deeper, more caramel-like flavor. You might want to reduce the amount by ¼ cup since brown sugar has a stronger taste.
- Butter: Feel free to use margarine or coconut oil in place of butter. The amount stays the same.
- Pie crust: Store-bought and homemade crusts work equally well here. If you’re looking for a gluten-free option, try a ready-made gluten-free crust, but be aware the texture might be slightly different.
Watch Out for These Mistakes While Baking
The biggest challenge when working with frozen rhubarb is managing its excess moisture – failing to drain it properly can lead to a soupy pie that won’t set properly. To avoid this, thaw your frozen rhubarb completely in a colander and drain it well, but don’t press or squeeze out the juice as this could affect the flavor. Another common mistake is not using enough thickener (flour in this case) – since frozen rhubarb typically releases more liquid than fresh, you’ll want to lean towards using the full 8 tablespoons of flour rather than 6, especially if your rhubarb pieces are particularly wet after thawing. The temperature of your oven matters more than you might think – starting with a hot oven (425°F for the first 15 minutes) before reducing to 375°F helps prevent a soggy bottom crust, which is particularly important with juicy rhubarb fillings.
What to Serve With Rhubarb Pie?
This tart and sweet pie practically begs for a scoop of vanilla ice cream on top – the cold, creamy ice cream is just perfect against the warm pie filling! If you’re not in the mood for ice cream, a dollop of freshly whipped cream or even a pour of cold heavy cream works great too. I love serving this pie after a simple Sunday dinner, since its bright flavor helps cut through heavier main dishes. For an extra special touch, try serving it with a small scoop of cream cheese ice cream or a drizzle of caramel sauce to balance out rhubarb’s natural tartness.
Storage Instructions
Counter Storage: Your freshly baked rhubarb pie can sit out at room temperature, covered with foil or plastic wrap, for up to 2 days. The crust stays crispier this way than if you refrigerate it right away.
Refrigerate: If you want your pie to last longer, pop it in the fridge where it’ll keep for up to 5 days. Just cover it well with foil or place it in an airtight container to prevent it from drying out or absorbing other flavors.
Warm Up: Want to bring back that fresh-baked taste? Take a slice and warm it in the oven at 350°F for about 5-10 minutes. Or pop it in the microwave for 30 seconds if you’re in a hurry – though the crust won’t be as crispy this way.
| Preparation Time | 20-30 minutes |
| Cooking Time | 40-60 minutes |
| Total Time | 60-90 minutes |
| Level of Difficulty | Medium |
Estimated Nutrition
Estimated nutrition for the whole recipe (without optional ingredients):
- Calories: 1600-1800
- Protein: 15-20 g
- Fat: 60-70 g
- Carbohydrates: 300-350 g
Ingredients
For the filling:
- 2 cups granulated sugar (cane sugar is best for pies)
- 6 to 8 tbsp all-purpose flour
- 1 tbsp butter (I like Kerrygold unsalted butter)
- 4 cups diced rhubarb (thawed if frozen, about 1/2-inch pieces)
For the pie crust:
- 1 double pie crust (your favorite store-bought or homemade)
Step 1: Preheat the Oven
Begin by preheating your oven to 450ºF.
Proper preheating ensures that your pie will cook evenly and the crust will become a lovely golden brown.
Step 2: Prepare the Rhubarb Filling
In a large bowl, mix together the flour and sugar.
Add the rhubarb pieces and toss everything to combine so that the rhubarb is well coated with the flour mixture.
This will help to create a thick, sweet filling.
Step 3: Assemble the Pie
Roll out your bottom crust and carefully place it into a pie plate.
Transfer the prepared rhubarb filling into the pie plate on top of the crust, spreading it evenly.
Dot the filling with small pieces of butter to add richness.
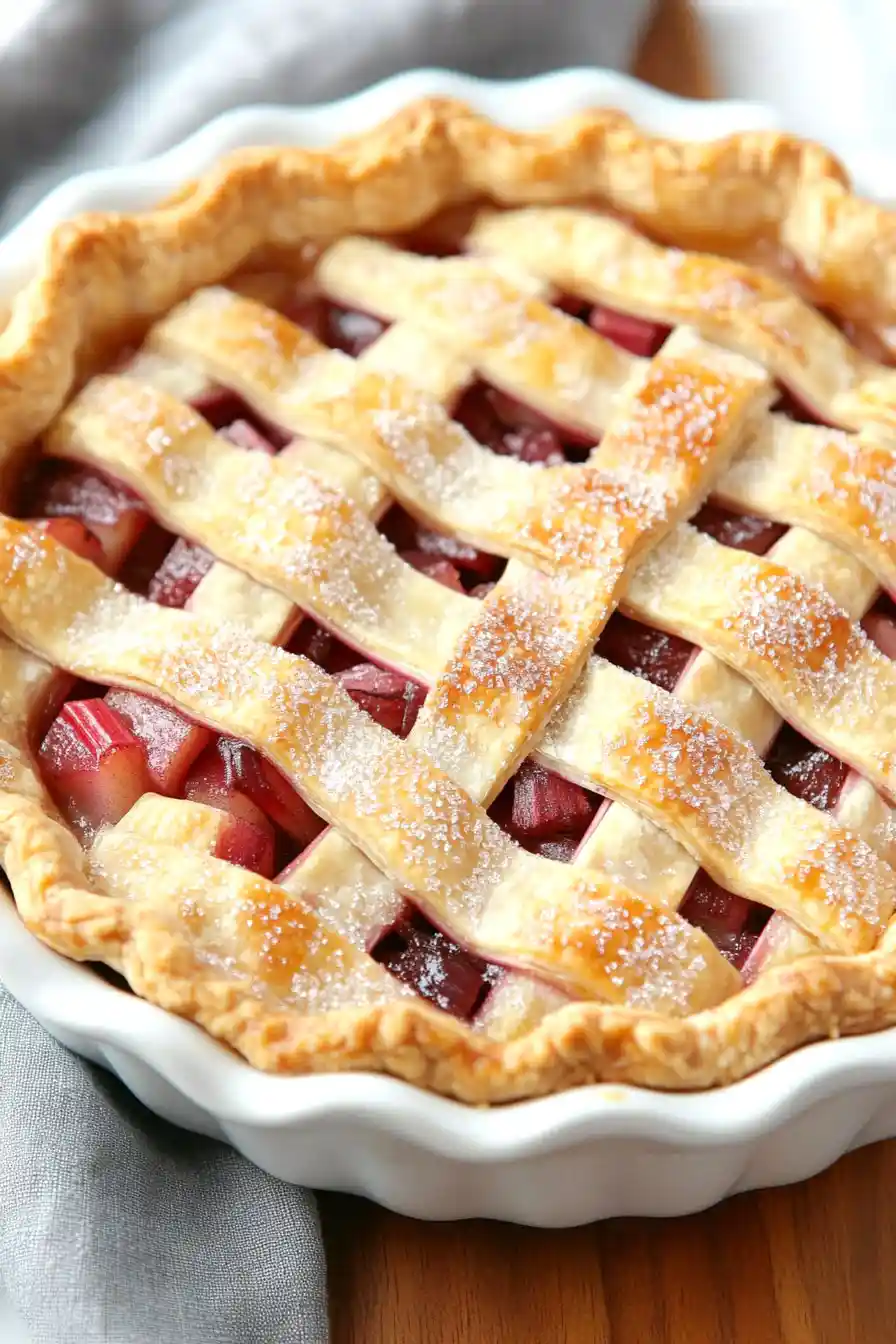
Roll out the top crust and decide whether you’d like to create a lattice by cutting strips or cover with the whole sheet of dough.
Step 4: Seal and Vent the Pie
Trim the edges of the dough if necessary and crimp the two crusts together to seal the pie.
If you are using a whole sheet of dough for the top, cut some small air vents in it to allow steam to escape during baking.
This prevents the pie from getting overly soggy.
Step 5: Bake the Pie
Place the assembled pie on a baking sheet to catch any drips.
Bake in the preheated oven at 450ºF for 10 minutes.
Then, reduce the heat to 350ºF and continue baking for 30-50 minutes or until the filling is bubbling in the middle.
If the crust edges are browning too quickly, cover them with foil to prevent burning.
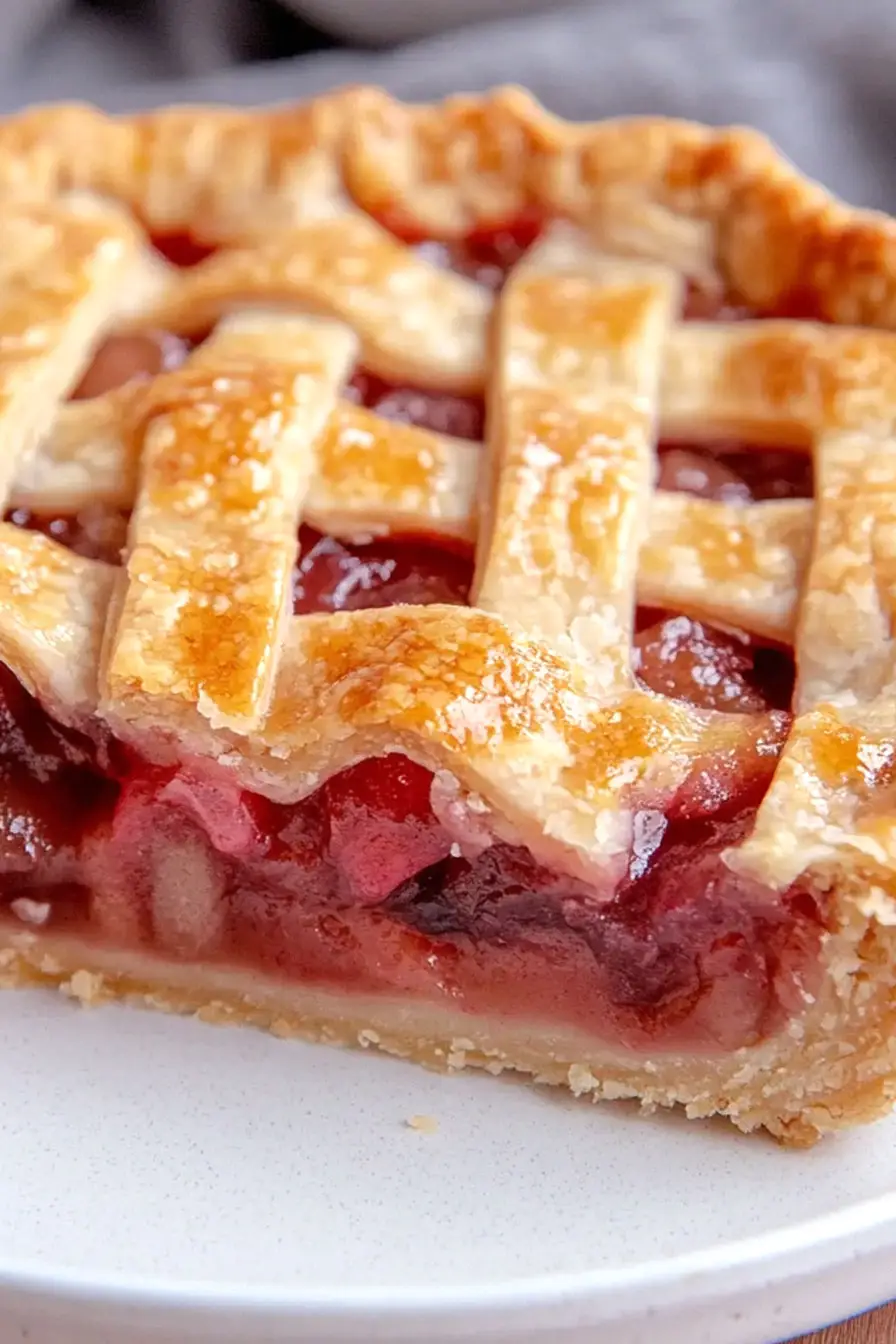
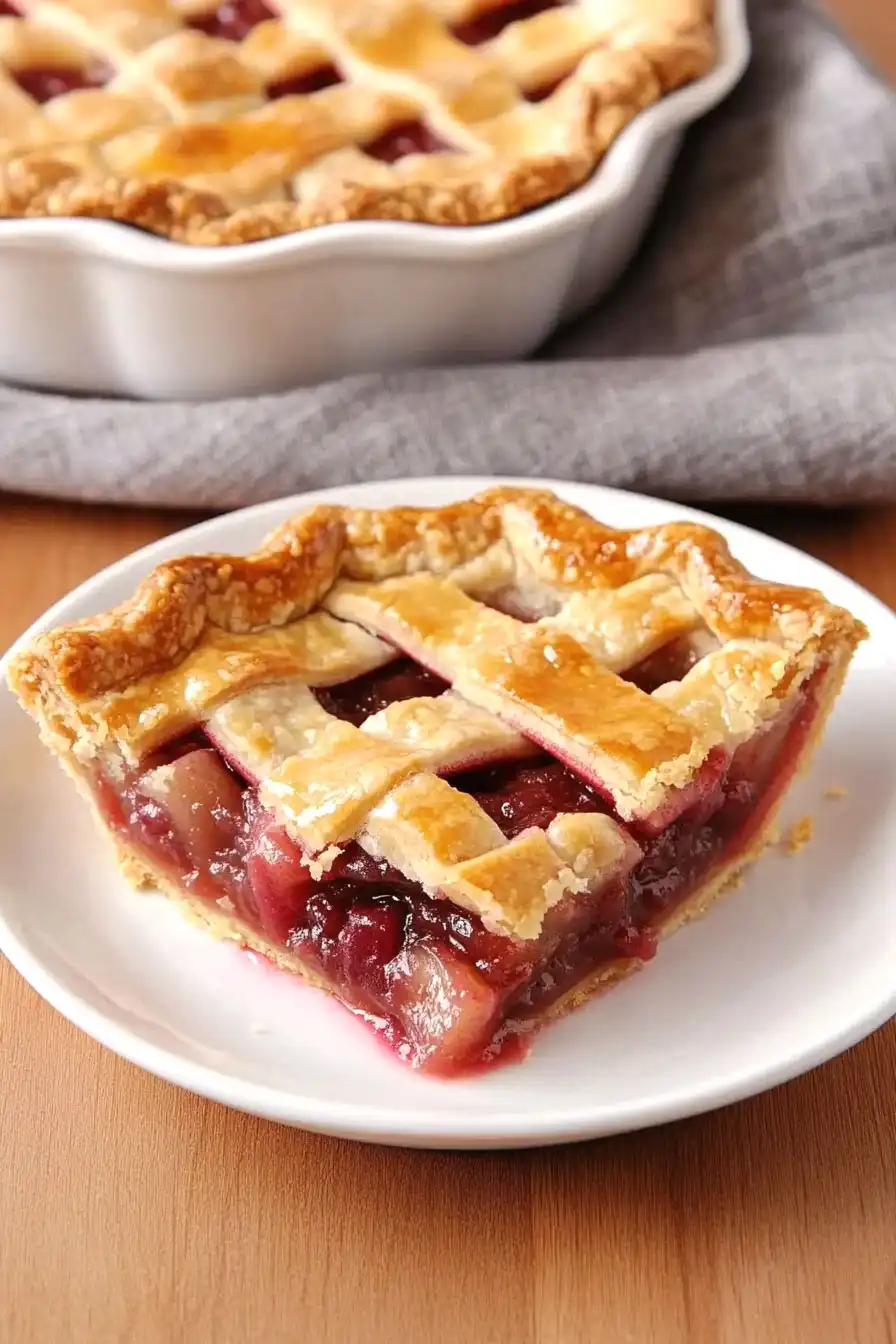
Step 6: Cool and Serve
Once done, remove the pie from the oven and let it cool slightly to allow the filling to set.
Serve warm or at room temperature for a perfect slice of delicious rhubarb pie.
