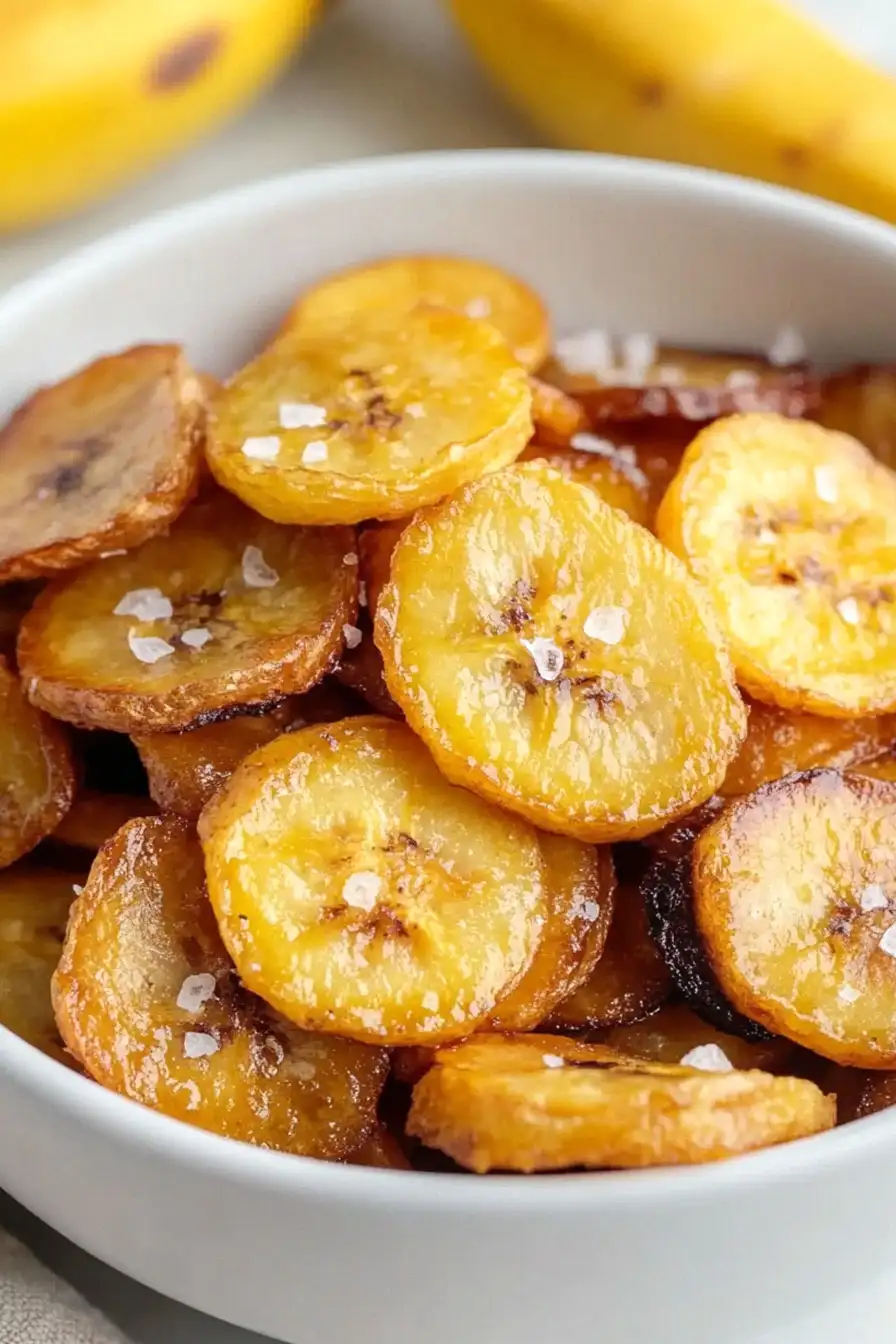
Here’s my go-to recipe for crispy plantain chips, made with ripe or green plantains, a splash of oil, and just the right amount of salt to make them perfectly snackable.
These plantain chips have become my kids’ favorite after-school treat. I usually make a double batch because they disappear so quickly – and let’s be honest, who doesn’t love munching on homemade chips while watching TV?
Why You’ll Love These Plantain Chips
- 3-ingredient simplicity – With just plantains, oil, and salt, you can make these crispy snacks without any complicated ingredients or preservatives.
- Quick preparation – These chips take just 25-35 minutes from start to finish, making them perfect for when you need a quick snack fix.
- Diet-friendly – They’re naturally gluten-free, vegan, and paleo-friendly, making them a great choice for various dietary needs.
- Budget-friendly snack – Plantains are typically inexpensive, so you can make a batch of these chips for much less than store-bought versions.
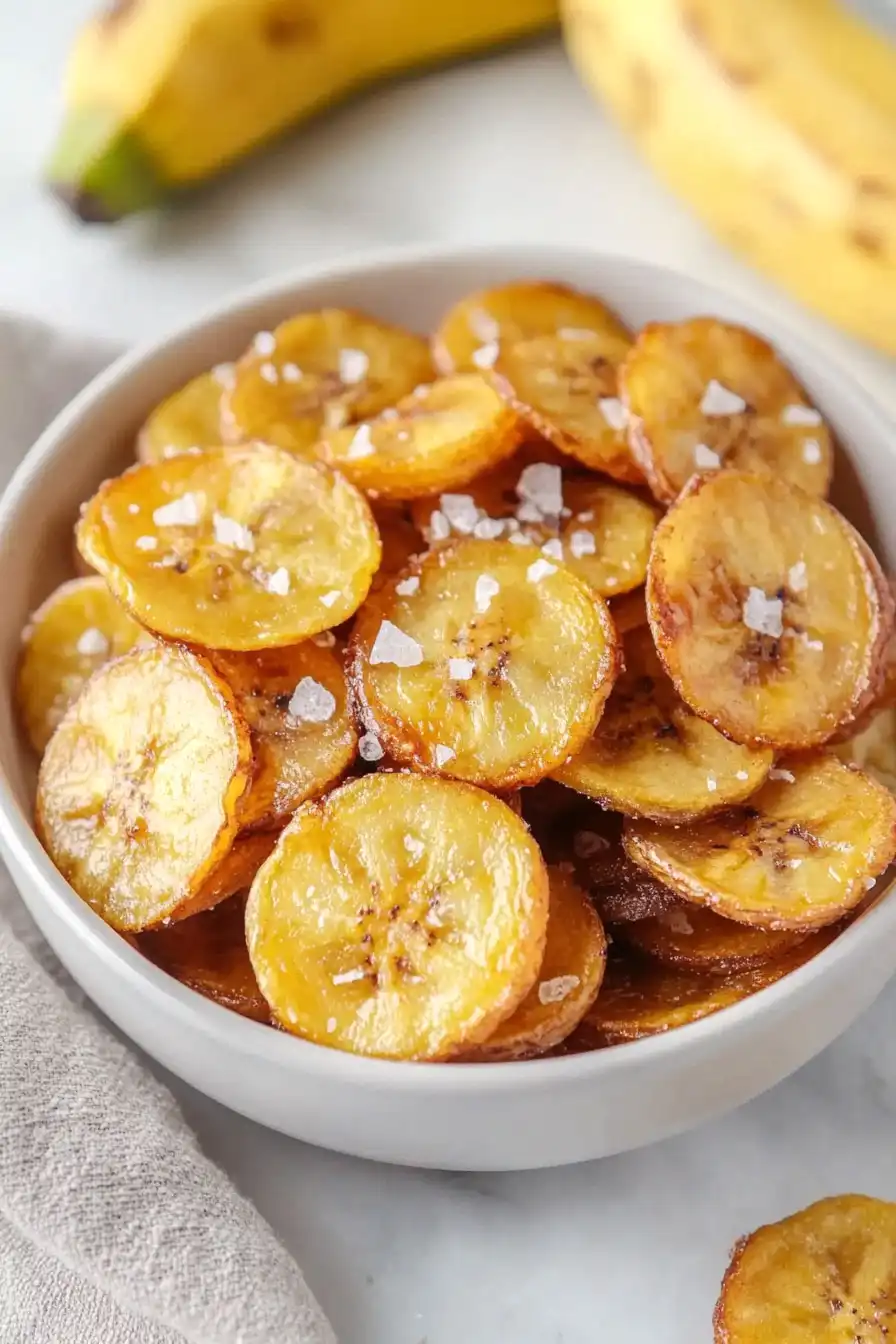
What Kind of Plantains Should I Use?
For making crispy plantain chips, you’ll definitely want to use green, unripe plantains rather than yellow or black ones. Green plantains are starchy and firm, making them perfect for chips since they’ll hold their shape and become nice and crunchy when fried or baked. If your plantains have started turning yellow, they’ll be sweeter and softer, which isn’t ideal for chips since they can become mushy during cooking. When shopping, look for plantains that are firm to the touch and have a bright green peel without any major blemishes or soft spots. Just remember that plantains can be a bit tricky to peel when they’re green – making a few lengthwise cuts in the skin first will make the job much easier.
Options for Substitutions
While this simple recipe has just a few ingredients, here’s what you should know about possible substitutions:
- Green plantains: Green plantains are key to getting that perfect crispy chip – they can’t really be substituted with ripe plantains as those will be too sweet and won’t crisp up properly. Regular bananas won’t work either, as they’re too soft and sweet.
- Avocado oil: You can swap avocado oil with any oil that has a high smoke point – coconut oil, light olive oil, or grapeseed oil all work great. Just avoid extra virgin olive oil as it can burn easily.
- Sea salt: Any type of salt works here – kosher salt, pink Himalayan salt, or regular table salt are all good options. If using table salt, use a bit less as it’s typically more concentrated than sea salt.
Watch Out for These Mistakes While Cooking
The biggest challenge when making plantain chips is achieving that perfect crunch – slicing them too thick will result in chewy centers while paper-thin slices can burn quickly, so aim for consistent 1/8-inch thickness using a mandoline or sharp knife.
Getting the oil temperature right is crucial – if it’s not hot enough (around 350°F), your chips will become greasy and soggy, but too hot and they’ll brown before crisping up properly.
A common error is using ripe, yellow plantains instead of green ones – green plantains have less sugar content and will give you that perfect crispy texture, while ripe ones tend to caramelize and become too sweet.
For extra-crispy results, pat the plantain slices dry with paper towels before frying, and don’t forget to season them immediately after removing from the oil while they’re still hot and slightly oily, helping the salt stick better.
What to Serve With Plantain Chips?
These crunchy plantain chips make a great snack on their own, but they really shine when paired with your favorite dips! Try serving them with fresh guacamole or a zesty mango salsa for a tropical twist. They’re also perfect for scooping up black bean dip or hummus if you want to keep things simple. Since these chips are naturally on the starchy side, they go really well with anything that has a bit of acidity or heat – think spicy Mexican-style street corn dip or a tangy chimichurri sauce.
Storage Instructions
Keep Crispy: Let your plantain chips cool completely before storing them – this is key to keeping that nice crunch! Place them in an airtight container or zip-top bag with a paper towel to absorb any extra moisture. They’ll stay crispy at room temperature for up to 5 days.
Revive: If your chips lose their crunch after a few days (it happens!), spread them on a baking sheet and pop them in the oven at 350°F for about 2-3 minutes. This quick trick brings back that fresh-made crispiness.
Not Recommended: I don’t recommend freezing plantain chips as they’ll lose their crispy texture. These are best enjoyed within the first few days of making them, which usually isn’t a problem since they’re so snackable!
| Preparation Time | 10-15 minutes |
| Cooking Time | 15-20 minutes |
| Total Time | 25-35 minutes |
| Level of Difficulty | Easy |
Estimated Nutrition
Estimated nutrition for the whole recipe (without optional ingredients):
- Calories: 200-250
- Protein: 2-3 g
- Fat: 7-10 g
- Carbohydrates: 40-45 g
Ingredients
- 1/2 tbsp avocado oil
- 1 unripe plantain (green, very firm, for crispier chips)
- sea salt (finely ground for even seasoning)
Step 1: Preheat the Oven
Set your oven to preheat at 350 degrees Fahrenheit.
This will ensure it reaches the right temperature by the time you’re ready to bake the plantain slices.
Step 2: Prepare the Plantains
Using a small knife, make 3-4 cuts lengthwise down the plantain.
Make sure the cuts are deep enough to go through the peel without slicing into the flesh.
Once you have made the incisions, carefully remove the peel from the plantain.
Step 3: Slice and Coat the Plantains
Thinly slice the plantain using a mandoline set to the thinnest setting.
This will create uniform slices that cook evenly.
Transfer the plantain slices to a bowl and drizzle with avocado oil.
Toss the slices gently to ensure they are evenly coated with the oil, which will help them crisp up during baking.
Step 4: Arrange and Bake the Plantain Slices
Line a baking tray with parchment paper.
Place the plantain slices on the tray in a single layer, ensuring they don’t overlap, for even cooking.
Lightly sprinkle the slices with sea salt for enhanced flavor.
Bake in the preheated oven for 15-20 minutes, or until the slices are just golden along the edges.
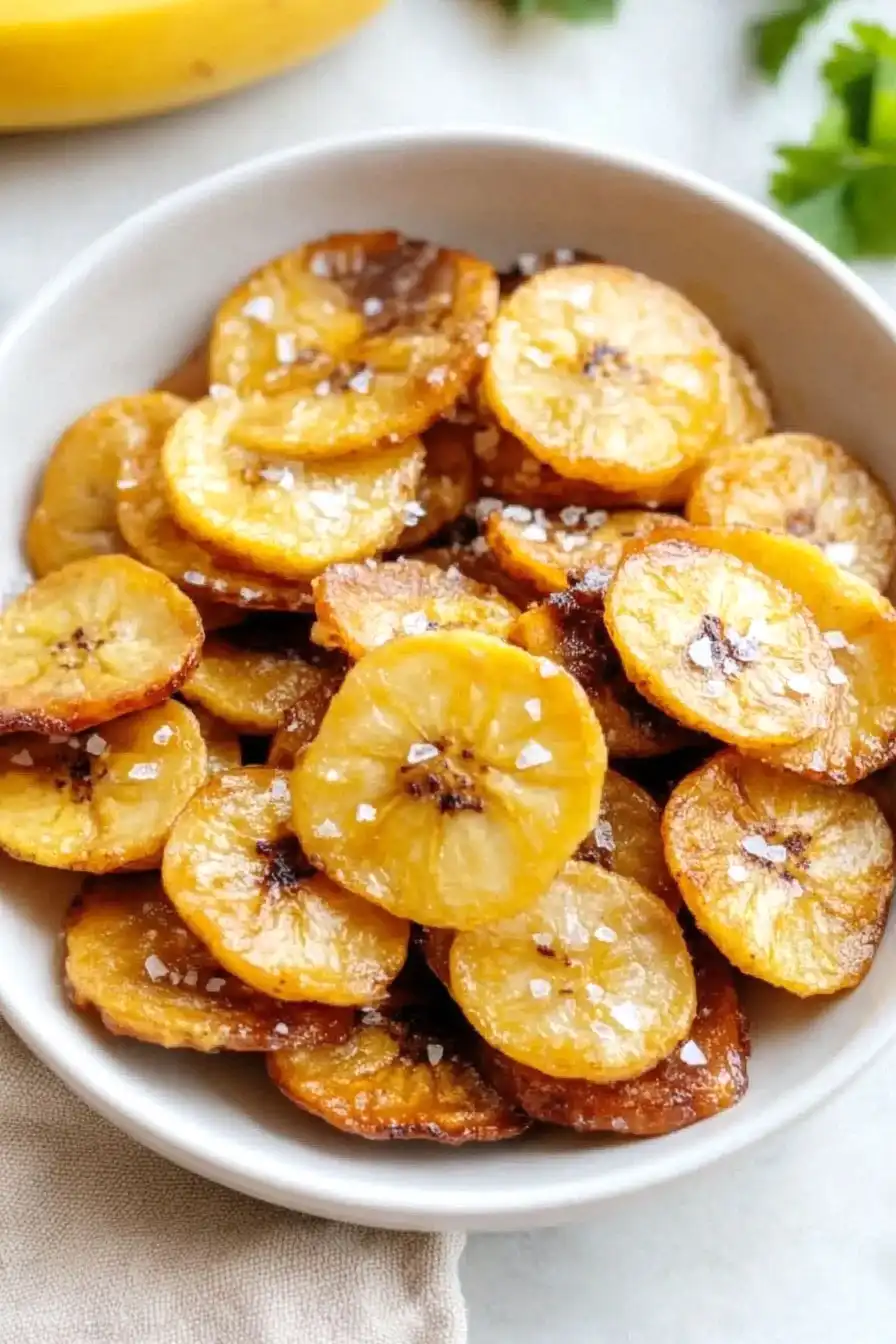
Step 5: Cool and Serve
Once baked to your desired crispness, remove the tray from the oven carefully and allow the plantain slices to cool slightly on the tray.
This will help them crisp up further.
Serve immediately as a tasty snack or side dish!
