If you ask me, okra chips are one of the smartest snack ideas around.
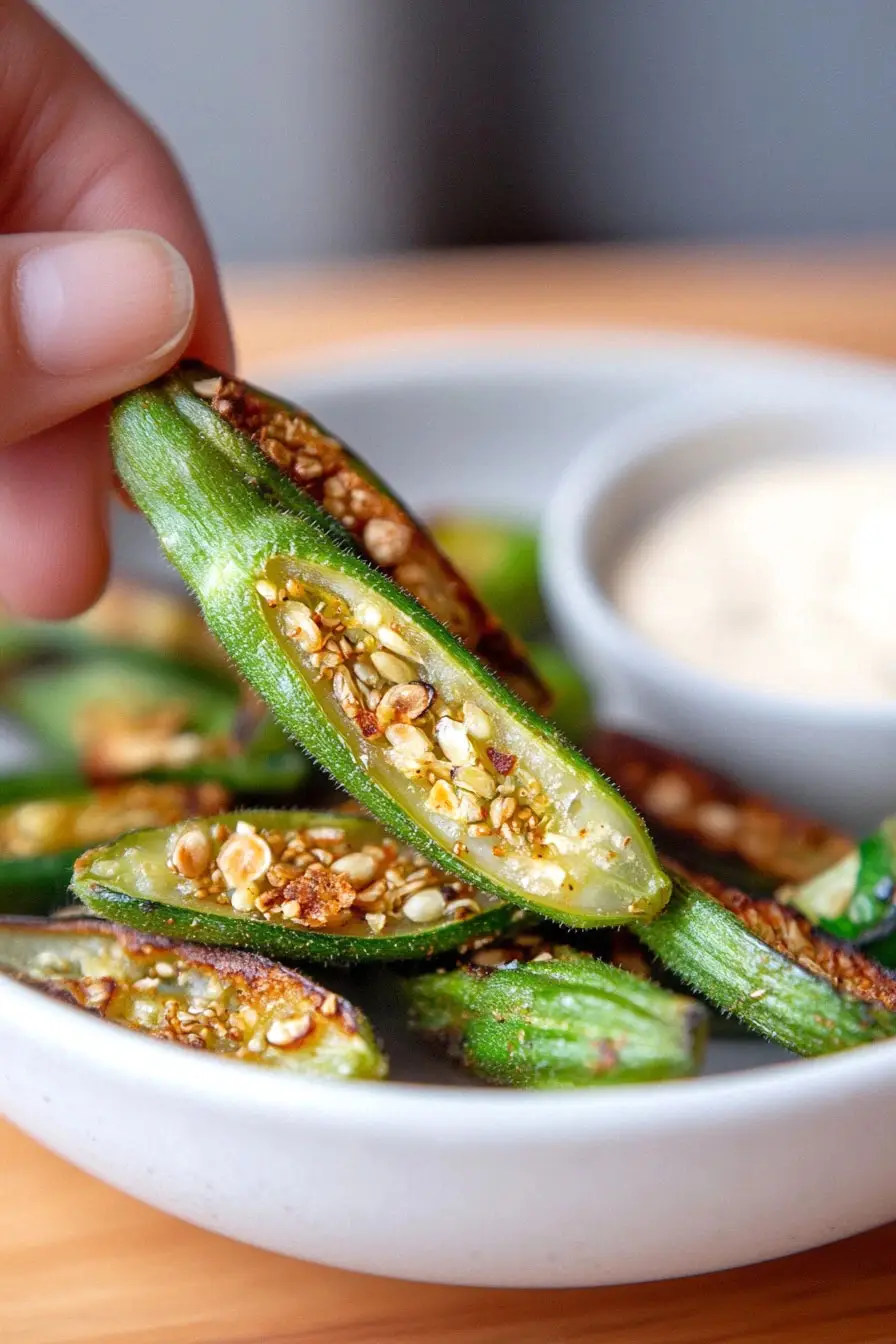
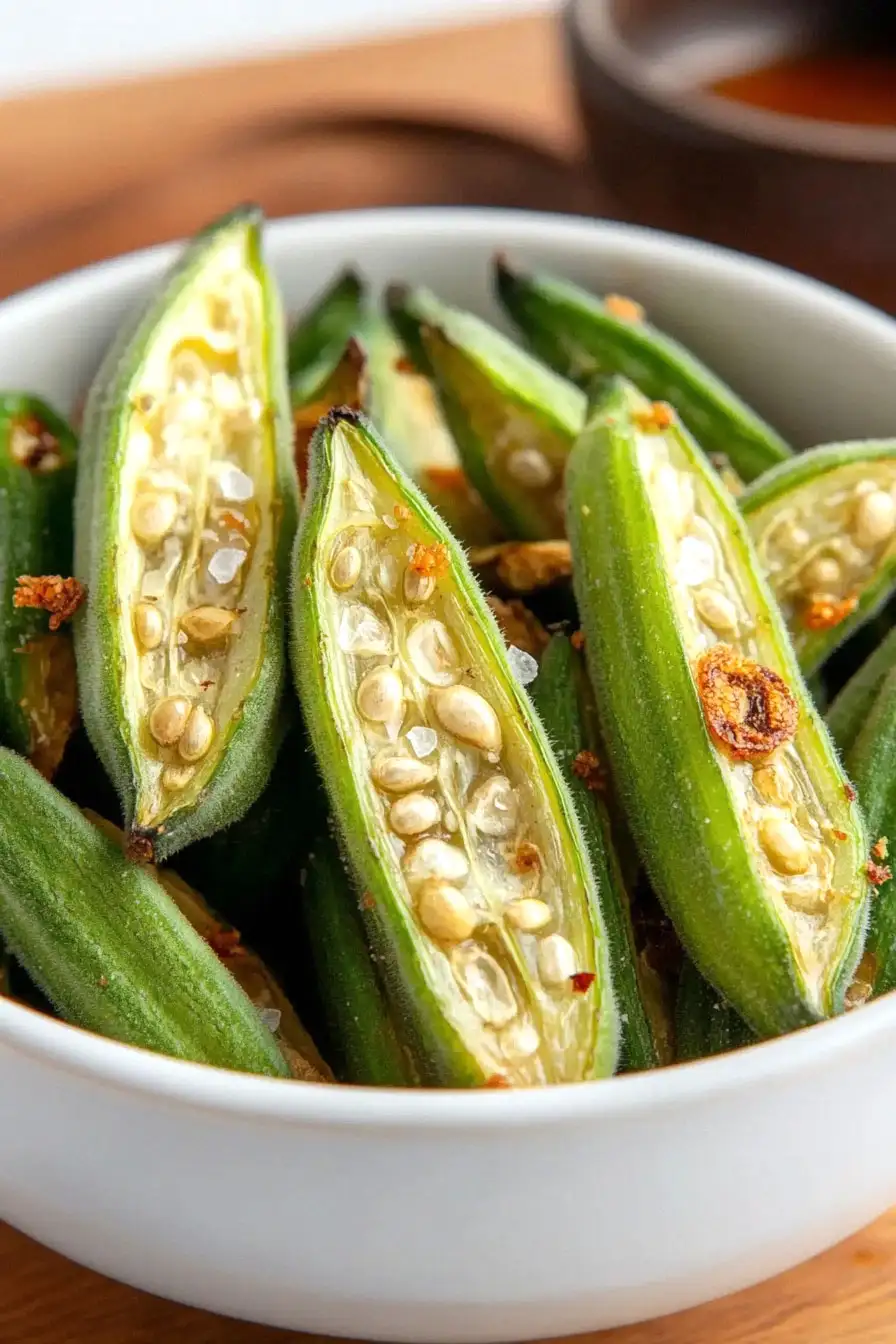
These crispy little bites take everything good about fresh okra and turn it into a snack that’s both light and satisfying. The natural texture of okra becomes wonderfully crunchy when baked, and a sprinkle of salt brings out its natural flavor.
I like to make a big batch on Sunday afternoons – they never last long in our house. A quick toss in olive oil and a trip to the oven is all it takes to make these addictive chips.
It’s a simple, healthy alternative to store-bought snacks that’s perfect for afternoon cravings or lunch box treats.
Why You’ll Love These Okra Chips
- Quick and easy snack – These crispy bites take just 20-30 minutes to make, perfect for when you need a quick snack without much fuss.
- Simple ingredients – You only need 4 basic ingredients that you probably already have in your kitchen – okra, oil, salt, and pepper.
- Healthy alternative – These chips are a nutritious swap for regular potato chips, giving you all the crunch without the processed ingredients.
- Budget-friendly – Making your own veggie chips at home costs way less than store-bought alternatives, and you get to control exactly what goes into them.
What Kind of Okra Should I Use?
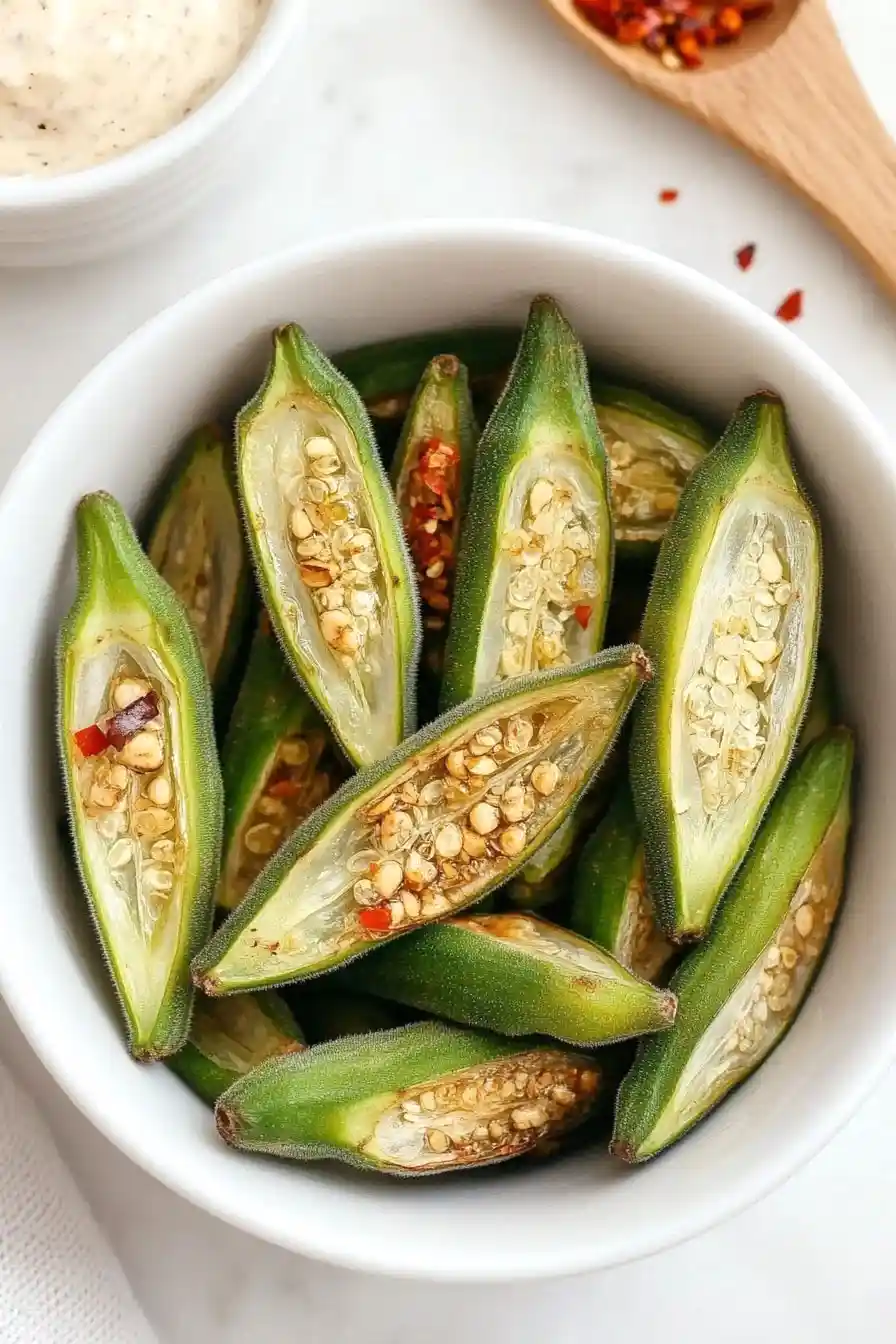
When shopping for okra to make chips, look for pods that are bright green and about 2-4 inches long – these are the most tender and perfect for crisping up. Avoid any pods that feel hard or woody, as those are usually too mature and can be tough and stringy. Fresh okra is best for this recipe, but if you can only find frozen, make sure to thaw and dry it really well before cooking to help achieve maximum crispiness. If you’re at the store, give the pods a gentle squeeze – they should feel firm but not rock hard, and avoid any that have brown spots or feel slimy to the touch.
Options for Substitutions
While okra is the star of this recipe, here are some helpful substitution tips:
- Okra: Since this is an okra chip recipe, okra is essential and can’t really be substituted – it has a unique texture and flavor that makes these chips special. However, you can use either fresh or frozen okra (just make sure to thaw and pat dry completely if using frozen).
- Oil: Any neutral oil works great here! Try avocado oil, olive oil, coconut oil, or even grapeseed oil. Just avoid oils with very low smoke points since we’re baking at higher temperatures.
- Seasonings: Salt and pepper are just the beginning – feel free to experiment with different seasonings like garlic powder, paprika, cayenne for heat, or even ranch seasoning mix. Just keep the amount similar to maintain the right flavor balance.
Watch Out for These Mistakes While Baking
The biggest challenge when making okra chips is dealing with excess moisture, which can prevent them from getting crispy – make sure to thoroughly pat the okra dry with paper towels after washing and slicing.
Another common mistake is overcrowding the baking sheet, so give each piece enough space to allow hot air to circulate, and arrange them in a single layer without overlapping.
The timing is crucial – checking your okra chips frequently after the first 15 minutes of baking is essential since they can go from perfectly crispy to burnt in just a minute or two, and remember to flip them halfway through baking for even crispiness.
For extra crunch, let the chips cool completely on the baking sheet before storing them in an airtight container, and if they lose their crispiness over time, you can quickly refresh them in a warm oven for 2-3 minutes.
What to Serve With Okra Chips?
These crispy okra chips make a great snack on their own, but they’re even better when you pair them with the right dips and accompaniments! A cool and creamy ranch dip or tangy remoulade sauce works perfectly with the crunchy texture of these chips. If you’re serving them as part of a bigger spread, they fit right in alongside other finger foods like chicken wings, sliders, or veggie sticks. I also love adding them to a sandwich plate for some extra crunch instead of regular potato chips.
Storage Instructions
Keep Crispy: Once your okra chips have completely cooled down, place them in an airtight container with a paper towel at the bottom to absorb any excess moisture. They’ll stay crispy at room temperature for about 3-4 days. Just make sure to keep them away from any humidity!
Store: If you live in a humid climate, you might want to store these in the fridge in an airtight container. While they might lose some of their crunch, they’ll last longer – up to a week. Just remember to bring them to room temperature before snacking.
Crisp Up: If your chips have lost their crunch, you can easily revive them! Just spread them on a baking sheet and pop them in a 350°F oven for 2-3 minutes. Keep an eye on them though – they can go from perfectly crispy to burnt pretty quickly.
| Preparation Time | 10-15 minutes |
| Cooking Time | 10-15 minutes |
| Total Time | 20-30 minutes |
| Level of Difficulty | Easy |
Estimated Nutrition
Estimated nutrition for the whole recipe (without optional ingredients):
- Calories: 250-300
- Protein: 6-8 g
- Fat: 20-24 g
- Carbohydrates: 20-25 g
Ingredients
- 1/2 tsp black pepper
- 2 tbsp cooking oil (grapeseed or avocado work well)
- 20 okra pods (fresh, firm, and bright green)
- 1/2 tsp salt (fine sea salt is recommended)
Step 1: Preheat the Oven
Begin by preheating your oven to 350°F (175°C) to ensure it’s ready for baking the okra.
Step 2: Prepare the Okra
In a large bowl, toss sliced okra gently with oil, salt, and pepper until evenly coated.
Arrange the seasoned okra on a rimmed baking sheet in a single layer for even cooking.
Step 3: Bake the Okra
Place the baking sheet in the preheated oven and bake the okra for approximately 10 to 15 minutes.
Halfway through the cooking time, turn the okra slices over to ensure they crisp up evenly.
Keep in mind that the total cooking time may vary depending on the thickness of the slices, so adjust as necessary.
Remove from oven when the okra is crispy.
Step 4: Cool and Store
Transfer the crispy okra to a paper towel to absorb any excess oil.
If you have any leftovers, they can be refrigerated, although they will lose their crispiness.
You can reheat them to restore some of their texture.
