Here’s my go-to popsicle recipe that’s quick, fun, and perfect for those warm summer days. I’ve kept things simple with fresh ingredients and easy steps that anyone can follow to make these cool treats at home.
These popsicles have become a summer tradition in our house, and I usually make a double batch because they disappear so quickly. Nothing beats having a homemade popsicle by the pool on a hot afternoon, right?
Why You’ll Love These Popsicles
- Fresh and natural ingredients – Made with real fruit and natural sweeteners, these popsicles contain no artificial colors or flavors – just pure, wholesome ingredients you can feel good about.
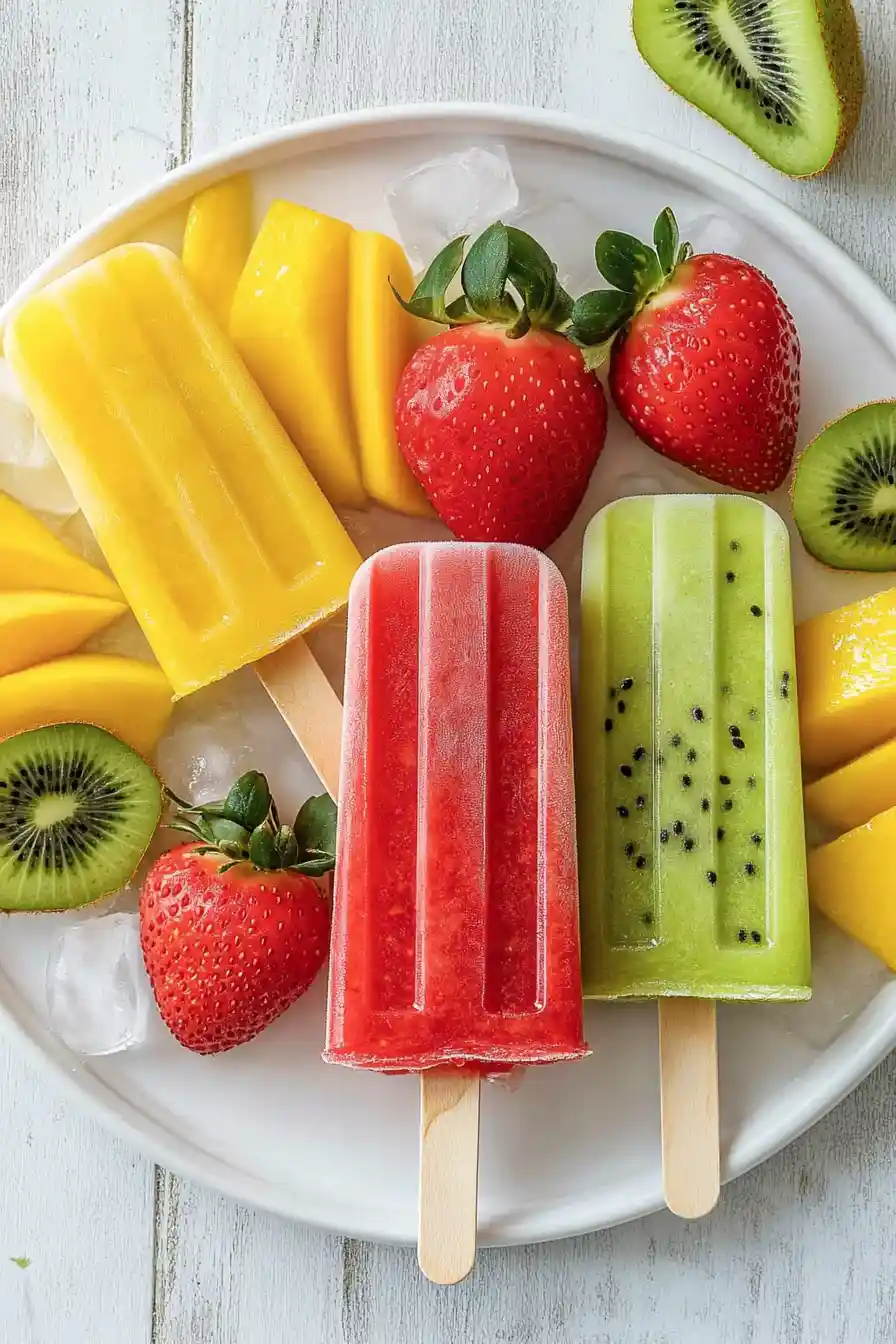
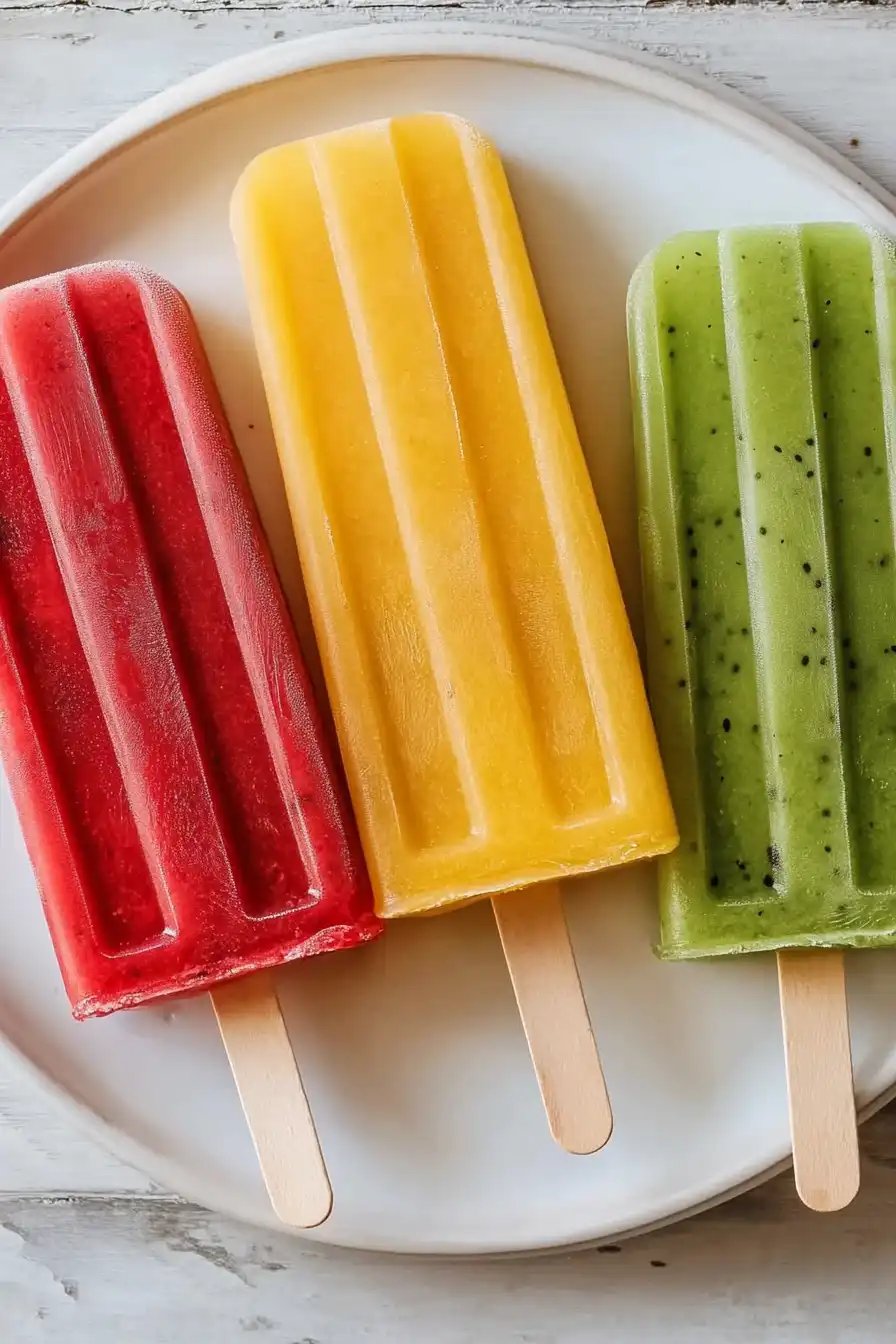
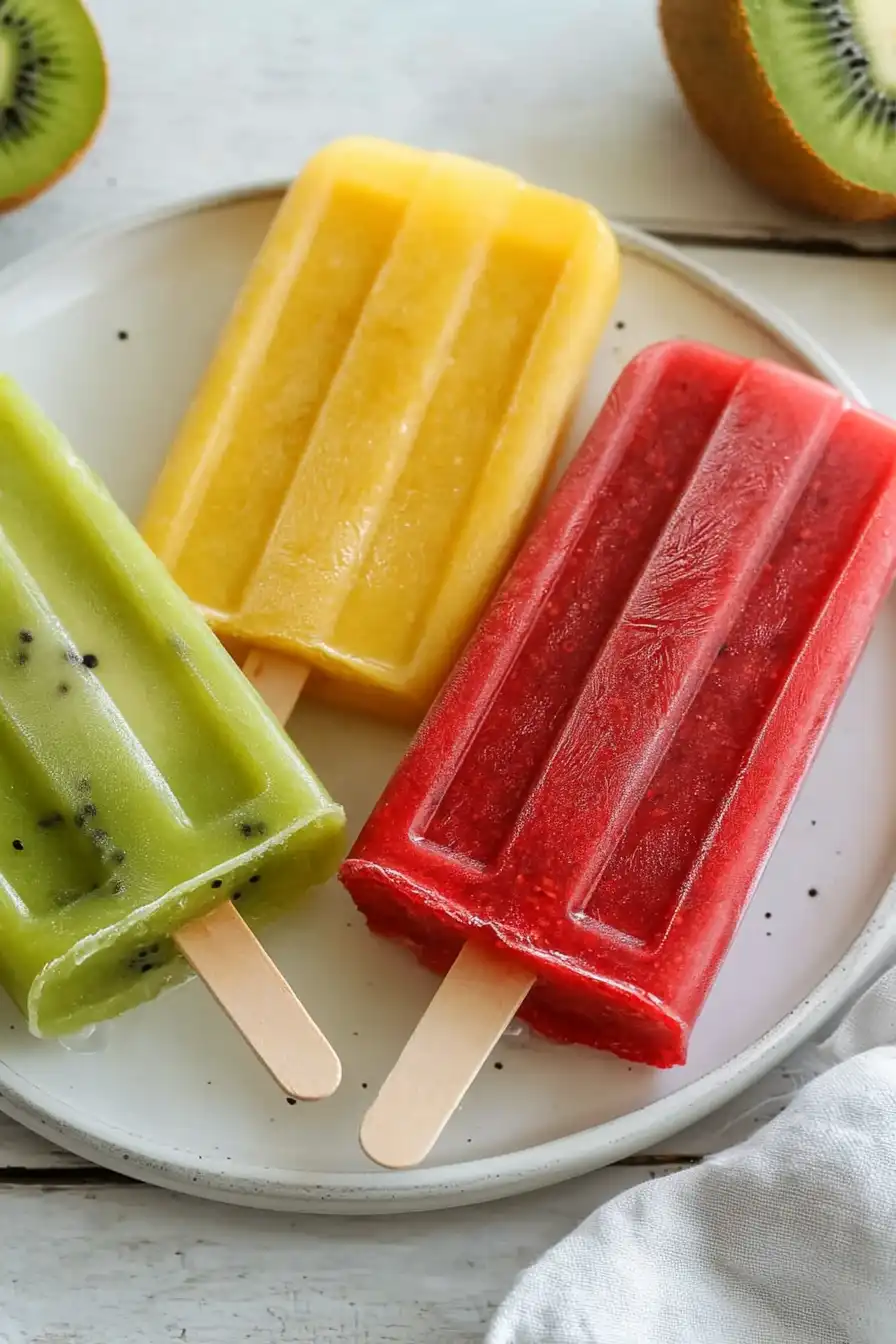
- Three delicious flavors – With strawberry, mango, and kiwi layers, you get three different taste experiences in one colorful treat.
- Kid-friendly snack – These homemade popsicles are a great way to get kids to eat more fruit, and they’re fun to make together as a family activity.
- Make-ahead convenience – Once frozen, these popsicles stay ready in your freezer for whenever you need a cool, refreshing treat.
- Diet-friendly dessert – Perfect for anyone watching their sugar intake, these fruit-based pops are naturally sweet and much healthier than store-bought alternatives.
What Kind of Fruit Should I Use?
For these fruity popsicles, you’ll want to use ripe fruit that’s at its peak sweetness – this means strawberries that are bright red throughout, mangoes that yield slightly to pressure, and kiwis that are soft but not mushy. Fresh fruit will give you the best flavor, but if you’re in a pinch, frozen strawberries and mangoes can work too (just thaw them first). When picking your fruit, give it a gentle squeeze and a sniff – ripe fruit should have a sweet aroma and feel heavy for its size. If your fruit isn’t quite ripe enough when you buy it, let it sit at room temperature for a day or two to develop more natural sweetness before using it in your popsicles.
Options for Substitutions
These fruity popsicles are super adaptable – here’s how you can mix things up:
- Fresh fruits: If you can’t find fresh strawberries, mango, or kiwi, frozen fruits work great too! Just thaw them first and drain any excess liquid. You can also swap in other fruits like peaches, raspberries, blueberries, or pineapple – just keep the same measurements.
- Honey: Not a honey fan? Try maple syrup, agave nectar, or simple syrup instead. If your fruit is already super sweet, you can even skip the sweetener altogether.
- Lemon juice: Lime juice works just as well as lemon juice. For the orange juice portion, you can use store-bought juice if fresh isn’t available.
- Salt: While it might seem odd, that tiny pinch of salt really helps bring out the fruit flavors. You can skip it if you prefer, but I’d recommend keeping it in!
Watch Out for These Mistakes While Making
The biggest challenge when making fruit popsicles is preventing ice crystals from forming, which can make your treats grainy instead of smooth – blending your fruits until completely smooth and adding a touch of honey helps create a better texture. A common mistake is filling the molds too quickly, which can lead to uneven layers and mixing of colors – instead, freeze each layer for about 30 minutes before adding the next one, and insert the popsicle sticks when the first layer is partially frozen. To ensure easy removal, don’t run your molds under hot water for too long – just a quick 10-15 second rinse is enough, as too much heat will cause the popsicles to melt unevenly and lose their shape. For the best results, let your popsicles freeze completely for at least 6 hours (preferably overnight), and if you’re not eating them right away, wrap each pop individually in plastic wrap to prevent freezer burn.
What to Serve With Popsicles?
These fruity popsicles are perfect for a summer party spread or poolside snack! Since they’re already sweet and refreshing, I like to serve them with some salty or crunchy snacks for balance – think lightly salted popcorn or a bowl of mixed nuts. For kids’ parties, I’ll often put out some fresh fruit slices that match the popsicle flavors (like strawberries, mango, and kiwi) so everyone can munch while they enjoy their frozen treats. If you’re hosting an adult gathering, these popsicles make a fun addition to sparkling water or prosecco – just pop the popsicle in the glass and let it slowly melt for a naturally flavored drink.
Storage Instructions
Keep Frozen: Once your popsicles are completely frozen solid (about 6-8 hours), you can transfer them to a freezer-safe zip-top bag or container. They’ll stay fresh and tasty in your freezer for up to 3 months. Pro tip: wrap each pop individually in wax paper or plastic wrap to prevent freezer burn!
Prevent Sticking: If you’re storing multiple popsicles together, place a piece of parchment paper between each layer to keep them from sticking to each other. This makes it super easy to grab just one whenever you’re craving a cool treat.
Serve: When you’re ready to enjoy your popsicle, let it sit at room temperature for about 1-2 minutes to soften slightly – this makes it easier to remove from the mold. If the popsicle is stuck, run the mold briefly under warm water, being careful not to get water on the popsicle itself.
| Preparation Time | 10-15 minutes |
| Cooking Time | 240 minutes |
| Total Time | 250-255 minutes |
| Level of Difficulty | Easy |
Estimated Nutrition
Estimated nutrition for the whole recipe (without optional ingredients):
- Calories: 400-450
- Protein: 5-7 g
- Fat: 1-2 g
- Carbohydrates: 100-110 g
Ingredients
Strawberry Layer
- 2.5 cups strawberries (fresh or frozen, thawed)
- 1 pinch salt
- 2 tbsp lemon juice (freshly squeezed for best flavor)
- 1 tbsp honey
Mango Layer
- 2.25 cups diced mango (ripe, sweet mangoes are key)
- 1 pinch salt
- 1/4 cup orange juice (freshly squeezed preferred)
- 1 tbsp honey
Kiwi Layer
- 2.25 cups diced kiwi (peeled before dicing)
- 1 pinch salt
- 2 tbsp lemon juice
- 1 tbsp honey
Step 1: Blend the Ingredients
Place the fruit, juice, honey, and a pinch of salt into a blender.
Blend until the mixture is completely smooth, ensuring there are no chunks remaining.
This will ensure a uniform texture in your popsicles.
Step 2: Fill the Popsicle Molds
Once the fruit mixture is smooth, divide it evenly between four 4-ounce popsicle molds.
Fill each mold to the top, ensuring you leave a little space for the popsicle sticks.
Cap with the tops of the molds to secure the sticks in place.
Step 3: Freeze the Popsicles
Place the filled popsicle molds in the freezer.
Let them freeze until firm, for at least 4 hours.
This will give them the time needed to set completely and ensure they’re solid when you unmold them.
Step 4: Unmold and Serve
When ready to enjoy, run the bottoms of the popsicle molds under hot water for about 5 seconds.
This will help loosen the popsicles, making it easier to pull them out of the molds.
Once removed, your homemade popsicles are ready to serve and enjoy!
