I never thought I’d be writing about turnip juice, but here we are! Growing up, turnips were just those round purple and white vegetables my mom would add to stews. But lately, I’ve been exploring different ways to use root vegetables in my daily routine. After trying turnip juice at a local farmer’s market, I was surprised by how refreshing it was.
Making turnip juice at home is actually much easier than you might think. The process is straightforward, and you don’t need any fancy equipment – just a basic juicer or blender will do. I like to make a batch on Sunday afternoons while I’m meal prepping for the week. Sometimes I’ll add an apple or carrot to mix things up, but the simple version is just as good.
If you’re new to vegetable juicing or looking for something different from your usual carrot or celery juice, give this one a try. It’s become a regular part of my morning routine, and my kids even ask for it now (though they still won’t eat turnips in their regular form!).
Why You’ll Love This Fermented Turnip Juice
- Probiotic-rich drink – This fermented beverage is packed with beneficial bacteria that can support your gut health and immune system.
- Traditional recipe – This time-tested fermentation method has been used for generations to create a tangy, refreshing drink that’s both nutritious and flavorful.
- Cost-effective – Using simple, affordable vegetables and basic pantry ingredients, you can make large batches of this healthy drink at home.
- Long shelf life – Once fermented, this juice can be stored in the refrigerator for several weeks, making it a practical addition to your healthy drink rotation.
- Customizable heat – You can adjust the number of spicy peppers to make it as mild or as spicy as you prefer.
What Kind of Turnips Should I Use?
For turnip juice (also known as turnip fermentation in some cultures), you’ll want to look for fresh, young turnips that are firm and heavy for their size. The smaller turnips (about 2-3 inches in diameter) are usually the best choice since they tend to be sweeter and less woody than their larger counterparts. If you can find them, white turnips are ideal for juicing because they have a milder flavor than their yellow or purple relatives. Just make sure to avoid any turnips with soft spots, blemishes, or signs of wilting – these could affect the fermentation process and final taste of your juice. When prepping them, peel the turnips only if the skin is particularly thick or damaged, as the skin can actually add to the fermentation process.
Options for Substitutions
This traditional fermented juice recipe can be adjusted with several substitutions if needed:
- Purple carrots: Regular orange carrots work just fine here – they’ll change the color slightly but won’t affect the taste much. You can also use parsnips for a different but equally good flavor.
- Beetroots: While beetroots give this drink its nice color and earthy taste, you can skip them or replace with more turnips. Just know the final color will be lighter.
- Lemon salt: If you can’t find lemon salt, use citric acid (2 teaspoons) or the juice of 2 fresh lemons instead.
- Spicy peppers: Any hot peppers will work – jalapeños, serranos, or even red pepper flakes (start with 2 tablespoons). Adjust the amount based on how spicy you like it.
- Chickpeas: These help with fermentation, but you can substitute with white beans or even split peas. Just make sure they’re raw, not cooked.
- Bulgur: This is also for fermentation – you can replace it with cracked wheat or even rice. Don’t skip both the chickpeas and bulgur though, as they’re important for the fermentation process.
- Turnips: These are the star ingredient and can’t be substituted as they give the juice its characteristic flavor.
Watch Out for These Mistakes While Making
The biggest challenge when making turnip juice is getting the salt ratio wrong, which can lead to either a too-salty or under-fermented result – aim for exactly 4 tablespoons of pickling salt per kilogram of vegetables to achieve the perfect balance.
Many home cooks make the mistake of not washing their vegetables thoroughly enough before processing, so make sure to scrub your turnips, carrots, and beetroots well to remove any dirt that could affect the fermentation process.
Temperature control is crucial during fermentation – keeping your juice at room temperature (around 68-72°F) for the first few days helps kickstart the process, but storing it in a too-warm spot can lead to over-fermentation and an overly sour taste.
For the best color and flavor development, don’t skip the chickpeas and bulgur as they help maintain the crunchiness and act as natural preservatives during the fermentation process – just make sure they’re completely submerged in the liquid to prevent mold growth.
What to Serve With Turnip Juice?
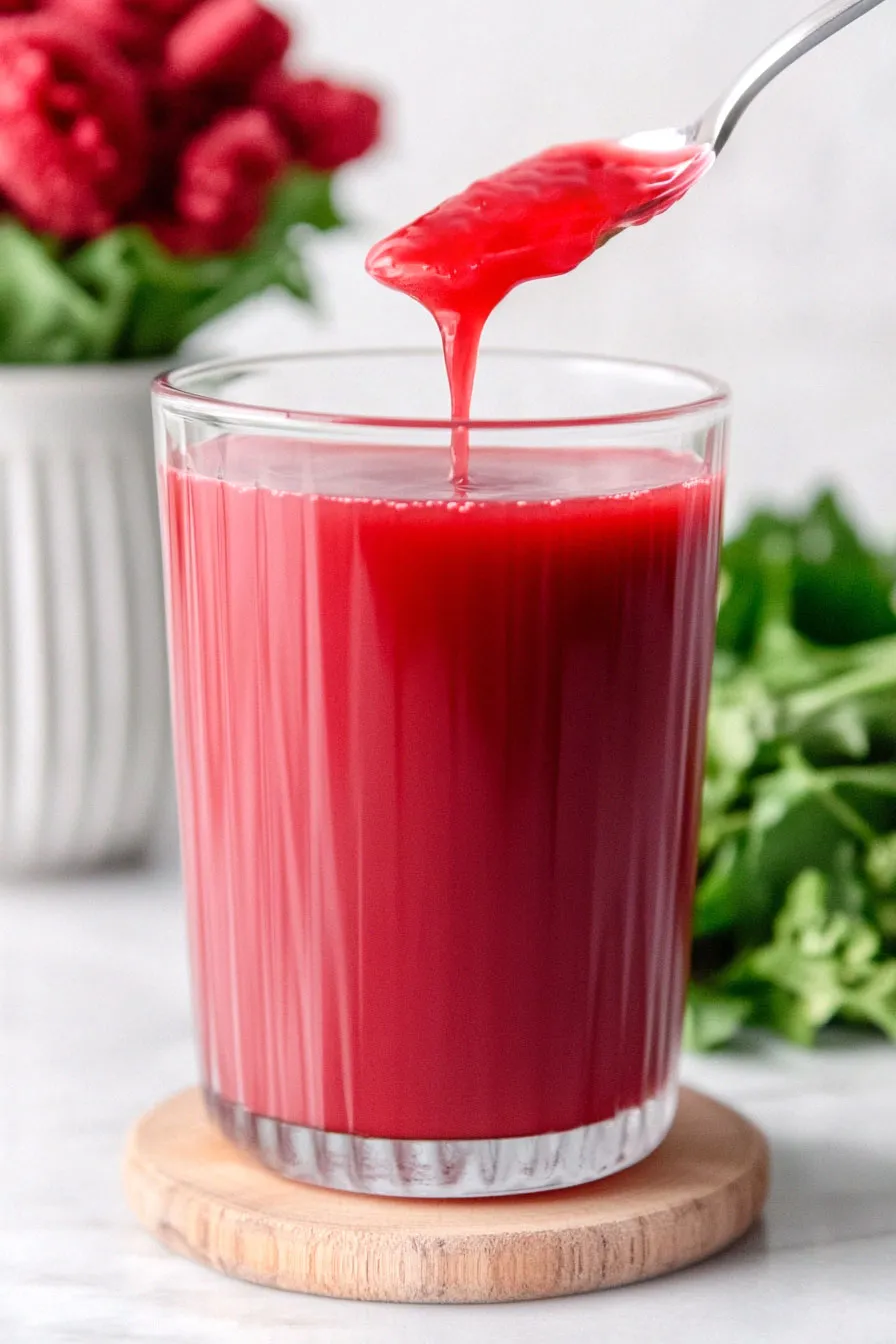
This tangy and spicy turnip juice is a popular Middle Eastern drink that pairs wonderfully with hearty meals. Since it’s quite bold in flavor, it goes really well with grilled meats like shawarma, kebabs, or falafel wraps. You can also serve it alongside rice dishes or as part of a mezze spread with hummus, tabbouleh, and pita bread. If you’re serving it as a drink on its own, try adding some ice cubes and a squeeze of fresh lemon to make it extra refreshing.
Storage Instructions
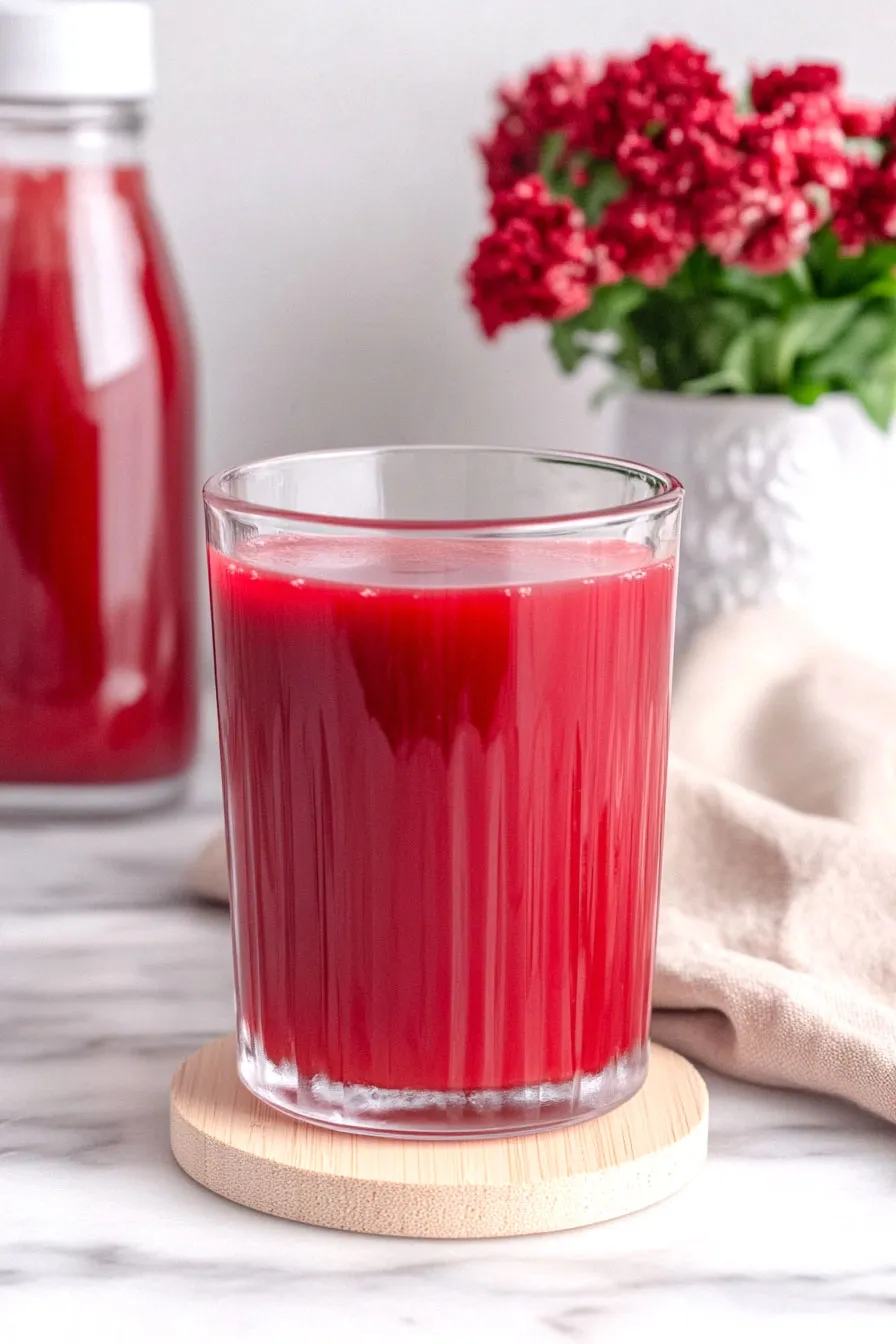
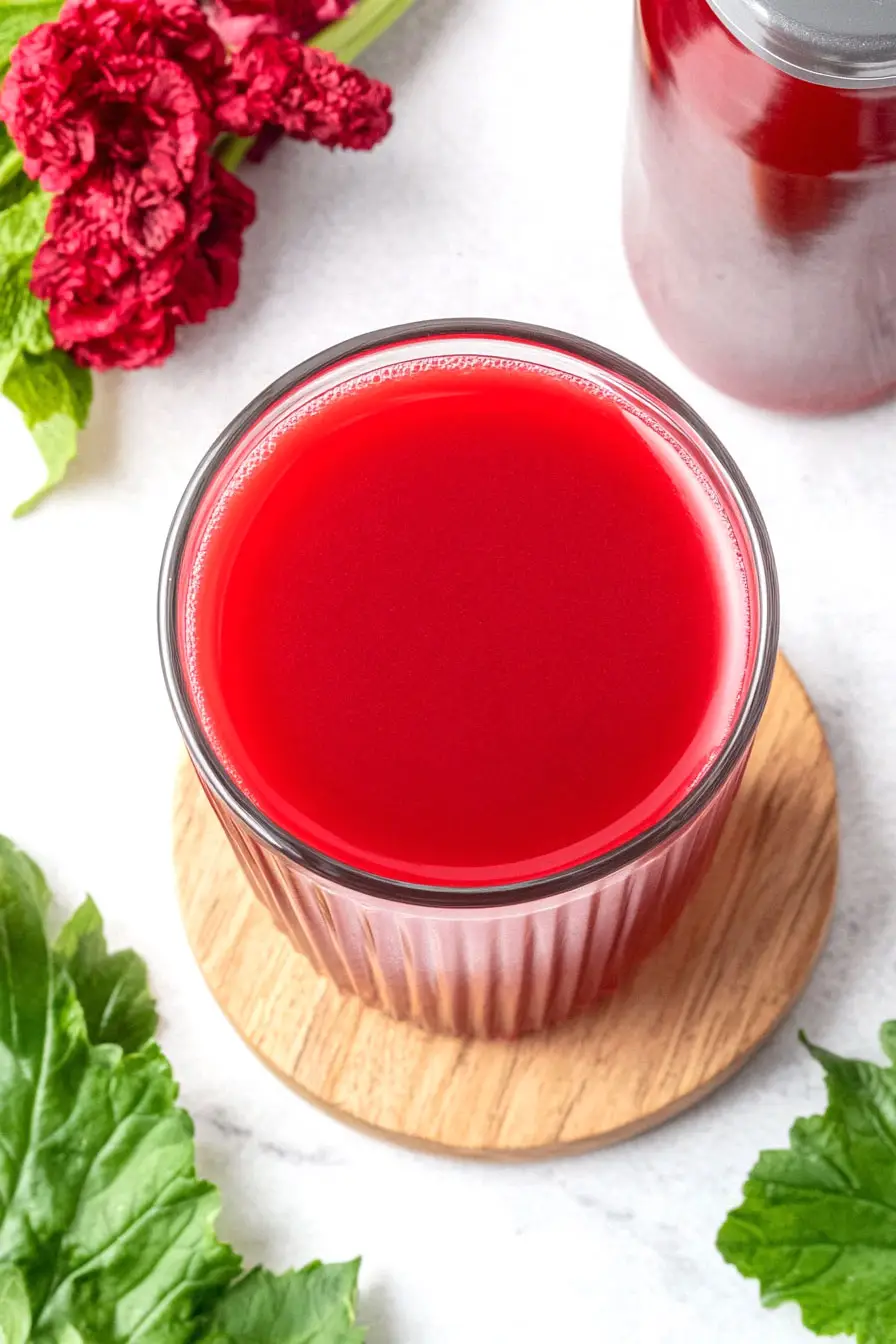
Keep Fresh: Pour your freshly made turnip juice into clean, sterilized glass bottles or jars, leaving about an inch of headspace at the top. It’ll stay good in the fridge for up to 2 weeks. The beautiful purple color from the carrots and beetroots might settle at the bottom, so give it a gentle shake before serving.
Preserve: If you want to keep your turnip juice for longer, you can process the filled jars in a water bath for about 15 minutes. Once properly sealed, they’ll keep in a cool, dark place for up to 6 months. Just remember to check for any signs of spoilage before drinking.
Serve: This juice is best enjoyed chilled! Take it out of the fridge, give it a good shake to mix up any settled ingredients, and pour into glasses. The chickpeas and bulgur will naturally settle at the bottom – that’s totally normal and adds a nice texture when you get to the end of your drink.
| Preparation Time | 30-45 minutes |
| Cooking Time | 0 minutes |
| Total Time | 30-45 minutes (plus 20 days fermentation) |
| Level of Difficulty | Medium |
Estimated Nutrition
Estimated nutrition for the whole recipe (without optional ingredients):
- Calories: 800-900
- Protein: 25-30 g
- Fat: 10-15 g
- Carbohydrates: 150-180 g
Ingredients
- 2.2 lbs purple carrots
- 4 tsp lemon salt
- 2 handfuls chickpeas (pre-soaked overnight)
- 4 beetroots
- 6 spicy peppers (adjust to your spice preference)
- 4 tbsp salt (Diamond Crystal kosher salt recommended)
- 2.2 lbs turnips (peeled and roughly chopped)
- 2 handfuls coarse bulgur
Step 1: Prepare and Chop Vegetables
Start by peeling the carrots, turnips, and beets.
Once peeled, chop them into manageable pieces and place them into an 8-liter jar.
Alternatively, you can evenly distribute the chopped vegetables into two 4-liter jars.
Next, cut the peppers in half and distribute them evenly between the jars along with the vegetables.
Step 2: Add Chickpeas and Bulgur
After distributing the vegetables and peppers, add a layer of chickpeas and bulgur into each jar.
Ensure that these ingredients are spread evenly throughout the jars to ensure even fermentation and flavor distribution.
Step 3: Prepare Salt and Citric Acid Mixture
In a separate bowl, take an appropriate amount of salt and citric acid.
Add a cup of water to the bowl and stir the mixture until the salt and citric acid are completely dissolved.
This solution will form the base of your pickling brine.
Step 4: Assemble and Seal the Jars
Carefully pour the salt and citric acid mixture into the jars over the vegetables, chickpeas, and bulgur.
Fill the jars the rest of the way with water to submerge all the ingredients.
Seal the jars tightly with lids.
Keep these jars in a cool place out of direct sunlight to allow the fermentation process to begin.
Step 5: Daily Stirring
For the next 20 days, it’s important to open and gently stir the contents of the jars each day.
This helps ensure even fermentation and flavor blending.
Reseal the jars tightly after each stirring.
Step 6: Drain and Store
On day 21, the fermentation process should be complete.
Use a cheesecloth to carefully drain the liquid, separating it from the solid ingredients.
Transfer the drained liquid into glass bottles for storage.
Place these bottles in the refrigerator to preserve the fermented juice.
Your fermented vegetable drink is now ready to be enjoyed chilled!
