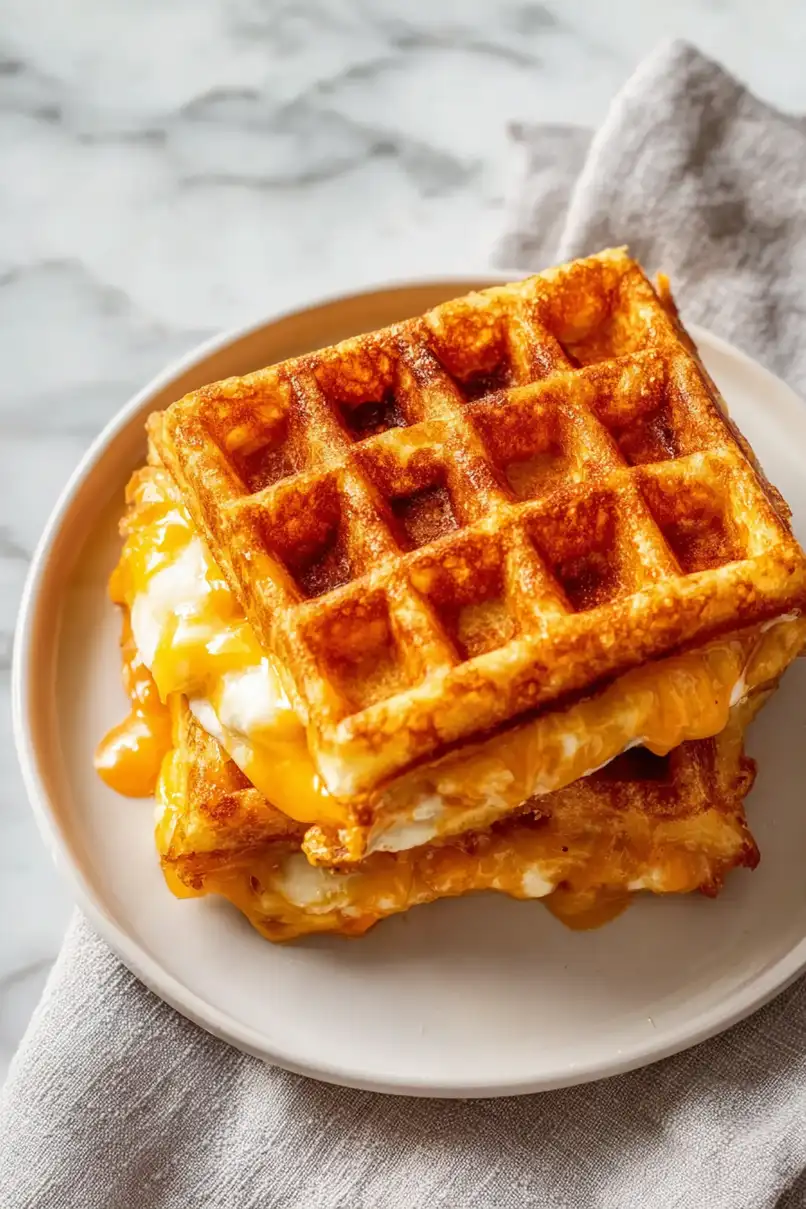
Here’s my spin on the classic grilled cheese using chaffles instead of bread – a warm, cheesy sandwich with a crispy waffle texture made from eggs and cheese. It’s a perfect low-carb option that still gives you all that comfort food satisfaction.
This chaffle grilled cheese has become my go-to lunch when I’m craving something quick and filling. I often make extra chaffles to keep in the fridge, so I can whip up these sandwiches whenever the mood strikes. Nothing beats that melty cheese pull, am I right?
Why You’ll Love This Chaffle Grilled Cheese
- Keto-friendly comfort food – This low-carb version of the classic grilled cheese sandwich lets you enjoy your favorite comfort food without breaking your keto diet.
- Quick preparation – With just 5 ingredients and 15 minutes, you can have this cheesy goodness ready to enjoy – perfect for busy weekday lunches.
- Simple ingredients – You probably already have these basic ingredients in your fridge, making this an easy go-to meal when you’re hungry.
- Double cheese goodness – The combination of sharp cheddar and melty American cheese creates the perfect balance of flavor and that stretchy cheese pull we all love.
What Kind of Cheese Should I Use?
For this chaffle recipe, we’re working with both cheddar and American cheese, which gives you the perfect blend of flavor and melt. Sharp or mild cheddar will work great – sharp gives more flavor punch while mild offers a more classic taste. The American cheese adds that creamy, melty texture we all love in a grilled cheese. If you’re not a fan of American cheese, you could swap it for provolone or mozzarella, which also melt really well. Just make sure your cheddar is freshly shredded rather than pre-shredded, since the bagged stuff often contains anti-caking agents that can affect how well it melts.

Options for Substitutions
This chaffle recipe is pretty adaptable and you can switch things up based on what you have in your kitchen:
- Shredded cheddar cheese: You can swap the cheddar for any good melting cheese like mozzarella, Colby jack, or provolone. Just make sure it’s shredded – this helps create the waffle’s structure.
- American cheese: Feel free to use any sliced cheese you prefer – Swiss, Muenster, or Havarti all work great. Just keep in mind that American cheese melts particularly well, so other cheeses might give a slightly different texture.
- Garlic seasoning: Out of garlic seasoning? Try Italian seasoning, onion powder, or even a pinch of ranch seasoning mix. You can also skip it altogether if you prefer a plain cheese flavor.
- Butter: Butter helps create a nice golden crust, but you can use mayonnaise or olive oil instead. Each will give slightly different results, but they’ll all work to help crisp up your chaffle.
- Egg: The egg is essential for this recipe and can’t be substituted – it’s what helps hold the chaffle together and gives it structure.
Watch Out for These Mistakes While Cooking
The biggest challenge when making chaffles is getting that perfect crispy exterior while keeping the inside cheesy and soft – the secret is preheating your waffle iron until it’s nice and hot before adding your mixture. A common mistake is opening the waffle iron too early, which can cause the chaffle to split and stick; wait until the steam starts to slow down before checking on it, usually about 3-4 minutes. To prevent your chaffle from becoming too eggy, make sure to mix the shredded cheese thoroughly with the egg, as this helps create that ideal bread-like texture you’re looking for. For the best melty results, add the American cheese slices only after the chaffle is fully cooked, and let them melt from the residual heat for about 30 seconds before serving.

What to Serve With Chaffles?
These cheesy, crispy chaffles are perfect for pairing with a steaming bowl of tomato soup or your favorite creamy soup for dipping. Since chaffles are pretty rich, I like to balance them out with something fresh like a simple mixed green salad or some crisp cucumber slices on the side. For a breakfast-style meal, try serving your chaffle with a few crispy bacon strips and some sliced avocado – it’s such a satisfying combination! If you’re keeping things low-carb, a handful of cherry tomatoes or some pickles on the side add a nice tangy contrast to the rich, cheesy flavors.
Storage Instructions
Keep Fresh: Chaffles are best enjoyed right after cooking when they’re warm and crispy. If you have leftovers, place them in an airtight container with a paper towel to absorb any moisture and keep them in the fridge for up to 2 days.
Make Ahead: You can make a batch of plain chaffles ahead of time and store them in the fridge. When you’re ready to eat, just add your cheese slices and butter, then give them a quick toast to melt everything together. They’re perfect for busy mornings or quick lunches!
Crisp Up: To bring back that lovely crispiness, pop your stored chaffle in a toaster or toaster oven for about 1-2 minutes. You can also warm it up in a skillet over medium heat for a minute on each side – this works especially well if you want to re-melt the cheese.
| Preparation Time | 5-10 minutes |
| Cooking Time | 10-15 minutes |
| Total Time | 15-25 minutes |
| Level of Difficulty | Easy |
Estimated Nutrition
Estimated nutrition for the whole recipe (without optional ingredients):
- Calories: 500-550
- Protein: 25-30 g
- Fat: 40-45 g
- Carbohydrates: 5-10 g
Ingredients
For the chaffles:
- 1 large egg
- 1/2 cup shredded cheddar cheese
- 1/4 tsp garlic seasoning (I use Tone’s garlic powder)
For assembling and grilling:
- 2 slices American cheese
- 1 tbsp butter (I like Kerrygold unsalted butter for this)
Step 1: Prepare the Chaffle Mixture
Begin by heating up your mini waffle maker.
In a small bowl, combine one egg, a sprinkle of garlic powder, and shredded cheddar cheese.
Mix these ingredients together until well blended, forming your chaffle batter.
Step 2: Cook the Chaffles
Once your waffle maker is preheated, pour in half of the chaffle mixture.
Close the lid and cook for about 4 minutes until the chaffle is golden and set.
Remove the chaffle and repeat the process with the remaining mixture, cooking for another 4 minutes.
Step 3: Prepare the Pan for Grilling
After both chaffles are cooked, heat a pan on the stove over medium heat.
Add 1 tablespoon of butter and allow it to melt completely.
This will provide a delicious base for grilling the chaffle sandwich.
Step 4: Assemble and Grill the Chaffle Sandwich
Once the butter is melted, place one chaffle in the pan.
Top it with slices of American cheese, then place the second chaffle on top to create a sandwich.
Let the chaffle grill for about 1 minute on the first side.
Step 5: Finish Grilling and Serve
Carefully flip the chaffle sandwich over and cook for an additional 1-2 minutes on the second side.
This will ensure the cheese is thoroughly melted and the chaffle is warm throughout.
Once the cheese is melted to your preference, remove the chaffle sandwich from the pan.
Serve hot and enjoy your cheesy creation!
